 (1)")

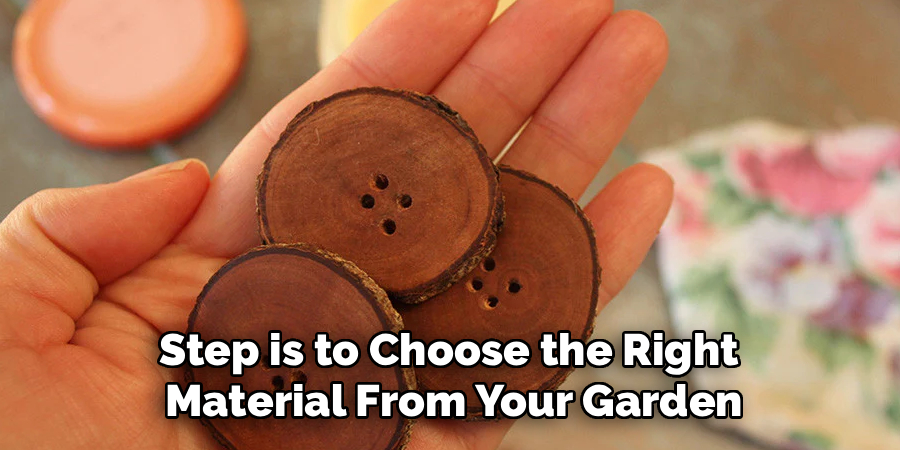
Adding custom touches to your hand-knitted sweaters, tailored shirts, or craft projects elevates the final piece from ordinary to extraordinary. Finding the perfect fasteners in a store often proves difficult, as commercial options sometimes lack the rustic charm and unique character of natural materials. Learning how to make wooden buttons opens up a fascinating world of personalization for your wardrobe and crafting endeavors. You can transform simple branches from your backyard into beautiful, functional works of art with just a few basic tools.
Crafting your own clothing fasteners requires minimal woodworking experience and very little space. You do not need a massive workshop or expensive machinery to achieve professional results at home. With a little bit of patience and attention to detail, you can create perfectly uniform pieces that match your specific project requirements. We will guide you through the entire process, ensuring you gain the confidence to create stunning, durable closures for any garment.
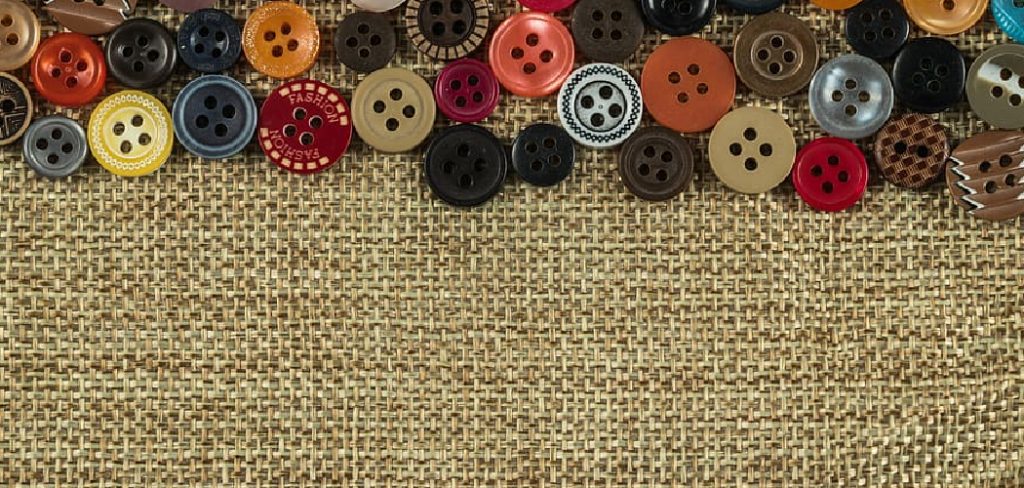
Why Wooden Buttons
Natural timber fasteners offer incredible durability and a timeless aesthetic that plastic alternatives simply cannot match. When you craft these pieces yourself, you gain complete control over the size, thickness, and color tone of the final product. Different tree species provide distinct grain patterns, meaning every single piece you create remains entirely unique. This natural variation adds incredible depth and visual interest to your handmade garments or upholstery projects.
Creating your own fasteners also promotes sustainable crafting practices. You can easily upcycle fallen branches from your yard or utilize small scrap pieces from larger woodworking projects. Instead of purchasing mass-produced plastic items wrapped in wasteful packaging, you utilize renewable resources right from nature. The profound satisfaction of fastening a handmade cardigan with closures you carved yourself brings immense joy to the creative process.
Step-By-Step Guide To How to Make Wooden Buttons
Step 1: Gather Materials and Tools
To begin making wooden buttons, start by collecting a few essential materials and tools. You’ll need a piece of wood, preferably from a hardwood tree such as oak, maple, or walnut, apply a finish to protect as these provide better durability.
A small hand saw or coping saw is necessary for cutting the wood into manageable pieces, while sandpaper in varying grits will help smooth and refine the button surfaces. Additionally, a drill with small bits is required to create the holes in the buttons.
Finally, gather a ruler, pencil, and possibly some wood finish or natural oil to give your buttons a polished, completed look. Ensuring you have all these items ready will streamline the crafting process and set you up for success.
Step 2: Choose a Shape and Size for your Buttons
Now that you have all your materials ready, it’s time to decide on the shape and size of your buttons. This will largely depend on personal preference and the purpose of your buttons.
For example, if you plan on using the buttons for clothing or accessories, a standard circular or square shape may be more practical.
However, if you want to add unique flair to a project, consider experimenting with different shapes like hearts or stars.
When deciding on size, keep in mind the intended use of the buttons. Smaller sizes are better suited for delicate fabrics or smaller items like jewelry, while larger sizes may work well as statement pieces on clothing.
Step 3: Cutting The Branch Into Slices

Use a small hand saw or a Japanese pull saw to slice your branch into thin, even discs. Aim for a thickness of about one-eighth to one-quarter of an inch, depending on your garment requirements. Take your time with each cut, letting the saw blade do the work rather than forcing it through the grain. Keeping your saw perfectly straight ensures the front and back faces remain parallel. You can cut several extra slices just in case a few break during the drilling process.
Step 4: Sanding The Rough Faces
Once you have your raw slices cut, you must smooth away all the rough saw marks. Start with a medium-grit sandpaper, around one hundred twenty grit, rubbing the disc in circular motions. A smooth surface feels pleasant against the skin and prevents the fastener from snagging delicate fabrics. Move up to a finer two hundred twenty grit sandpaper to achieve a polished, professional feel. You want the edges to feel slightly rounded rather than sharp and blocky.
Step 5: Marking The Thread Holes
Precision during this phase guarantees your final product looks professional and functions correctly on your garment. Take a sharp pencil and lightly mark the exact center of your sanded disc. From that center point, mark two or four evenly spaced dots for your thread holes. Make sure the holes sit far enough away from the outer edge to prevent the rim from snapping under tension. Symmetrical hole placement ensures the fastener sits perfectly flat when sewn onto a shirt.
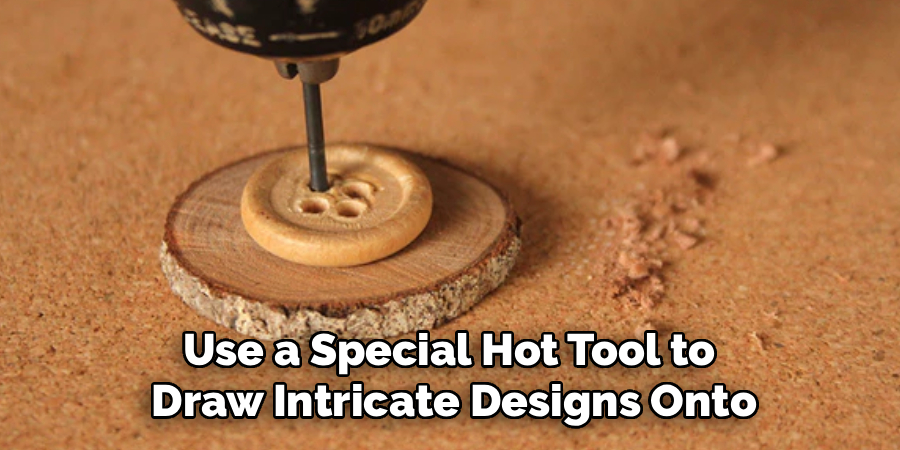
Step 6: Drilling The Holes Perfectly
Secure your smoothed disc gently into a vise or hold it firmly against a scrap piece of lumber. Use a standard power drill or a manual hand drill with a very small bit, roughly one-sixteenth of an inch. Drill straight down through the pencil marks you made in the previous step. Apply gentle, consistent pressure to avoid splitting the delicate disc in half. Once drilled, use a tiny piece of rolled sandpaper to clear away any splinters left inside the holes.
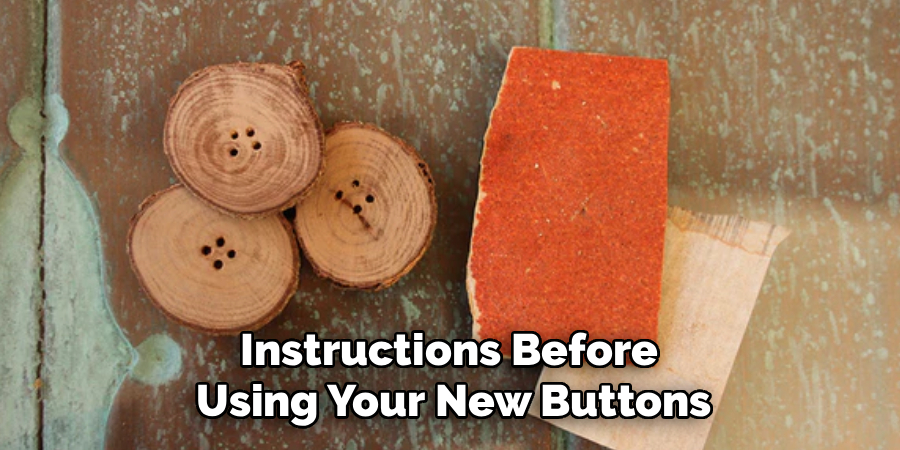
Step 7: Applying The Final Protective Finish
A protective coating seals the grain and prevents the material from absorbing water during laundry cycles. You can rub a natural finish like beeswax, linseed oil, or tung oil over the entire surface using a soft cloth. These natural oils highlight the beautiful grain patterns while offering excellent protection against moisture.
Let the finish soak into the fibers for a few minutes before wiping away any excess residue. Allow the pieces to dry completely overnight before attaching them to any fabric. It is generally recommended to hand wash any garment with wooden buttons.
Frequently Asked Questions
What Type Of Wood Works Best For Clothing Fasteners?
Dense hardwoods offer the best results for functional garment closures. Woods like maple, walnut, cherry, and oak possess tight grain structures that resist splitting under tension. They also hold up incredibly well to repeated washing and wearing over the years. Softer woods like pine remain much easier to cut and sand, but they might crack if used on heavy garments like thick winter coats.
Can I Put These Fasteners In The Washing Machine?
You can safely run these natural fasteners through a standard washing machine if you seal them properly. Applying a generous coat of pure tung oil or a commercial waterproof sealant protects the fibers from expanding in the water. However, you should avoid high-heat drying cycles, as extreme heat can warp or crack the natural material. Hand washing or using a gentle cycle always extends the lifespan of your handmade closures.
How Thick Should I Cut The Discs?
The ideal thickness entirely depends on the specific garment you plan to attach them to. For lightweight shirts or delicate baby cardigans, a thin profile of roughly one-eighth of an inch works beautifully. Heavy winter sweaters or thick canvas bags require a chunkier profile, closer to a quarter of an inch, to easily pass through thick buttonholes. Consistency remains the most important factor, so try to cut your entire batch to the exact same thickness.
Do I Need Expensive Power Tools For This Project?
You absolutely do not need a fancy workshop to complete this enjoyable crafting project. A simple manual pull saw, basic sandpaper, and a small hand drill provide everything you need to create stunning results. Power tools like band saws or drill presses certainly speed up the manufacturing process if you plan to make large batches. However, traditional hand tools offer fantastic precision and a wonderfully quiet, meditative crafting experience.
How Do I Prevent The Wood From Splitting While Drilling?
Splitting usually occurs when you press down too hard with a dull drill bit or drill too close to the edge. You can prevent this by using a brand new, sharp drill bit and applying very light downward pressure. Letting the drill bit gently carve its way through the fibers keeps the disc intact. Placing a scrap piece of lumber directly underneath your piece also provides structural support to the back face as the drill breaks through.
Conclusion
Creating your own garment closures adds an incredibly satisfying layer of artistry to your sewing and knitting projects. You hold the power to customize every aspect of the design, from the specific tree species to the final polished finish.
Now that you understand how to make wooden buttons, you will never have to settle for uninspiring plastic options again. Grab a beautiful fallen branch, set up your workspace, and start crafting these tiny masterpieces today. Your handmade wardrobe deserves the beautiful, rustic finishing touch that only natural timber can provide.
About
Mike May is a distinguished figure in the world of woodworking and timber design, with a decade of expertise creating innovative and sustainable indoor solutions. His professional focus lies in merging traditional craftsmanship with modern manufacturing techniques, fostering designs that are both practical and environmentally conscious. As the author of Woodimber, Mike delves into the art and science of timber-craft, inspiring artisans and industry professionals alike.
Education
RMIT University (Melbourne, Australia)
-
Associate Degree in Design (Timber): Focus on sustainable design, industry-driven projects, and practical craftsmanship.
-
Gained hands-on experience with traditional and digital manufacturing tools, such as CAD and CNC software.
Nottingham Trent University (United Kingdom)
-
Bachelor’s in Woodworking and Product Design (Honors): Specialized in product design with a focus on blending creativity with production techniques.
-
Participated in industry projects, working with companies like John Lewis and Vitsoe to gain real-world insights.
Publications and Impact
In Woodimber, May shares his insights on timber design processes, materials, and strategies for efficient production. His writing bridges the gap between artisan knowledge and modern industry needs, making it a must-read for both budding designers and seasoned professionals.