

Wood is a living material, even long after it has been cut and crafted into furniture or garden tools. To keep it looking beautiful and structurally sound, it needs nourishment and protection from the elements. Oiling is one of the most traditional and effective ways to care for timber. Unlike varnish or polyurethane, which sit on top of the surface like a plastic skin, oil penetrates deep into the grain. It replenishes natural moisture, enhances the richness of the color, and provides a water-resistant barrier that feels warm and natural to the touch.
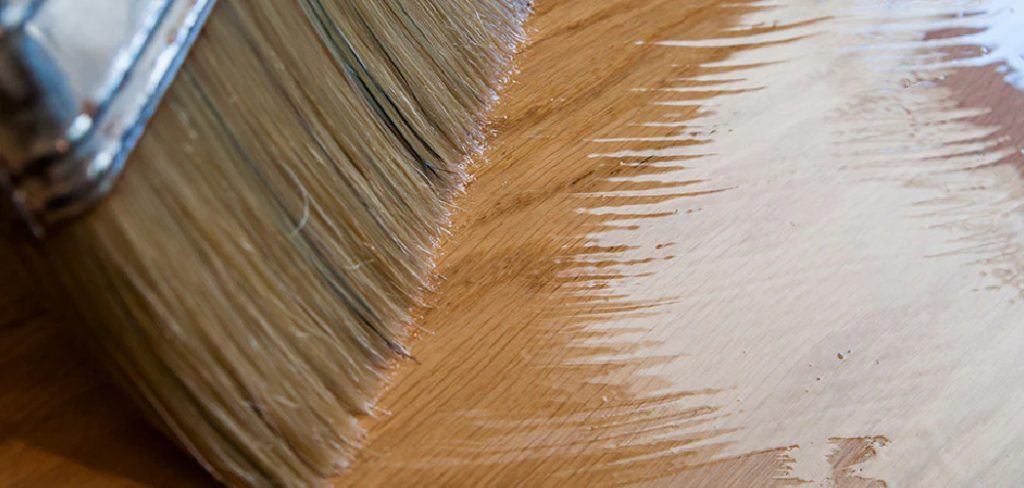
Whether you are restoring an antique dining table or protecting your favorite gardening hoe handles, learning how to apply oil to wood is a fundamental skill for any homeowner. It is a forgiving process that doesn’t require expensive equipment or a dust-free environment. With a little patience and the right technique, you can revive dry, dull surfaces and bring out the character of the grain. This guide is designed to walk you through the simple yet rewarding process of oiling, ensuring your wooden items remain cherished pieces for years to come.
Why Oiling Wood is the Best Choice for Preservation
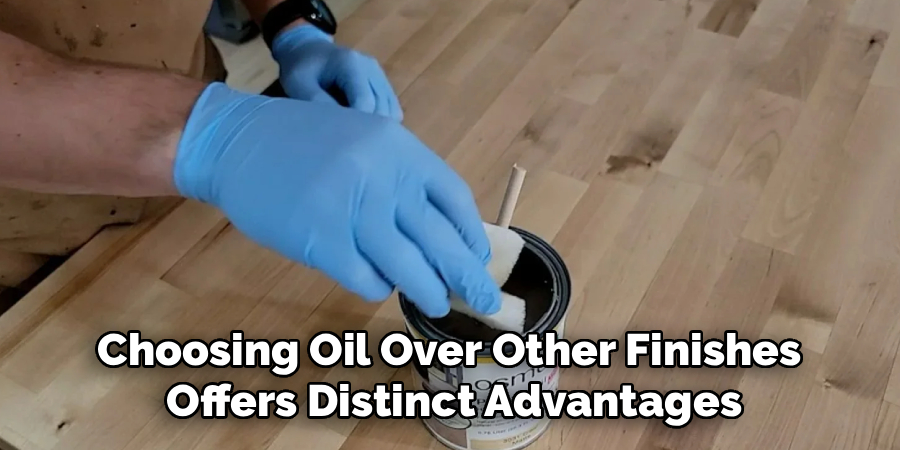
Choosing oil over other finishes offers distinct advantages, particularly for those who appreciate the natural beauty of timber. Varnishes and lacquers can eventually crack or peel, requiring a messy and labor-intensive stripping process to repair. Oil, however, never peels. It simply fades over time, meaning maintenance is as easy as cleaning the surface and applying a fresh coat. This makes it incredibly user-friendly for beginners who might be intimidated by the prospect of sanding down an entire piece of furniture just to fix a scratch.
Furthermore, oil finishes are non-toxic and food-safe options are readily available, making them perfect for kitchen countertops, cutting boards, and wooden toys. The aesthetic appeal is undeniable; oil highlights the chatoyance—the cat’s eye effect—of the wood grain, giving it depth and a satin sheen that looks expensive and hand-rubbed. It allows the wood to breathe and move with changes in humidity, preventing warping and cracking. By choosing oil, you are choosing a finish that ages gracefully, developing a rich patina that tells the story of the piece rather than hiding it under a layer of plastic.
Step-by-Step Guide on How to Apply Oil to Wood
Step 1: Choose the Right Oil for Your Project
Selecting the correct oil is the first critical decision you must make. There are drying oils, like linseed and tung oil, which harden to form a durable protective layer, and non-drying oils, like mineral or olive oil, which stay wet and are typically used for cutting boards. For furniture and garden tools, boiled linseed oil or Danish oil are popular choices because they cure relatively quickly and offer good protection. Tung oil provides a harder, more water-resistant finish but takes longer to dry. Read the labels carefully to ensure the product matches your specific wood type and intended use.
Step 2: Prepare the Wood Surface Thoroughly
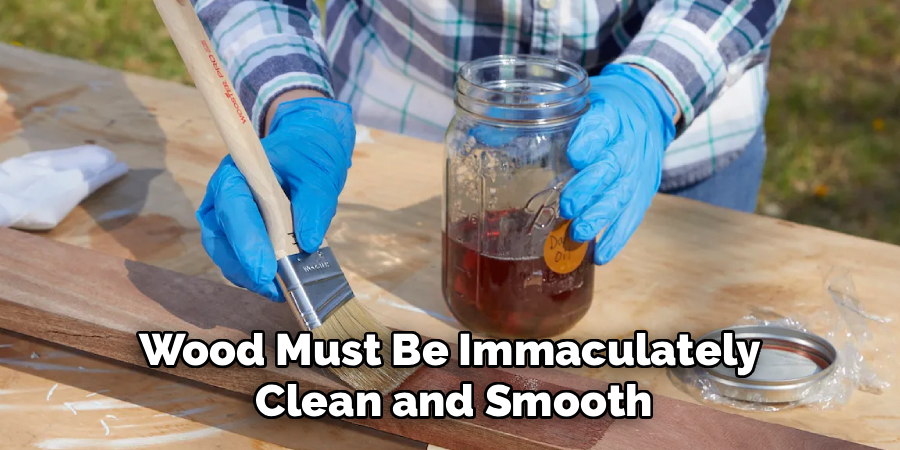
Before you open the oil can, the wood must be immaculately clean and smooth. Any dirt, old wax, or previous finish will block the oil from soaking in evenly. Sand the surface with sandpaper, starting with a medium grit like 120 and working your way up to a fine 220 grit. Always sand in the direction of the wood grain to avoid creating unsightly scratches. If you are refinishing an old piece, ensure all the old varnish is completely removed. Wipe the wood down with a tack cloth or a rag dampened with mineral spirits to remove every speck of sawdust.
Step 3: Apply the First Coat Liberally
Now you are ready to start the application. Pour a generous amount of oil directly onto the wood or dip a clean, lint-free cloth into the container. Spread the oil over the surface, working it into the grain with circular motions or long, sweeping strokes. The goal here is saturation. You want the wood to drink up as much oil as it can hold. Don’t worry about it looking uneven or pooling slightly at this stage; dry spots indicate that the wood is thirsty and needs more oil. Ensure every inch is wet and glistening before you step back.
Step 4: Mastering Wood Evenly
After flooding the surface, let the oil sit for about fifteen to twenty minutes. During this time, you will notice some areas absorbing the oil completely and becoming dull, while others remain shiny. This is normal and indicates the varying density of the wood grain. Re-apply oil to the dry spots to ensure consistent saturation. This waiting period allows the oil to penetrate deep into the cellular structure of the timber. Keep an eye on the surface and redistribute the oil from wet areas to dry areas to maintain an even coat. This patience is key to a uniform finish.
Step 5: Wipe Off the Excess Oil
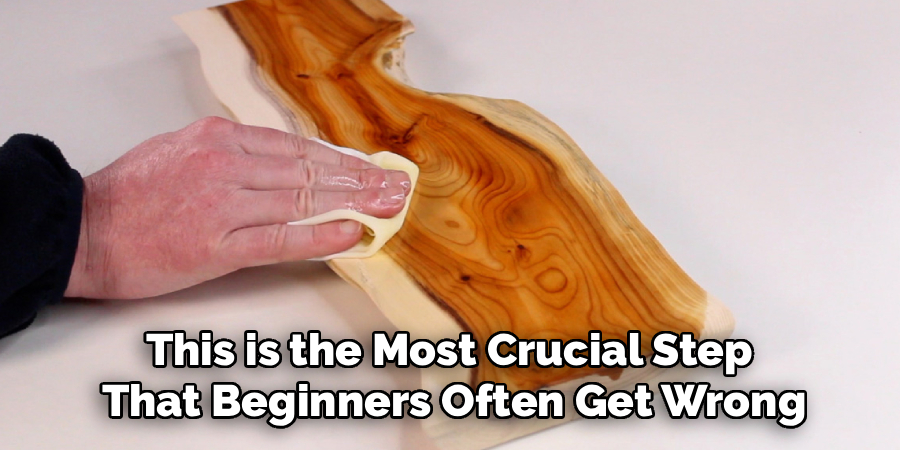
This is the most crucial step that beginners often get wrong. After the oil has had time to soak in, you must wipe off all the excess. Take a fresh, clean cloth and buff the surface vigorously in the direction of the grain. The wood should feel dry to the touch, not oily or sticky. If you leave pools of oil on the surface, they will become gummy and tacky as they dry, creating a mess that attracts dust and is difficult to fix. You are not painting a layer on top; you are filling the pores from within.
Step 6: Allow Sufficient Drying Time
Oil finishes cure by reacting with oxygen in the air, a process that takes time and good ventilation. Place your project in a warm, dry area with good airflow. Depending on the type of oil used, this drying phase can take anywhere from six hours to several days. Boiled linseed oil might be ready for a second coat the next day, while pure tung oil might need two or three days. Resist the urge to rush this step. If you apply a new coat over wet oil, the finish will remain soft and easily damaged.
Step 7: Sand Lightly Between Coats
Once the first coat is completely dry, the wood fibers might have raised slightly, making the surface feel fuzzy. To achieve that professional, silky-smooth feel, gently sand the wood with very fine sandpaper (320 grit or higher) or #0000 steel wool. This effectively knocks down the raised grain and creates a perfect base for the next layer. Wipe away the fine dust thoroughly with a clean cloth. This intermediate sanding step makes a huge difference in the tactile quality of the final piece, transforming it from rough lumber into fine furniture.
Step 8: Apply Additional Coats for Protection
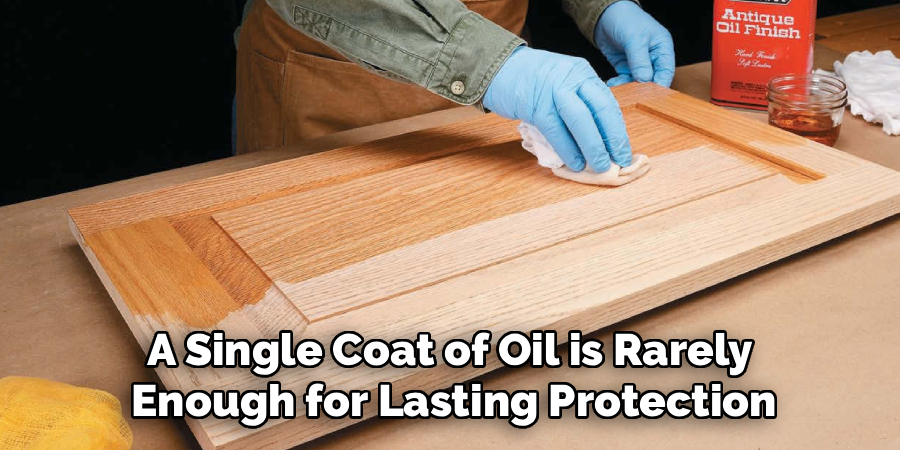
A single coat of oil is rarely enough for lasting protection. You typically need to apply at least two or three coats to build up a sufficient barrier against moisture and dirt. Repeat the process of applying oil, letting it soak, and wiping off the excess for each subsequent layer. For high-traffic surfaces like dining tables or garden tool handles, you might want to apply up to five coats. Each new layer adds depth and luster to the finish. As the old saying goes, apply once a day for a week, once a week for a month, and once a year forever.
Step 9: Safe Disposal of Oily Rags
It is vital to address safety when working with drying oils. Rags soaked in linseed oil or other finishes can spontaneously combust if crumpled up in a pile. As the oil cures, it generates heat, which can ignite the cloth. To dispose of them safely, lay the oily rags flat outdoors on a non-combustible surface like concrete or hang them up individually to dry completely. Once they are hard and brittle, they can be safely thrown in the trash. Never throw wet, oily rags directly into a garbage bin indoors. This safety precaution protects your home and workspace from fire hazards.
Frequently Asked Questions
What is the difference between raw and boiled linseed oil?
The main difference lies in drying time and additives.
- Raw Linseed Oil: This is pure oil pressed from flax seeds. It takes a very long time to dry (weeks) and is rarely used for furniture finishing today.
- Boiled Linseed Oil: This isn’t actually boiled; it has metallic dryers added to it to speed up the curing process. It typically dries within 24 hours, making it much more practical for home projects.
Can I apply oil over a varnished surface?
No, you generally cannot apply oil directly over varnish, lacquer, or polyurethane.
- Penetration: Oil needs to soak into the wood pores to work. Varnish creates a hard seal on top of the wood that blocks the oil.
- Preparation: You must completely strip or sand away the old varnish down to bare wood before you can apply an oil finish.
How often should I re-oil my wood furniture?
The frequency depends on how the item is used and the environment it lives in.
- Indoor Furniture: A light refresh coat once every year or two is usually sufficient.
- Kitchen Items: Cutting boards and countertops may need oiling monthly or whenever they look dry and pale.
- Outdoor Tools: Garden tool handles should be oiled at the beginning and end of every gardening season.
Is vegetable oil safe to use on wood?
While it is non-toxic, standard cooking vegetable oil (like canola or corn oil) is not recommended for wood finishing.
- Rancidity: Vegetable oils do not cure or harden; they stay liquid and can eventually go rancid, smelling bad and attracting bacteria.
- Alternatives: Use food-grade mineral oil or walnut oil for cutting boards, as these are stable and won’t spoil.
How do I fix a sticky oil finish?
A sticky finish usually means excess oil was left on the surface and didn’t get wiped off.
- Solvent: Dampen a cloth with mineral spirits or turpentine and rub the sticky areas vigorously to dissolve the gummy residue.
- Sanding: If the residue is very hard, you may need to lightly sand the area with fine sandpaper and then re-apply a very thin coat of oil, wiping it off immediately.
Conclusion
Applying oil to wood is more than just a maintenance task; it is a ritual that connects you to the natural materials in your home and garden. By feeding the wood, you are ensuring its longevity and enhancing its inherent beauty. The process demands patience and attention to detail, but the result—a warm, glowing finish that feels soft to the hand—is incomparable to synthetic alternatives.
Whether you are treating a new handle for your favorite spade or reviving a family heirloom, the principles remain the same: clean prep, generous application, and meticulous removal of excess. Now that you understand exactly how to apply oil to wood, you can confidently protect your timber projects against moisture and wear. So grab a rag, open a tin of linseed or tung oil, and give your wood the nourishment it deserves.

About
Mike May is a distinguished figure in the world of woodworking and timber design, with a decade of expertise creating innovative and sustainable indoor solutions. His professional focus lies in merging traditional craftsmanship with modern manufacturing techniques, fostering designs that are both practical and environmentally conscious. As the author of Woodimber, Mike delves into the art and science of timber-craft, inspiring artisans and industry professionals alike.
Education
RMIT University (Melbourne, Australia)
-
Associate Degree in Design (Timber): Focus on sustainable design, industry-driven projects, and practical craftsmanship.
-
Gained hands-on experience with traditional and digital manufacturing tools, such as CAD and CNC software.
Nottingham Trent University (United Kingdom)
-
Bachelor’s in Woodworking and Product Design (Honors): Specialized in product design with a focus on blending creativity with production techniques.
-
Participated in industry projects, working with companies like John Lewis and Vitsoe to gain real-world insights.
Publications and Impact
In Woodimber, May shares his insights on timber design processes, materials, and strategies for efficient production. His writing bridges the gap between artisan knowledge and modern industry needs, making it a must-read for both budding designers and seasoned professionals.