

Turning a rough log into a majestic piece of wildlife art looks like magic. Many beginners feel intimidated by the roar of heavy power tools and the scale of the project. However, creating beautiful yard art is incredibly rewarding and entirely possible for hobbyists. You just need the right approach, basic safety gear, and a clear plan of action.
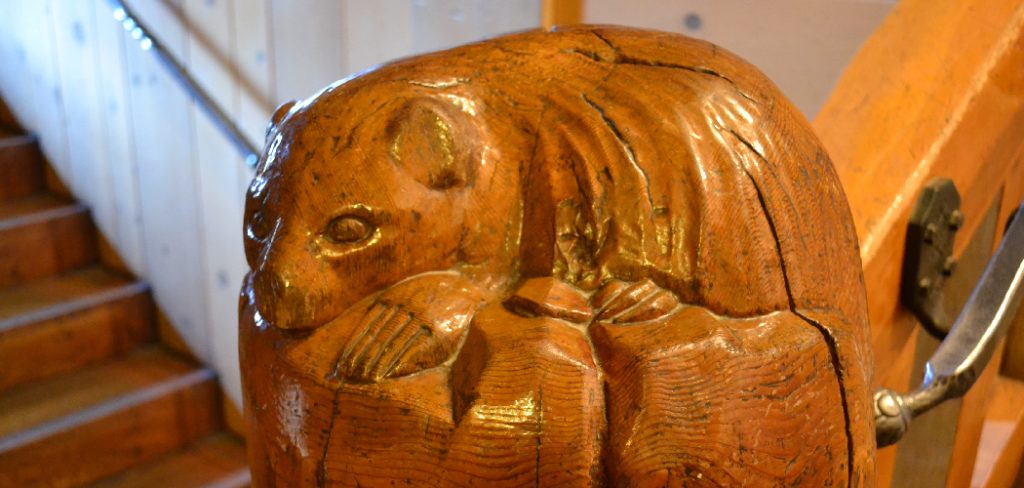
Many creative individuals want to know exactly how to carve a wooden bear with a chainsaw to decorate their outdoor living spaces. This guide walks you through the entire process, breaking down complex cuts into manageable, bite-sized tasks. We will cover everything from selecting the right timber to adding those final, expressive details to the face. You will learn to block out the basic shapes, refine the limbs, and safely handle your equipment throughout the project. Grab your heavy-duty safety chaps, prepare your workspace, and let us dive into the wonderful craft of wood sculpting.
Step-By-Step Guide: How to Carve a Wooden Bear With a Chainsaw
Step 1: Choose and Position the Right Log
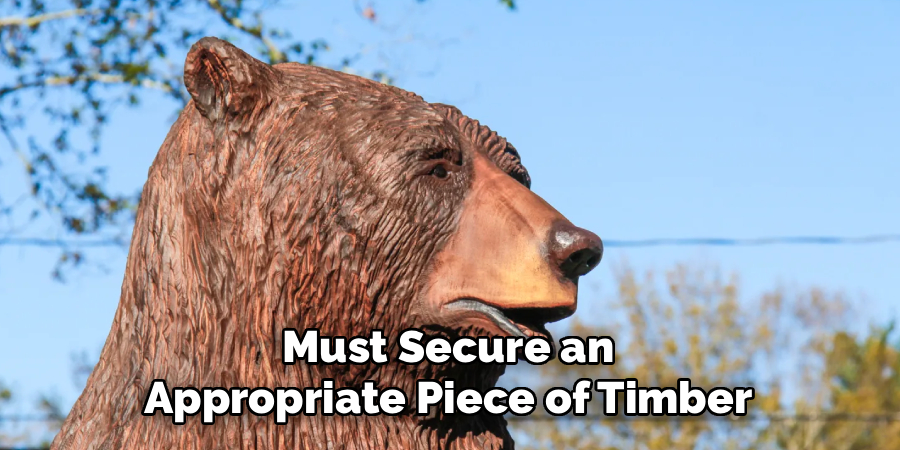
Before making a single cut, you must secure an appropriate piece of timber. Softwoods like white pine, western red cedar, or cottonwood offer the best resistance for beginners, as they cut smoothly and hold details incredibly well. Find a log that stands about three to four feet tall with a diameter of at least twelve inches. You must ensure the bottom is cut perfectly flat so the wood stands entirely stable on the ground. A wobbly log poses a massive safety hazard when you apply pressure with the guide bar. Position your timber in an open, well-ventilated outdoor workspace away from any tripping hazards.
Step 2: Sketch the Outline on the Wood
Visualizing the animal inside the solid cylinder of wood represents the hardest part for many hobbyists. Take a piece of highly visible carpenter’s chalk or a dark marker to draw a rough outline directly onto the bark. You want to mark the top of the head, the bottom of the feet, and the location of the protruding snout. Divide the log into thirds vertically to establish the distinct proportions for the head, torso, and legs. Drawing these guidelines prevents you from cutting too deeply during the initial blocking phase. You can always remove more wood later, but you cannot put it back.
Step 3: Block Out the Main Silhouette
Now you will start removing the largest chunks of waste material from the log. Fire up your saw and make horizontal and vertical relief cuts to establish the rough silhouette. Focus on cutting away the sharp corners of the log to round out the torso and create a clear distinction between the head and the body. At this stage, you are simply creating a snowman-like shape with a narrower top and a wider, heavier bottom. Keep your saw running at a high speed to prevent dangerous kickback, and let the spinning chain do the work without forcing it.
Step 4: Shape the Snout and Head
The face gives your sculpture its unique personality and welcoming character. Move to the top section of your blocked-out log to define the animal’s snout. Make two angled cuts on either side of the face to create a protruding, distinct muzzle. The snout should stick out further than any other part of the face. Next, carefully angle your bar to slope the forehead backward from the nose. Leave a solid block of wood at the very top back corners, which you will eventually shape into the rounded ears. Work slowly here, as facial proportions require a much more delicate touch.

Step 5: Define the Front Arms and Paws
With the head taking shape, move down to the midsection to carve the front limbs. Most beginner sculptures feature the animal sitting upright with its front paws resting gently on its round belly. Make shallow plunge cuts to outline the inner edges of the arms, separating them visually from the chest area. Next, remove material from underneath the arm sections to make the paws pop out from the stomach. Taper the arms so they look thicker near the shoulders and narrower at the wrists. Use the very tip of your guide bar to lightly score the individual claw lines.
Step 6: Carve the Back Legs and Base
The bottom third of your sculpture needs to convey massive weight and stability. Carve the hind legs by making sweeping, curved cuts along the lower sides of the timber. These legs should look thick and muscular, bending forward toward the front paws. Leave a sturdy section of wood at the very bottom to serve as a built-in pedestal or solid base. This uncarved stump keeps the figure grounded and prevents ground moisture from rotting the delicate carved toes. Ensure the transition between the animal’s backside and the wooden base looks completely natural and slopes gently downward.
Step 7: Refine the Ears and Facial Details
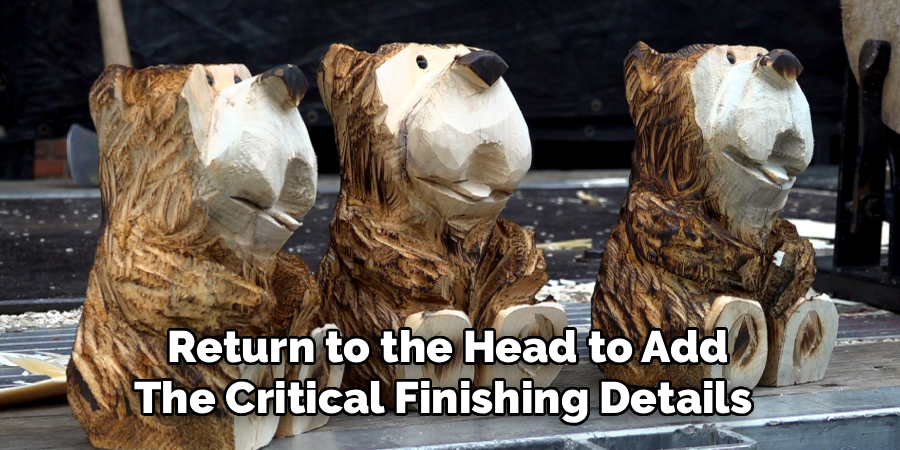
Return to the head to add the critical finishing details that bring the piece to life. Use a smaller carving bar if you have one, as standard bars often feel clumsy for intricate detail work. Shape the blocky corners on top of the head into rounded, cup-like ears. Scoop out a tiny bit of wood from the center of each ear to give them realistic depth. Next, refine the bridge of the nose and carve a small horizontal slit for the mouth directly under the snout. You can also drill shallow holes for the eyes, placing them relatively wide apart.
Advanced Carving Techniques
For advanced carving techniques, mastering the use of specialized tools is essential. Gouges and veiners, for instance, allow for creating intricate textures such as fur, feathers, or scales that bring a carved figure to life. Learn to work with varying depths to create a sense of dimension and shadow, giving your piece a more dynamic and realistic appearance. A woodburning tool can be used to enhance details by adding fine lines or shading, creating striking visual contrasts. Additionally, layering techniques, where details are built up in stages, can help achieve greater precision and refinement, especially in complex designs. Patience and consistent practice are key to honing these advanced methods effectively.
Frequently Asked Question
What Kind Of Chainsaw Is Best For Beginners?
Selecting the right tool significantly impacts your safety and carving success. You do not need a massive, heavy-duty logging saw for yard art.
- A lightweight gas or battery-powered saw with a 14-inch to 16-inch bar works perfectly.
- Battery-powered models offer quieter operation and zero exhaust fumes.
- Consider investing in a specialized dime tip carving bar later.
These smaller bars reduce kickback risks and allow you to maneuver into tight spaces without accidentally slicing adjacent wood.
Do I Need Special Protective Gear For Carving?
Yes, personal protective equipment remains absolutely non-negotiable when operating heavy power tools. Wood sculpting requires you to use the saw at unconventional angles, increasing your overall risk. You must equip yourself with:
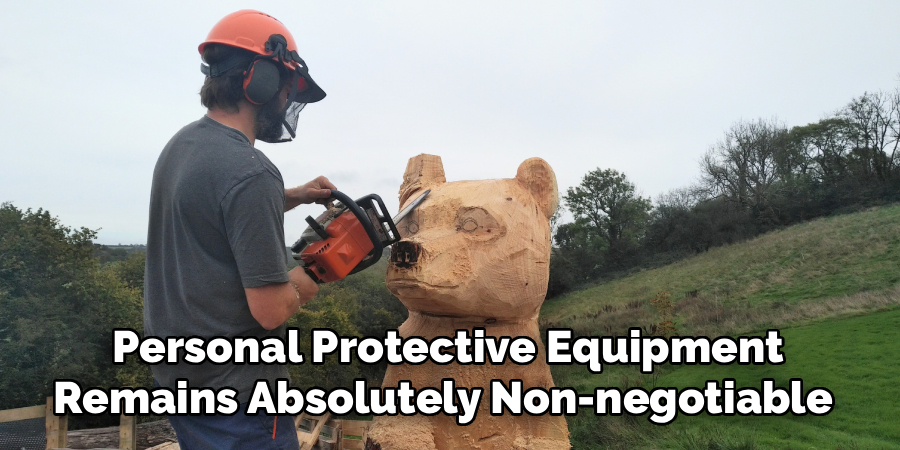
- Kevlar-lined chainsaw chaps to protect your legs.
- A full face shield and safety glasses to block flying chips.
- Heavy-duty leather gloves with good grip.
- Steel-toe boots to protect against dropped logs.
- Industrial-grade ear protection to prevent hearing loss.
How Long Does It Take To Finish A Sculpture?
The timeframe heavily depends on your experience level and the complexity of the design. A first-time hobbyist should expect to spend between four and six hours completing a basic three-foot sitting figure.
- The initial blocking phase usually takes about an hour.
- Detailing the face and paws requires the most time and patience.
- Sanding and sealing add another hour to the project.
Do not rush the process; taking frequent breaks prevents muscle fatigue and helps you maintain focus.
What Should I Do If The Wood Starts Cracking?
Wood naturally cracks, or checks, as it dries and shrinks over time. While you cannot completely stop this natural process, you can easily minimize the damage.
- Always use dry, seasoned wood rather than freshly cut, green logs.
- Keep your finished piece out of direct, blazing sunlight.
- Apply a high-quality end-grain sealer to the top and bottom.
If a large crack does appear in the body, you can fill it with wood putty or epoxy tinted to match the wood’s natural color.
Can I Paint The Finished Carving?
Absolutely, painting adds a wonderful burst of personality to your yard art. While many traditionalists prefer the natural burned-wood look, a splash of color can make your sculpture truly pop.
- Use exterior-grade acrylic paints for the best durability.
- Dry-brushing dark brown or black paint highlights the fur texture.
- Paint the nose and eyes a glossy black to make them stand out.
Always remember to apply a clear, weatherproof polyurethane topcoat over the dried paint to lock in the color and protect it from rain.
Conclusion
Creating your own backyard wildlife sculpture provides an incredible sense of artistic accomplishment. By starting with a stable softwood log, carefully outlining your proportions, and systematically blocking out the shapes, you can safely bring a beautiful piece of timber to life. Remember that patience and proper safety gear are your best friends during this creative journey. Your first attempt might look a bit rustic, but every single cut teaches you valuable skills for your next big project.
Now that you understand the fundamental techniques behind this exciting hobby, it is time to fire up your tools and get to work. Do not let the fear of making a mistake hold you back from discovering a fulfilling new passion. Mastering how to carve a wooden bear with a chainsaw simply takes a little practice, a steady hand, and a creative spirit. Head out to your workspace, plan your cuts carefully, and watch proudly as a friendly face emerges from the rough bark.

About
Mike May is a distinguished figure in the world of woodworking and timber design, with a decade of expertise creating innovative and sustainable indoor solutions. His professional focus lies in merging traditional craftsmanship with modern manufacturing techniques, fostering designs that are both practical and environmentally conscious. As the author of Woodimber, Mike delves into the art and science of timber-craft, inspiring artisans and industry professionals alike.
Education
RMIT University (Melbourne, Australia)
-
Associate Degree in Design (Timber): Focus on sustainable design, industry-driven projects, and practical craftsmanship.
-
Gained hands-on experience with traditional and digital manufacturing tools, such as CAD and CNC software.
Nottingham Trent University (United Kingdom)
-
Bachelor’s in Woodworking and Product Design (Honors): Specialized in product design with a focus on blending creativity with production techniques.
-
Participated in industry projects, working with companies like John Lewis and Vitsoe to gain real-world insights.
Publications and Impact
In Woodimber, May shares his insights on timber design processes, materials, and strategies for efficient production. His writing bridges the gap between artisan knowledge and modern industry needs, making it a must-read for both budding designers and seasoned professionals.