

Crafting your own home accessories adds a highly personal touch to your kitchen space. If you want a fun, beginner-friendly woodworking project, learning how to make a paper towel holder out of wood is a fantastic place to start. This simple weekend project requires minimal tools and basic materials, making it perfect for novice builders.
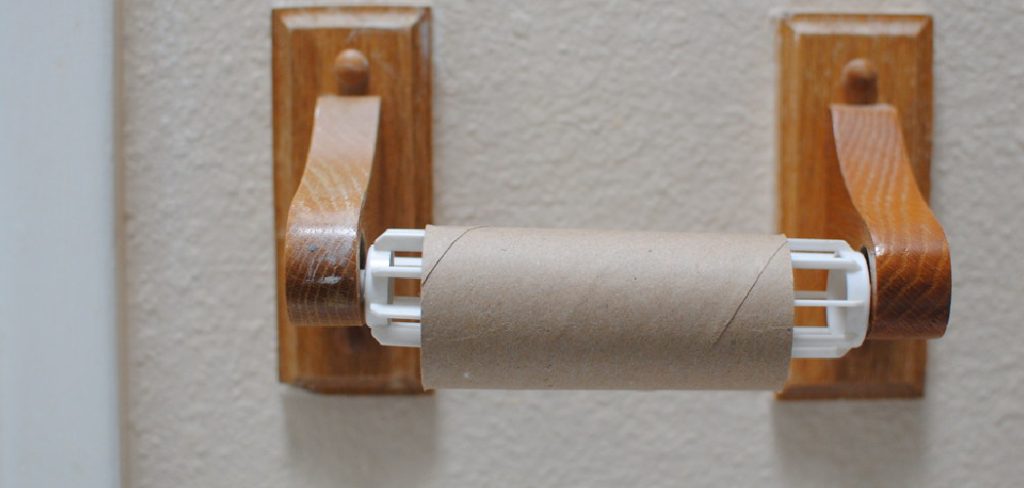
By creating your own dispenser, you gain complete control over the design, size, and finish, ensuring it perfectly matches your specific kitchen decor. Plus, building functional items from scratch brings a deep sense of satisfaction. In this guide, we will walk you through the entire process from cutting the base to applying the final coat of finish. Grab your safety glasses, set up your workspace, and let us dive into this rewarding DIY endeavor.
Step-by-Step Guide on How to Make a Paper Towel Holder Out of Wood
Step 1: Gather Your Materials And Tools
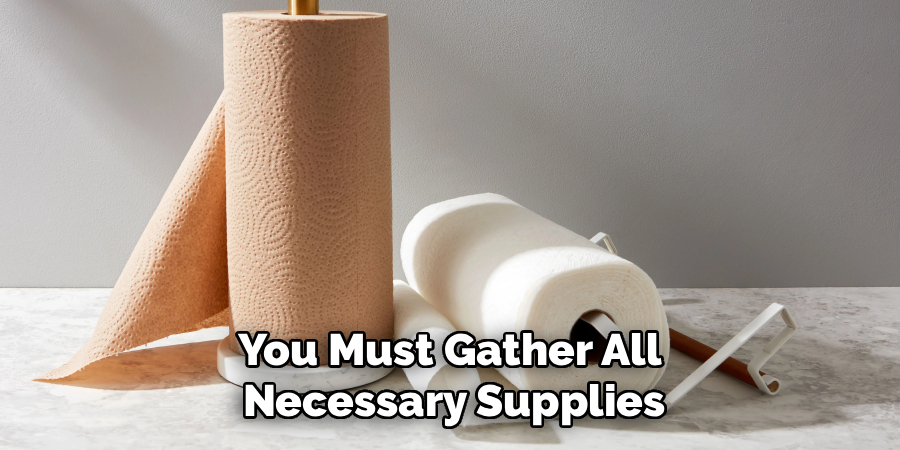
Before starting any woodworking project, you must gather all necessary supplies to ensure a smooth workflow. For this build, you need a piece of hardwood or pine for the base, preferably three-quarters of an inch thick. You also need a wooden dowel measuring one and a quarter inches in diameter.
Essential tools include a saw, a drill, wood glue, and varying grits of sandpaper. Having a clamp and some wood screws on hand will also help secure the pieces together tightly. Lay everything out on a clean workbench. Ensure your workspace is well-lit and ventilated, especially when sanding later. A clear, organized bench makes the whole building process deeply enjoyable.
Step 2: Measure And Cut The Wooden Base
Creating a stable foundation is crucial for your kitchen accessory. Take your flat wooden board and use a compass to draw a perfect circle with a diameter of about seven inches. This size provides enough weight to keep the stand upright when you pull off a sheet. If you do not own a compass, tracing a small dinner plate or a large bowl works perfectly. Keeping your hands steady guarantees a professional edge. Carefully follow your marked lines using a jigsaw or a band saw. Move the saw slowly to avoid splintering the delicate edges. Take your time during this step, as a well-cut base determines the overall balance.
Step 3: Sand The Base For A Smooth Finish
A polished finish separates an amateur project from a professional-looking piece. Start with eighty-grit sandpaper to remove any rough patches and saw marks along the edges of your freshly cut base. Apply even pressure as you work your way around the perimeter. Do not skip the edges, as a rounded profile looks elegant and prevents splinters.
Taking your time here guarantees a flawless, touchable result. Once the heavy blemishes disappear, switch to one hundred twenty-grit paper to smooth the flat surfaces. Finally, use two hundred twenty-grit paper for a silky feel. Wipe the entire wooden circle down with a slightly damp cloth to remove all dust particles.
Step 4: Cut The Center Dowel To Size
The central post holds your paper rolls, so getting the height right matters immensely. Standard rolls need a post that is at least thirteen inches long, but cutting yours to fourteen inches leaves a little extra room at the top for easy gripping. A standard roll fits neatly, but jumbo rolls accommodate easily on a fourteen-inch post.
Double-check your measurements before making the final cut. Secure the dowel firmly to your workbench using a clamp so it does not roll away. Use a handsaw or a miter saw to make a clean, straight cut across the mark. A perfectly flat bottom helps the post stand vertically.

Step 5: Prepare The Dowel For Attachment
Just like the foundation piece, your upright post requires thorough sanding. Wrap a sheet of medium-grit sandpaper around the dowel and slide it up and down to remove any rough spots. Pay special attention to the top end of the post, rounding off the sharp edge slightly to make sliding new rolls onto the holder much easier. You can even taper the very top slightly for a more decorative, classic look. Good preparation sets the stage for a beautiful finish. Sand the flat bottom edge lightly just to remove any loose fibers left by the saw blade. Wipe away the sawdust with a clean rag.
Step 6: Drill The Center Hole In The Base
Connecting the two pieces requires a perfectly centered hole. Grab a ruler to find the exact middle of your wooden base and mark it clearly with a pencil. Taking an extra minute to measure the exact center prevents an off-balance, wobbly final product. A steady hand yields the best structural integrity.
Secure a drill bit that matches the size of your mounting screw. If you are researching how to make a paper towel holder out of wood, you will find that drilling a pilot hole prevents the wood from splitting. Drill straight down through the center mark. Then, flip the base over and use a countersink bit so the screw sits flush.
Step 7: Glue And Secure The Dowel
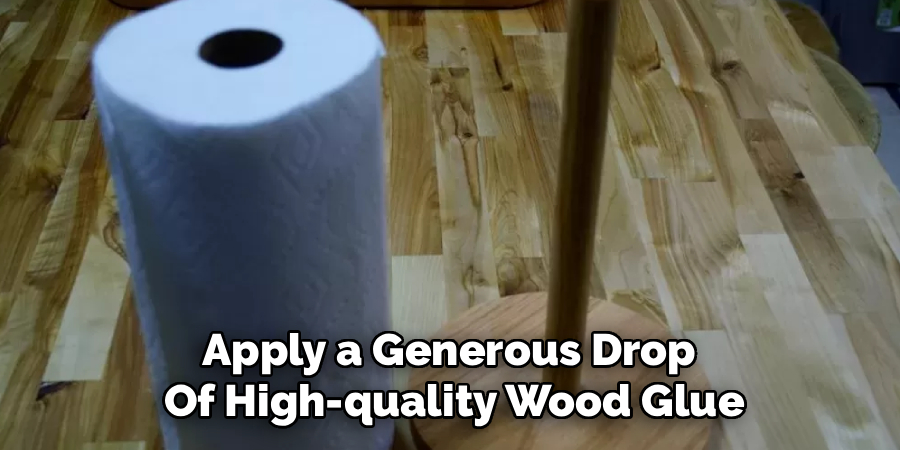
Now comes the exciting part where your project actually takes shape. Apply a generous drop of high-quality wood glue to the bottom center of the dowel. Press the dowel firmly against the center of the base, aligning it with the pilot hole you just drilled. While holding the post perfectly straight, drive a wood screw up through the bottom of the base and into the dowel. Let the assembly rest undisturbed for at least an hour so the adhesive bonds perfectly. A solid joint means your stand will survive daily use. Wipe away any excess glue that squeezes out before it dries.
Step 8: Apply Stain Or Paint
The final step protects your hard work and enhances its visual appeal. Choose a wood stain that matches your existing kitchen cabinets or opt for a vibrant paint color. Apply the finish using a high-quality brush, following the natural grain of the wood. Make sure you cover the bottom surface as well to prevent any moisture absorption from countertop spills. Enjoy your beautiful, handcrafted work. Let the first coat dry completely according to the manufacturer instructions. Once dry, lightly scuff the surface with fine sandpaper before applying a second coat. Finish the project with a layer of food-safe polyurethane to seal the wood entirely.
Frequently Asked Questions
What Is The Best Wood For This Project?
Choosing the right material ensures your holder lasts for years. Hardwoods are generally preferred over softwoods because they offer better durability and weight. Excellent options include:
- Oak: Very sturdy with a beautiful grain pattern.
- Maple: Smooth and heavy, providing excellent stability.
- Walnut: Offers a rich, dark color for a premium look.
While pine is a budget-friendly and easy-to-cut softwood, you might need to make the base slightly larger to ensure it does not tip over during use.
How Can I Add Extra Weight To The Base?
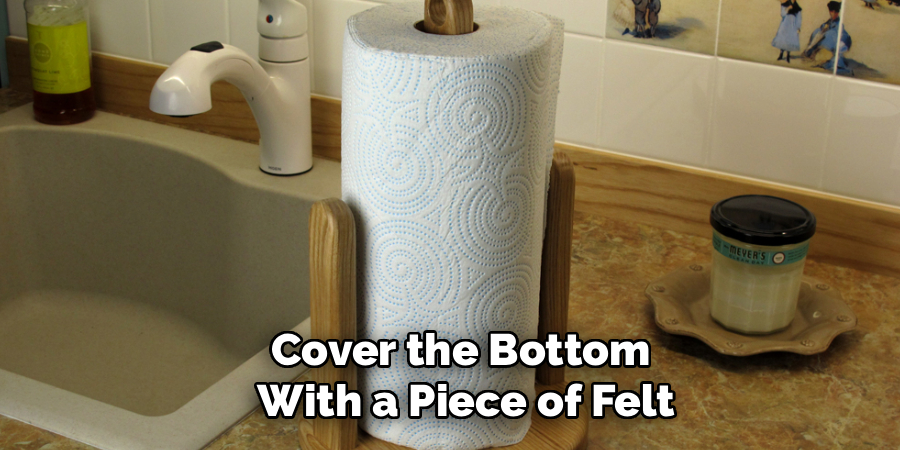
A lightweight stand can be frustrating if it tips over when you grab a sheet. You can easily add extra heft to your base without altering the design. One method involves using a router to carve a shallow cavity underneath the base. You can then glue metal washers or heavy coins into the recessed area. Once the glue dries, cover the bottom with a piece of felt. This trick keeps the stand firmly planted on your countertop.
Do I Really Need Wood Glue And Screws?
Yes, combining both fastening methods guarantees a long-lasting connection. Relying solely on a screw might cause the center post to spin loose over time as you pull sheets away. On the other hand, using only glue might not provide enough structural strength if the stand gets knocked off the counter. The glue bonds the wood fibers together permanently, while the screw acts as an internal clamp holding everything tight while the glue cures.
How Do I Prevent The Wood From Splitting?
Splitting is a common issue for beginners, but it is entirely preventable. The most effective way to protect your project is by drilling pilot holes before inserting any screws. A pilot hole should be slightly smaller than the diameter of your screw threads. Additionally, avoid driving screws too close to the edge of the board. If you use nails instead of screws, dulling the tip of the nail slightly with a hammer before driving it in can push the wood fibers apart harmlessly.
Can I Add A Small Arm To Tear Sheets Easier?
Adding a secondary dowel acts as a tensioner and tearing assistant. To do this, simply cut a thinner dowel, about half an inch in diameter, to a length of roughly five inches. Drill a small hole near the outer edge of your base and glue this smaller dowel upright. When you load your roll, feed the paper between the thick center post and the smaller outer arm. This setup provides friction, allowing you to tear off a single sheet with one hand effortlessly.
Conclusion
Building your own kitchen accessories is an incredibly satisfying way to practice your woodworking skills. You have now learned how to make a paper towel holder out of wood from start to finish. We covered gathering the right supplies, cutting precise shapes, sanding everything smoothly, and securing the pieces together for a durable build. This simple yet highly functional project instantly elevates your kitchen decor while providing a practical dispensing solution.
Because it requires minimal materials, you can easily experiment with different wood species, custom stains, or unique base shapes. You can even craft a few extra holders to give as thoughtful, handmade gifts to friends and family. Do not let your tools gather dust in the garage. Grab some scrap timber this weekend and craft a beautiful, custom stand that you can proudly display on your countertop for years to come.

About
Mike May is a distinguished figure in the world of woodworking and timber design, with a decade of expertise creating innovative and sustainable indoor solutions. His professional focus lies in merging traditional craftsmanship with modern manufacturing techniques, fostering designs that are both practical and environmentally conscious. As the author of Woodimber, Mike delves into the art and science of timber-craft, inspiring artisans and industry professionals alike.
Education
RMIT University (Melbourne, Australia)
-
Associate Degree in Design (Timber): Focus on sustainable design, industry-driven projects, and practical craftsmanship.
-
Gained hands-on experience with traditional and digital manufacturing tools, such as CAD and CNC software.
Nottingham Trent University (United Kingdom)
-
Bachelor’s in Woodworking and Product Design (Honors): Specialized in product design with a focus on blending creativity with production techniques.
-
Participated in industry projects, working with companies like John Lewis and Vitsoe to gain real-world insights.
Publications and Impact
In Woodimber, May shares his insights on timber design processes, materials, and strategies for efficient production. His writing bridges the gap between artisan knowledge and modern industry needs, making it a must-read for both budding designers and seasoned professionals.