 (1)")

Your outdoor living space is a beautiful extension of your home garden, perfect for sipping morning coffee or hosting summer barbecues. Over time, however, weather elements, dirt, and organic growth can leave your beautiful timber looking dull and slippery. Many homeowners immediately reach for heavy machinery to blast away the grime. However, learning how to clean wooden decking without pressure washer is actually much safer for the longevity of your boards.
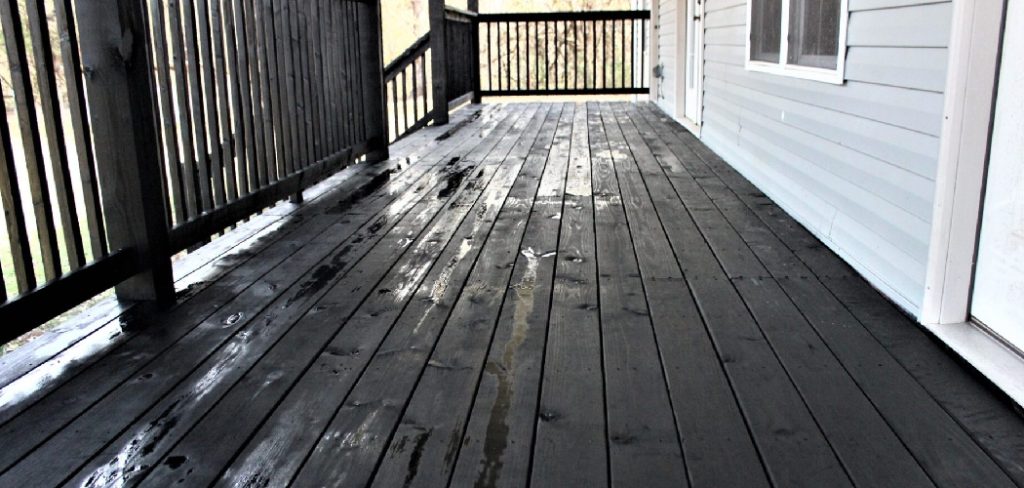
High-powered water jets can easily splinter softwoods, strip away protective sealants, and leave deep gouges that invite moisture damage. For home gardeners and beginners, taking a gentler, manual approach ensures your outdoor sanctuary remains pristine without risking irreversible harm. In this comprehensive guide, we will walk you through a simple, highly effective method to rejuvenate your outdoor space using basic household tools and a little elbow grease.
Why Manual Maintenance Protects Your Garden Deck
Using high-powered machinery might seem like the fastest way to strip away winter grime, but it often does more harm than good. Timber is a naturally porous material that requires gentle care to maintain its structural integrity. Intense water jets can easily destroy the soft fibers of the wood, causing permanent splintering and deep gouges. This rough texture not only looks unsightly but also creates tiny crevices where algae, mold, and rot can quickly take hold over the winter.
Step-by-Step Guide on How to Clean Wooden Decking Without Pressure Washer
Step 1: Clear the Deck Space Completely
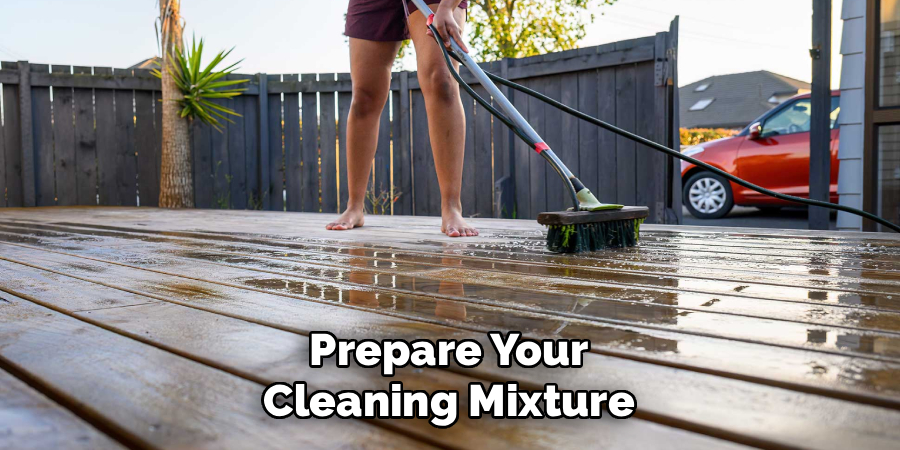
Before you apply a single drop of water, you must prepare the area properly. Start by removing every piece of patio furniture, potted plant, and garden tool from the surface. Relocating these items protects them from accidental splashes of cleaning solution while giving you an unobstructed workspace. Moving your heavy planters also reveals hidden damp spots where stubborn mildew loves to hide. Find a safe spot on your lawn or driveway to store these items temporarily. Having a completely empty canvas prevents you from tripping over obstacles while scrubbing and ensures you do not miss any hidden corners during the washing process.
Step 2: Sweep Away Loose Debris Thoroughly
Once the area is completely empty, grab a sturdy outdoor broom to tackle the loose surface dirt. Sweep the entire area thoroughly to remove fallen leaves, dry pine needles, loose twigs, and everyday garden soil. Pay special attention to the narrow gaps between the individual boards, as these crevices act as traps for organic matter. Debris left stuck in these cracks will eventually rot and cause moisture damage to the joists underneath. Using a putty knife or an old flathead screwdriver can help dislodge tightly packed dirt from these stubborn gaps. Sweeping prevents this loose dirt from turning into a thick mud puddle once you introduce water.
Step 3: Pre-Rinse the Wood Using a Garden Hose
With the loose debris completely cleared away, it is time to hydrate the timber. Attach a standard spray nozzle to your regular garden hose and give the entire surface a gentle, even rinse. This crucial hydration step softens any dried-on bird droppings, hardened mud, and sticky tree sap, making the subsequent scrubbing phase significantly easier. Wetting the boards beforehand also prevents the wood from instantly absorbing all your cleaning solution. Ensure that nearby garden plants and delicate flower beds receive a quick spray of fresh water too. This preemptive soaking helps protect delicate foliage in case soapy runoff splashes onto your prized landscaping.
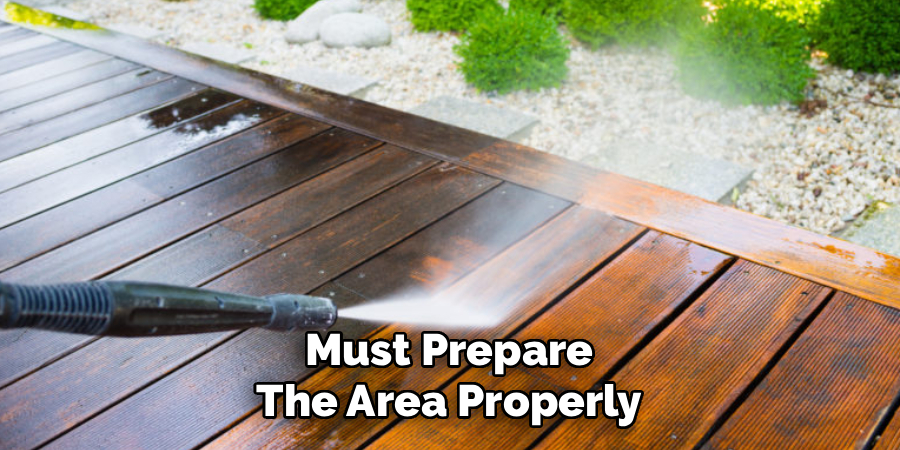
Step 4: Mix a Gentle Cleaning Solution in a Bucket
Now you need to prepare your cleaning mixture. Fill a large plastic bucket with warm water, as warmer temperatures help dissolve grime faster than cold water. You can purchase a specialized commercial deck cleaner from your local hardware store, or simply use mild liquid dish soap for an eco-friendly alternative. Oxygen bleach is another fantastic, garden-safe option that effectively tackles stubborn algae without introducing toxic chemicals to your backyard ecosystem. Avoid using harsh chlorine bleach, as it can strip the natural color from your timber and severely damage the surrounding grass. Stir the mixture gently until suds begin to form on the surface.
Step 5: Using a Stiff Brush
The secret to success lies entirely in your choice of scrubbing tool. You will need a high-quality deck brush featuring stiff synthetic bristles attached to a long, sturdy wooden handle. The long handle is an absolute necessity because it saves your back and knees from uncomfortable strain during the manual labor. Never use a wire brush or metal bristles, as these harsh materials will aggressively scratch the timber and leave behind microscopic metal fragments that eventually rust. A synthetic bristle brush provides the perfect balance of firm friction and gentle care, allowing you to lift stubborn stains without damaging delicate wood fibers.
Step 6: Scrub the Decking Boards in Small Sections
Dip your stiff-bristled brush into the warm cleaning solution and begin applying it to the wet boards. Work in small, manageable sections, roughly measuring three feet by three feet, so the soapy mixture does not dry out before you finish. Always scrub parallel to the natural grain of the wood. Scrubbing against the grain is less effective and can leave unsightly scratch marks across the surface. Apply firm, consistent downward pressure to lift away the ingrained dirt, algae, and gray oxidation. You will immediately notice the suds turning brown or green as the hidden grime is successfully pulled from the textured surface.
Step 7: Let the Cleaning Solution Rest on the Wood
After you have thoroughly scrubbed a section, do not rinse it away immediately. Allow the soapy solution to sit on the timber surface for about ten to fifteen minutes. This brief resting period is incredibly important because it gives the active cleaning agents enough time to break down molecular bonds in stubborn mildew and deep-set organic stains. Monitor the area closely while it rests to ensure the hot sun does not evaporate the moisture. If the boards begin to look dry, simply mist them lightly with your garden hose to keep the chemical reaction active and prevent soapy residue from baking into the wood.

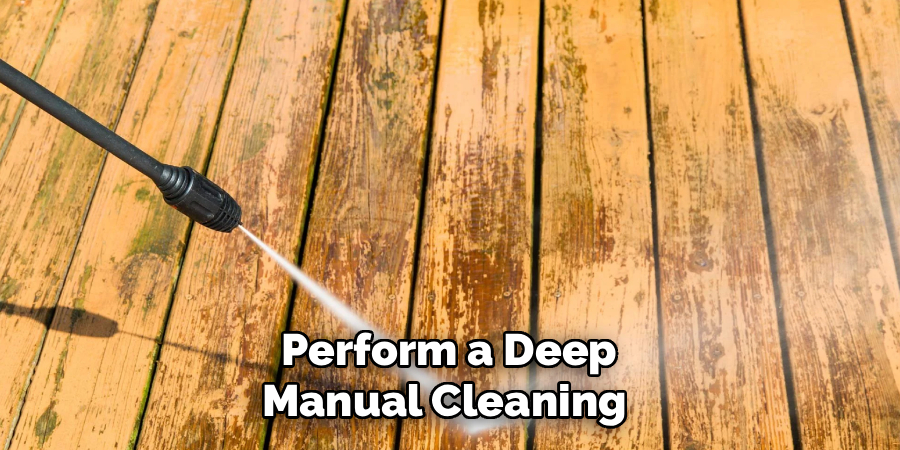
Step 8: Rinse the Deck Thoroughly With Fresh Water
Once the resting period is complete, grab your garden hose again to wash away the murky residue. Starting from the highest point or the section closest to your house, spray the boards systematically to push the dirty water toward the lawn or drainage area. Use a sweeping motion with the hose nozzle to ensure absolutely no soapy film remains trapped in the grooves or between the planks. Leftover cleaning solution can dry into a sticky, white film that attracts new dirt even faster. Continue rinsing until the runoff water flows completely clear and your boards look vibrantly refreshed.
Step 9: Allow the Wood to Dry Completely
The final step requires nothing but patience. You must allow the timber to dry completely under the natural warmth of the sun and gentle outdoor breezes. This drying process typically takes anywhere from twenty-four to forty-eight hours, depending heavily on your local humidity levels and weather conditions. Avoid walking on the damp boards, as wet wood is easily scuffed by muddy shoes. Furthermore, you must never attempt to apply a new layer of protective stain, oil, or waterproof sealant until the internal moisture has completely evaporated. Sealing damp wood traps water inside, inevitably leading to internal rot and structural decay.
Frequently Asked Question
Can I Use Household Vinegar To Clean My Deck?
Yes, plain white vinegar is an excellent, eco-friendly option for treating localized patches of mildew.
- Mix equal parts warm water and white vinegar in a spray bottle.
- Spray directly onto the affected areas and let it sit for twenty minutes.
- Scrub the spot gently with a soft brush before rinsing.
Vinegar is highly acidic, making it a wonderful natural alternative to harsh chemicals that remains incredibly safe for most garden plants.
How Often Should I Clean My Outdoor Wood?
For optimal maintenance, you should perform a deep manual cleaning at least once a year. The best times are usually early spring or late autumn.
- Spring cleaning removes winter grime and prepares the space for summer enjoyment.
- Autumn cleaning removes fallen leaves before they decompose under winter snow.
In addition to this annual deep wash, regular sweeping every couple of weeks will prevent organic debris from building up and staining the timber unnecessarily.
Will Dish Soap Harm My Garden Plants?
Standard, mild liquid dish soap is generally safe for surrounding landscaping when heavily diluted. However, highly concentrated soapy runoff can sometimes coat leaves and interfere with plant respiration.
- Always pre-soak your flower beds with fresh water before starting.
- Use the minimum amount of soap necessary to create suds.
- Rinse the garden beds thoroughly after you finish washing the boards.
Choosing a biodegradable, eco-friendly soap brand offers the highest level of protection for your beloved backyard ecosystem.
What Is The Best Way To Remove Algae Safely?
Algae thrives in damp, shaded environments and makes wooden surfaces incredibly slippery. Oxygen bleach (sodium percarbonate) is the most effective and safe treatment.
- Dissolve the oxygen bleach powder in hot water according to the package instructions.
- Apply it to the green patches and let it bubble for fifteen minutes.
- Scrub away the dead algae with a stiff brush.
Unlike chlorine bleach, oxygen bleach breaks down into water and oxygen, posing zero threat to your lawn, soil, or surrounding plants.
Do I Need To Seal The Wood After Washing?
While sealing is not strictly required immediately after every wash, it is highly recommended if your previous protective coating has worn away.
- Cleaning removes surface dirt but also strips away microscopic layers of old oil.
- Wait at least forty-eight hours for the timber to dry entirely.
- Apply a high-quality penetrating oil or water-repellent sealant.
Sealing the freshly washed boards nourishes the wood fibers, restores rich color, and provides a crucial barrier against future UV damage and moisture penetration.
Conclusion
Maintaining a stunning outdoor oasis does not require renting heavy, aggressive machinery. By taking a more thoughtful, manual approach, you preserve the structural integrity of your timber and protect the surrounding garden environment you work so hard to cultivate. We have covered the importance of sweeping away loose debris, utilizing a gentle cleaning solution, and relying on a sturdy stiff-bristled brush to safely lift away stubborn grime. These straightforward steps ensure your outdoor living space remains safe, vibrant, and welcoming all season long.
Do not let a little winter weathering intimidate you or push you toward damaging cleaning shortcuts. Grab your garden hose, a bucket of warm soapy water, and a long-handled brush, and head outside this weekend. By putting this method into practice, you will quickly discover that mastering how to clean wooden decking without pressure washer is an incredibly rewarding and satisfying garden chore. Your delicate wood fibers will thank you, your surrounding flower beds will thrive, and you will be left with a beautiful, pristine patio that is perfectly prepared for your next summer gathering.