 (1)")

Over time, the beautiful wooden accents in your house can lose their original luster. Sun damage, accidental scratches, and everyday wear and tear often leave baseboards, window casings, and crown molding looking incredibly tired. You might assume that tearing everything out and replacing it is the only viable solution to update your space. However, you can save a significant amount of money and restore that beautiful, natural character with just a bit of effort and the right approach. If you are wondering how to restain wood trim, you have absolutely come to the right place.
This comprehensive guide will walk you through the entire restoration process, starting from initial room preparation all the way to applying the final protective coat. We will break down professional finishing techniques into simple, manageable steps so you can achieve a flawless, smooth result without feeling overwhelmed. Grab your safety gear, roll up your sleeves, and get ready to transform your living space with a gorgeous new finish.
Why Restain Your Wood Trim
Choosing to restore your existing woodwork offers incredible benefits that go far beyond basic aesthetics. First and foremost, updating your baseboards and window casings can dramatically elevate the entire atmosphere of a room. A fresh, rich color brings warmth and elegance, making spaces feel newly renovated without the massive price tag of a full remodel. You preserve the historical charm and intricate details of your home, which is especially important if you live in an older property with custom millwork that is nearly impossible to replicate today.
Financially, stripping and refinishing your existing woodwork is highly cost-effective. Solid wood materials are expensive, and hiring contractors to remove old materials, measure, cut, and install new boards can quickly deplete your renovation budget. By putting in the effort to do it yourself, you only pay for materials like sandpaper, chemical strippers, and the color finish itself.
Step by Steps Guides on How to Restain Wood Trim
Step 1: Gather Your Supplies and Prepare the Area
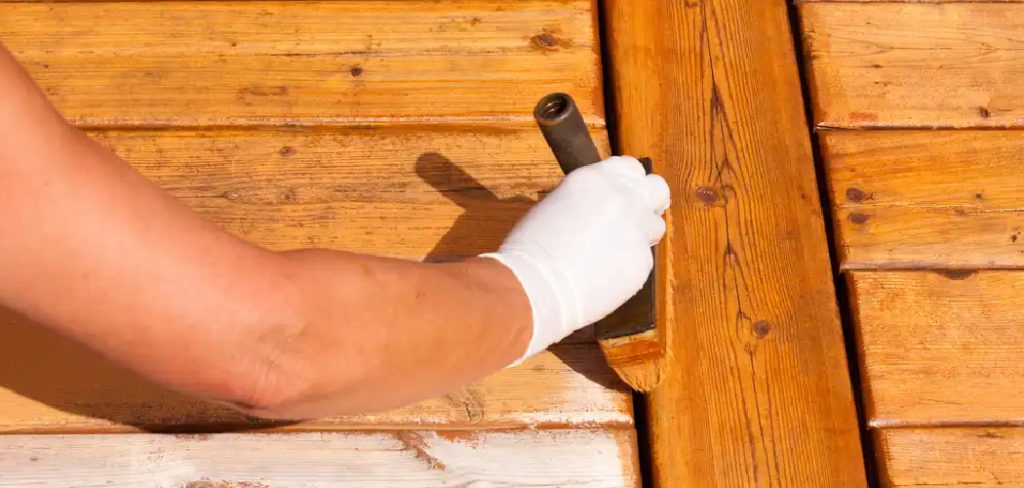
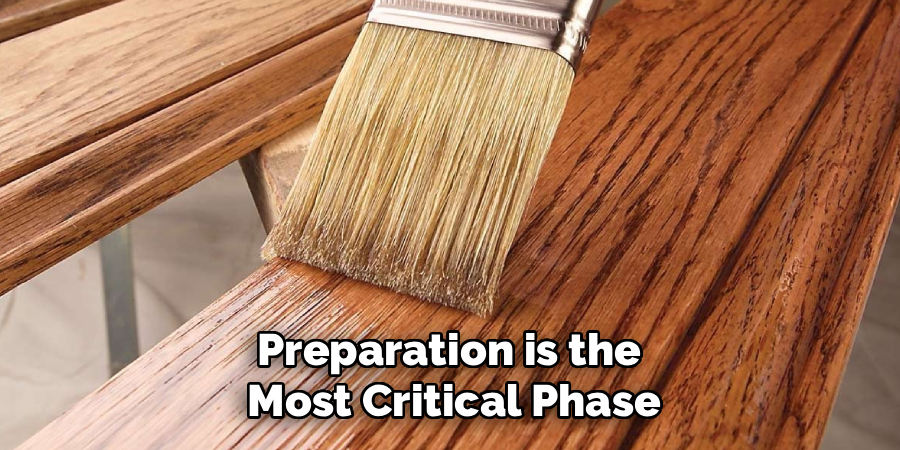
Preparation is the most critical phase of any home improvement project, especially when dealing with liquid chemicals and pigments. Begin by clearing the room of small furniture, rugs, and any decorative items that might get damaged. You need to protect your floors meticulously, so lay down heavy-duty canvas drop cloths rather than plastic, as canvas absorbs spills instead of letting them puddle.
Tape the edges of the drop cloth right up against the baseboards using high-quality painter’s tape to ensure the floor is completely shielded. You should also tape the walls just above the boards to prevent accidental smudges on your drywall or wallpaper. Always open your windows and set up a box fan to ensure you have proper ventilation before opening any chemical products.
Step 2: Clean the Wooden Surfaces Thoroughly
Before you can even think about removing the existing finish, you must start with a completely clean surface. Baseboards and door frames collect a massive amount of dust, pet hair, dirt, and oily residues over the years. Mix a solution of warm water and a mild grease-cutting dish soap in a bucket.
Dip a soft sponge or rag into the soapy water, wring it out until it is merely damp, and aggressively scrub the wooden surfaces. Pay special attention to the deep grooves and crevices in decorative molding, as dirt loves to hide in these tight spaces. Once you have scrubbed everything, go over the woodwork one more time with a clean, damp cloth to rinse away any lingering soap residue, and let the wood dry completely.
Step 3: Apply a Chemical Finish Stripper
To change the color of your woodwork, you must completely remove the old varnish and pigment. Put on heavy-duty chemical-resistant gloves, a long-sleeved shirt, and safety goggles to protect your skin and eyes. Using a cheap, disposable paintbrush, brush a thick, even layer of chemical wood stripper onto the surface.
Brush in one direction and avoid overworking the gel, as it needs a thick coat to penetrate effectively. You will notice the old layers of varnish begin to bubble, wrinkle, and lift away from the surface within fifteen to thirty minutes. Always refer to the manufacturer’s specific instructions on the back of the can, as dwell times vary greatly depending on the brand and the strength of the formula you purchased.
Step 4: Scrape and Wipe Down the Residue
Once the old finish has bubbled up and softened, it is time to remove the sludge. Take a plastic putty knife—never use metal, as it will gouge the soft material—and gently scrape the gooey residue off the flat sections, wiping the excess into a disposable cardboard box. For the intricate curves and corners, use a specialized contour scraper or a stiff nylon brush to dig the old finish out of the grooves.
Learning how to restain wood trim requires immense patience during this specific step, as you may need to apply a second coat of stripper for particularly stubborn areas. After scraping, wipe the entire surface down with mineral spirits and a coarse steel wool pad to dissolve any leftover chemical residue and neutralize the surface.
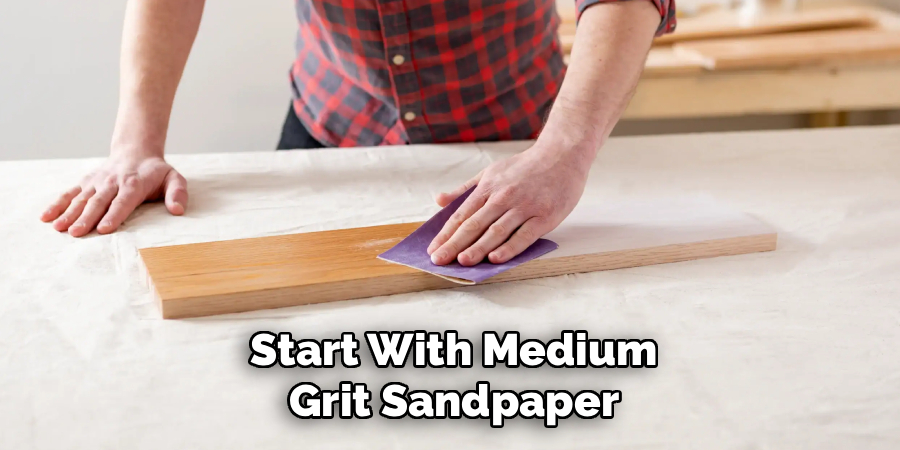
Step 5: Sand the Trim for a Smooth Canvas
With the old finish completely gone, you must smooth out the natural grain before applying new color. Start with medium-grit sandpaper, around 120-grit, to buff away any remaining stubborn spots of old varnish and to smooth out raised fibers. Always rub in the same direction as the natural grain to avoid creating ugly cross-grain scratches that will become glaringly obvious later. Once the entire surface feels uniform, switch to a finer 220-grit sandpaper for a final pass.
This fine sanding closes the pores slightly and creates a perfectly smooth, glass-like canvas. After sanding, use a vacuum with a brush attachment to remove the bulk of the dust, and follow up by wiping the area with a sticky tack cloth to capture every last microscopic particle.
Step 6: Apply a Pre-Stain Wood Conditioner
Many DIYers skip this crucial phase, but conditioning is the secret to achieving a professional-looking result. Softwoods like pine, which are frequently used for interior molding, absorb liquid unevenly, leading to a blotchy, messy appearance. Open a can of pre-stain wood conditioner and apply a generous coat using a clean cloth or a foam brush.
Allow the liquid to soak into the grain for about ten to fifteen minutes, monitoring it to see where it absorbs quickly. After the dwell time has passed, take a clean, dry rag and aggressively wipe away any excess liquid pooling on the surface. You must proceed to the next step within two hours of applying the conditioner, so only condition the sections you are ready to color immediately.
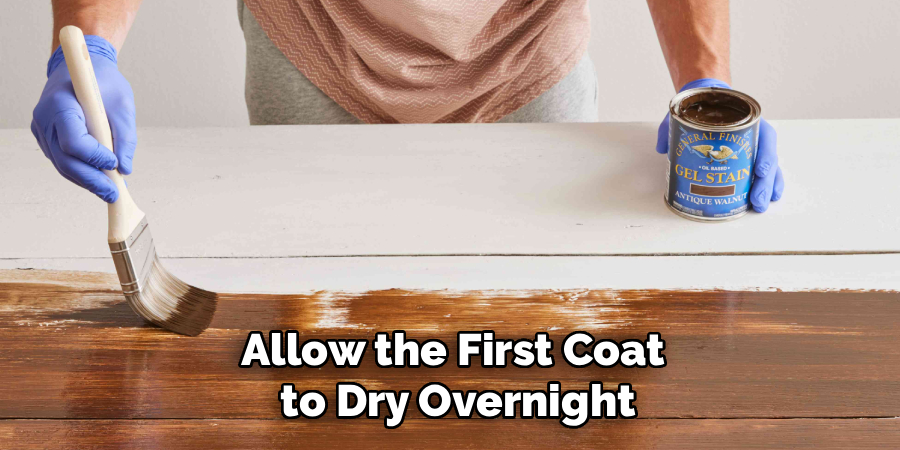
Step 7: Apply Your Chosen Wood Stain
Now you are finally ready to bring rich color back into your room. Stir your can of pigment thoroughly with a wooden stick, ensuring you pull up all the settled colorant from the bottom of the tin. Dip a lint-free cloth or a natural bristle brush into the liquid and wipe it onto the surface, working in small, manageable sections of about two to three feet at a time. Let the liquid sit for three to five minutes; the longer you leave it, the deeper and darker the final color will become.
Use a fresh, dry cloth to firmly wipe away all the excess pigment, rubbing with the grain to push the color deep into the pores. Allow the first coat to dry overnight before deciding if you need a second coat for a darker hue.
Frequently Asked Questions
Do I Need to Remove the Trim From the Wall to Stain It?
You do not necessarily have to remove the molding from the wall, but doing so has distinct pros and cons.
- Leaving it in place saves you from risking damage to the drywall and dealing with pry bars.
- However, working on your hands and knees to sand and brush baseboards can be physically exhausting.
- If you leave it on the wall, you must tape off the surrounding areas meticulously to prevent accidental chemical spills or dark smudges on your paint.
What is the Best Type of Stain for Baseboards and Casings?
The best option largely depends on your specific goals and skill level.
- Oil-based options provide the richest, most traditional color and give you plenty of working time before they dry.
- Water-based options dry incredibly fast, emit very low odors, and clean up easily with soap and water, making them great for occupied homes.
- Gel options sit on top of the surface rather than soaking in deeply, which is fantastic for preventing blotchiness on softwoods like pine.
How Long Does the Entire Staining Process Take?
This is a multi-day project due to the necessary drying times between various chemical applications.
- Stripping, cleaning, and sanding an average-sized room usually takes a full weekend of active labor.
- Applying the conditioner and the color takes another few hours, followed by an overnight drying period.
- Finally, applying two protective topcoats with drying time in between requires at least another twenty-four hours to ensure the surface cures properly.
Can I Stain Over Old Varnish Without Stripping It First?
Traditional liquid pigments must penetrate the actual fibers of the material to work correctly.
- If you try to wipe standard liquid color over an old, glossy varnish, it will simply pool on the surface and wipe right off without changing the color.
- If you desperately want to skip stripping, you must use a specialized gel formula or a combination polish product that is explicitly designed to sit on top of existing finishes.

How Do I Fix Blotchy or Uneven Color on My Woodwork?
Blotchiness usually happens when softwoods absorb liquids at different rates across the grain.
- If the surface is already dry and blotchy, you will unfortunately need to sand the area back down to bare material to fix it.
- To prevent this frustrating issue from happening in the first place, always utilize a high-quality pre-stain conditioner before applying your color.
- Wiping away excess pigment immediately and consistently also helps ensure an even, uniform appearance.
Conclusion
Restoring the wooden accents in your house is a phenomenal way to breathe fresh life into your interior design without undertaking a massive remodeling project. By taking the time to properly strip away the old finish, carefully smooth the surface, and methodically apply your new color and topcoat, you guarantee a professional, long-lasting result. The process requires a good amount of elbow grease and patience, but the beautiful, rich warmth it brings to your living space is entirely worth the effort. Now that you understand how to restain wood trim, you can confidently tackle this rewarding weekend project and take pride in your beautifully transformed home.
About
Mike May is a distinguished figure in the world of woodworking and timber design, with a decade of expertise creating innovative and sustainable indoor solutions. His professional focus lies in merging traditional craftsmanship with modern manufacturing techniques, fostering designs that are both practical and environmentally conscious. As the author of Woodimber, Mike delves into the art and science of timber-craft, inspiring artisans and industry professionals alike.
Education
RMIT University (Melbourne, Australia)
-
Associate Degree in Design (Timber): Focus on sustainable design, industry-driven projects, and practical craftsmanship.
-
Gained hands-on experience with traditional and digital manufacturing tools, such as CAD and CNC software.
Nottingham Trent University (United Kingdom)
-
Bachelor’s in Woodworking and Product Design (Honors): Specialized in product design with a focus on blending creativity with production techniques.
-
Participated in industry projects, working with companies like John Lewis and Vitsoe to gain real-world insights.
Publications and Impact
In Woodimber, May shares his insights on timber design processes, materials, and strategies for efficient production. His writing bridges the gap between artisan knowledge and modern industry needs, making it a must-read for both budding designers and seasoned professionals.