

As a home gardener, you understand the deep satisfaction of a true garden-to-table lifestyle. You spend months nurturing heirloom tomatoes, crisp greens, and fragrant herbs in your backyard soil. When it comes time to harvest, prepare, and serve those homegrown meals, natural materials just feel right in your hands. Hand-carved spatulas, heavy cutting boards, and smooth salad tossers bridge the gap between your outdoor garden and your indoor kitchen.
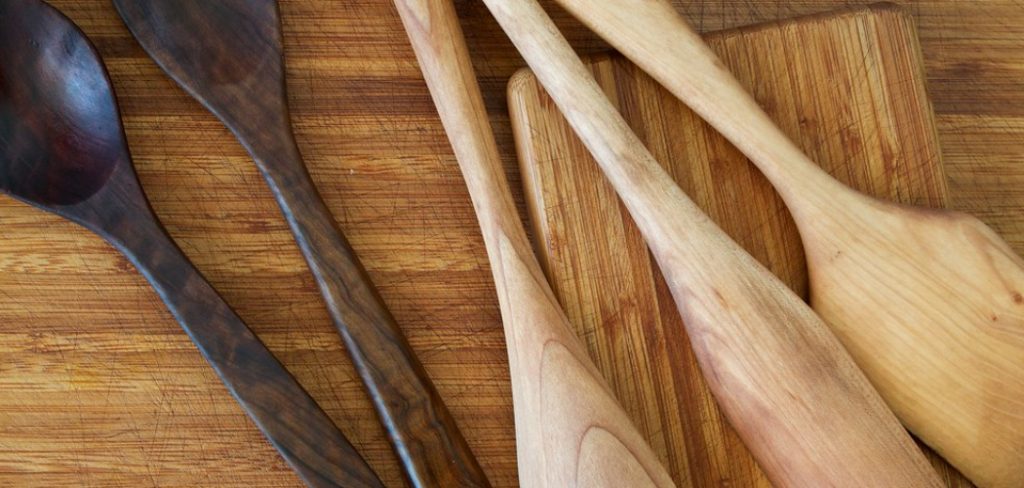
However, just like your favorite pruning shears or garden trowels, these natural culinary tools require routine maintenance to stay in pristine condition. Dry indoor air, frequent washing, and acidic plant juices can quickly strip away their protective barriers, leading to cracks or splinters. If you want to keep your favorite spatulas looking beautiful for years to come, learning exactly how to oil wooden utensils is absolutely essential. This simple, satisfying chore ensures your natural kitchen gear remains strong, smooth, and ready to stir your next batch of homemade garden vegetable soup.
Why Maintaining Wooden Kitchen Tools Matters
Taking care of the items that touch your food is just as important as taking care of the soil that grows it. Wood is a porous, organic material that naturally expands and contracts with moisture. When you stir a simmering pot of tomato sauce or toss a freshly picked garden salad, the fibers absorb hot water, acidic juices, and natural food pigments. Over time, frequent washing with harsh dish soap strips away the natural moisture trapped inside the grain.
When this organic material dries out completely, it becomes brittle. Tiny micro-fissures begin to form along the handle and the bowl of the spoon. These microscopic cracks are not just a cosmetic issue; they create hidden pockets where leftover food particles and harmful bacteria can hide and multiply. By establishing a consistent maintenance routine, you actively replenish that lost moisture. A well-maintained surface repels water, resists deep food stains, and prevents stubborn bacteria from taking root. Ultimately, dedicating a few minutes a month to conditioning your gear saves you money, protects your family’s health, and honors the natural materials that make cooking homegrown meals so deeply rewarding.
8 Step-by-Step Guide on How to Oil Wooden Utensils
Step 1: Gather the Right Conditioning Supplies
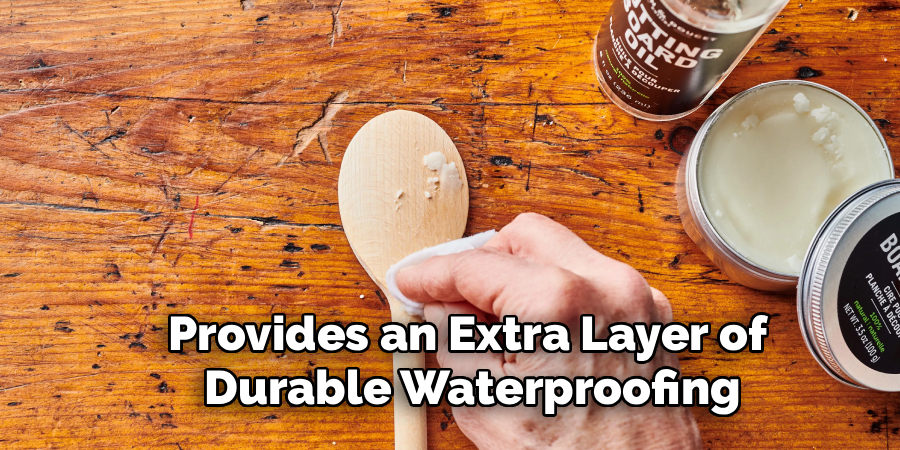
Before you begin restoring your culinary gear, you need to assemble a few basic supplies on your kitchen counter. You will need a soft, clean microfiber cloth or a small stack of heavy-duty paper towels to apply the protective coating. More importantly, you must select a food-safe conditioning product. Food-grade mineral oil is widely considered the industry standard because it will never turn rancid or impart strange flavors to your homegrown meals. Alternatively, many culinary enthusiasts prefer a specialized butter or wax blend containing beeswax, which provides an extra layer of durable waterproofing. Avoid using standard cooking pantry staples, as they degrade quickly at room temperature.
Step 2: Wash the Tools With Gentle Soap
The restoration process must always begin with a completely clean surface. Gather all the mixing spoons, spatulas, and salad tossers you used to prepare your garden vegetables earlier in the week. Bring them to your kitchen sink and wash them thoroughly using hot water and a few drops of mild, unscented dish detergent. Use a soft sponge or a gentle nylon brush to scrub away any dried-on food particles or sticky plant sap. You want to avoid using harsh abrasive scouring pads, as these will aggressively scratch the delicate exterior grain and cause unnecessary damage to your favorite kitchen implements.
Step 3: Sanitize Deep Stains Using Lemon and Salt
If you frequently use your spatulas to stir rich, dark recipes like blackberry jam or roasted beet preserves, you might notice some stubborn discoloration. You can naturally lift these deep stains and neutralize lingering odors using a simple trick. Sprinkle a generous pinch of coarse kosher salt directly over the stained area. Cut a fresh lemon in half and use the exposed fruit to vigorously scrub the salt across the affected surface. The mild acidity of the citrus juice combined with the gentle abrasive texture of the salt safely lifts trapped pigments and leaves your gear smelling incredibly fresh and clean.
Step 4: Allow the Items to Dry Completely
Moisture is the absolute enemy of the conditioning process, so exercising patience during this phase is critically important. After washing and sanitizing your gear, rinse off all the residual soap and lemon juice under warm running water. Use a clean cotton kitchen towel to aggressively pat the items dry, absorbing as much surface water as humanly possible. Next, stand the items upright in a tall glass jar or lay them flat across an elevated wire baking rack. You must allow them to air dry overnight until they are completely bone dry to the touch, ensuring no trapped water blocks the incoming hydration.
Step 5: Smooth Out Rough Spots With Sandpaper
Wood grain occasionally raises and feels slightly fuzzy after being exposed to hot water and citrus juices. If you notice the handles or the stirring edges feeling rough or splintery against your hands, a quick sanding session will easily resolve the issue. Tear off a small square of fine-grit sandpaper, ideally around two hundred and twenty grit. Gently rub the abrasive paper back and forth along the raised grain, following the natural directional lines of the fibers. This brief polishing action restores a buttery smooth texture to the surface, making the gear incredibly pleasant to hold during your next cooking session.

Step 6: Apply the Protective Oil Liberally
Now that your items are perfectly clean, dry, and smooth, it is time for the main event. Pour a generous spoonful of your chosen food-safe conditioner directly onto your soft microfiber cloth. Grip the handle of your spatula and begin rubbing the cloth firmly into the surface. Work the moisture deeply into every curve, making sure to coat the handle, the stirring edge, and any intricate carved details. When figuring out how to oil wooden utensils properly, remember that the material will eagerly drink up the hydration. Do not be afraid to apply a heavy, glossy layer across the entire piece.
Step 7: Let the Conditioner Soak Into the Grain
Applying the protective layer is only half the battle; the wood needs adequate time to fully absorb the nourishing hydration. Once you have heavily coated every single spatula, spoon, and tossing fork in your collection, place them back onto your elevated wire baking rack. Leave them sitting undisturbed in a well-ventilated area of your kitchen for at least twenty to thirty minutes. Some gardeners prefer to leave the coated tools sitting out overnight to guarantee maximum absorption. During this resting period, the thirsty fibers pull the hydration deep beneath the surface, strengthening the internal cellular structure against future moisture loss.
Step 8: Buff Away the Excess Moisture
The final step brings out a gorgeous, healthy sheen that beautifully highlights the natural swirling patterns of the grain. After the items have rested out on the counter, take a brand new, completely dry microfiber cloth or a fresh paper towel. Vigorously rub down every single piece of gear, intentionally wiping away any lingering wet patches or sticky residue sitting on the exterior. Keep buffing the surface until the piece feels perfectly smooth and dry in your hands, rather than greasy or slick. Your fully restored culinary gear is now ready to safely mix, toss, and serve your homegrown harvests.
Frequently Asked Questions
What Is the Best Oil to Use for Kitchen Wood?
Food-grade mineral oil is widely considered the absolute best choice for treating culinary wood products. It is a highly refined, petroleum-based product that is entirely safe for human consumption.

- It is completely odorless and tasteless.
- It will never turn rancid or spoil over time.
- It is incredibly affordable and easy to find at most local pharmacies or hardware stores.
If you prefer a natural alternative, a specialized beeswax and fractionated coconut oil blend offers fantastic, long-lasting waterproof protection.
Can I Use Olive Oil or Vegetable Oil?
You should never use standard pantry staples like olive oil, vegetable oil, canola oil, or standard coconut oil to treat your culinary gear. While these products are wonderfully healthy for cooking your garden vegetables, they are chemically unstable when exposed to room temperatures for extended periods.
- These cooking fats will eventually oxidize and turn rancid.
- They create a sticky, gummy residue on the surface.
- They can impart terrible, bitter flavors into your future meals.
How Often Should I Condition My Spoons?
The frequency of your maintenance routine largely depends on how often you cook and wash your gear. As a general rule of thumb for enthusiastic home chefs, treating your gear once a month is usually sufficient.
- Watch for visual cues: if the wood looks chalky, pale, or dull, it is thirsty.
- Feel for texture changes: if the handle feels rough or dry, it requires immediate hydration.
During dry winter months, you might need to increase your conditioning schedule to twice a month.
Why Do My Spatulas Feel Fuzzy After Washing?
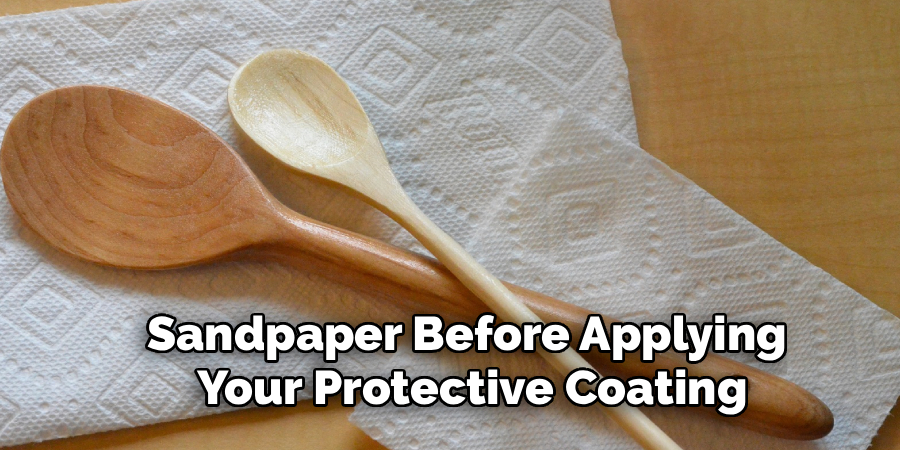
When natural wood is submerged in water, the microscopic internal fibers absorb the moisture and swell up. As the material dries, those swollen fibers remain standing upright, creating a rough, slightly fuzzy texture across the surface. This is a completely natural reaction, especially for brand new, factory-finished items. You can easily fix this raised grain by lightly rubbing the fuzzy areas with a piece of fine-grit sandpaper before applying your protective coating to restore a perfectly smooth finish.
Is It Safe to Put Wood in the Dishwasher?
You must absolutely never put natural wood products inside a mechanical dishwasher. The extreme conditions inside the machine will quickly destroy even the highest quality culinary gear.
- The prolonged exposure to scalding hot water warps and bends the material.
- The intense heat drying cycle causes severe, irreparable cracking and splitting.
- The harsh, abrasive chemical detergents strip away all natural protective barriers.
Always take the extra few minutes to gently hand wash your items in the sink to guarantee their longevity.
Conclusion
Maintaining the beautiful tools you use to prepare your homegrown harvests is a deeply rewarding extension of the gardening lifestyle. By treating your gear with care and respect, you honor the natural world and ensure your culinary space remains safe, sanitary, and highly functional. A few minutes of monthly maintenance prevents dangerous bacteria from hiding in microscopic cracks and keeps your favorite stirring spoons from drying out and splintering under pressure.
Do not let your beautiful hand-carved items slowly degrade from constant washing and daily use. Grab a bottle of food-safe conditioner, set aside some quiet time this weekend, and give your culinary collection the deep hydration it desperately needs. Now that you fully understand how to oil wooden utensils, you are perfectly equipped to protect these essential tools for decades to come. Keep up with this simple maintenance routine, and your gear will always be ready to help you turn your fresh garden vegetables into magnificent, healthy meals for your family.

About
Mike May is a distinguished figure in the world of woodworking and timber design, with a decade of expertise creating innovative and sustainable indoor solutions. His professional focus lies in merging traditional craftsmanship with modern manufacturing techniques, fostering designs that are both practical and environmentally conscious. As the author of Woodimber, Mike delves into the art and science of timber-craft, inspiring artisans and industry professionals alike.
Education
RMIT University (Melbourne, Australia)
-
Associate Degree in Design (Timber): Focus on sustainable design, industry-driven projects, and practical craftsmanship.
-
Gained hands-on experience with traditional and digital manufacturing tools, such as CAD and CNC software.
Nottingham Trent University (United Kingdom)
-
Bachelor’s in Woodworking and Product Design (Honors): Specialized in product design with a focus on blending creativity with production techniques.
-
Participated in industry projects, working with companies like John Lewis and Vitsoe to gain real-world insights.
Publications and Impact
In Woodimber, May shares his insights on timber design processes, materials, and strategies for efficient production. His writing bridges the gap between artisan knowledge and modern industry needs, making it a must-read for both budding designers and seasoned professionals.