

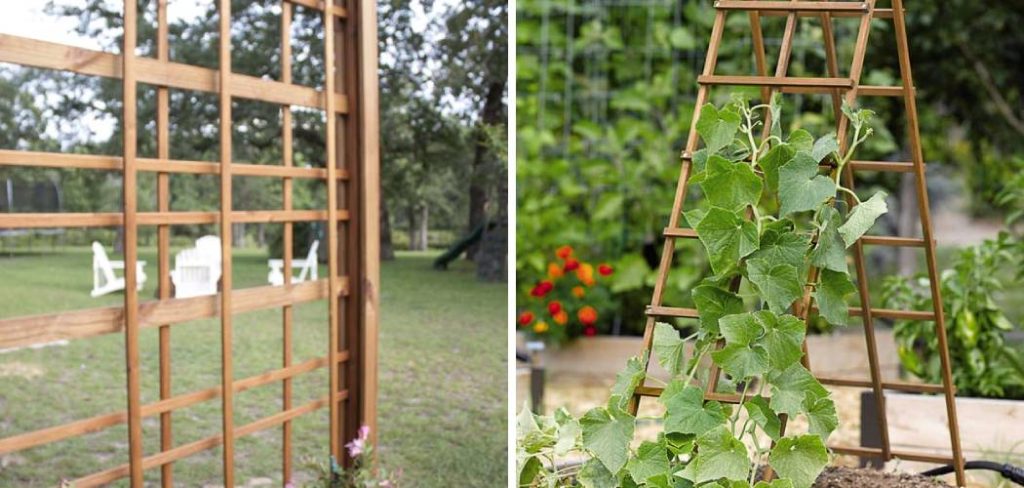
A wooden trellis can transform any garden, patio, or wall into a vibrant, living work of art. It provides essential support for climbing plants, allowing them to grow vertically and create a stunning display of foliage and flowers.
Beyond its practical function, a well-crafted trellis adds structure, dimension, and rustic charm to your outdoor space. Building one yourself is a rewarding project that allows you to customize the size, design, and finish to perfectly match your home’s aesthetic.
This comprehensive guide on how to make wooden trellis will walk you through everything you need to know. We will explore the benefits of adding a trellis to your garden, list all the necessary materials and tools, and provide a detailed 10-step process for building your own.
What Will You Need?
Before you begin, gathering all your tools and materials will make the building process smooth and efficient. Here is a complete list of what you’ll need to construct a standard 4×6-foot garden trellis.
Materials:
- Frame: Four (4) pieces of 2×2 lumber, each 6 feet long (for the vertical uprights).
- Frame: Four (4) pieces of 2×2 lumber, each 4 feet long (for the horizontal cross-pieces).
- Lattice Strips: Ten (10) pieces of 1×2 lumber, each 6 feet long (for the vertical lattice).
- Lattice Strips: Seven (7) pieces of 1×2 lumber, each 4 feet long (for the horizontal lattice).
- Fasteners: 2.5-inch weather-resistant deck screws (for assembling the main frame).
- Fasteners: 1.25-inch weather-resistant deck screws or a pneumatic nailer with 1.25-inch brad nails (for attaching the lattice strips).
- Wood Glue: Exterior-grade waterproof wood glue.
- Finishing: Sandpaper (medium-grit, around 120-150).
- Finishing: Your choice of exterior-grade wood stain, sealer, or paint and primer.
Tools:
- Measuring & Marking: Tape measure, pencil, carpenter’s square (or speed square).
- Cutting: Miter saw or circular saw (a handsaw can also work but will require more effort and precision).
- Drilling & Driving: Power drill/driver with bits for pre-drilling holes and driving screws.
- Clamping: At least four (4) bar clamps or C-clamps to hold the frame together during assembly.
- Safety Equipment: Safety glasses, gloves, and a dust mask.
- Work Surface: A flat, level surface to work on, such as a workbench, garage floor, or a pair of sawhorses.
10 Easy Steps on How to Make Wooden Trellis
This step-by-step guide will help you build a sturdy and attractive trellis. Follow each instruction carefully for the best results.
Step 1: Prepare Your Lumber
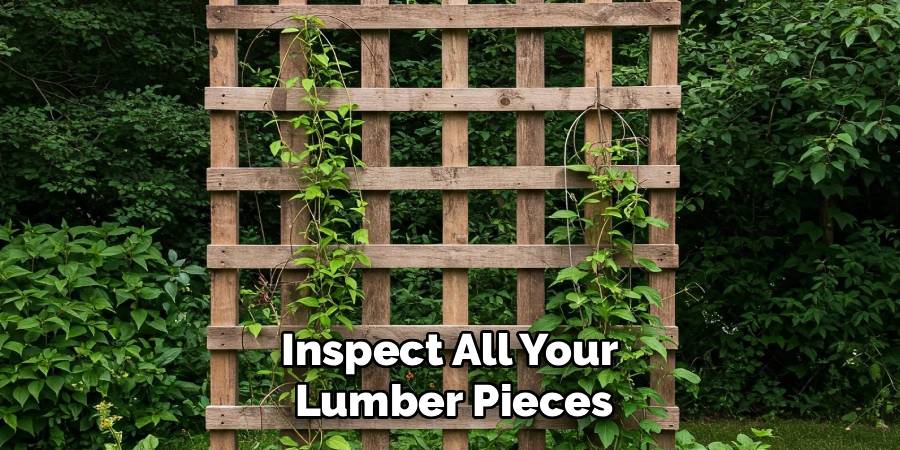
The foundation of a durable trellis is well-prepared wood. Begin by inspecting all your lumber pieces for any significant knots, cracks, or warping. If you find any major imperfections, it’s best to replace those pieces. Next, use your miter saw or circular saw to make precise cuts. Double-check your measurements before each cut.
You should have four 6-foot vertical frame pieces, four 4-foot horizontal frame pieces, ten 6-foot vertical lattice strips, and seven 4-foot horizontal lattice strips. After cutting, use your medium-grit sandpaper to smooth all the cut ends and any rough surfaces on the wood.
Step 2: Assemble the Back Frame
The trellis is constructed with a “sandwich” design for maximum strength, using a back frame and a front frame. Start with the back frame. Lay two of your 6-foot vertical frame pieces on your flat work surface, parallel to each other. Place two of your 4-foot horizontal frame pieces between them, one at the very top and one at the very bottom, to form a large rectangle.
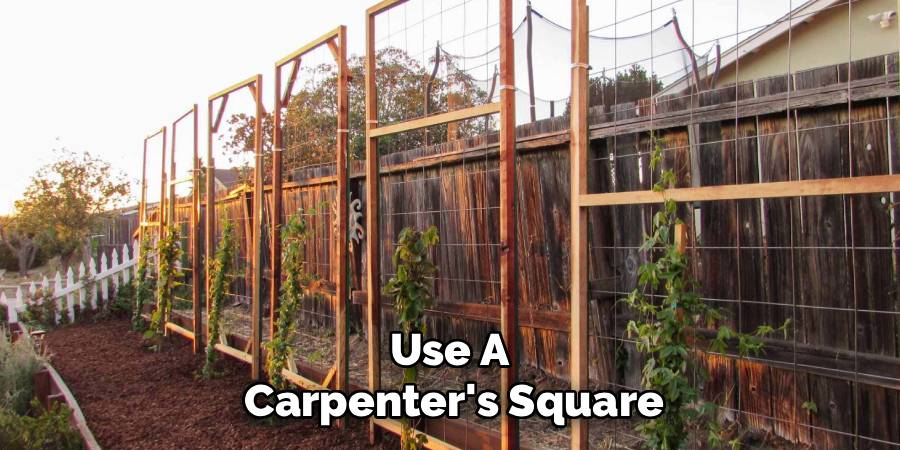
Use a carpenter’s square to ensure all four corners are perfectly 90 degrees. This is a critical step for a professional-looking result. Once you are certain the frame is square, apply a small amount of waterproof wood glue to the ends of the horizontal pieces where they meet the vertical ones. This adds a secondary layer of strength to the joints.
Step 3: Secure the Back Frame
With the back frame still lying flat and confirmed to be square, it’s time to secure the joints. Use clamps to hold the corners tightly together while you work. Using your drill, pre-drill two pilot holes through the outside of the vertical pieces and into the ends of each horizontal piece.
Pre-drilling is essential to prevent the wood from splitting when you drive in the screws. After drilling the pilot holes, drive a 2.5-inch weather-resistant deck screw into each hole. You will use a total of eight screws for the back frame—two for each corner.
Step 4: Attach the Vertical Lattice Strips
Now it’s time to create the grid pattern. Take the ten 6-foot vertical lattice strips (1x2s) and lay them on top of the assembled back frame. Space them out evenly across the 4-foot width. A good method is to place one strip flush against the inside edge of each side of the frame.
Then, measure the remaining distance and divide it by the number of remaining strips to determine the spacing. A gap of approximately 4 to 5 inches between each strip is standard. Use your tape measure to ensure the spacing is consistent at both the top and bottom of the frame.
Step 5: Attach the Horizontal Lattice Strips
With the vertical lattice strips laid in position, you can now add the horizontal ones. Place your seven 4-foot horizontal lattice strips on top of the vertical strips, creating the classic grid pattern. Space them evenly along the 6-foot height. As with the vertical strips, place one at the top and one at the bottom, flush against the inside of the frame.
Then, calculate the spacing for the remaining five strips, which should result in a gap of around 9 to 10 inches between each one. Adjust the strips until you are happy with the visual balance of the grid.
Step 6: Secure the Lattice Grid
Securing the lattice grid is the most time-consuming part of the project, but precision here pays off. At every point where a horizontal strip crosses a vertical strip, you need to fasten them together. If using a pneumatic nailer, drive one 1.25-inch brad nail through the top horizontal strip and into the vertical strip beneath it.
If using screws, pre-drill a small pilot hole first and then drive in a 1.25-inch screw. Work methodically from one corner to the other, ensuring every single intersection is secured. This creates a strong, integrated lattice panel that will not shift or bow over time. This network of fasteners is what gives the trellis its core rigidity.
Step 7: Assemble the Front Frame
The front frame assembly is an exact repeat of Steps 2 and 3. Take your remaining two 6-foot vertical pieces and two 4-foot horizontal pieces. Arrange them into a rectangle on your work surface, using a carpenter’s square to ensure every corner is a perfect 90 degrees.
Apply wood glue to the joints, clamp them securely, and then pre-drill and drive two 2.5-inch screws into each corner. This second frame will sandwich the lattice grid, concealing all the nail or screw heads from the lattice attachment and creating a much cleaner, more professional, and significantly stronger final product.

Step 8: Sandwich the Trellis
This is the final assembly step. Carefully lift your newly assembled front frame and place it directly on top of the lattice grid and back frame. The front frame should align perfectly with the back frame, creating a “sandwich” with the lattice grid neatly tucked in the middle.
The 2×2 lumber from both frames should line up flush on all sides. This design hides all the lattice fasteners and provides a clean, finished look from both the front and the back. Use your clamps to hold the entire assembly—front frame, lattice, and back frame—tightly together. This compression is important for the final securing process.
Step 9: Final Securing of the Assembly
With the entire trellis clamped together, you will now permanently join the front and back frames. This final fastening pass ensures ultimate rigidity and durability. Drive 2.5-inch deck screws through the front frame, the lattice strips, and into the back frame.
Space these screws about 12 inches apart all the way around the perimeter of the frame. Make sure you are driving the screws through the thicker 2×2 frame pieces, not just the thin lattice.
Step 10: Finish and Protect the Wood
The final step is to protect your new trellis from the elements. Move the trellis to a well-ventilated area, like an open garage or outdoor space. Apply your chosen finish according to the manufacturer’s instructions.
If you are painting, start with a high-quality exterior primer followed by at least two coats of exterior paint. If staining, apply the stain evenly and follow up with multiple coats of a waterproof sealer or spar urethane for maximum protection against sun and rain.

Conclusion
Building your own wooden trellis is a highly rewarding project that blends practical woodworking with creative gardening.
By following these steps on how to make wooden trellis, you can construct a durable, beautiful, and custom-sized feature for your outdoor space. You have not only created a support system for your climbing plants but also added a significant architectural element that brings structure, privacy, and charm to your yard.
Remember that proper material selection and careful finishing are the keys to a long-lasting structure that will withstand the elements for years to come. Now that you are equipped with the knowledge and a clear plan, you are ready to start building.

About
Mike May is a distinguished figure in the world of woodworking and timber design, with a decade of expertise creating innovative and sustainable indoor solutions. His professional focus lies in merging traditional craftsmanship with modern manufacturing techniques, fostering designs that are both practical and environmentally conscious. As the author of Woodimber, Mike delves into the art and science of timber-craft, inspiring artisans and industry professionals alike.
Education
RMIT University (Melbourne, Australia)
-
Associate Degree in Design (Timber): Focus on sustainable design, industry-driven projects, and practical craftsmanship.
-
Gained hands-on experience with traditional and digital manufacturing tools, such as CAD and CNC software.
Nottingham Trent University (United Kingdom)
-
Bachelor’s in Woodworking and Product Design (Honors): Specialized in product design with a focus on blending creativity with production techniques.
-
Participated in industry projects, working with companies like John Lewis and Vitsoe to gain real-world insights.
Publications and Impact
In Woodimber, May shares his insights on timber design processes, materials, and strategies for efficient production. His writing bridges the gap between artisan knowledge and modern industry needs, making it a must-read for both budding designers and seasoned professionals.