

Your living room should feel like a cozy retreat, and the fireplace often serves as the natural centerpiece of that space. If your current mantel looks outdated, dark, or simply out of sync with your personal style, a fresh coat of paint can work wonders. You do not need a massive renovation budget to completely transform the energy of your room. Learning how to paint a wooden fireplace is one of the most rewarding and cost-effective do-it-yourself projects you can tackle over a single weekend.
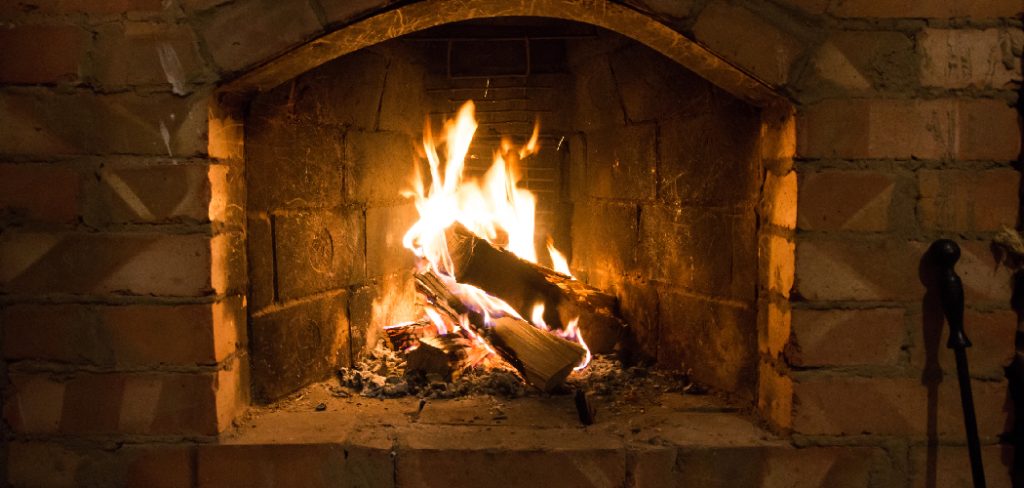
Whether you want a crisp white finish to brighten the area or a bold, moody color to create a striking focal point, the process is straightforward when you have the right approach. This guide will walk you through everything you need to know to achieve a durable, professional-looking finish. We will cover the preparation, the exact steps to follow, and the best techniques to ensure your hard work lasts for years to come. Grab your brushes and get ready to breathe new life into your home decor.
Why You Should Update Your Wooden Mantel
Wood finishes from previous decades can often make a room feel heavy or poorly lit. Over time, natural wood or previously stained mantels can accumulate scratches, fading, and soot stains that detract from the overall beauty of your living space. Updating this architectural feature instantly modernizes your home without the need to tear out the existing structure. It gives you complete creative control over the aesthetic of your room.
A painted mantel also provides an excellent backdrop for your favorite seasonal decorations, family photographs, and art pieces. Lighter colors reflect natural light, making smaller rooms feel significantly larger and more inviting. Conversely, deep charcoal or navy tones add sophisticated drama and draw the eye immediately. Beyond the visual appeal, applying a new coat of quality primer and paint protects the wood from future wear and tear, sealing out moisture and making it much easier to wipe away dust and soot. It is a highly practical upgrade that significantly boosts the interior charm of your house.
Step-by-Step Guide on How to Paint a Wooden Fireplace
Step 1: Gather Your Supplies and Protect the Area
Before you begin brushing on any color, you must properly protect your surrounding space and gather all necessary materials. Start by moving furniture away from the hearth to give yourself plenty of room to maneuver. Lay down a heavy-duty canvas drop cloth over your flooring and secure it with high-quality painter’s tape right at the base of the mantel. You should also tape off the firebox itself and any adjacent walls to prevent accidental splatters or smudges. Having your sandpaper, primer, paint, and brushes organized and within arm’s reach will make the entire process much smoother. Proper preparation is the absolute foundation of any successful painting project, ensuring your living room remains pristine while you work on your upgrade.

Step 2: Clean the Surface Thoroughly
Fireplaces are notorious for collecting stubborn layers of dust, ash, soot, and unseen greasy residues over the years. Paint will never adhere properly to a dirty surface, so you must clean the wood meticulously. Mix a strong degreasing solution, such as trisodium phosphate or a heavy-duty household cleaner, with warm water. Dip a coarse sponge into the mixture and scrub every inch of the wood, paying special attention to detailed crevices, corbels, and the ledge. Once you have scrubbed away the grime, wipe the entire structure down with a clean, damp rag to remove any lingering cleaner residue. Allow the wood to dry completely before moving on to the next phase of your project.
Step 3: Repair Scratches and Gouges
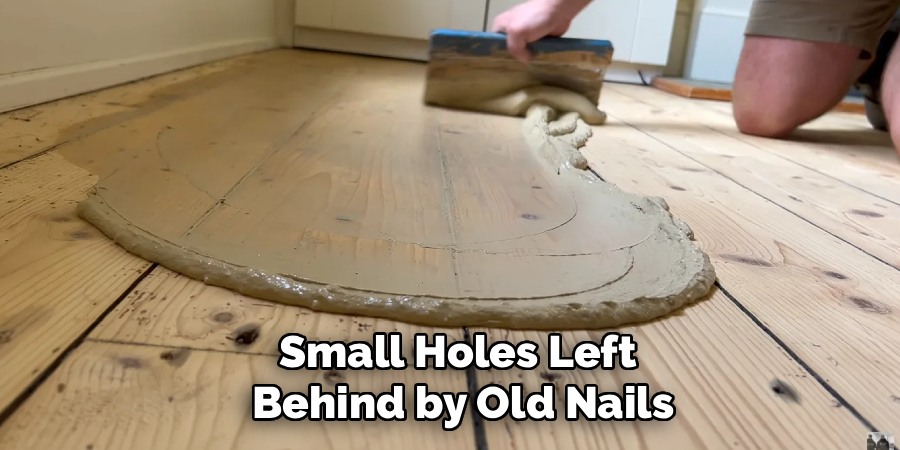
Older mantels frequently show signs of wear, including deep scratches, dents, or small holes left behind by old nails and festive garlands. To achieve a perfectly smooth, modern finish, you need to fill these imperfections before you apply any primer. Take a high-quality wood filler and press it firmly into any gaps or gouges using a flexible putty knife. Smooth the filler out so it sits just slightly higher than the surrounding wood, as it may shrink slightly as it dries. Wait for the filler to harden completely according to the manufacturer’s instructions. Skipping this vital step will leave blemishes that become completely magnified once the fresh, glossy paint is eventually applied to the wood.
Step 4: Sand the Entire Mantel
Sanding is the secret to making sure your new finish bonds securely to the wood. You do not need to strip the existing stain or paint all the way down to the bare wood, but you do need to remove the glossy topcoat to create a dull, textured surface. Take a medium-grit sandpaper, around one hundred and twenty grit, and vigorously rub down every flat surface and curve. For intricate details, you might need to fold the sandpaper or use a specialized sanding sponge to reach into the tight corners. Once the entire surface looks dull and feels slightly rough to the touch, use a vacuum with a brush attachment and a tack cloth to remove all dust.
Step 5: Apply a High-Quality Stain-Blocking Primer
When figuring out how to paint a wooden fireplace successfully, choosing the right primer is crucial. Wood naturally contains tannins that can bleed through your beautiful new topcoat, leaving ugly yellow or brown streaks. Apply a premium stain-blocking primer using a high-quality synthetic brush for the detailed areas and a small foam roller for the larger flat sections. The roller helps prevent visible brush strokes and ensures an even, consistent layer. Allow this first coat of primer to dry completely. If you are making a drastic color change, such as going from dark mahogany to pure white, you will likely need to apply a second coat of primer to fully block the underlying darkness.
Step 6: Sand the Primer for a Flawless Finish
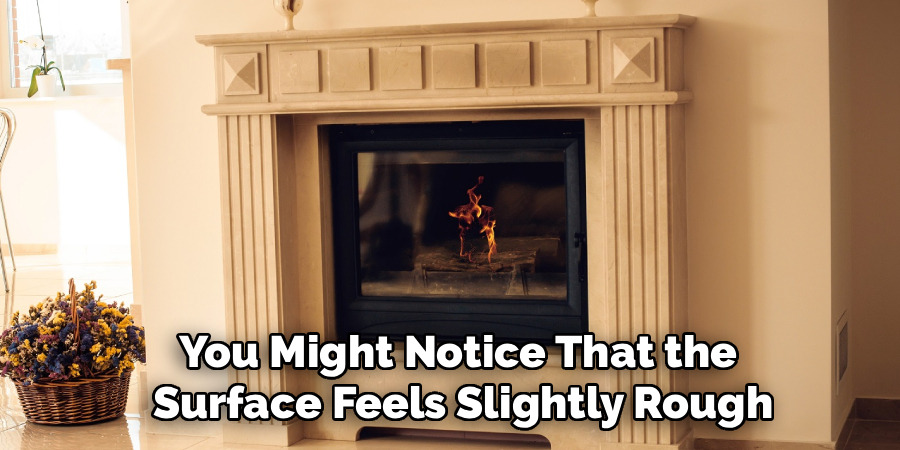
After your final coat of primer has fully dried, you might notice that the surface feels slightly rough. This happens because the moisture in the primer can raise the natural grain of the wood. Take a very fine piece of sandpaper, around two hundred and twenty grit, and lightly run it over the primed areas. You must use a very gentle touch here, as you do not want to sand through the primer and expose the bare wood again. This quick, light sanding will knock down any raised grain or tiny dust bumps, leaving a surface that feels as smooth as glass. Wipe away the resulting dust completely using a fresh tack cloth.
Step 7: Apply the First Coat of Paint
Now comes the most exciting part where you finally see your vision coming to life. Anyone learning how to paint a wooden fireplace should know that multiple thin coats are far superior to a single thick, gloppy layer. Stir your chosen interior trim paint thoroughly before you begin. Dip your angled brush into the paint, wiping the excess off on the rim of the can. Start by cutting in around the intricate moldings, edges, and the area closest to the firebox. Next, use your small foam roller to fill in the larger, flat sections of the mantel. Work quickly to maintain a wet edge, which prevents overlapping marks and lap lines from forming as the paint begins to dry.
Step 8: Add the Final Coat and Remove Tape
Wait for the first coat of paint to dry entirely, which usually takes a few hours depending on the specific brand and the humidity in your room. Once dry, apply your second and final coat of paint using the exact same brushing and rolling techniques. Two coats usually provide perfect, opaque coverage and maximum durability. While the final coat is still slightly tacky to the touch, carefully peel away the painter’s tape at a sharp forty-five-degree angle. Removing the tape before the paint fully cures prevents the dried paint from cracking or peeling off the wall. Let the mantel cure completely for a few days before placing any heavy decor items back on the shelf.
Frequently Asked Question
What Kind Of Paint Is Best For A Wooden Mantel?
For a highly durable surface, you should always choose an interior acrylic enamel or a premium water-based alkyd paint.
- Satin finishes offer a soft, elegant glow.
- Semi-gloss finishes provide excellent durability.
Avoid flat wall paints completely, as they hold onto dust, absorb soot, and are extremely difficult to clean.
Do I Really Need To Sand Before Painting?
Yes, sanding is a mandatory step that you should never skip. It roughens the existing finish, giving your new primer something to grip onto.
- Use medium-grit paper for the first pass.
- Use fine-grit paper between coats.
Failing to sand will cause your new paint to peel and chip rapidly.
Can I Paint Over A Brick Fireplace Surround Too?
You can definitely paint a brick surround to match or contrast with your freshly painted wood.
- Thoroughly clean the brick using a wire brush.
- Apply a specialized masonry primer.
- Use an interior acrylic latex paint.
Painted brick provides a beautifully modern, clean aesthetic that perfectly complements painted wooden mantels.
How Long Should I Wait Before Using The Fireplace?
You must wait for the paint to fully cure before exposing it to intense heat from a fire.
- Drying takes only a few hours.
- Curing takes up to thirty days.
Check your specific paint can for curing times, but waiting at least two weeks is a very safe baseline.
Is A Foam Roller Better Than A Traditional Brush?
Using a combination of both tools yields the best possible results for this specific project.
- Use an angled synthetic brush for cutting into intricate molding.
- Use a high-density foam roller for flat sections.
The foam roller smoothly eliminates visible brush strokes, leaving behind a perfectly flawless, factory-like painted finish.

Conclusion
Transforming your living space does not require a massive budget or weeks of disruptive construction. By taking the time to properly clean, sand, and prime the surface, you guarantee a gorgeous finish that will stand the test of time. Remembering to use thin, even coats and selecting the right durable enamel will ensure your hard work looks professionally done.
Now that you understand exactly how to paint a wooden fireplace, you have all the knowledge needed to tackle this rewarding weekend project. Do not let outdated decor drag down the aesthetic of your favorite room. Gather your supplies, pick out a beautiful new paint color, and enjoy the incredible satisfaction of upgrading your home with your own two hands. You will love the stunning, modernized focal point it creates for your family and guests to gather around.

About
Mike May is a distinguished figure in the world of woodworking and timber design, with a decade of expertise creating innovative and sustainable indoor solutions. His professional focus lies in merging traditional craftsmanship with modern manufacturing techniques, fostering designs that are both practical and environmentally conscious. As the author of Woodimber, Mike delves into the art and science of timber-craft, inspiring artisans and industry professionals alike.
Education
RMIT University (Melbourne, Australia)
-
Associate Degree in Design (Timber): Focus on sustainable design, industry-driven projects, and practical craftsmanship.
-
Gained hands-on experience with traditional and digital manufacturing tools, such as CAD and CNC software.
Nottingham Trent University (United Kingdom)
-
Bachelor’s in Woodworking and Product Design (Honors): Specialized in product design with a focus on blending creativity with production techniques.
-
Participated in industry projects, working with companies like John Lewis and Vitsoe to gain real-world insights.
Publications and Impact
In Woodimber, May shares his insights on timber design processes, materials, and strategies for efficient production. His writing bridges the gap between artisan knowledge and modern industry needs, making it a must-read for both budding designers and seasoned professionals.