


A cluttered garage is a source of constant frustration for homeowners everywhere. Piles of boxes, scattered tools, and seasonal decorations can quickly turn a highly functional space into an overwhelming maze. If you find yourself stepping over garden hoses and digging through mountains of storage bins just to find a simple screwdriver, it is time to take control of your space.
Building a wooden garage shelf is one of the most rewarding and impactful do-it-yourself projects you can undertake. It provides a massive amount of storage, helps you organize your belongings, and maximizes the vertical space in your garage. You do not need to be a master carpenter to achieve professional results.
This comprehensive guide on how to build a wood shelf for garage will walk you through every single phase of the project, from initial measurements to the final touches, ensuring your new shelf is strong, level, and built to last.
What Will You Need?
Before you start cutting lumber, you must gather all the necessary tools and materials. Having everything prepped and ready will make the assembly process incredibly smooth and enjoyable.
Materials:
- 2×4 Lumber: This will form the structural frame and legs of your shelving unit. Purchase standard 8-foot pine or fir boards. Check them carefully at the lumber yard to ensure they are straight and free from severe warping or large knots.
- Plywood or OSB (Oriented Strand Board): This will serve as the actual shelf surface. Half-inch or three-quarter-inch thickness is ideal. OSB is slightly cheaper and works perfectly well for a garage environment, while plywood offers a smoother finish.
- Screws: You will need 2.5-inch or 3-inch wood screws to assemble the 2×4 frame and attach the shelves to the wall studs. You will also need 1.5-inch wood screws to secure the plywood top to the frame.
- Wood Glue: While optional, a dab of wood glue at your joints provides excellent supplementary strength.
Tools:
- Tape Measure: An absolute necessity for accurate planning and cutting.
- Pencil or Marker: For marking cuts and stud locations.
- Level: A 2-foot or 4-foot bubble level is critical to ensure your shelves do not slant.
- Stud Finder: To securely anchor your shelf to the wall framing.
- Circular Saw or Miter Saw: For cutting your lumber and plywood to the correct dimensions.
- Power Drill/Driver: To quickly drive screws through thick wood and into wall studs.
- Safety Gear: Safety glasses and ear protection are mandatory when operating power saws.
10 Easy Steps on How to Build a Wood Shelf for Garage
Step 1: Planning and Measurement

The first and most critical step in building a wooden garage shelf is thorough planning. Take your tape measure and evaluate the wall space where you intend to place the unit. Consider the height, width, and depth you want your shelf to be. A depth of 16 to 24 inches is generally ideal for garage shelves, as it accommodates standard storage bins perfectly without jutting too far out into your parking area. Write down your dimensions on a piece of paper. Determine how many shelves you want to include in the unit and calculate the vertical clearance needed between each tier based on what you plan to store.
Step 2: Designing the Layout

Once you have your measurements, sketch a basic blueprint of your shelf. Visualizing the project helps you calculate exactly how much lumber you need to purchase. A standard shelf frame consists of one long back piece, one long front piece, and several short cross-supports connecting them every 16 to 24 inches. Your sketch should also note where the vertical support legs will go. By mapping out the frame, the supports, and the plywood surface, you create a reliable cut list. This list ensures you head to the hardware store knowing exactly what to buy, preventing multiple frustrating trips back and forth.
Step 3: Gathering and Cutting Lumber
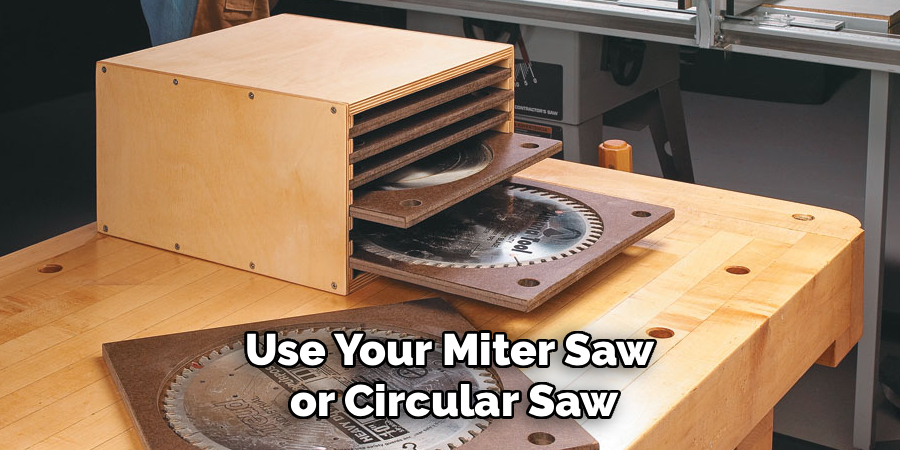
With your cut list in hand, set up your workspace and begin cutting your 2×4 lumber. Use your miter saw or circular saw to cut the long front and back frame pieces to your desired width. Next, cut the shorter cross-support pieces based on your intended depth, remembering to subtract the width of the front and back 2x4s so the final frame dimension matches your plan. Finally, cut your vertical legs to the total height of the shelf. Measure twice and cut once. Consistency is key here; if your cross-supports are not identical in length, your frame will be crooked and difficult to assemble.
Step 4: Marking the Wall Studs
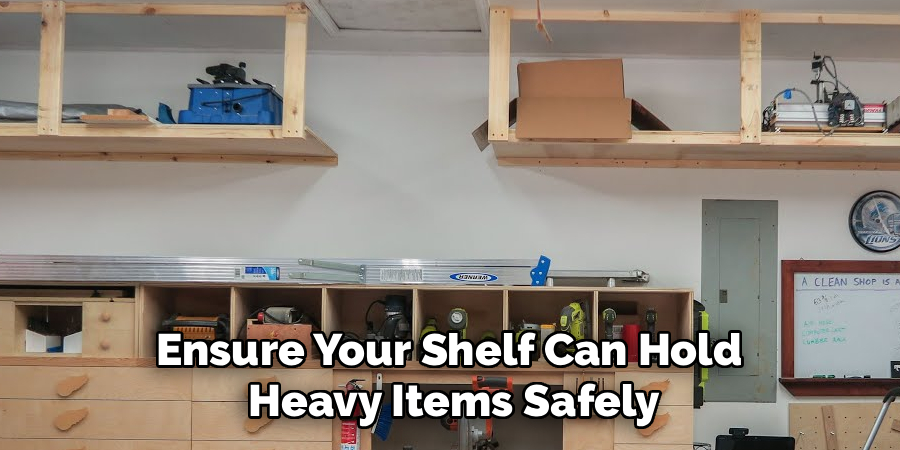
To ensure your shelf can hold heavy items safely, it must be anchored directly into the wooden studs behind your drywall. Grab your electronic stud finder and run it horizontally across the wall where the shelf will sit. When the stud finder beeps, mark the center of the stud with your pencil. Most modern garages have studs spaced exactly 16 inches apart. Use your level to draw vertical lines down the wall along these stud marks. This visual guide will make it incredibly easy to drive your long screws straight into the solid wood when you are mounting the back of your frame.
Step 5: Assembling the Shelf Frames
Now it is time to build the structural frames for each shelf tier. Lay one long front piece and one long back piece flat on the ground. Place your short cross-supports between them, spacing them about 16 to 24 inches apart. This creates a ladder-like structure. Using your power drill, drive two 2.5-inch wood screws through the front and back pieces into the ends of each cross-support. If you want maximum strength, apply a small amount of wood glue to the ends of the cross-supports before screwing them in. Repeat this process until you have built a sturdy frame for every level of your shelving unit.
Step 6: Mounting the Back Cleats
If you are building a shelf that anchors to the wall rather than a freestanding unit, you will mount the back of the frame first. Hold the back edge of your lowest shelf frame against the wall at your desired height. Place your level on top of the frame to ensure it is perfectly horizontal. Once level, use your drill to drive 3-inch screws through the back of the frame directly into the wall studs you marked earlier. Use at least two screws per stud to guarantee a strong hold. If the frame is too heavy to hold by yourself, ask a friend to help or use temporary scrap wood to prop it up.
Step 7: Adding Front Legs for Support
With the back of the shelf frame securely bolted to the wall, the front of the shelf will hang freely. Now you must attach the vertical front legs to support the weight. Take your pre-cut leg pieces and position them flush against the inside or outside corners of your front frame. Use your level to ensure the leg is perfectly plumb (straight up and down). Drive several 2.5-inch screws through the frame and into the leg. If your shelf is very long, you may need to add a middle leg to prevent the front 2×4 from bowing over time under heavy loads.
Step 8: Attaching Additional Tiers
If you are building a multi-tier shelf, you will now repeat the mounting process for the upper levels. Measure up from your bottom shelf to establish the height of the next tier. Mark the wall, level the frame, and screw the back of the frame into the wall studs just as you did before. Then, attach the front of this upper frame to the vertical legs you installed in the previous step. Use your level constantly during this phase to verify that each tier is perfectly horizontal and parallel to the one below it. Take your time to ensure everything is tightly secured.
Step 9: Cutting and Placing the Plywood Top
With the skeleton of your shelving unit completely assembled and secured, it is time to add the surface. Measure the exact length and width of your installed frames. Transfer these measurements to your sheet of plywood or OSB. Use a circular saw to cut the wood to size carefully. If your vertical legs extend up past the frame, you will need to use a jigsaw to cut small notches into the corners of your plywood so it can sit flush against the wall and slide seamlessly around the upright posts. Place the cut plywood neatly on top of the installed frames.
Step 10: Securing the Top and Final Polish
The final construction step is to fasten the plywood surface to the 2×4 frames. Use your 1.5-inch wood screws to drill down through the plywood and into the frame edges and cross-supports. Space the screws about every 8 to 12 inches to keep the plywood flat and prevent it from warping or popping up over time. Once the top is secured, take a piece of medium-grit sandpaper and quickly smooth out any rough edges or splinters along the front facing of the wood. Sweep up the sawdust, load up your storage bins, and step back to admire your incredibly strong, handmade garage shelf.
5 Things You Should Avoid
- Skipping the Stud Finder: Never try to anchor a heavy garage shelf directly into drywall using only drywall anchors. The weight of the wood combined with your storage items will instantly rip the anchors out of the wall, causing a dangerous collapse. Always anchor into the wooden wall studs.
- Using Drywall Screws for Framing: Drywall screws are brittle and are not designed to bear heavy structural loads. They can snap under the pressure of a loaded shelf. Always use high-quality wood screws or construction screws for building your frames.
- Ignoring the Level: A shelf that looks “close enough” to the naked eye might actually be slanted. Items can easily roll off a slanted shelf, and uneven weight distribution can stress the joints. Check your level constantly during assembly.
- Over-Spanning the Supports: Do not leave wide gaps between your cross-supports or front legs. If you span a 2×4 more than four or five feet without a vertical leg or cross-brace, the wood will eventually sag in the middle under heavy weight.
- Forgetting Safety Equipment: Woodworking can produce flying splinters, loud noises, and excessive dust. Never use power saws without wearing safety goggles and ear protection. Prioritize your physical safety over speeding through the project.
Conclusion
How to build a wood shelf for garage is a highly practical weekend project that pays off immediately.
By following these steps carefully, measuring twice, and prioritizing safety, you create a robust storage solution tailored perfectly to your lifestyle. Say goodbye to the cluttered floors and disorganized corners that have plagued your workspace for too long.
Enjoy the satisfaction that comes from creating a durable, functional piece of carpentry, and take pride in your newly organized, highly efficient garage space.

About
Mike May is a distinguished figure in the world of woodworking and timber design, with a decade of expertise creating innovative and sustainable indoor solutions. His professional focus lies in merging traditional craftsmanship with modern manufacturing techniques, fostering designs that are both practical and environmentally conscious. As the author of Woodimber, Mike delves into the art and science of timber-craft, inspiring artisans and industry professionals alike.
Education
RMIT University (Melbourne, Australia)
-
Associate Degree in Design (Timber): Focus on sustainable design, industry-driven projects, and practical craftsmanship.
-
Gained hands-on experience with traditional and digital manufacturing tools, such as CAD and CNC software.
Nottingham Trent University (United Kingdom)
-
Bachelor’s in Woodworking and Product Design (Honors): Specialized in product design with a focus on blending creativity with production techniques.
-
Participated in industry projects, working with companies like John Lewis and Vitsoe to gain real-world insights.
Publications and Impact
In Woodimber, May shares his insights on timber design processes, materials, and strategies for efficient production. His writing bridges the gap between artisan knowledge and modern industry needs, making it a must-read for both budding designers and seasoned professionals.