

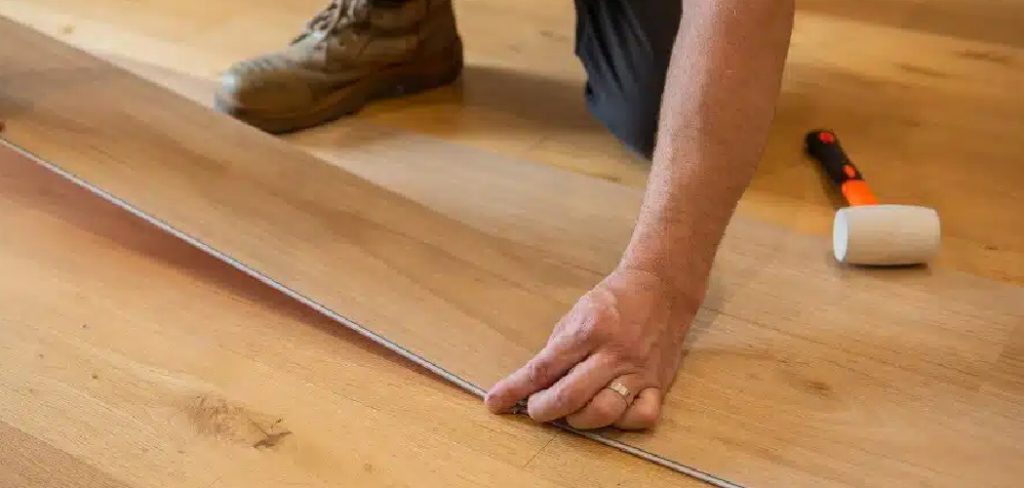
Installing hardwood floors transforms the look and feel of any room, adding warmth, character, and significant value to your home. But getting that flawless, professional finish comes down to one crucial skill: knowing exactly how to cut the planks. Whether you are dealing with solid oak or engineered hickory, making precise cuts ensures your floor fits perfectly around obstacles, registers, and walls.
Many DIY enthusiasts feel intimidated by the prospect of cutting expensive flooring materials. One wrong move can lead to splintered edges, wasted boards, and ruined materials. However, with the right knowledge, proper tools, and a systematic approach, anyone can achieve clean and accurate cuts.
This guide on how to cut hardwood floor serves as your comprehensive blueprint for cutting hardwood floors.
What Will You Need?
Before making your first cut, you must gather the right equipment. Having everything staged and ready will make your workflow smooth and safe.
Cutting Tools:
- Miter Saw: Essential for making clean, straight crosscuts across the width of the planks.
- Table Saw: Perfect for rip cuts (cutting boards lengthwise) to fit the final row against the wall.
- Jigsaw: Necessary for cutting curves, notches, and irregular shapes around vents or pipes.
- Jamb Saw or Oscillating Multi-Tool: Used for undercutting door frames so the flooring can slide neatly underneath.
- High-Tooth Count Blades: Equip your saws with carbide-tipped blades featuring 60 to 80 teeth to ensure perfectly smooth finishes without splintering.
Measuring and Marking Tools:
- Tape measure
- Combination square or speed square
- Carpenter’s pencil
- Chalk line
- Contour gauge (for duplicating irregular shapes)
Safety Gear:
- Safety goggles or glasses
- Hearing protection (earmuffs or plugs)
- N95 dust mask or respirator
- Work gloves (for handling rough wood, though often removed when operating saws)
10 Easy Steps on How to Cut Hardwood Floor
Cutting hardwood requires patience, precision, and respect for your power tools. Follow these ten detailed steps to ensure every plank fits exactly where it belongs.
Step 1: Prepare Your Workspace and Safety Gear
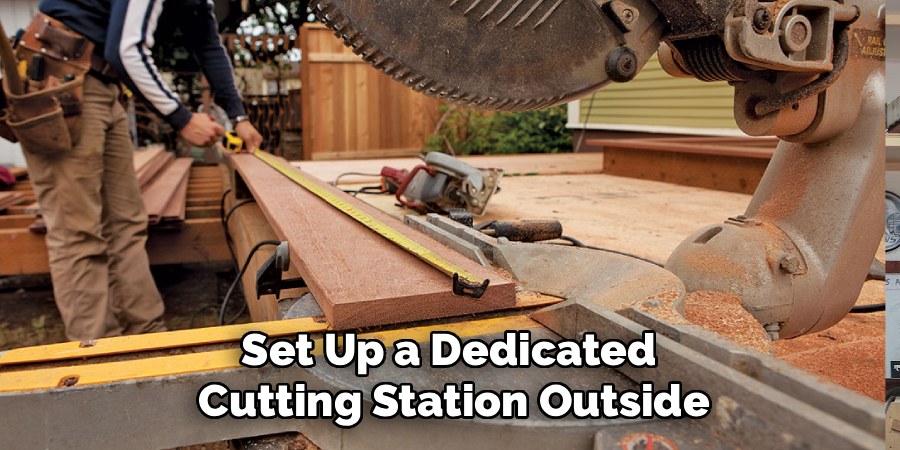
Before touching a piece of wood, set up a dedicated cutting station outside or in a well-ventilated garage to keep sawdust out of your home. Ensure your miter saw and table saw rest on stable, level surfaces. Check that your saw blades are sharp and specifically designed for hardwood; dull blades will burn the wood and cause severe splintering. Put on your safety glasses, hearing protection, and dust mask. Clearing your workspace of tripping hazards and ensuring you have ample lighting will dramatically reduce the risk of accidents while you work.
Step 2: Measure the Cutting Area Accurately
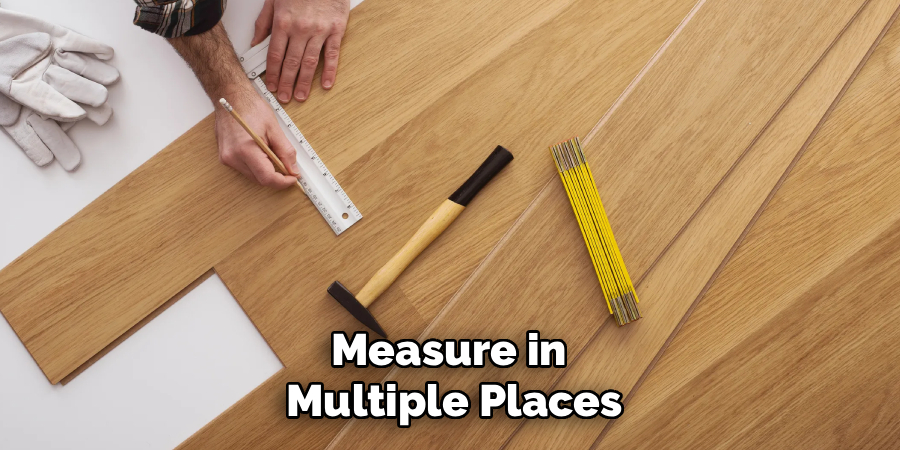
Precision starts long before the blade meets the wood. Use a high-quality tape measure to determine the exact length or width required for your current plank. When measuring for the final row, remember to account for the manufacturer-recommended expansion gap (typically 1/4 to 1/2 inch) between the wood and the wall. Measure in multiple places, especially if the walls are not perfectly square. Take your time during this step; rushing through measurements is the leading cause of wasted flooring and disjointed seams. Write your measurements down immediately so you do not forget them during the walk to your cutting station.
Step 3: Mark the Hardwood Plank
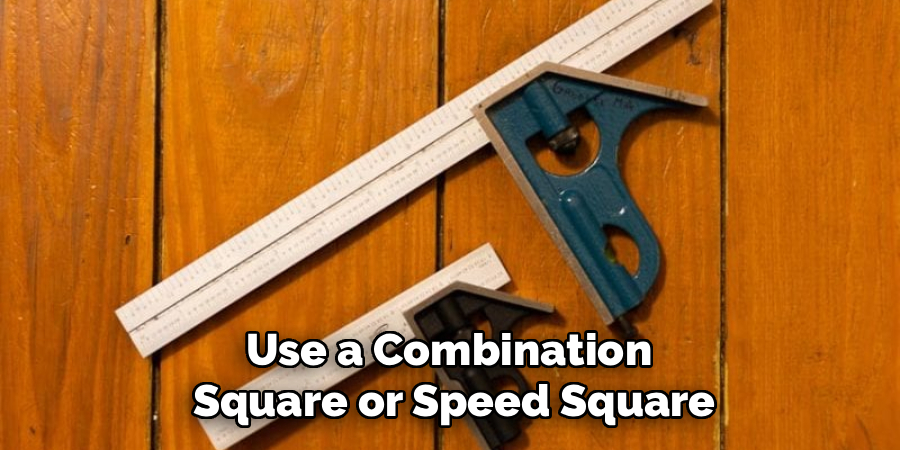
Transfer your measurements to the hardwood plank using a sharp carpenter’s pencil. For straight crosscuts, use a combination square or speed square to draw a perfectly perpendicular line across the face of the board. This bold, visible line will serve as your guide for the miter saw. If you are making a rip cut along the length of the board, measure and mark the board at both ends, then use a straight edge or chalk line to connect the marks. Making dark, clear lines ensures you will not lose your mark when the sawdust starts flying during the actual cut.
Step 4: Choose the Correct Saw for the Job
Different cuts demand different tools, and selecting the right one is crucial for a clean finish. Use a compound miter saw for standard crosscuts, which shorten the length of the plank. Turn to your table saw when you need to make rip cuts, which reduce the width of the board for that tricky final row. If you encounter an obstacle like a floor register, pipe, or curved hearth, reach for your jigsaw. Always verify that the saw you choose is equipped with a fine-toothed, carbide-tipped blade to prevent tearing the delicate wood veneer or solid grain.
Step 5: Position the Board Correctly
How you orient the board on the saw dramatically affects the cut quality. As a general rule, you should cut with the finished side facing up when using a miter saw or table saw, as the teeth of the blade enter the wood from the top and exit the bottom, pushing any potential splinters downward. Conversely, when using a jigsaw or a circular saw, the blade cuts on the upstroke, so you should place the board face down to protect the visible surface. Always secure the plank firmly against the saw fence to prevent it from shifting or kicking back during the cut.
Step 6: Execute the Crosscut with the Miter Saw
To perform a crosscut, place the board tight against the fence of the miter saw. Align the blade exactly with the waste side of your pencil line so you do not cut the board too short. Start the saw and let the blade reach full speed before gently lowering it into the wood. Apply steady, even downward pressure, allowing the blade to do the work without forcing it. Once you cut completely through the plank, release the trigger and wait for the blade to come to a complete stop before raising it back up. This prevents the spinning blade from catching the cut off piece.
Step 7: Make Rip Cuts Safely on the Table Saw
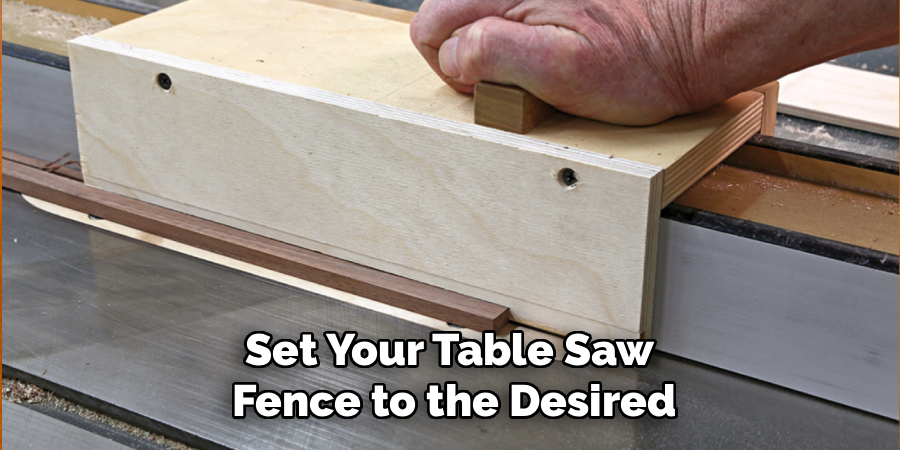
When cutting a board lengthwise for the final row, set your table saw fence to the desired width, factoring in the expansion gap. Stand slightly to the side of the blade rather than directly behind it to avoid injury in case of a kickback. Turn on the saw, keep the board flat on the table, and press the edge firmly against the fence. Feed the wood smoothly and consistently through the blade. Always use a push stick as your hands get closer to the blade. Never pull the wood from the back of the saw; push it completely past the blade before turning the machine off.
Step 8: Handle Obstacles with a Jigsaw
Flooring projects rarely consist only of straight lines. When cutting around vents, doorways, or pipes, you will need your jigsaw. Measure the obstacle and sketch the exact outline onto the back of your flooring plank (remembering to keep the face down). Drill a pilot hole in the waste section if you need to make an enclosed cutout, like a floor register. Insert the jigsaw blade into the hole and carefully trace your pencil lines. Move slowly to prevent the blade from bending, which results in a beveled, uneven edge. Use a fine-tooth blade specifically meant for scroll work or clean wood cutting.
Step 9: Undercut Door Jambs for a Seamless Look
Instead of trying to cut your hardwood planks to fit around complex door frames, you should cut the door frames to let the flooring slide underneath. Place a scrap piece of your hardwood flooring flat on the subfloor right against the door jamb. Rest a jamb saw or an oscillating multi-tool flat on top of the scrap piece. Turn the tool on and plunge it horizontally into the wooden door trim, using the scrap flooring as your height guide. Remove the cut piece of trim, sweep away the dust, and simply slide your newly cut floorboard underneath for a flawless, professional transition.
Step 10: Test Fit and Clean the Edges
Never apply adhesive or nail down a freshly cut board until you have verified its fit. Place the board into its intended location and gently tap it into the adjacent groove using a tapping block and a rubber mallet. Check that your cut aligns properly with the wall, leaves the necessary expansion gap, and sits flush with the neighboring planks. If the cut is slightly tight, use a sanding block or a sharp utility knife to carefully shave away the excess material. Once you confirm a perfect fit, vacuum any remaining sawdust from the subfloor before securing the board permanently in place.
5 Things You Should Avoid
Even experienced DIYers can make mistakes. Avoiding these five common pitfalls will save your materials and keep your project on track.
- Ignoring the Expansion Gap: Wood breathes. If you cut your boards flush against the drywall or baseboards, the floor will inevitably buckle when humidity rises. Always leave the manufacturer’s recommended gap around all fixed vertical objects.
- Using Dull or Incorrect Blades: A standard framing blade will rip hardwood to shreds. Avoid using blades with low tooth counts. Always invest in high-quality, fine-toothed blades designed specifically for cutting dense hardwoods to prevent tear-out.
- Cutting on the Wrong Side of the Line: The saw blade has a thickness, known as the kerf (usually about 1/8 inch). If you center the blade directly on your pencil mark, your board will be too short. Always align the blade so it cuts on the “waste” side of the line.
- Rushing the Cut: Forcing the saw through the wood causes friction, burns the wood, and creates rough edges. It also increases the risk of kickback. Let the tool dictate the pace and guide the wood through smoothly.
- Measuring Only Once: The old adage is true for a reason. Cutting an expensive piece of oak too short because you misread the tape measure is deeply frustrating. Always measure twice, mark clearly, and double-check your numbers before powering on the saw.
Conclusion
How to cut hardwood floor does not have to be a daunting task. By understanding your tools, setting up a safe workspace, and executing your cuts with patience and precision, you can achieve results that rival professional installers.
Remember that accuracy happens in the preparation phase. Take your time measuring, use the correct high-tooth-count blades, and never rush the saw through the wood. Keep your safety gear on at all times, and always test the fit of your board before nailing it down. Armed with these techniques and steps, you are completely ready to tackle your flooring project and bring beautiful new hardwood into your home.
Gather your tools, make that first measurement, and start transforming your space today.

About
Mike May is a distinguished figure in the world of woodworking and timber design, with a decade of expertise creating innovative and sustainable indoor solutions. His professional focus lies in merging traditional craftsmanship with modern manufacturing techniques, fostering designs that are both practical and environmentally conscious. As the author of Woodimber, Mike delves into the art and science of timber-craft, inspiring artisans and industry professionals alike.
Education
RMIT University (Melbourne, Australia)
-
Associate Degree in Design (Timber): Focus on sustainable design, industry-driven projects, and practical craftsmanship.
-
Gained hands-on experience with traditional and digital manufacturing tools, such as CAD and CNC software.
Nottingham Trent University (United Kingdom)
-
Bachelor’s in Woodworking and Product Design (Honors): Specialized in product design with a focus on blending creativity with production techniques.
-
Participated in industry projects, working with companies like John Lewis and Vitsoe to gain real-world insights.
Publications and Impact
In Woodimber, May shares his insights on timber design processes, materials, and strategies for efficient production. His writing bridges the gap between artisan knowledge and modern industry needs, making it a must-read for both budding designers and seasoned professionals.