

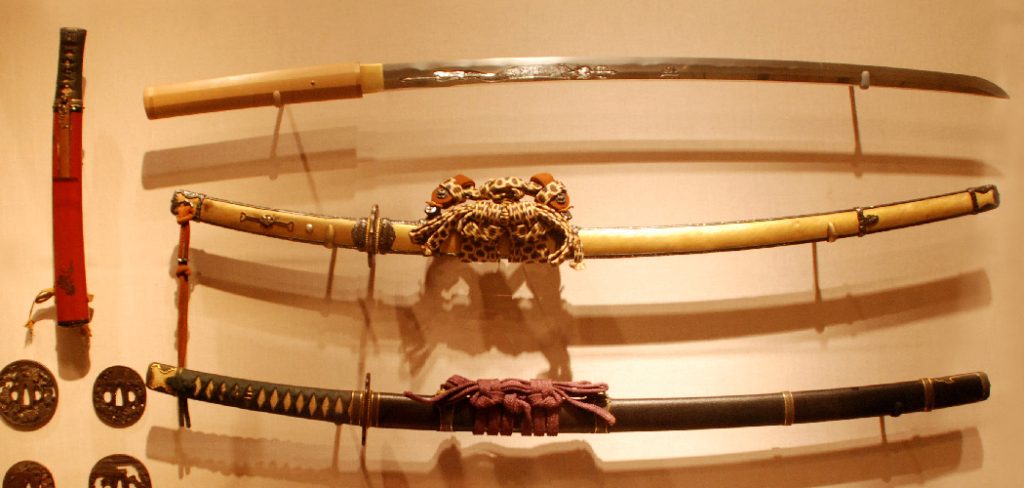
Martial arts enthusiasts and woodworking beginners often look for projects that combine skill building with practical utility. Crafting your own practice sword, commonly known as a bokken, provides a highly rewarding experience. You get to work with your hands, shape raw materials, and ultimately hold a functional piece of art that you created from scratch. If you practice kendo, aikido, or simply want a beautiful display piece, building your own gear brings a deep sense of personal satisfaction.
Understanding how to make wooden katana opens up a new world of custom craftsmanship. Rather than buying a generic factory-made tool, you can tailor the weight, length, and balance specifically to your own body and preferences. We will walk you through the entire process, breaking down complex woodworking techniques into simple, manageable actions. Even if you have never carved wood before, this guide will give you the confidence to start cutting and sanding. Gather your tools, clear off your workbench, and get ready to transform a simple hardwood board into an elegant training weapon.
Why Craft A Practice Sword
Building your own training equipment carries significant advantages over purchasing mass-produced items off a store shelf. The primary benefit lies in total customization. Every martial artist has a unique height, arm length, and strength level. When you shape the wood yourself, you control the exact dimensions. You can make the handle thicker for a better grip or adjust the curvature of the blade to match a specific historical style perfectly.
Cost efficiency also plays a massive role in this project. High-quality practice swords made from premium exotic hardwoods often cost hundreds of dollars from specialty retailers. By sourcing your own lumber and applying some elbow grease, you can produce a top-tier training tool for a fraction of that price. You only pay for the raw materials and the finishing oil, making this an incredibly economical weekend project.
Furthermore, the process itself teaches you invaluable woodworking fundamentals. You will learn about grain direction, material removal, shaping, and surface finishing. These foundational skills easily transfer to future projects, whether you want to build furniture, carve spoons, or craft other martial arts weapons. Finally, training with a weapon you built with your own hands builds a unique connection to your practice. You understand the balance and structure of the tool intimately because you shaped every single curve.
Step-By-Step Guide To How To Make Wooden Katana
Step 1: Select The Right Hardwood
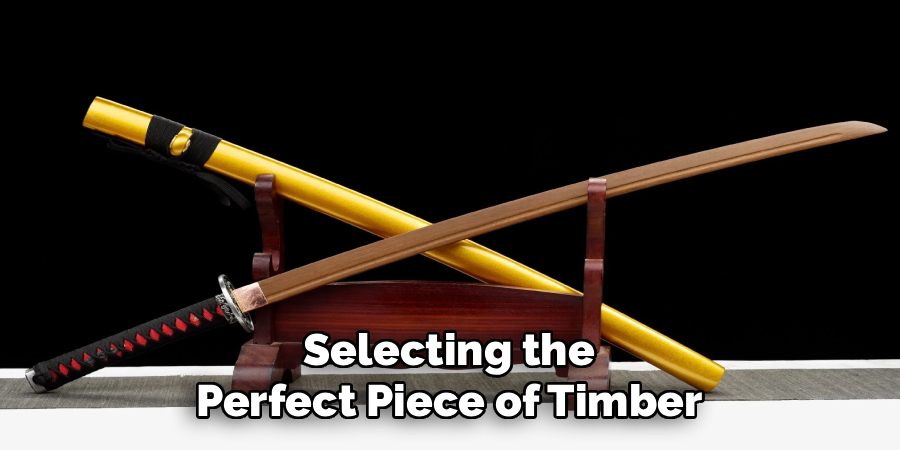
The foundation of a durable practice sword begins with choosing the correct lumber. You need a wood species that can withstand impact without shattering or splintering dangerously. Hickory, white oak, and ash are exceptional choices for beginners because they offer a perfect blend of density and flexibility. Visit your local lumber yard and look for a board that measures at least forty inches long, two inches wide, and one inch thick.
Carefully inspect the wood grain before making your purchase. You want the grain lines to run completely straight from one end of the board to the other. Knots, twists, or dark blemishes in the wood create weak points that will eventually snap under pressure. A straight, tight grain ensures your finished project remains strong and reliable during heavy training sessions.
Step 2: Trace The Sword Template Carefully
Once you have your lumber, you need a clear pattern to follow. You can design your own profile on a large piece of poster board or print a template from an online woodworking forum. Cut out your paper template and lay it flat against your hardwood board. Position the template so the slight curve of the sword follows the natural direction of the wood grain as closely as possible.
Take a dark pencil or a fine-tipped marker and trace the outline directly onto the wood. Press firmly so the line remains highly visible when you start cutting. Take your time to get the curvature of the blade and the transition to the handle absolutely perfect. A precise outline prevents you from making accidental cuts that ruin the overall shape of the weapon.
Step 3: Cut The Basic Shape From The Wood
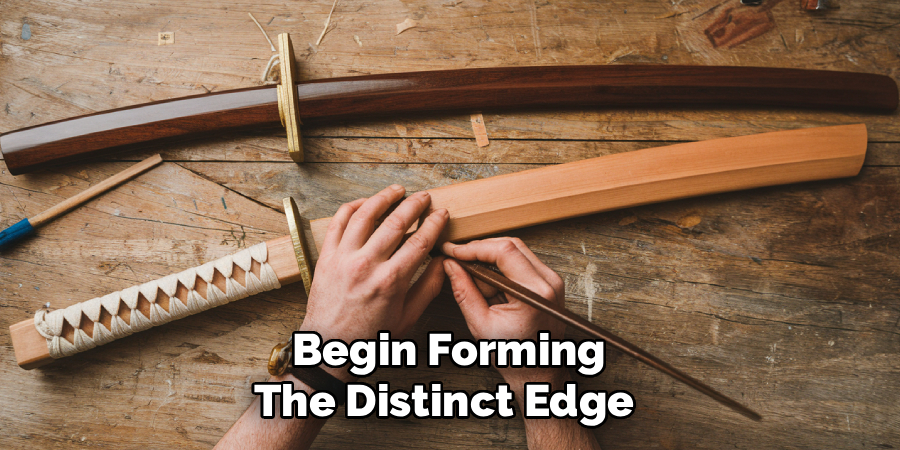
With your outline clearly marked, it is time to remove the excess material. A band saw or a jigsaw works best for cutting out the rough profile of the sword. Secure the board firmly to your workbench using heavy-duty clamps to prevent any slipping or vibration. Safety is paramount here, so ensure you wear protective safety glasses and keep your hands well away from the cutting blade.
Cut slowly and stay roughly one-eighth of an inch outside your traced line. You do not want to cut exactly on the line just yet. Leaving a small buffer of extra wood gives you room to make mistakes and allows you to refine the shape perfectly during the sanding phase. Focus on making smooth, continuous cuts to maintain the elegant curve of the weapon. Rub the oil deeply into the wood grain, allowing the timber to drink in the moisture.
Step 4: Carve The Blade And Handle Shape
Now you must transition the flat, blocky cutout into a three-dimensional weapon. Mastering how to make wooden katana requires careful attention during this specific shaping phase. Use a block plane, a spokeshave, or a rasp to begin tapering the sides of the blade. You want the back edge of the blade to remain thick for structural support while the front edge tapers down to a blunt, rounded point.
Work slowly and remove thin shavings of wood with each pass. Constantly stop and run your hands over the wood to feel for high spots or uneven areas. Shape the handle so it transitions from a rectangular block into a smooth, comfortable oval. The handle must fit your grip perfectly, so pick up the wood frequently to test the ergonomics as you carve.
Step 5: Sand The Surface Until Smooth
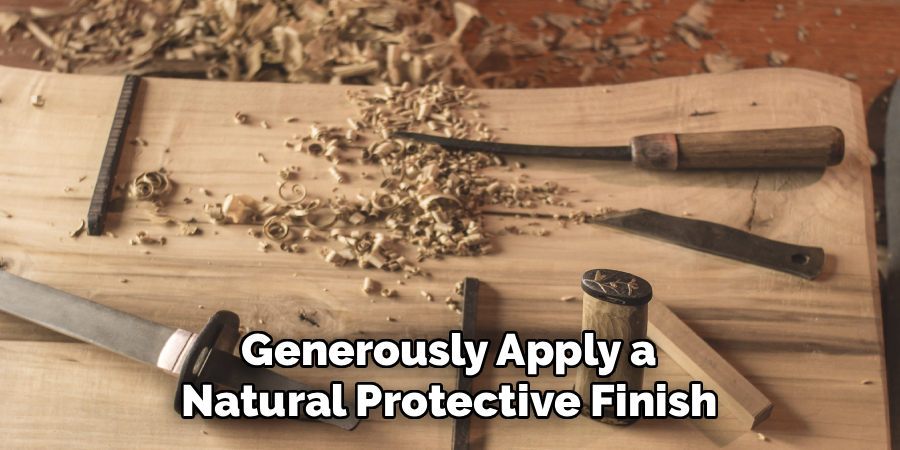
Once you achieve the desired shape, you need to remove all the deep tool marks and scratches. Begin this process using eighty-grit sandpaper wrapped around a solid sanding block. The block ensures you maintain crisp, straight lines along the ridge of the blade while flattening out the curved sections. Sand along the entire length of the wood, always moving parallel with the grain.
After removing the heavy scratches, progress to one-hundred-and-twenty-grit paper, and finally finish with two-hundred-and-twenty-grit paper. Wipe the wood down with a slightly damp cloth between each grit change to raise the grain and remove dust. By the time you finish with the highest grit, the surface of the wood should feel as smooth as glass.
Frequently Asked Questions
What Type Of Wood Is Best For A Practice Sword?
The best materials are dense, impact-resistant hardwoods that feature straight grain patterns. Hickory and white oak remain the most popular choices due to their incredible durability and weight. Appalachian hickory offers superior shock absorption, making it highly resistant to splintering during contact drills. Ash is another excellent alternative that provides a slightly lighter weight while maintaining strong structural integrity. Avoid softwoods like pine or cedar, as they will dent easily and snap under minimal pressure.
Do I Need Power Tools To Finish This Project?
You do not absolutely need power tools to complete this woodworking project. Historically, craftsmen built these training tools using only hand saws, chisels, and hand planes. Using hand tools like a coping saw, a rasp, and a spokeshave allows for a quieter, safer, and highly controlled building process. While a band saw or a power sander will drastically reduce the time it takes to complete the rough shaping, manual tools provide a deeply rewarding and traditional experience.
How Long Should The Blade Be For A Beginner?
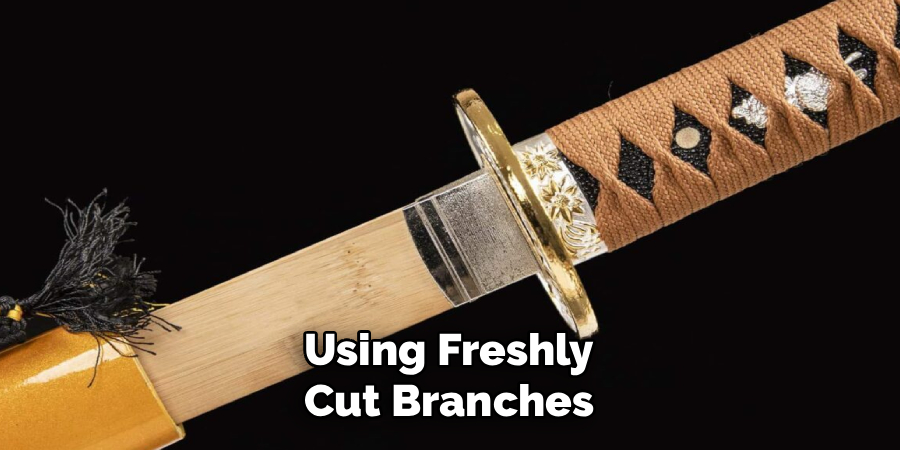
The ideal length of your practice gear depends directly on your physical height and arm length. As a general rule, when you hold the handle at your side with your arm relaxed, the tip of the blade should barely hover above the floor without touching it. For the average adult, a total overall length of roughly forty inches works perfectly. The blade section usually takes up twenty-eight to thirty inches, while the handle accounts for the remaining ten to twelve inches.
Can I Add A Traditional Hand Guard Later?
Yes, you can easily modify your project later to accommodate a traditional hand guard. If you decide you want the extra hand protection, you simply need to file a small step or shoulder into the wood where the blade meets the handle. You can purchase heavy-duty rubber or thick leather guards from martial arts suppliers that slide directly over the tip of the blade down to the handle. Ensure the fit is extremely tight so the guard does not slip during swinging motions.
How Do I Maintain The Wood Over Time?
Proper maintenance ensures your training gear lasts for decades without degrading. You should never store the wood in extreme temperatures or damp environments, as this causes severe warping. After a heavy training session, wipe the surface down with a dry cloth to remove any sweat or oils from your hands. Every few months, lightly sand the surface with high-grit sandpaper to remove any small dents, and apply a fresh coat of tung oil to keep the wood fibers nourished and strong.
Conclusion
Creating your own martial arts training equipment provides a deeply fulfilling blend of physical craftsmanship and functional art. We have covered everything from selecting the strongest hardwood to shaping the perfect handle and applying a gorgeous natural finish. By taking your time during the carving and sanding phases, you ensure that your finished piece feels perfectly balanced and comfortable in your hands.
This project proves that you do not need expensive factory gear to practice effectively. Now that you understand how to make wooden katana, you possess the knowledge to build a reliable training tool tailored entirely to your needs. Pick up a quality piece of hardwood, prepare your tools, and begin shaping your very own custom practice sword today.

About
Mike May is a distinguished figure in the world of woodworking and timber design, with a decade of expertise creating innovative and sustainable indoor solutions. His professional focus lies in merging traditional craftsmanship with modern manufacturing techniques, fostering designs that are both practical and environmentally conscious. As the author of Woodimber, Mike delves into the art and science of timber-craft, inspiring artisans and industry professionals alike.
Education
RMIT University (Melbourne, Australia)
-
Associate Degree in Design (Timber): Focus on sustainable design, industry-driven projects, and practical craftsmanship.
-
Gained hands-on experience with traditional and digital manufacturing tools, such as CAD and CNC software.
Nottingham Trent University (United Kingdom)
-
Bachelor’s in Woodworking and Product Design (Honors): Specialized in product design with a focus on blending creativity with production techniques.
-
Participated in industry projects, working with companies like John Lewis and Vitsoe to gain real-world insights.
Publications and Impact
In Woodimber, May shares his insights on timber design processes, materials, and strategies for efficient production. His writing bridges the gap between artisan knowledge and modern industry needs, making it a must-read for both budding designers and seasoned professionals.