 (1)")

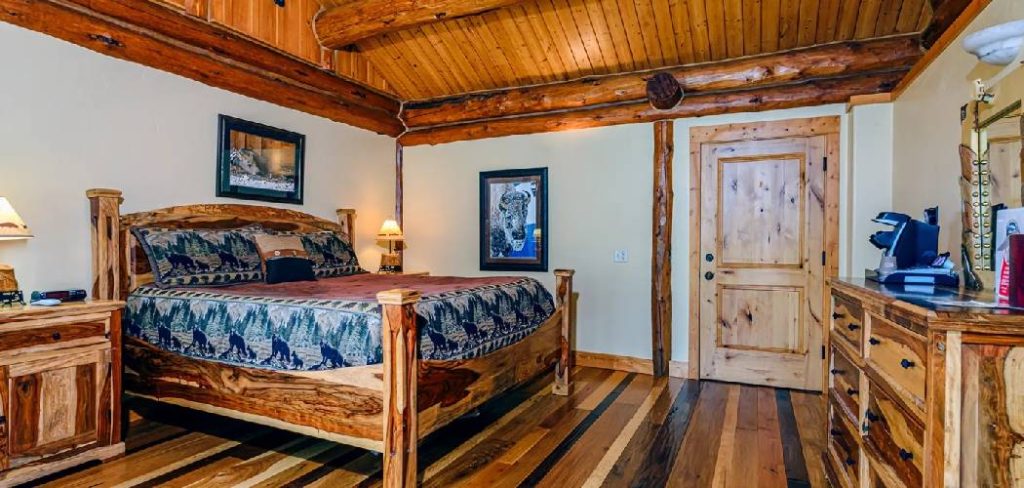
The contemporary obsession with farmhouse and industrial design is difficult to ignore. We are continually drawn to spaces with rough, weathered textures. Authentic vintage barn boards carry a distinct historical gravity, yet sourcing genuine reclaimed lumber is often prohibitively expensive. True salvaged timber is rare. This scarcity drives prices upward, pushing genuine historical materials far beyond the budget of an average weekend project.
You do not, however, need to abandon your design aspirations simply because a hundred-year-old oak is unavailable. Learning exactly how to make wood look rustic allows you to bypass the antique dealer entirely. You can manipulate raw, inexpensive lumber to replicate decades of natural decay. This comprehensive guide details the precise physical distressing techniques and chemical staining methods required to forge a rich, aged patina from scratch.
The Appeal of Rustic Wood in Modern Design
Introducing heavily textured, aged materials into a home frequently elevates the overall architectural atmosphere. Modern furniture often leans toward stark, uniform surfaces that can feel distinctly sterile. Flawless plastic veneers and high-gloss metals lack warmth. The imperfections inherent in aged timber appear to resolve this aesthetic tension. They create a cozy, lived-in environment. We recognize the concept of patina intuitively. Time, ambient moisture, and daily friction naturally alter the cellular structure of raw lumber, darkening its color and raising its grain.
Balancing Textures in Your Home
Interior design relies heavily on contrast. Rough, distressed surfaces pair remarkably well with smooth, contemporary elements. Placing a scarred wooden dining table against a crisp white wall creates immediate visual interest. The juxtaposition works. It prevents a room from feeling like a museum exhibit. Introducing a rustic focal point might suggest a relaxed approach to domestic living, where minor scuffs and daily wear are absorbed into the aesthetic rather than viewed as catastrophic damage.
The Satisfaction of DIY Repurposing
The psychological reward of this process is substantial. Transforming a cheap, bright yellow pine board into a dark, historical-looking artifact requires physical effort. You are forcing a rapid chemical evolution. Creating custom, high-end-looking furniture on a fractional budget yields significant personal pride. Furthermore, distressing new, fast-growing lumber reduces the environmental pressure to harvest actual antique structures for casual craft projects.
Choosing the Right Wood for Your Project
The foundation of your project dictates its ultimate success. Different botanical species react to physical trauma and liquid stains in vastly different ways. Selecting the appropriate base material is arguably the most critical decision you will make. Starting with raw, untreated lumber is essential. Existing varnishes or factory sealants will physically block the oxidizing chemicals from penetrating the cellulose fibers.
The Superiority of Softwoods
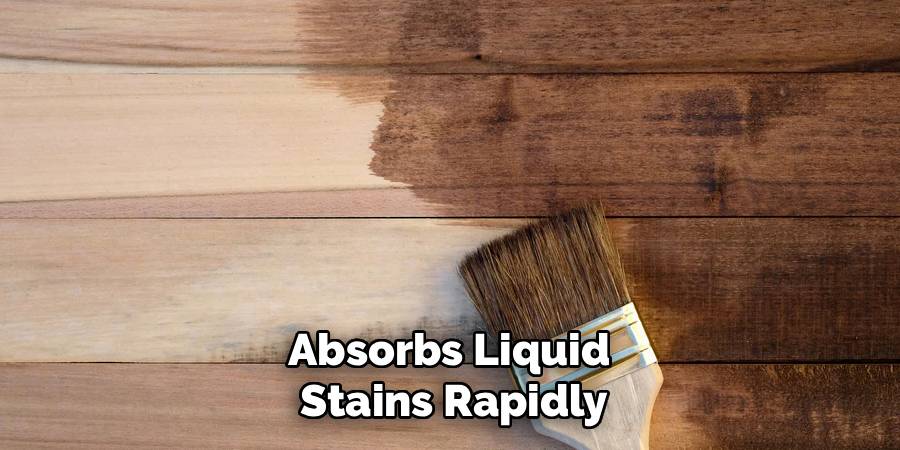
For artificial aging, softwoods are unequivocally the best option. Species such as eastern white pine, spruce, and cedar possess a relatively loose cellular matrix. They dent easily. When you strike pine with a heavy object, the wood compresses deeply, recording the physical trauma with realistic severity. The open grain structure of these softwoods also absorbs liquid stains rapidly. The resulting chemical oxidation tends to be highly saturated and visually convincing. Pine remains widely available and highly affordable, making it an excellent canvas for experimental aging.
Woods to Avoid for Aging
Dense hardwoods present a frustrating challenge. Oak, maple, and mahogany evolved to resist structural damage. Striking a piece of kiln-dried maple with a metal chain might produce nothing more than a superficial scratch. The physical exertion required to convincingly traverse these dense woods is immense. Hardwoods frequently repel homemade chemical stains, or they absorb them unevenly. This often results in a blotchy finish that looks artificially painted rather than naturally weathered. It is generally wise to avoid these premium materials for destructive antiquing.

Essential Tools and Materials You Will Need
Executing a seamless transformation requires a specific inventory of supplies. Attempting to improvise tools midway through the chemical oxidation phase frequently leads to messy, uneven results. Organizing your requirements into mechanical and chemical categories helps maintain focus.
Mechanical Distressing Tools
Creating realistic wear requires tools capable of inflicting random, varied blunt force. You will need a standard heavy claw hammer to soften the sharp factory edges. A short length of heavy metal chain is excellent for creating irregular, clustered indentations across the flat surfaces. To simulate historical insect damage, gather a sharp awl or a small handful of heavy-duty roofing nails. Finally, a stiff wire brush is absolutely mandatory for altering the surface texture and exposing the grain.
Staining and Finishing Supplies
The coloring process avoids commercial gel stains entirely. You will rely on basic household chemistry. Purchase a large jug of standard white vinegar and several pads of fine steel wool, specifically grade #0000. You will also need standard black tea bags to introduce tannins into the wood. To apply these liquids, pick up a few disposable foam paintbrushes. For the final protective layer, a tin of dark finishing wax is highly recommended.
Preparing Your Workspace for Distressing
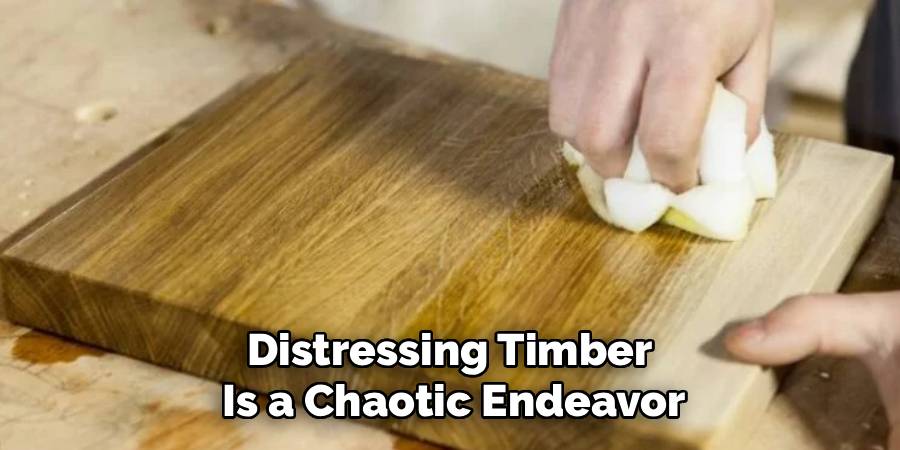
Distressing timber is a chaotic, noisy, and potentially hazardous endeavor. The process generates flying splinters and pungent acidic fumes. Establishing a highly controlled physical environment protects both your health and your surrounding property.
Setting Up a Safe Zone
Whenever possible, conduct this work outdoors. If inclement weather forces you inside, a well-ventilated garage is an acceptable alternative. Lay down heavy canvas drop cloths beneath your sawhorses. The iron-vinegar solution you will create is highly reactive. If it drips onto a concrete floor or an asphalt driveway, it can leave permanent rust stains. Securing the wood to your workbench with heavy clamps prevents the board from shifting violently when struck.
Personal Protective Equipment
Physical safety must be prioritized. Protective safety glasses are non-negotiable. Wood chips will fracture and fly unpredictably during the aggressive chain-striking phase. Thick leather work gloves are highly recommended to protect your hands from the wire brush. Wearing a basic particulate dust mask during the sanding and brushing phases prevents you from inhaling sharp cellulose fibers.
Step-by-Step Instructions on How to Make Wood Look Rustic
This sequence combines physical violence with rapid chemical oxidation. You cannot apply the chemical stain and expect an authentic result if the board still retains its perfectly square edges. The mechanical damage must precede the liquid application. Work through these stages with patience.
Step 1: Sanding the Raw Wood
Modern sawmills produce lumber with precise, razor-sharp angles. Natural weathering abhors a straight line. Decades of human handling and elemental exposure naturally round off the corners of historical timber. You must replicate this baseline wear before adding specific trauma. Using coarse eighty-grit sandpaper, aggressively rub down every sharp edge. The goal is to create an uneven, slightly undulating profile. Areas that might naturally receive the most human contact should be rounded over more deeply.
Step 2: Creating Mechanical Distressing and Dents
With the edges softened, the blunt force application begins. Grip one end of your heavy chain and strike the flat surface of the board. Vary your angle of attack constantly. Authentic damage is inherently chaotic. Tap the freshly sanded edges lightly with the head of your hammer to create shallow compressions. It often helps to concentrate the heaviest damage near the outer boundaries and corners of the board, as the center of a plank typically suffers less direct impact in real-world environments.
Step 3: Adding Authentic Wormholes and Scratches
Antique wood frequently displays the meandering paths of boring insects. Replicating this texture adds a microscopic level of detail that effectively tricks the eye. Cluster a few nails together in your hand, holding them so the sharp points face downward. Tap the heads of the nails lightly with your hammer, driving the points a fraction of an inch into the wood. Pull them out and repeat this process in random, isolated patches. You could also drag the sharp end of an awl across the grain to simulate deep, accidental gouges.
Step 4: Wire Brushing to Enhance the Grain
This specific action profoundly alters the tactile feel of the lumber. Trees grow in distinct seasonal cycles, producing softer wood in the rapid spring growth phase and denser wood in the late summer. Natural weathering degrades the soft spring wood first. To accelerate this phenomenon, press your stiff wire brush firmly into the board and pull it forcefully in the direction of the grain. This action physically rips the softer fibers out of the matrix. The surface quickly becomes deeply grooved.
Step 5: Applying a Tea Wash
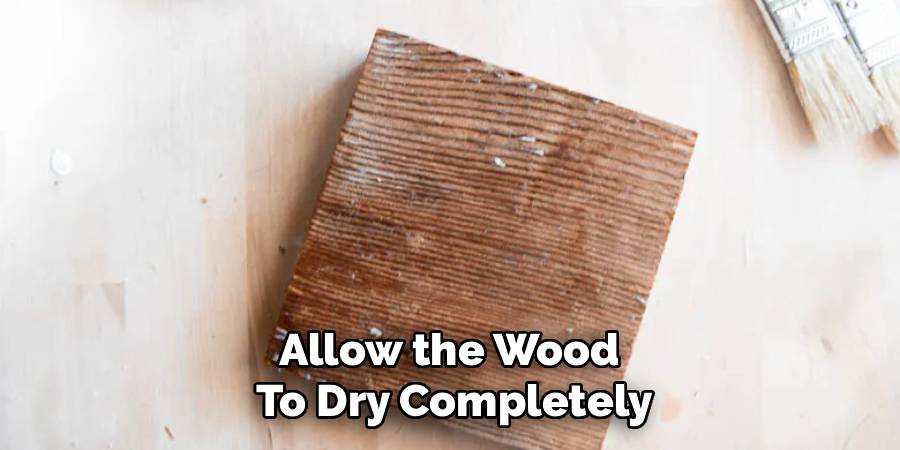
The chemical phase now commences. The oxidation method relies heavily on the presence of tannic acid within the wood. While species like oak contain vast amounts of natural tannins, softwoods like pine are severely deficient. We must introduce these tannins artificially. Brew an exceptionally strong batch of standard black tea. Allow it to steep until it is completely cool. Brush this dark liquid heavily over the entire board. Ensure the liquid pools deeply into the freshly made dents and wormholes. Allow the wood to dry completely.
Step 6: Using an Iron Vinegar Oxidizing Stain
This stage produces a dramatic visual shift. At least twenty-four hours before this step, you should have submerged a pad of fine steel wool into a glass jar filled with white vinegar. The acetic acid in the vinegar dissolves the iron, creating an iron acetate solution. Strain this murky liquid to remove the remaining steel fibers. Brush the iron acetate directly over the dried tea wash. The reaction occurs rapidly. The iron acetate bonds violently with the tea tannins. This chemical collision turns the pale wood a deep, striking silver-gray. The color will continue to shift as the board dries.
Step 7: Adding Dark Wax for Dimension
The chemical reaction establishes excellent overall color, but authentic age requires shadowed depth. Once the oxidized board is entirely dry to the touch, load a clean cloth with dark brown furniture paste wax. Rub this wax vigorously into the rough surface. The dark pigments will naturally catch in the wire-brushed grooves, the hammer dents, and the simulated wormholes. Buff the excess wax away with a clean rag. This final layer accentuates the physical topography, lending immense historical realism to the piece.
Alternative Staining Techniques for a Weathered Vibe
While the iron oxidation method produces a classic barn wood effect, some interior designs require a lighter aesthetic. Simulating wood that has been painted and subsequently faded by decades of coastal sun exposure requires a different approach. These alternative finishes focus on pigment manipulation rather than chemical reactions.
The Whitewashing Method
Whitewashing produces a soft, chalky appearance. It is remarkably simple to execute. Heavily dilute standard white latex paint with water until it reaches the consistency of thin milk. Brush this watery mixture over your mechanically distressed, raw wood. Before the paint can dry, wipe the surface firmly with a clean cotton rag. The white pigment will remain trapped in the deep grain lines and the physical dents, while the high ridges of the wood will show through clearly. This creates a sun-bleached, driftwood aesthetic.
Dry Brushing and Chipping
Dry brushing highlights existing texture. Dip the very tip of a stiff paintbrush into a light-colored chalk paint. Wipe almost all of the paint off onto a paper towel until the bristles feel practically dry. Very lightly drag this dry brush over the surface of your wire-brushed wood. The minimal paint left on the bristles will only catch on the highest ridges of the grain. If you desire a chipped appearance, smear tiny amounts of petroleum jelly onto the edges of the wood before painting. The paint will not adhere to the jelly, allowing you to effortlessly scrape it away later to reveal the raw wood beneath.
Sealing and Protecting Your Rustic Masterpiece
Leaving oxidized wood entirely unsealed is generally unwise. Environmental moisture can potentially reactivate the iron acetate. Raw wood also readily absorbs oils from human hands, which can create ugly, localized stains over time. Applying a protective topcoat is necessary, but the choice of product is absolutely critical.
Choosing a Dead-Flat Clear Coat
Applying a high-gloss polyurethane over your carefully distressed board will instantly destroy the vintage illusion. Glossy finishes reflect light sharply. They signal to the human brain that the surface is modern and encased in plastic. You must seek out a dead-flat or ultra-matte water-based clear coat. These specific formulas contain flattening agents that absorb light. They protect the wood from spills while allowing the surface to maintain the dry, dusty appearance characteristic of ancient timber.
Maintaining Waxed Finishes
If you utilized the dark finishing wax in the final distressing step, a liquid polyurethane is unnecessary and will not adhere properly to the greasy surface. The wax itself serves as the protective sealant. Wax provides a very subtle, hand-rubbed sheen that feels soft to the touch. It nourishes the dry cellulose fibers without creating a hard plastic barrier. Maintaining this finish simply requires applying a very thin, fresh coat of clear or dark wax once every year to keep the surface protected and looking deeply nourished.
Conclusion
The pursuit of historical textures does not have to involve endless searching through expensive architectural salvage yards. By deliberately damaging the cellular structure of cheap pine and manipulating basic chemical reactions with household ingredients, you can conjure the weight of history inside your own garage. The techniques outlined here require patience and a critical eye for realistic detail.
Understanding exactly how to make wood look rustic is ultimately an exercise in observation. It demands that we look closely at how nature breaks down materials over time. Armed with a chain, a wire brush, and a simple vinegar solution, you can thoughtfully recreate that beautiful decay, building custom architectural elements that ground your home in warmth and character.