

It’s easy to underestimate just how satisfying it can be to shape a piece of wood with your own hands, and a wooden heart is a fine place to start. Maybe you’re looking to make a small gift that means something, or perhaps you just want to see how the grain takes the stain under your fingertips. This project isn’t about grand declarations or complex joinery; at heart (if you’ll pardon the pun), it’s as much about patience and detail as it is about the final result. The delight, I find, is in learning to see the potential in a plain board—and coaxing something lasting out of it.
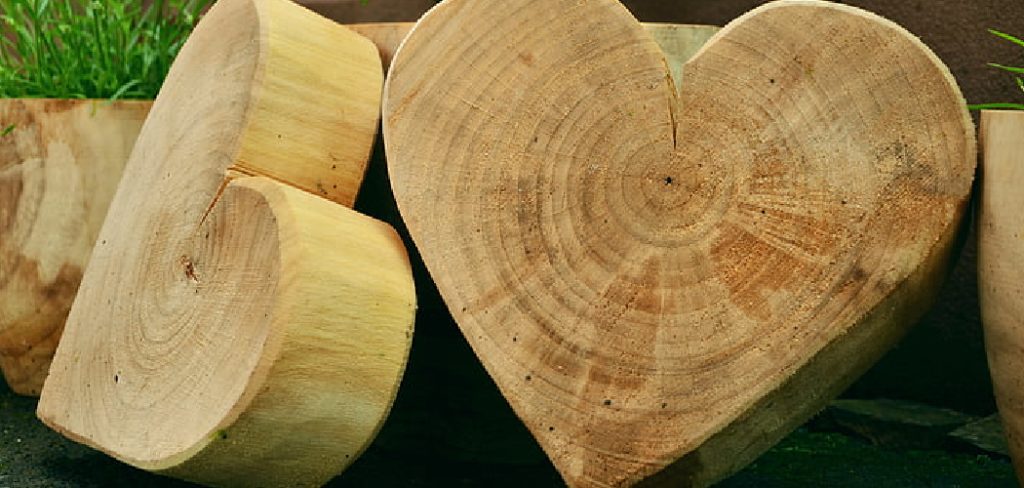
If you’re new to woodworking, or even if you just need a low-pressure, creative break, turning a raw block into a polished keepsake gives you permission to focus, however briefly, on the tactile world. Let’s not pretend the process is magic, though; there’s a straightforward order to it, and each decision subtly nudges the outcome, for better or worse. Through this guide on how to make a wood heart, I’ll be honest about what actually matters (and what you can afford to fudge a bit), so that your wooden heart is more than just a finished object—it’s a bit of practice, a dose of trial-and-error, and, hopefully, something you’ll want to hand to someone else one day.
Tools and Materials You’ll Need
Before you start, stop and gather everything you’ll need. There’s little more annoying than being ready to cut, only to realize your sandpaper is missing in action.
- One piece of wood—pine, basswood, or cedar tend to behave for beginners
- A paper heart template, plus a pencil that actually shows up on wood
- A coping saw, scroll saw, or jigsaw, depending on what’s available
- Sandpaper in several grits (80, 120, and 220 is usually a safe bet)
- Your preferred stain, some acrylic paint, or perhaps linseed oil if you want to keep things simple
- Polyurethane sealer for a protective finish
- Don’t forget your safety glasses and a dust mask, especially if, like me, you have a knack for getting sawdust everywhere
7 Simple Step-by-step Guidelines on How to Make a Wood Heart
Step 1: Selecting and Preparing the Wood
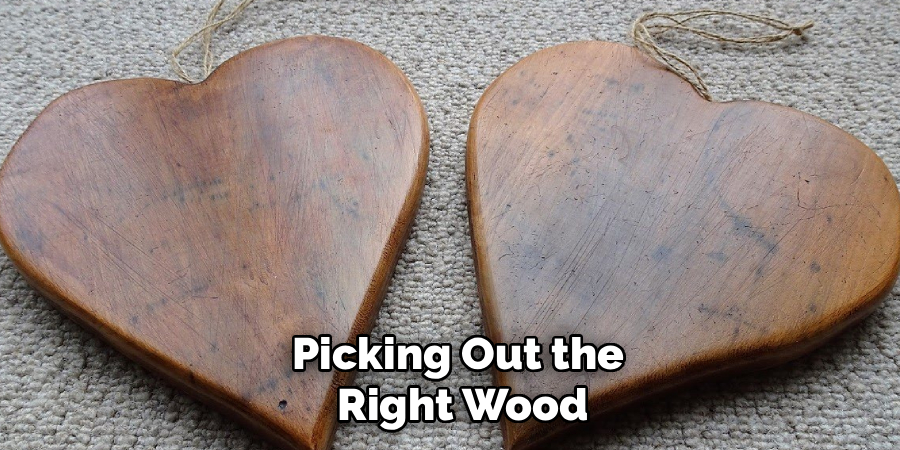
Let’s begin with the most underappreciated step: picking out the right wood. For first-timers, softer woods—pine, basswood, or cedar—are much more forgiving under the saw and far less likely to splinter when sanded. Don’t just grab the first board you see. Inspect it for deep splits, too many knots, or patches where the grain runs wild; these can quickly derail your project or, at the very least, give you a headache.
When you’ve found your piece, resist the urge to start drawing immediately. Give the surface a quick once-over with some medium-grit sandpaper. This isn’t about perfection—it’s about avoiding raised splinters that could throw your template off or cut your hand. Wipe it down with a barely-damp cloth to remove the dust. Is this meticulous? A little, but taking time now saves more than it costs later.
Step 2: Drawing the Heart Template
Achieving a truly symmetrical heart without a template might sound romantic, but in practice, it tends to result in something vaguely pear-shaped. I’d recommend folding a sturdy sheet of paper in half, sketching half the heart along the fold, and cutting it out while folded—old school, but foolproof.
Lay your template on the wood, taking care to line it up along the grain in a way that pleases your eye. Placing the grain vertically helps the heart appear slightly taller, an illusion that works surprisingly well if you want a more classic shape. Tape down the template or hold it steady—and trace around it with a dark pencil. Press firmly enough that you’ll see the outline when you cut, but please, don’t gouge the wood. A clear, continuous line here is worth the patience.
Step 3: Cutting Out the Basic Shape
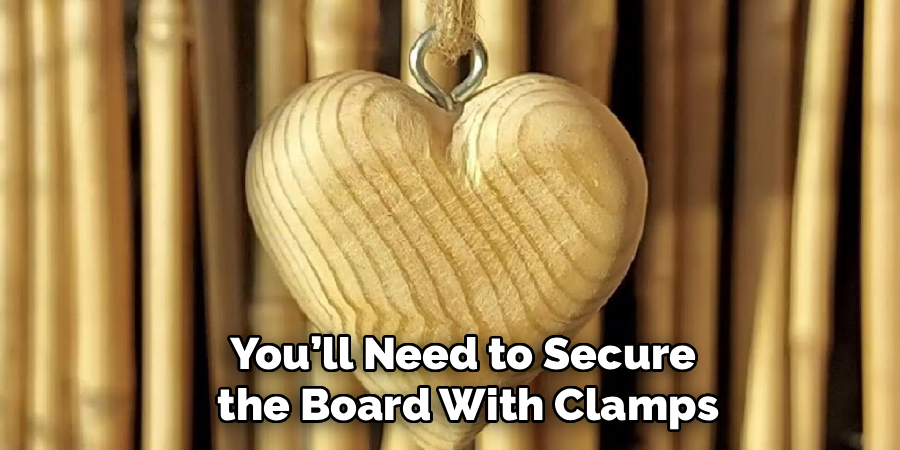
Here comes the portion most people either love or find unnerving: cutting. With a hand saw, you’ll need to secure the board with clamps, allowing the heart shape to hang over the edge a bit. Using a power tool? Double-check you’re protected: safety goggles and mask on. Begin outside the shape, easing your way towards the line—never mindlessly forcing the blade.
Rounding the heart curves, especially the dip at the top center, is awkward for every beginner. Tackle that sharp “V” with two gentle, intersecting cuts rather than one heroic, twisting maneuver. The odds are high that your cut won’t be exact. That’s not a crisis. You’ll sand down wobbles and little missteps soon enough. Work steadily, and above all, avoid drifting away from your pencil mark.
Step 4: Refining the Edges
Newly cut edges aren’t known for their elegance. Don’t be discouraged by roughness or minor ragged spots—it’s normal. Take out your coarse file or low-grit sandpaper, and work the edges with broad, deliberate strokes. This isn’t the time to chase absolute perfection; you’re finding the general contour, making things even, and smoothing out obvious bumps.
This stage is also for creative choices. You may decide to keep edges crisp and perpendicular, which gives a blocky, modern vibe, or you may start rounding corners for a softer look. I’d suggest running your fingers along the outline as you work—your hands will detect subtle bumps your eyes wouldn’t notice. If you’re tempted to rush, fight it. Smoothing now makes finishing much less tedious later.
Step 5: Sanding for a Smooth Finish
Don’t let anyone tell you sanding is a trivial afterthought. It’s arguably where a decent project becomes a good one. Start with 120-grit sandpaper, and smooth every surface deliberately. Always follow the grain, not across it, unless you enjoy the look of deep scratches—those will announce themselves, unfortunately, once you reach the staining or painting step. Keep sanding until all those saw and file marks have disappeared.
Move up to 220-grit for the final polish. This finer grit does wonders, lending a soft, almost silky texture. Afterwards, wipe the heart clean with a damp cloth. Any leftover dust will sabotage your finish—so, a little diligence here pays off.
Step 6: Applying Stain or Paint
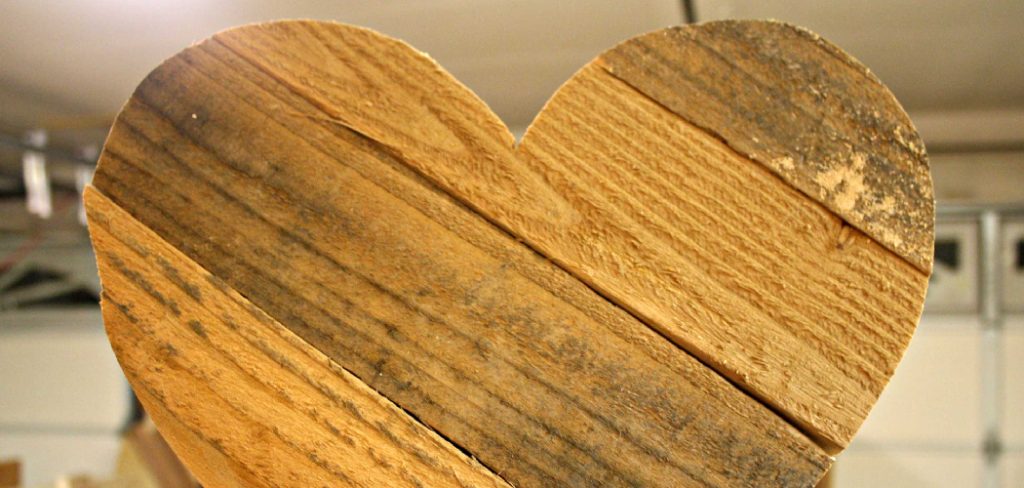
This is where things begin to feel more personal. Want the wood’s natural character to show? A simple oil- or water-based stain, applied with a clean rag or foam brush, does the trick. The longer you let it soak before wiping off the excess, the deeper the hue. Prefer opaque color or want to add designs? Lightweight acrylics suit detailed work well, but be mindful: several light coats are better than a single heavy one, which can pool or streak.
Experimentation is half the fun. Try out a few finishes on scraps before committing to the entire piece. Whatever you choose, give the paint or stain time to dry completely—you’ll thank yourself at the next stage.
Step 7: Sealing and Protecting the Wood
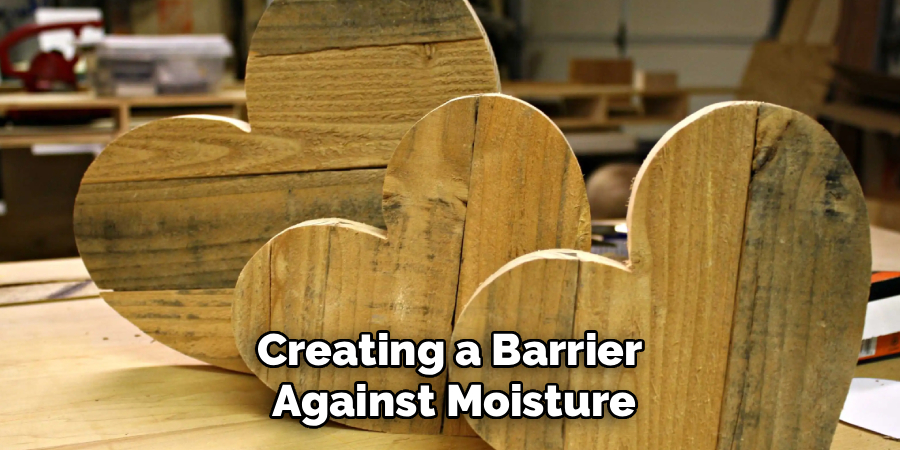
Almost done, but don’t skip the protective finish. Polyurethane is reliable, creating a barrier against moisture, grime, and the general chaos of household life. A high-quality brush and a thin, even coat make a big difference. Avoid floods in crevices or heavy drips along the edge, as these dry poorly and look uneven.
Once it’s dry, a gentle buff with ultra-fine sandpaper evens out any stray fibers or grit. Wipe down, then add a second coat for good measure. Your call: matte, satin, or gloss finish, depending on your preference. Only after the last coat cures is the heart truly ready to display or gift—hopefully, it feels both personal and well-made.
Following these steps on how to make a wood heart, you can create a unique and meaningful gift for your loved one. However, this is just one example of how wood crafting can be both practical and creative. There are countless other projects that you can do with wood, from building furniture to creating home decor items.
Common Mistakes to Avoid
Several pitfalls crop up again and again. Rushing the sanding, for example, leaves behind scratches that the finish can’t hide. If you forget to clean off dust before staining, expect blotches or dull spots. Forcing the saw leads to split edges or worse; take your time and use a sharp blade.
Finally, never leave bare wood unsealed, unless you enjoy seeing your hard work absorb stains and water rings over time.
Do You Need To Use Professionals?
Unless you plan to mass-produce identical hearts for an event or business order, hiring a professional is overkill. Basic skills—tracing, cutting, sanding—are nearly impossible not to pick up during the course of a single heart.
Of course, if you ever require dozens or hundreds, or you want laser-cutting precision, a CNC service is faster and less frustrating than doing it by hand. In my experience, though, making one or two for gifts or home decor is much more rewarding when you handle it yourself.
How Much Will It Cost?
This part tends to surprise people—for a single heart, especially if you already own a few basic tools, the cost is minimal. Pine or basswood is inexpensive, and even if you purchase sandpaper, a saw, and small cans of stain or finish, your outlay is usually under forty dollars.
Supplies stretch a long way, so future projects become even cheaper. Unless you’re splurging on specialty tools or exotic woods, this project is as budget-friendly as it is straightforward.
Frequently Asked Questions
Q1: What Is The Best Wood For Beginners?
Softwoods tend to be easiest for those just starting out. Pine is the most available and carves nicely, while basswood’s subtle grain makes it especially easy to shape and detail. Cedar smells pleasant and looks good, though it can splinter if you’re careless.
Q2: Can I Make A Wood Heart Without Power Tools?
Absolutely. A coping saw handles curves perfectly, and hand sanding, while slower, gives a lot of feedback as you work. There’s more elbow grease involved, but it’s entirely manageable with patience (and probably a podcast for company).
Q3: How Long Does It Take To Complete This Project?
Active working time—the actual hands-on hours—is most often between one and two, depending on your pace and confidence. The slowest phase is waiting for the stain and finish to dry. For best results, plan to stretch the project over a weekend.
Conclusion
There’s something unmistakably satisfying about shaping a wooden heart piece by piece. You’re not merely ticking off steps; you’re improvising, correcting, sometimes starting over, always learning.
So once you’re done, don’t stop there—experiment, adjust, try new woods or finishes. It’s not only about the final object, but about practicing a craft with your hands and enjoying the slower pace that comes with it. Thanks for reading this guide on how to make a wood heart.

About
Mike May is a distinguished figure in the world of woodworking and timber design, with a decade of expertise creating innovative and sustainable indoor solutions. His professional focus lies in merging traditional craftsmanship with modern manufacturing techniques, fostering designs that are both practical and environmentally conscious. As the author of Woodimber, Mike delves into the art and science of timber-craft, inspiring artisans and industry professionals alike.
Education
RMIT University (Melbourne, Australia)
-
Associate Degree in Design (Timber): Focus on sustainable design, industry-driven projects, and practical craftsmanship.
-
Gained hands-on experience with traditional and digital manufacturing tools, such as CAD and CNC software.
Nottingham Trent University (United Kingdom)
-
Bachelor’s in Woodworking and Product Design (Honors): Specialized in product design with a focus on blending creativity with production techniques.
-
Participated in industry projects, working with companies like John Lewis and Vitsoe to gain real-world insights.
Publications and Impact
In Woodimber, May shares his insights on timber design processes, materials, and strategies for efficient production. His writing bridges the gap between artisan knowledge and modern industry needs, making it a must-read for both budding designers and seasoned professionals.