

There’s something oddly satisfying—almost meditative—about fashioning a tool you’ll actually use. Shaping a wooden hammer from raw timber isn’t just a Sunday afternoon pastime; it can nudge your skills forward, inch by imperfect inch. While you can pick up a mallet at any hardware store, making your own means deciding where every curve sits, how the handle feels, and what weight is just right for your hands. Maybe that’s overkill, but perhaps that’s the point.
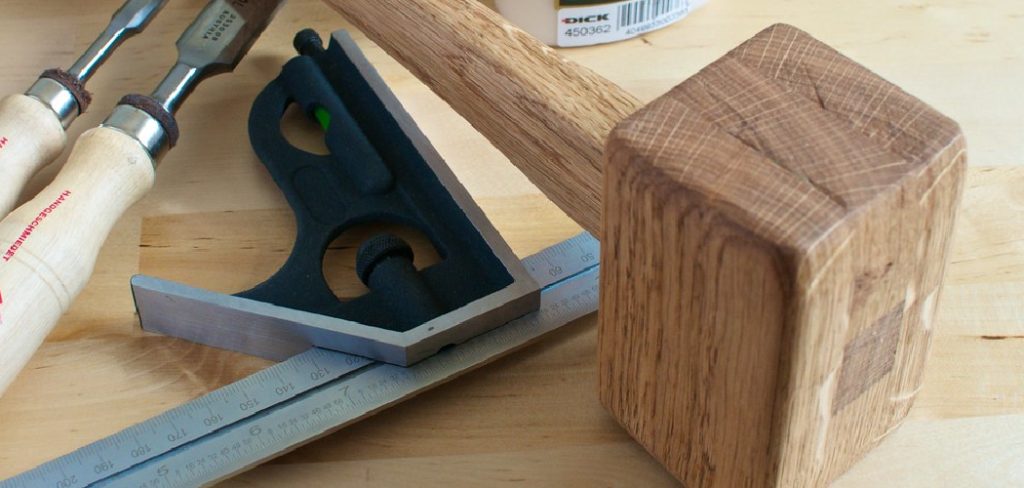
Let me walk you through how to make a wood hammer, the messy, rewarding process I use for making a wooden hammer—one that holds up through endless bouts with stubborn chisels and tight-fitted joints. No mystery here: what follows is a realistic breakdown, not a puffed-up promise of workshop perfection.
Tools and Materials: Don’t Overthink It
- Block of dense hardwood for the hammer’s head (think oak, maple, or hickory—pine’s honestly just asking for trouble)
- Another hardwood piece for the handle
- Contrasting hardwood scrap for the wedge (a splash of walnut looks nice)
- Wood glue (plain yellow glue is fine)
- Saw—hand, table, or whatever you trust to cut a straight enough line
- Drill with bits
- A half-decent chisel
- Sandpaper (grab a few grits, from rough to fine)
- Measuring tape and a pencil (yes, the dull one works)
- Wood finish: linseed oil gives a classic look, tung oil if you have it, or beeswax for the patient
7 Simple Steps on How to Make a Wood Hammer
Step 1: Select and Cut Your Wood
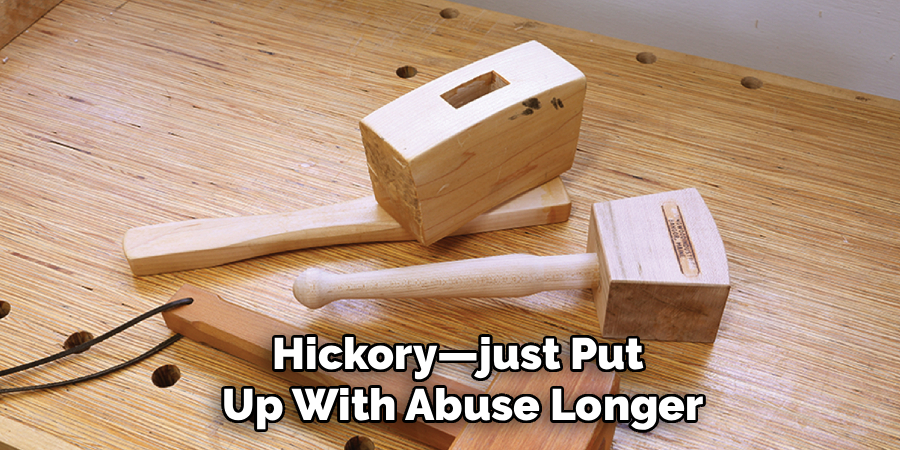
If you want a hammer that lasts, resist any urge to grab soft, cheap stock. Dense hardwoods—oak, maple, hickory—just put up with abuse longer. Softwoods buckle quickly; you might save a few dollars, but you’ll pay for it when things splinter. For the head, cut a solid, blocky chunk. The handle should come from straight-grained wood with no knots—anything less will come back to haunt you later. Before you slice into anything, take a moment to measure, mark, and stare at what you’re about to do.
Once you’re sure, saw out the head and handle blanks. I lean on my table saw when I want crisp lines, but I’ve gotten by with a handsaw too, just with a bit more muttering. Check your pieces: do they match your marks, or did you wander? Better to spend five minutes checking than an hour fixing.
Step 2: Shape the Head—Yes, It Matters
Now, some folks skip this, but angling the striking faces—just a touch—makes a difference. Lightly sketch a taper on each end. A straight edge is handy here, though anything straight-ish works in a pinch. Saw slowly, keeping both sides even. You’re not aiming for museum quality—just try not to get carried away. If things look lopsided, it throws off the swing. Knock off the sharp corners with sandpaper or a hand plane, as splinters will catch your knuckles, no fail. Hold the head; let it rest in your palm for a moment. Still feels heavy? Take a bit more off. Better now than regretting it with every blow.
Step 3: Mortising the Head (Patience Saves Headaches)
Drill time. The handle passes through a mortise in the center—emphasis on ‘center.’ To avoid a weird, wonky feel, find the center by drawing corner-to-corner lines. Drill out most of the waste, working from each side to reduce splintering. It takes a bit of practice—or trial and error, honestly—to avoid blowing out the edges. With the hole roughed, clean up the shape with a chisel. Ideally, taper it so it’s a bit wider at the top—this makes wedging easier down the road. Test with your handle: if it’s a struggle to get through, pare the sides a hair at a time. Don’t gut the thing—you still need a tight fit.

Step 4: Handle Shaping—This Part’s All About Feel
Mark where the tenon starts (that’s the squared end that’ll fit through the mortise). Saw it out, checking often as you go. Aim for a fit that’s snug but won’t split the head on assembly. I err on the long side; easier to trim later than curse a stubby handle. Shape the grip so it sits comfortably. I prefer an oval cross-section; round handles tend to roll when you’re swinging. Rasp or spokeshave does the job, though sandpaper alone works in a pinch. This part’s personal—don’t be afraid to tweak it until it feels right for your grip.
Step 5: The Wedge (and Why It’s Worth the Trouble)
Securing the handle with a wedge isn’t just old-school tradition. It’s what keeps the head from launching across the room mid-swing. Clamp your handle in a vise and saw a slot straight down the tenon’s center, about two-thirds deep. The straighter, the better, or the wedge will force the sides and possibly crack the handle. Whittle a wedge from contrasting hardwood—walnut or cherry stands out nicely in lighter handles. The wedge needs to fit tight, but not so tighthat t you start a split. Try seating the wedge; if it binds right away, make it thinner.
Step 6: Assembly—Take Your Time
Here’s the part where most mistakes happen. Apply glue liberally to the tenon and mortise walls. Tap the handle through the head until everything’s flush—no gaps, no rocking. Immediately wipe away glue that squishes out. Smear more glue on both sides of the wedge and tap it in with another hammer. Don’t beat it senseless; you want it tight, not mangled. Now, leave it alone—seriously. Let the glue cure fully, regardless of how tempting it is to jump ahead. Cutting corners now just means heartbreak later.
Step 7: Clean Up and Finish
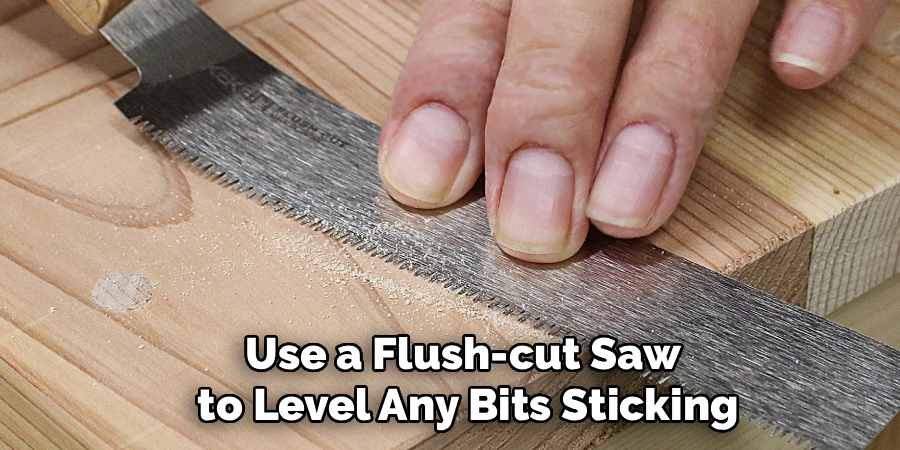
Once the glue hardens, use a flush-cut saw to level any bits sticking out above the hammer head. Sand everything smooth, especially where the tenon and wedge meet the head—this is your moment to fix past sins. Buff the whole thing down with extra-fine sandpaper. For a finish, I usually lean toward linseed oil (the smell’s half the fun), but tung oil and beeswax work too. Rub it in, let it soak, wipe off the excess, and wait. Seriously, leave it overnight before you use the hammer unless you’re into sticky hands and ruined projects. Stand back. You’ve got a hammer of your own making, flaws and all.
Following these steps on how to make a wood hammer can also be applied to other DIY projects involving wood. Whether it’s a cutting board, a shelf, or even a small piece of furniture, the process is the same. Sanding down imperfections and using natural oils for finishing not only adds character to the project but also helps protect the wood from wear and tear.
Pitfalls and Blunders: Read These Before You Start
See, most headaches happen not during the cutting but in a rush to finish. Impatience with glue? You might find the head somewhere across the shop mid-swing. Skip the mortise taper, and you may fight a loosening handle every few sessions. Pine, even the select stuff, has a habit of denting with the first mallet blow. If you slot the tenon too deeply, the whole top could shear off. And if you forget to wipe errant glue, expect ugly streaks that no amount of sanding will conceal.
Should You Just Pay Someone?
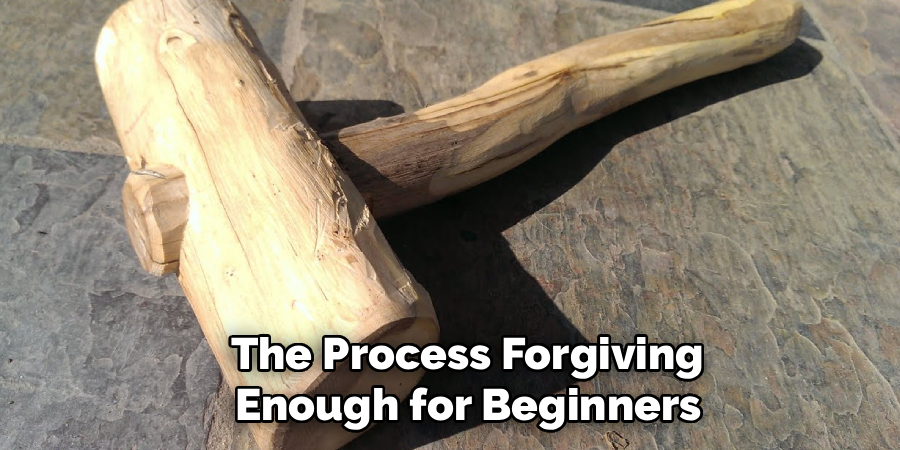
Honestly, paying a pro makes no sense here. This is a project meant for learning and a bit of trial and error. The tools are simple, and the process forgiving enough for beginners. If you read instructions with a measure of skepticism and aren’t opposed to mild improvisation, you’ll manage.
At worst, you end up with a slightly crooked hammer and the seeds of real woodworking experience. At best, you have something that works—and boasts the story of how it got there.
Frequently Asked Questions
Q1: Can I Learn Woodworking Without Any Prior Experience?
Yes, anyone can learn woodworking regardless of their prior experience. With the right tools and guidance, anyone can become skilled in the art of woodworking. It may take some time and practice, but with determination, anyone can learn the necessary techniques and skills to create beautiful pieces.
Q2: What Tools Do I Need to Get Started in Woodworking?
The tools you need for woodworking depend on the type of projects you want to work on. However, there are a few basic tools that every beginner should have:
- A handsaw
- A hammer
- A set of chisels
- A measuring tape
- Screwdrivers (both flathead and Phillips)
- Sandpaper
As you progress in your woodworking journey and take on more complex projects, you may need additional specialized tools.
Q3: Is Woodworking Expensive?
The cost of woodworking can vary greatly depending on the type of projects you plan to work on and the tools and materials you choose to use. While some basic tools are necessary for any woodworker, there are ways to save money by purchasing used or borrowing tools from friends or family.
Conclusion
Taking on this project yourself is more than just about the end result—it’s about the skills you gain, the creativity you flex, and the confidence you build along the way. Mistakes are part of the process and add character to the final product, making it uniquely yours.
Whether it turns out perfectly or with a few quirks, you’ll walk away with more than just a functional piece; you’ll have the experience and pride of creating something with your own hands. Thanksf or reading this guide on how to make a wood hammer.

About
Mike May is a distinguished figure in the world of woodworking and timber design, with a decade of expertise creating innovative and sustainable indoor solutions. His professional focus lies in merging traditional craftsmanship with modern manufacturing techniques, fostering designs that are both practical and environmentally conscious. As the author of Woodimber, Mike delves into the art and science of timber-craft, inspiring artisans and industry professionals alike.
Education
RMIT University (Melbourne, Australia)
-
Associate Degree in Design (Timber): Focus on sustainable design, industry-driven projects, and practical craftsmanship.
-
Gained hands-on experience with traditional and digital manufacturing tools, such as CAD and CNC software.
Nottingham Trent University (United Kingdom)
-
Bachelor’s in Woodworking and Product Design (Honors): Specialized in product design with a focus on blending creativity with production techniques.
-
Participated in industry projects, working with companies like John Lewis and Vitsoe to gain real-world insights.
Publications and Impact
In Woodimber, May shares his insights on timber design processes, materials, and strategies for efficient production. His writing bridges the gap between artisan knowledge and modern industry needs, making it a must-read for both budding designers and seasoned professionals.