

Some home projects just sit there for months, silently mocking you every time you take the stairs or step out onto the deck. The humble handrail—so basic, so unglamorous—may be one of them. But put off the task too long and every wobbly trip up the steps turns into a gentle reminder: you could probably do better.
If you’re ready to tackle it yourself, you’ll have the freedom to choose everything, from the type of wood (maybe you fancy English oak, maybe economical pine suits you just fine) right down to the subtle curve of the grip under your hand. The work itself often winds up more rewarding than anticipated, provided you’re willing to slow down and get the details right.
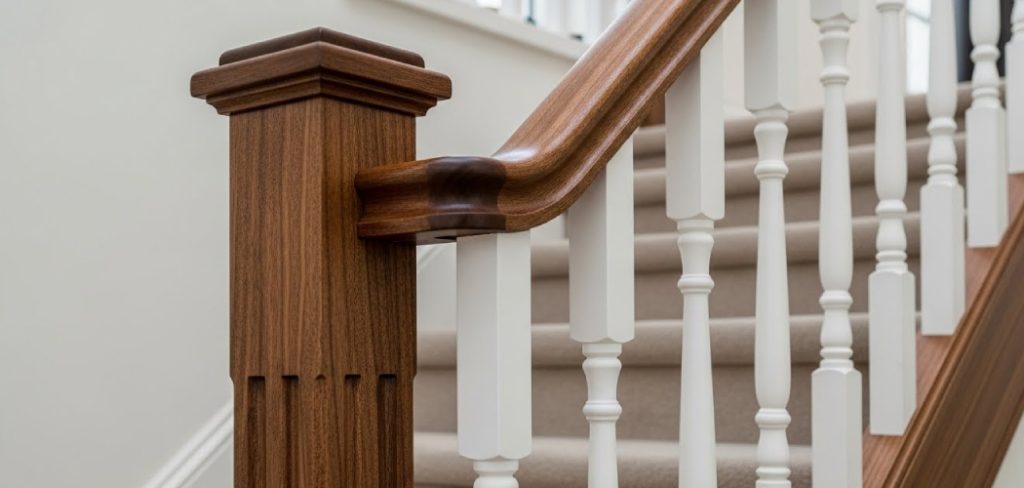
Precise tools, yes, and perhaps a little patience. Hasty shortcuts come back and haunt you in surprising ways—a lopsided rail at midnight, for one, or a finish that dulls and scratches before the month is out. But if you get the measurements, joints, and surface right, the end result is a sturdy, pleasingly solid handrail you’ll notice every day. In this guide on how to make a wood handrail
Planning the Handrail
Skip the planning and you’re just begging for frustration. Building codes—sometimes deceptively obscure—usually specify things like the minimum height of the handrail, how far it has to project from the wall, and the amount of stress it needs to tolerate. It’s a tedious business, but necessary. Grab a tape and measure the entire length your rail will run—not straight across the floor, but following the angle of the stair treads. Add about ten percent to your estimate to cover inevitable mistakes or the odd knot in the lumber.
The shape or profile of the rail might seem like a minor thing, but don’t make that call at the last minute. The design will affect what router bits you’ll need and what sort of brackets actually fit. While you’re at it, dig out a stud finder—attaching a handrail to mere drywall is risky, if not a little foolhardy. Try to anchor each bracket into a proper wall stud, because, well, gravity always wins.
Tools and Materials You’ll Need
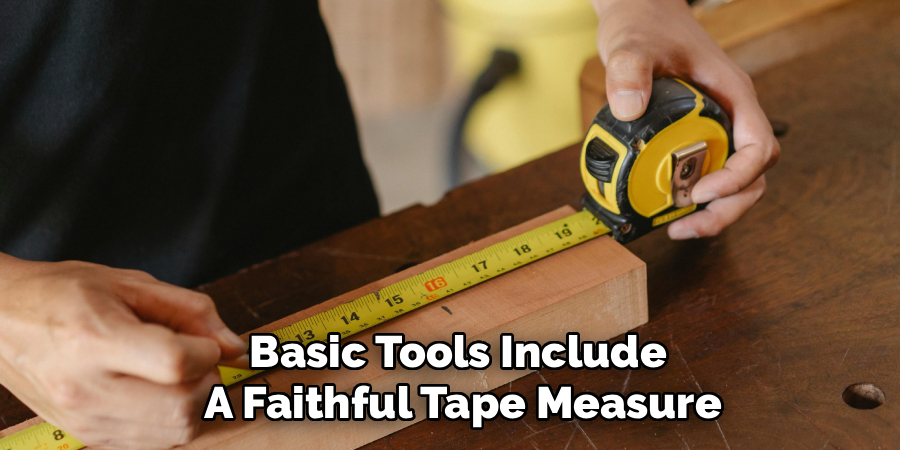
Nothing slows a project like realizing—mid-cut—that you’ve forgotten something at the hardware store. To avoid this, gather materials first: a length of decent hardwood (oak, maple, or, if you’re in a pinch, pine), a reasonably straight board, and mounting brackets that don’t look like they’ll give out in a year. Basic tools include a faithful tape measure, a sturdy level, a miter or circular saw (sharp blade, always), a drill with a range of bits, and an orbital sander that won’t eat through your timber. Don’t forget wood screws or lag bolts, a bottle of wood glue, filler for mishaps, and your choice of stain and clear finish.
Now, shaping the rail is another matter—if you’re starting with a raw board, a router fitted with a suitable bit will help you soften those edges. Lacking a router, a sharp hand plane and patience can get you surprisingly far. But don’t skimp on any of these—your hands will notice every shortcut.
7 Simple Step-By-Step Guidelines on How to Make a Wood Handrail
Step 1: Measure and Cut the Wood to Length
Begin by running a tape along the exact path your new rail will travel—don’t cheat and measure horizontally, or you’ll end up short. Between the top landing and the very last step, follow the rise of the stairs. Leave yourself extra length at both ends; you can always trim later, but you can’t magically add inches once it’s cut. The well-worn advice to measure twice and cut once bears repeating—no one enjoys the slow-motion horror of watching a miscut notch ruin a good board.
For the actual cut, a miter saw (if you have one) is ideal. If angled “returns” are needed at the ends, work out those angles now—it’s easier than wrestling with them later. Cutting the piece a bit longer than you need gives you somewhere to make minor adjustments as you mount it. A fresh, sharp blade is worth it—tear-out on the edges makes an ugly mess and wastes sanding time.
Step 2: Shape the Profile of the Handrail
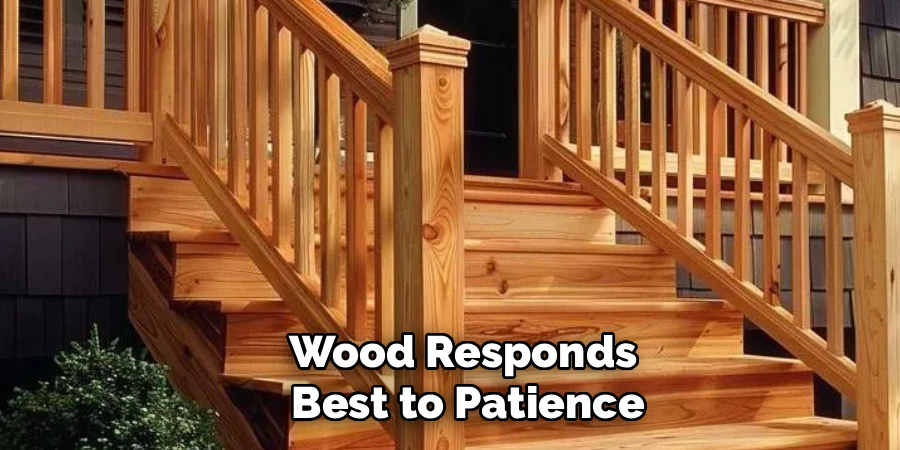
A squared-off plank as a handrail? Awkward, at best, and no fun for bare hands. This step is about turning that board into something you’ll actually want to grip. If you own a router—lucky you—fit it with a round-over bit and make a series of shallow, steady passes along the edges. Don’t be tempted to take too much off in a single go; wood responds best to patience.
No fancy router? Fair enough.Use a hand plane and sturdy sanding block to ease those edges instead. Whatever your choice, don’t settle for a one-size-fits-all curve—test with your own palm until the rail feels natural. Consistency is key: uneven shaping stands out more than you might expect once mounted.
Step 3: Sand the Wood to a Smooth Finish
Here’s where opinions diverge: sanding can be oddly meditative or infuriatingly dull. Regardless, skip this step and you’ll regret it—splinters have a way of finding fingertips. Begin with a coarser grit (80 is a fine place to start) to erase saw marks or dark patches left by the routing. Move the sander (or block if you’re the hands-on type) with the grain, not across it.
Move up through the grits in stages—120, 150, and finally a 220 for a silky touch. Around the curves, you might need to switch to hand sanding; power tools can flatten out the careful shape you’ve worked so hard to create. Pass your bare hand slowly along the length. Any hint of roughness means you’re not quite done. Meticulous sanding pays dividends later when it comes time to stain.
Step 4: Apply Stain and Protective Finish
There’s an odd anxiety in the first swipe of stain—wood can soak up color in ways you didn’t expect. If you choose a softwood, a pre-stain conditioner is worth considering (though not strictly required), as it can minimize patchy absorption. Use a clean rag or bristle brush and work the stain in sections, wiping off excess as you go. Read the instructions—some stains dry quickly, others surprise you with their stubborn tackiness.
When fully dry, shift to the final coats. Polyurethane is a reliable protector, but it’s not all equal—satin tends to conceal fingerprints better than gloss. Between coats (expect at least three), buff lightly with fine sandpaper or steel wool; the smoother you sand, the closer you’ll come to that elusive glassy finish. Give the last coat time—don’t rush installation only to stick a bracket into soft, uncured varnish.
Step 5: Locate and Mark the Wall Studs
Handrail failure is almost always a result of poor attachment. It can be tempting to “eyeball” where the studs run, but a quality stud finder saves headaches and holes later. Mark the centers of each stud with a pencil and double-check with a level—they rarely land perfectly along the stair angle.

Check local codes for mounting height—most land between 34 and 38 inches above the stair nosing, but the odd exception crops up. Run a chalk line or long, straight board along this path; imperfections here are infuriatingly hard to disguise after the fact.
Step 6: Install the Handrail Brackets
Once the studs and mounting height are clear, bring in the brackets. Take time lining up each one—it’s shockingly easy to end up crooked if you’re not strict. Use a pencil to mark screw holes, drill small pilot holes first (this keeps the wood from splitting), and drive in the screws. Wobble or slant in these supports becomes obvious after installation, so check as you go.
In cases where a bracket simply can’t line up with a stud, heavy-duty toggle bolts offer a compromise, though it’s best not to rely on these unless necessary. The golden rule: the more you can anchor into solid framing, the better.
Step 7: Attach the Wood Rail to the Brackets
The final moment. With the brackets in place, balance the finished rail on top—an extra set of hands helps here, especially with longer runs. Adjust until both ends sit where you’d like, then use a pencil to mark the screw locations beneath.
Remove the rail, drill pilot holes (not all the way through, unless you like surprises), then set it back and drive in the screws. Don’t overtighten—stripped wood leaves you starting over. A vigorous shake test often settles last-minute nerves. Installed correctly, the rail should feel as solid as the wall itself.
Following these steps on how to make a wood handrail will ensure that your handrail is sturdy and secure, providing safety for those using it.
Common Mistakes to Avoid
Drilling into drywall instead of studs? The handrail won’t survive the month. Skipping pilot holes almost guarantees splitting—not the good kind, either. Lax sanding shows up as ugly scratches and blotchy stain.
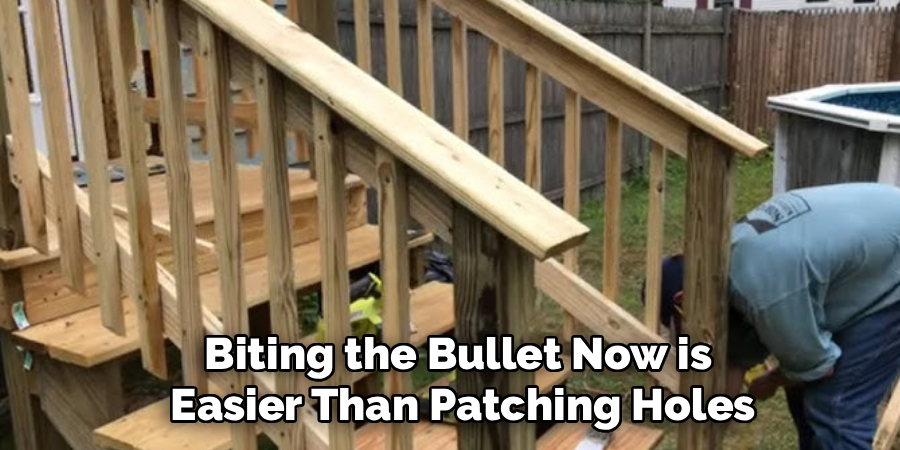
Overlooking city code details? It happens, and biting the bullet now is easier than patching holes (or explaining to a building inspector) later. There’s also the common pitfall of sawing to the measured length without an inch to spare; that “perfect” cut often comes up short when you finally fit the rail.
Maintenance and Care
Finished the rail? Good. Now, keeping it beautiful is mostly a matter of routine. Wipe it down every so often with a just-damp cloth (microfiber, to be fussy), which is enough to clear away ordinary dust and whatever gets left behind by hands. Avoid harsh cleaners or gritty pads—they’ll punish the finish more than weekly use ever could.
Check brackets twice a year, if you remember; the expansion and contraction of wood with the seasons inevitably work things loose. A bit of gentle sanding and a fresh touch of polyurethane are usually enough to revive a tired handrail; there’s no need to start all over.
Tips for a Professional Finish
Patience ranks highest among the secrets to a truly showpiece handrail. Always sand in line with the grain; sanding across it exaggerates every flaw under stain. Use a tack cloth, not because it’s fancy, but because paper towels will just scatter dust into your finish. Stir—never shake—cans of stain or finish, as trapped bubbles only lead to disappointment.
Consider thinner coats; heavy applications of polyurethane take ages to dry and are far more likely to drip. Thin, patient layers really do yield a better result.
Frequently Asked Questions
Q1: What Is the Best Type of Wood for a Handrail?
Dense, slow-growing hardwoods—think oak, maple, walnut—are the traditional favorites for their strength and durability. Their resistance to denting means they stay looking good even after years of heavy traffic. Pine and the like work in a pinch (and ease up on your wallet), but do expect to see nicks sooner than you’d like.
Q2: How High Should a Handrail Be Installed?
Most codes—and experienceagrees—set the rail height between 34 inches and 38 inches above the stair tread front. This range gives most people safe leverage. It pays to look up your municipality’s requirements; some areas are surprisingly strict about this sort of thing.
Q3: How Many Brackets Do I Need for My Handrail?
Placement depends on length. General wisdom: never span more than 48 inches, and always secure the ends. For a ten-foot handrail, expect at least four heavy-duty supports. More, if the design or conditions call for it.
Wrapping Up Your Project
A handrail, created by your own hands, has a way of standing out—quietly, certainly, but you’ll sense it each time you climb the stairs. If you’ve measured carefully, picked out good wood, and given the finishing steps the time they demand, you can end up with a result that holds its own against the best work you’ll find in a custom carpentry shop.
Patience isn’t optional; it’s the direct path to a result you’ll want to show off, even if only to family and friends. Appreciate your efforts—this bit of woodworking should stand sturdy for years. Thanks for reading this guide on how to make a wood handrail.

About
Mike May is a distinguished figure in the world of woodworking and timber design, with a decade of expertise creating innovative and sustainable indoor solutions. His professional focus lies in merging traditional craftsmanship with modern manufacturing techniques, fostering designs that are both practical and environmentally conscious. As the author of Woodimber, Mike delves into the art and science of timber-craft, inspiring artisans and industry professionals alike.
Education
RMIT University (Melbourne, Australia)
-
Associate Degree in Design (Timber): Focus on sustainable design, industry-driven projects, and practical craftsmanship.
-
Gained hands-on experience with traditional and digital manufacturing tools, such as CAD and CNC software.
Nottingham Trent University (United Kingdom)
-
Bachelor’s in Woodworking and Product Design (Honors): Specialized in product design with a focus on blending creativity with production techniques.
-
Participated in industry projects, working with companies like John Lewis and Vitsoe to gain real-world insights.
Publications and Impact
In Woodimber, May shares his insights on timber design processes, materials, and strategies for efficient production. His writing bridges the gap between artisan knowledge and modern industry needs, making it a must-read for both budding designers and seasoned professionals.