 (1)")

Building your own furniture is one of the most rewarding projects you can undertake. There is something deeply satisfying about sleeping on a bed frame that you measured, cut, and assembled with your own hands.
While the idea of constructing a piece of furniture might seem intimidating at first, a single bed frame is actually the perfect entry-level project for aspiring woodworkers. It requires basic tools, standard lumber sizes, and straightforward joinery techniques. Whether you are furnishing a guest room, upgrading a child’s bedroom, or outfitting a studio apartment, this project offers a custom solution that store-bought furniture often can’t match.
By following this guide on how to make a single bed frame out of wood, you will transform raw lumber into a sturdy, stylish, and long-lasting piece of furniture.
What Will You Need?
Before you begin, gather the necessary materials and tools. This list assumes a standard single (twin) mattress size, which is typically 38 inches by 75 inches.
Materials:
- Lumber:
- (2) 2×4 boards, 8 feet long (for side rails)
- (2) 2×4 boards, 8 feet long (for headboard and footboard legs)
- (5) 1×4 boards, 8 feet long (for slats and cross supports)
- (1) 4×4 post (optional, if you prefer chunkier legs)
- Hardware:
- 2.5-inch wood screws (for structural joints)
- 1.5-inch wood screws (for attaching slats)
- Wood glue (essential for strengthening joints)
- Wood filler (to hide screw holes)
- Finishing Supplies:
- Sandpaper (80, 120, and 220 grit)
- Wood stain or paint
- Polyurethane or wood sealer
Tools:
- Circular saw or miter saw
- Power drill and driver bits
- Tape measure
- Speed square
- Pencil
- Sander (orbital sander is best) or sanding block
- Clamps
- Safety gear (goggles, ear protection, dust mask)
10 Easy Steps on How to Make a Single Bed Frame Out of Wood
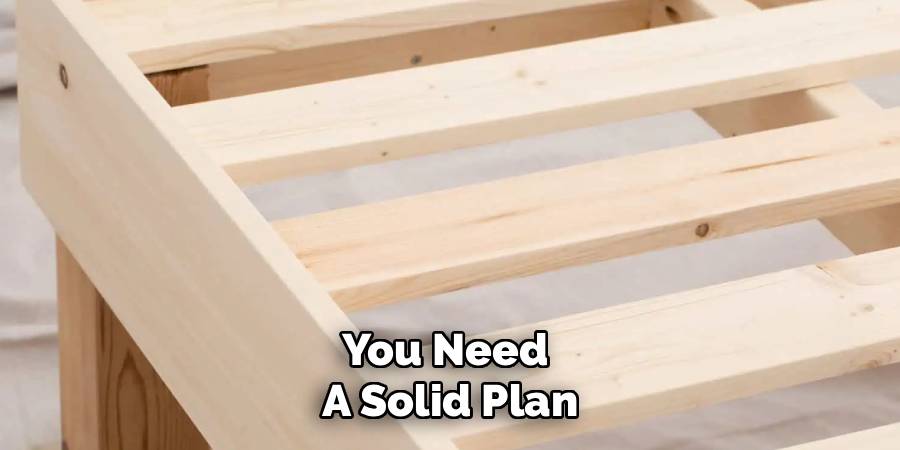
Step 1: Design and Measure Your Space
Before making a single cut, you need a solid plan. A standard single mattress is roughly 38” x 75”, but mattress sizes can vary slightly by manufacturer. Measure your specific mattress first. Your frame needs to be slightly larger than the mattress—aim for about 1/2 inch to 1 inch of clearance on all sides so bedding can be tucked in easily. Decide on the height of your bed. A standard height is about 12 to 16 inches off the ground for the frame itself, plus the mattress thickness. Sketch your design on paper, noting the exact lengths for your side rails (the long sides), the headboard and footboard rails (the short sides), and the legs. Verify that the finished dimensions will fit comfortably in your intended room.
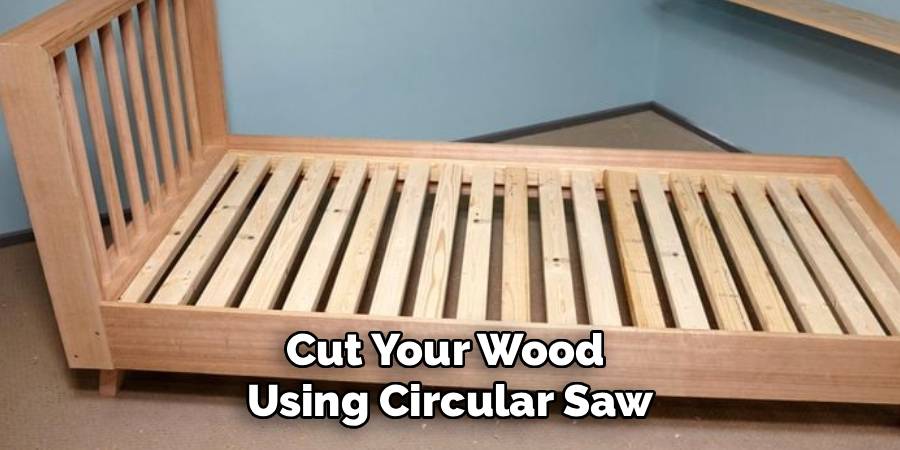
Step 2: Cut the Lumber to Size
Once your measurements are finalized, it is time to cut your wood. Using your circular saw or miter saw, cut the two side rails to length (usually 75-76 inches). Next, cut the headboard and footboard rails. If you are building a simple frame where the legs are attached to the outside of the rails, these cross rails should match the width of your mattress plus a little wiggle room (approx. 39-40 inches). Cut your four legs to your desired height. If you want a headboard, cut the two back legs significantly longer (e.g., 40-48 inches) so they extend up past the mattress. Remember the golden rule of carpentry: measure twice, cut once. Keep your cuts straight and square to ensure the frame assembles without gaps.
Step 3: Sand and Prep the Wood
It might be tempting to start assembling immediately, but sanding is much easier before the pieces are screwed together. Start with coarse-grit sandpaper (80 grit) to remove any rough patches, splinters, or mill marks from the lumber store. Pay special attention to the cut ends, which can be particularly rough. Move to a medium grit (120) and finish with a fine grit (220) for a smooth, professional feel. This step is crucial for a bed frame because you don’t want to snag your expensive sheets or get a splinter while making the bed. Wipe down all the boards with a tack cloth or slightly damp rag to remove all sawdust before moving to assembly.
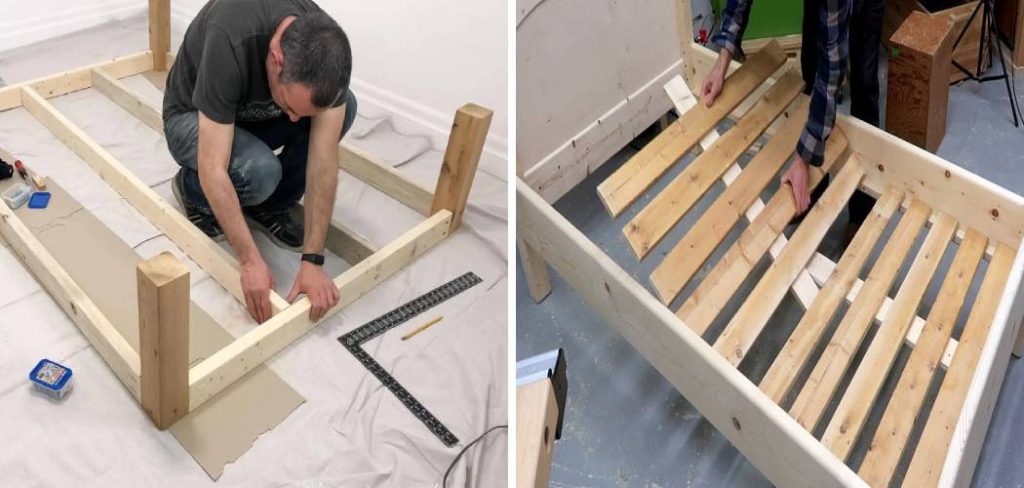
Step 4: Assemble the Headboard and Footboard
Begin assembly by building the two ends of the bed. Lay your two leg pieces for the headboard on a flat surface. Place the headboard cross-rails between them. You can position the rails flush with the outside edge or inset them slightly for a different look. Apply wood glue to the ends of the rails before positioning them. Using your power drill, create pilot holes through the legs and into the rails to prevent the wood from splitting. Drive 2.5-inch screws through the legs into the rails. Repeat this process for the footboard. Ensure that the rails are perfectly perpendicular to the legs using your speed square. If your design includes decorative slats for the headboard, install them now between the top and bottom rails.
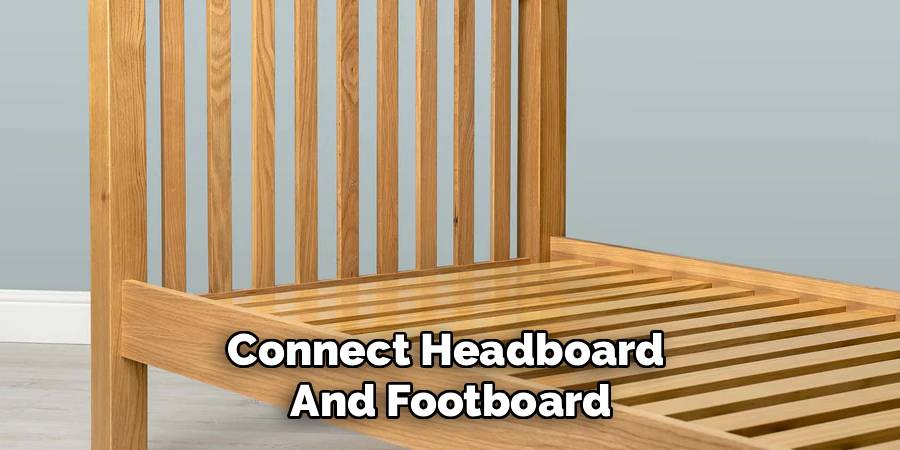
Step 5: Attach the Side Rails
Now you need to connect the headboard and footboard. This step is easier with a helper. Stand the headboard and footboard up and position the long side rails between them. The side rails should be at the same height as the lower rails on your headboard and footboard. Use clamps to hold the side rails in place while you check for squareness. Just like before, apply wood glue to the ends of the side rails. Drill pilot holes and drive screws through the legs into the ends of the side rails. For extra stability, you might consider using bed rail brackets or metal corner braces on the inside corners, although sturdy screwing and gluing is often sufficient for a single bed.
Step 6: Install Cleats for Slats
The mattress needs something to sit on, and that support comes from slats. However, the slats need a ledge to rest on. This ledge is called a cleat. Cut two pieces of 2×2 or 1×2 lumber to the same length as your side rails, minus a few inches to clear the legs. Screw and glue these cleats to the inside of each side rail. Position them low enough so that when the slats and mattress are placed on top, the mattress sits securely inside the frame (usually 2-3 inches from the top edge of the side rail). Use plenty of screws here—every 6 to 8 inches—because these cleats will bear the entire weight of the sleeper. Use a level to ensure the cleats are perfectly horizontal on both sides.
Step 7: Cut and Test Fit the Slats
Cut your 1×4 boards to serve as the bed slats. The length of the slats should be the distance between the two side rails. Measure the distance at the head, middle, and foot of the bed to ensure your frame is square; if the measurements differ, cut your slats individually to fit specific spots. You typically want a gap of about 2 to 3 inches between each slat to allow airflow to the mattress, which prevents mold. Lay the slats out on the cleats you installed in the previous step. Do not screw them down yet. Just place them to ensure they fit snugly without forcing the frame apart or falling through. You should generally aim for 10 to 12 slats for a standard single bed.
Step 8: Secure the Slats
Once the slats are spaced evenly, it is time to secure them. While some people leave slats loose, screwing them down adds significant structural rigidity to the entire frame, preventing it from racking or wobbling. Drill a pilot hole through the end of each slat into the cleat below. Secure each slat with a 1.5-inch screw. If you want the option to disassemble the bed easily later, you can choose to screw down only every other slat, or just the top, middle, and bottom ones. However, for a permanent build, securing all of them is best. Ensure the screw heads are sunk slightly below the wood surface so they don’t snag the mattress fabric.
Step 9: Final Structural Check and Filling
With the frame fully assembled, give it a shake test. It should feel solid and heavy. If there is any wobble, check your joints. You may need to tighten screws or add a metal corner bracket for reinforcement. Now, look for your screw holes. For a polished look, take wood filler and fill in the holes where you screwed the frame together. Let the filler dry completely according to the manufacturer’s instructions, then sand it flush with the surface of the wood. This hides the mechanical fasteners and makes the bed look like a high-end piece of furniture. Do a final pass with sandpaper over any sharp corners or edges to “break” them, making them soft to the touch.
Step 10: Apply Finish and Protect
The final step brings out the beauty of the wood and protects it from wear. Clean off all dust thoroughly. Apply your chosen stain using a rag or brush, following the grain of the wood. Wipe off excess stain after a few minutes to ensure an even color. Allow the stain to dry completely. Once dry, apply a protective topcoat like polyurethane. A water-based polyurethane is easy to clean up and dries quickly, while an oil-based one offers a warmer amber tone. Apply at least two coats, sanding lightly with very fine sandpaper (300+ grit) between coats for a glassy smooth finish. Let the finish cure for at least 24 to 48 hours before placing the mattress on the frame to prevent any chemical smells from seeping into your bedding.
5 Things You Should Avoid
- Skipping Pilot Holes: Never drive a screw directly into the wood without drilling a pilot hole first. This is the number one cause of split wood, which weakens the joint and ruins the aesthetic of your project.
- Using Warped Lumber: When buying wood, sight down the length of the board like you are aiming an arrow. Avoid boards that twist, bow, or cup. Using warped wood will make assembly a nightmare and result in a wobbly bed.
- Ignoring Mattress Dimensions: Do not rely on “standard” measurements found online. Mattresses vary. If you build the frame too tightly, the mattress won’t fit; too loosely, and it will slide around uncomfortably.
- Spacing Slats Too Far Apart: If your slats are more than 3 inches apart, the mattress can sag between them. This damages the mattress structure and results in an uncomfortable night’s sleep. Foam mattresses often require even tighter spacing.
- Rushing the Finish: Applying a second coat of finish before the first is dry, or skipping the sanding between coats, will result in a tacky, rough surface. Patience during the finishing stage is what separates a novice project from a professional one.
Conclusion
Building your own single bed frame is a project that pays dividends every night when you go to sleep.
By breaking the process down into manageable steps—measuring, cutting, sanding, and assembling—you demystify the art of woodworking. You have saved money, learned valuable skills, and created a custom piece of furniture that fits your space perfectly. With proper care and solid construction, this wooden bed frame will serve you well for years, offering a sturdy foundation for rest.
Hopefully, this project on how to make a single bed frame out of wood has sparked an interest in woodworking and encouraged you to continue honing your craft.