

Welcome to your next favorite backyard project. Building a wooden bird bath is a wonderful way to invite local wildlife into your garden while adding a beautiful, natural centerpiece to your outdoor space.
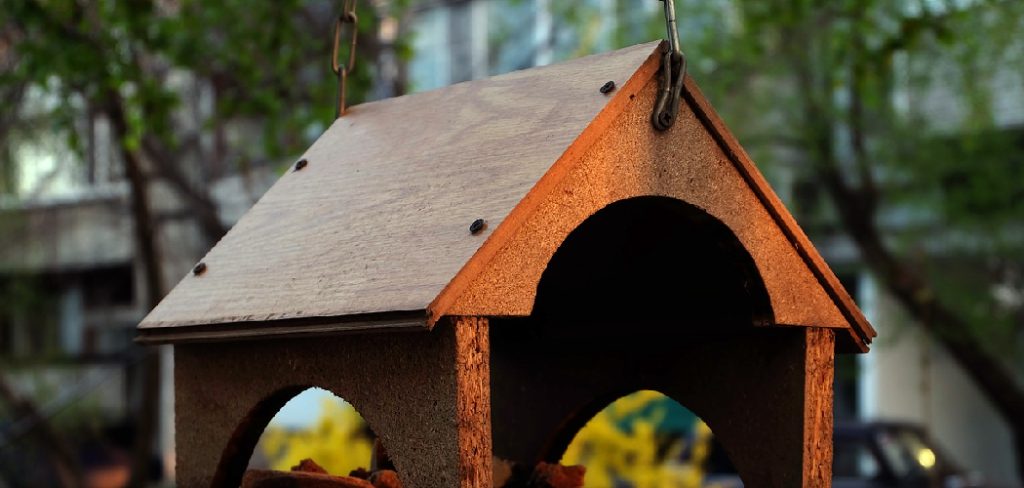
While concrete and plastic options fill the aisles of garden centers, a handcrafted wooden feature offers a unique charm that blends perfectly with nature. Wood provides a rustic, elegant look, but it does require specific care to ensure it withstands water and weather.
This comprehensive guide on how to make a bird bath out of wood will walk you through everything you need to know to create a stunning, durable oasis for your feathered friends.
What are the Benefits of a Wooden Bird Bath?
Choosing wood over traditional materials brings several distinct advantages to your garden and the local ecosystem.
First, wood offers an unmatched natural aesthetic. Unlike bright plastics or harsh, cold concrete, a wooden structure complements the trees, plants, and natural elements already present in your yard. As it ages, it develops a beautiful patina that settles naturally into the landscape.
Second, building it yourself allows for complete customization. You control the height, the width of the base, and the depth of the basin. You can tailor the design to fit a specific corner of your garden or adjust the height to deter local predators like neighborhood cats.
Third, a wooden bird bath is a highly rewarding, eco-friendly project. By using sustainably sourced or repurposed lumber, you reduce your environmental footprint. Wood is a renewable resource, and when treated with eco-friendly sealants, it provides a safe, non-toxic drinking and bathing spot for birds.
Finally, wood does not hold extreme temperatures the way metal or dark stone might. This means the perching edges remain comfortable for birds even on sunny summer days.
What Will You Need?
Before you begin, gather all the necessary materials and tools. Proper preparation makes the building process smooth and enjoyable.
Materials:
- Lumber: Cedar or redwood is the best choice. They contain natural oils that resist rot and insect damage. You will need one 4×4 post for the pedestal, and a few 1×6 or 2×6 boards for the base and the top platform.
- Basin: A shallow terracotta saucer, a heavy-duty plastic plant saucer, or a glass bowl. Wood itself should not hold the water directly to prevent rotting.
- Fasteners: Exterior-grade galvanized or stainless steel decking screws (2-inch and 3-inch).
- Sealant: A high-quality, non-toxic, eco-friendly waterproof wood sealer.
- Wood Glue: Exterior-grade, water-resistant wood glue.
- Sandpaper: 80-grit, 120-grit, and 220-grit.
Tools:
- Miter saw, or circular saw
- Power drill and drill bits
- Tape measure and carpenter’s square
- Paintbrush for the sealant
- Safety glasses and a dust mask
10 Easy Steps on How to Make a Bird Bath Out of Wood
Creating a wooden bird bath is an approachable weekend project. By following these steps carefully, you will build a sturdy and attractive structure that will last for years.
Step 1: Selecting the Right Wood for Your Environment
The foundation of a lasting outdoor project lies in the materials you choose. For a wooden bird bath, rot resistance is your top priority. Cedar and redwood are the premier choices because their natural oils repel moisture and insects. If you cannot find cedar or redwood, pressure-treated pine is an option, but you must ensure it has dried completely and is thoroughly sealed so no chemicals leach into the environment. Avoid untreated softwoods like standard pine or whitewood, as they will quickly absorb moisture, swell, and decay when exposed to garden weather.
Step 2: Preparing Your Workspace and Tools
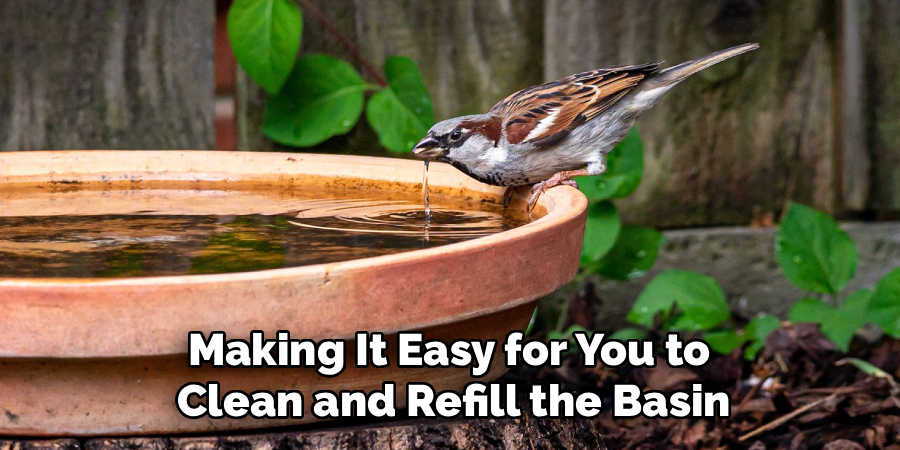
Safety and organization make any DIY project easier. Set up a sturdy workbench in a well-ventilated area, preferably outdoors or in an open garage. Lay out your tools, ensuring your saw blades are sharp and your drill battery is fully charged. Put on your safety glasses and dust mask. Review your design plan. Standard bird baths sit about 30 to 36 inches off the ground, which protects birds from predators while making it easy for you to clean and refill the basin.
Step 3: Measuring and Cutting the Pedestal
The pedestal is the main trunk of your bird bath. Take your 4×4 post and measure a length of 30 inches. Using a carpenter’s square, mark a straight line across all four sides of the post to ensure a perfectly level cut. Use your miter saw or circular saw to cut the post. A square, level cut is critical here; if the top or bottom of the pedestal is angled, your bird bath will lean, causing the water to spill out of one side of the basin.
Step 4: Measuring and Cutting the Base Pieces
A wobbly bird bath is a hazard and will not attract birds. To create a stable foundation, you will build a cross-shaped base. Take your 2×6 lumber and cut two pieces, each 24 inches long. To make them interlock seamlessly, you need to cut a “half-lap” joint. Find the exact center of both boards. Mark the width of the board (usually 5.5 inches) at the center. Set your circular saw depth to exactly half the thickness of the board. Make multiple passes between your marks, then use a chisel to clear out the remaining wood.
Step 5: Assembling the Sturdy Cross Base
Once your half-lap joints are cut, apply a generous amount of exterior-grade wood glue to the notched areas. Press the two base pieces together so they form a perfect “X” shape. They should sit flush with each other. Drive four exterior-grade screws through the joint to secure it tightly. Next, place your 4×4 pedestal exactly in the center of the cross base. Pre-drill angled pocket holes or drive long screws through the bottom of the base up into the pedestal. Ensure the post is perfectly vertical using a level.
Step 6: Creating the Basin Support Platform
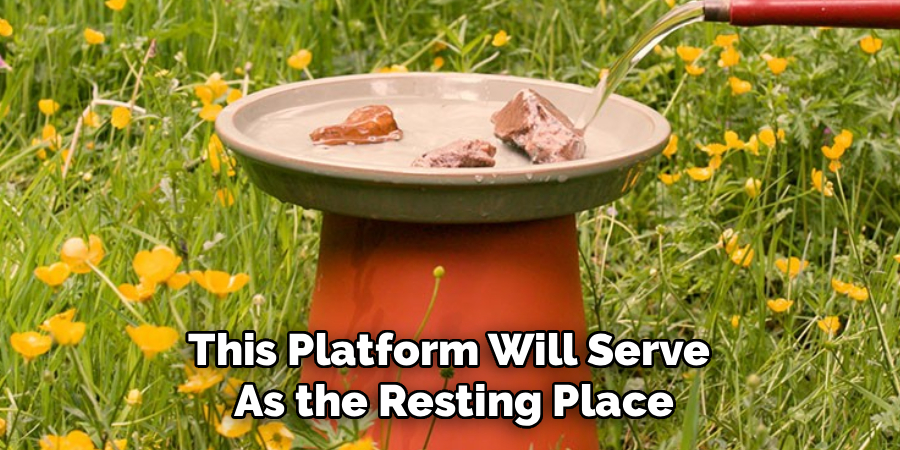
You need a flat platform on top of the pedestal to hold your water basin. Take your 1×6 or 2×6 lumber and cut two pieces at 10 inches long. Join them side-by-side using wood glue and pocket screws to create a 10×10-inch square platform. Center this wooden square on top of your 4×4 pedestal. Pre-drill holes to prevent the wood from splitting, then drive screws down through the platform into the top of the post. This platform will serve as the resting place for your terracotta or glass basin.
Step 7: Sanding the Wood for a Smooth Finish
Before applying any protective coatings, you must prepare the wood surface. Start with a coarse 80-grit sandpaper to knock down any rough edges, splinters, or uneven joints. Pay special attention to the corners of the platform and the base to prevent any sharp edges. Move on to a medium 120-grit sandpaper to smooth out the scratches left by the coarse grit. Finally, finish with a fine 220-grit sandpaper until the wood feels smooth to the touch. Wipe the entire structure down with a tack cloth or a damp rag to remove all sawdust.
Step 8: Applying Non-Toxic Waterproofing
Because this structure will be outdoors and constantly near water, sealing the wood is the most critical step for longevity. You must use a non-toxic, eco-friendly outdoor wood sealant to ensure the safety of the birds. Apply the sealant evenly using a paintbrush, working in the direction of the wood grain. Pay extra attention to the end-grain areas—the bottom of the base and the top platform—as these absorb moisture the fastest. Apply at least two to three coats, allowing the sealant to dry completely between applications according to the manufacturer’s instructions.
Step 9: Adding Stability and Anchors
Even with a wide base, strong winds or large animals can tip a wooden bird bath. To prevent this, you can add small holes at the ends of your cross base. Once you move the bird bath to its final location in the garden, you can drive metal tent stakes or ground anchors through these holes and deep into the soil. This locks the structure firmly to the ground. Additionally, ensure the ground beneath the base is relatively flat and tamped down before placing the structure.
Step 10: Placing the Basin and Filling with Water
The final step brings your project to life. Carry your wooden structure to a quiet, shaded spot in your yard, preferably near a small tree or bush where birds can perch and feel safe. Place your shallow basin—like a terracotta saucer—onto the top platform. You can leave it resting there for easy removal and cleaning, or secure it with a small dab of waterproof silicone if you live in a very windy area. Add a few small stones to the basin to give bees and smaller birds a safe place to land. Fill the bowl with fresh, clean water, step back, and wait for your feathered visitors to arrive.
5 Things You Should Avoid
- Avoid Toxic Chemicals: Never use traditional chemical stains, varnishes, or paints that can flake off or leach toxins into the water. Always choose food-safe or animal-safe, eco-friendly sealants.
- Avoid Deep Basins: Birds do not like deep water. Avoid using deep buckets or bowls. The water should be no deeper than two inches at the center, with shallow edges for safe wading.
- Avoid Untreated Softwoods: Standard pine or spruce will rot within a single season when exposed to wet dirt and splashing water. Always invest in cedar, redwood, or properly sealed exterior wood.
- Avoid Wobbly Placements: Do not set your bird bath on uneven, rocky, or sloped ground. A tipping bird bath can crack the basin and scare birds away permanently.
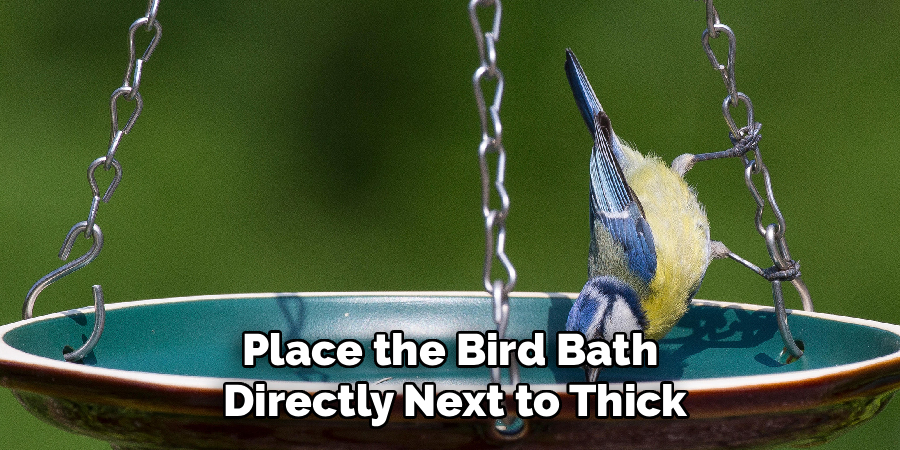
- Avoid Dense Predator Hiding Spots: Do not place the bird bath directly next to thick, low bushes where neighborhood cats can easily hide and ambush the bathing birds. Give the birds clear sightlines.
Conclusion
How to make a bird bath out of wood is a deeply satisfying project that enhances the beauty of your garden and supports your local wildlife ecosystem.
By choosing the right rot-resistant wood, making careful cuts, and dedicating time to proper waterproofing, you ensure your creation will endure the elements. Remember to keep the basin clean and shallow to provide a safe, welcoming environment for birds of all sizes.
Grab your tools, source your lumber, and enjoy the process of crafting a beautiful, functional piece of yard art that brings nature right to your window.

About
Mike May is a distinguished figure in the world of woodworking and timber design, with a decade of expertise creating innovative and sustainable indoor solutions. His professional focus lies in merging traditional craftsmanship with modern manufacturing techniques, fostering designs that are both practical and environmentally conscious. As the author of Woodimber, Mike delves into the art and science of timber-craft, inspiring artisans and industry professionals alike.
Education
RMIT University (Melbourne, Australia)
-
Associate Degree in Design (Timber): Focus on sustainable design, industry-driven projects, and practical craftsmanship.
-
Gained hands-on experience with traditional and digital manufacturing tools, such as CAD and CNC software.
Nottingham Trent University (United Kingdom)
-
Bachelor’s in Woodworking and Product Design (Honors): Specialized in product design with a focus on blending creativity with production techniques.
-
Participated in industry projects, working with companies like John Lewis and Vitsoe to gain real-world insights.
Publications and Impact
In Woodimber, May shares his insights on timber design processes, materials, and strategies for efficient production. His writing bridges the gap between artisan knowledge and modern industry needs, making it a must-read for both budding designers and seasoned professionals.