 (1)")

Discovering black water marks on your beautiful wooden furniture or floors can be frustrating. These dark, stubborn stains seem to appear out of nowhere, transforming your prized possessions into eyesores. Unlike white water rings that sit on the surface, black water marks penetrate deep into the wood, making them more challenging to remove.

The good news? You don’t need to replace your furniture or call an expensive professional. With the right approach and materials you likely already have at home, you can restore your wood to its former glory. This comprehensive guide on how to get rid of black water marks on wood will walk you through everything you need to know about removing black water marks from wood, from understanding what causes them to preventing future damage.
Understanding Black Water Marks
Black water marks on wood are more than just cosmetic issues—they’re signs that moisture has penetrated deeply into the wood fibers. When water seeps below the finish and into the wood itself, it can cause the wood to darken or even encourage mold growth. This is why black marks appear darker and more ominous than their white counterparts, which only affect the finish layer.
Several factors contribute to the formation of black water marks. Prolonged exposure to moisture is the primary culprit, whether from a leaking plant pot, a forgotten wet glass, or humidity in the air. The type of wood finish also plays a role—some finishes are more porous and allow water to penetrate more easily. Additionally, older furniture with worn finishes is particularly vulnerable to this type of damage.
Immediate Steps to Prevent Further Damage
The moment you notice a black water mark, take action to prevent it from worsening. First, remove any source of moisture from the area and gently dry the surface with a soft, clean cloth. Avoid rubbing vigorously, as this can spread the moisture or damage the finish further.
Next, improve air circulation around the affected area. Open windows, turn on fans, or use a dehumidifier to help the wood dry out completely. This is crucial because trapped moisture will continue to darken the wood and potentially cause more damage. Allow the area to dry for at least 24 hours before attempting any removal methods—working on damp wood can make the problem worse.
7 Step-By-Step Guidelines on How to Get Rid of Black Water Marks on Wood
Step 1: Assess the Damage
Before you begin any treatment, carefully examine the watermark to determine its severity. Run your fingers over the stain—if you can feel a raised or rough texture, the wood fibers may be damaged. Check whether the mark is isolated or has spread across a larger area. Take note of the wood type and finish, as this will influence your approach.
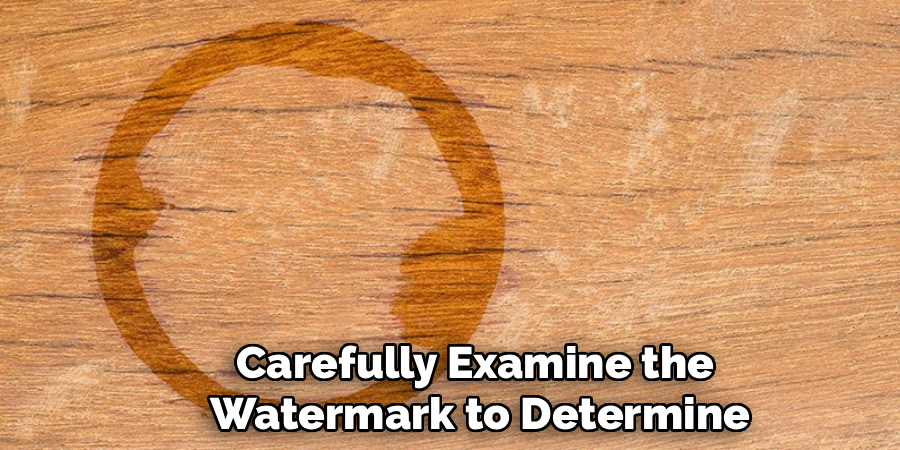
Understanding the extent of the damage helps you choose the most effective removal method. Light marks may respond to gentle treatments, while deeper stains might require more intensive techniques. If the mark appears very dark or has caused the wood to swell or warp significantly, you may need to consider professional restoration.
Step 2: Gather Your Materials
Collect everything you’ll need before starting the removal process. For most methods, you’ll need fine-grit sandpaper (220-grit or higher), a clean cloth, wood oil or furniture polish, and household items like mayonnaise, baking soda, or oxalic acid. Having all materials ready ensures you can work efficiently without interruptions.
Different removal methods require different supplies, so review the techniques below and gather accordingly. Keep extra clothes on hand for cleanup, and consider wearing gloves if you’re using chemical solutions. Working in a well-ventilated area is also important, especially when using strong cleaning agents.
Step 3: Try the Mayonnaise Method
This surprisingly effective technique uses the oils in mayonnaise to draw moisture out of the wood. Apply a generous layer of full-fat mayonnaise directly onto the black water mark, ensuring complete coverage. The oils will penetrate the wood and help lift the moisture that’s causing the discoloration.
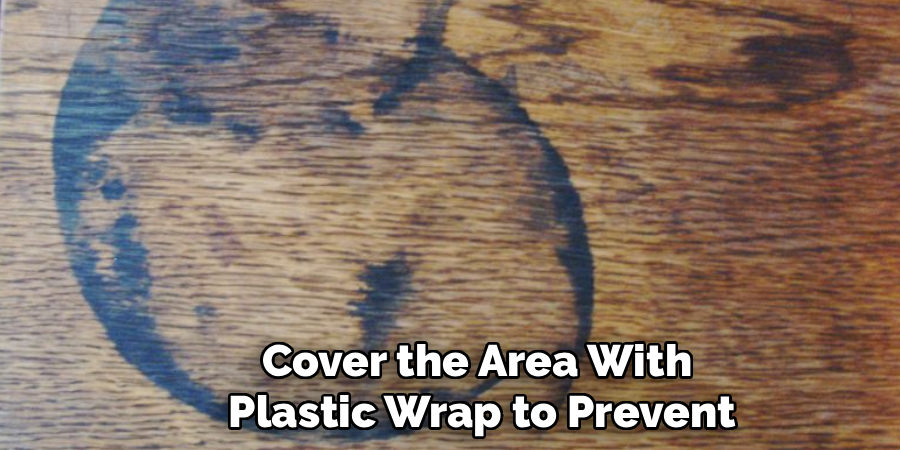
Let the mayonnaise sit overnight or for at least eight hours. Cover the area with plastic wrap to prevent the mayonnaise from drying out. After the waiting period, wipe away the mayonnaise with a clean cloth and assess the results. You may need to repeat this process several times for stubborn marks, but many people find success with this gentle, non-abrasive method.
Step 4: Use the Baking Soda Paste Technique
If mayonnaise doesn’t fully remove the mark, try making a paste with baking soda and water. Mix equal parts of both ingredients until you achieve a toothpaste-like consistency. This mild abrasive can help lift the stain while being gentle enough not to damage most wood finishes.
Apply the paste to the watermark using a soft cloth, rubbing in the direction of the wood grain with gentle, circular motions. Don’t scrub too hard—let the baking soda do the work. After a few minutes of gentle rubbing, wipe the area clean with a damp cloth and dry thoroughly. Check your progress and repeat if necessary.
Step 5: Apply Oxalic Acid for Stubborn Stains
When gentler methods fail, oxalic acid (also known as wood bleach) can tackle deeper black water marks. This stronger solution chemically lightens the darkened wood fibers. You can purchase oxalic acid at most hardware stores—it often comes in crystal form that you’ll need to dissolve in warm water.
Following the product instructions carefully, apply the oxalic acid solution to the stained area using a brush or cloth. Always wear gloves and work in a well-ventilated space, as oxalic acid is a stronger chemical. Let it sit for the recommended time, then neutralize the acid with a baking soda and water solution. Rinse thoroughly and allow the wood to dry completely before assessing whether another application is needed.
Step 6: Sand and Refinish If Necessary
If the black water mark persists after trying chemical treatments, you may need to sand the area. Start with fine-grit sandpaper (220-grit) and sand gently in the direction of the wood grain. The goal is to remove the damaged wood fibers without creating an obvious depression or changing the wood’s profile.
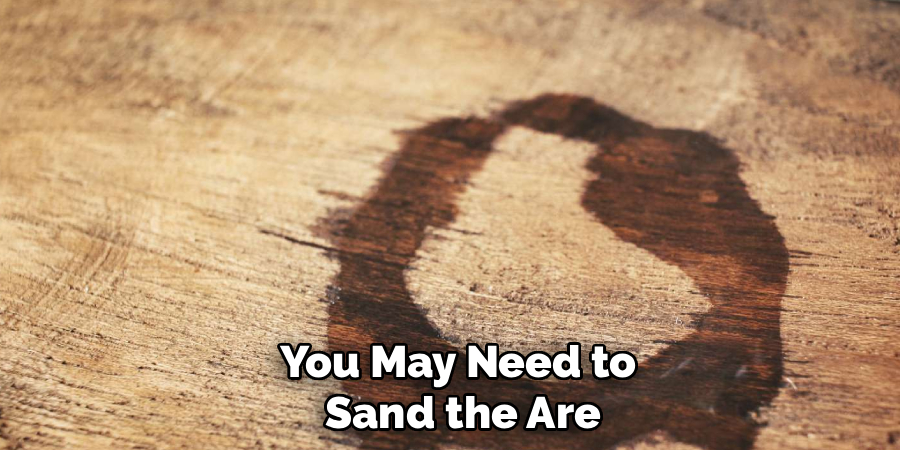
Sand gradually and check your progress frequently. Once you’ve removed the stained wood, you’ll need to refinish the area to match the surrounding surface. Clean away all sanding dust, apply wood stain if necessary to match the color, and then apply a protective finish like polyurethane or furniture oil. This step requires patience, but it can completely restore your wood’s appearance.
Step 7: Restore and Protect the Finish
After successfully removing the black water mark, restore the wood’s protective finish. Apply a high-quality wood oil, wax, or polish appropriate for your furniture’s finish type. This not only enhances the wood’s appearance but also creates a barrier against future water damage.
Buff the area with a soft cloth until it achieves a uniform sheen that matches the rest of the piece. Allow any oils or polishes to penetrate and dry according to the product instructions. Regular maintenance with appropriate wood care products will keep your furniture looking beautiful and help prevent watermarks from forming in the future.
Following these steps on how to get rid of black water marks on wood furniture will help restore your pieces to their original condition. However, prevention is always better than a cure. To avoid future water damage and marks, it is important to take some precautions.
Preventing Future Water Marks
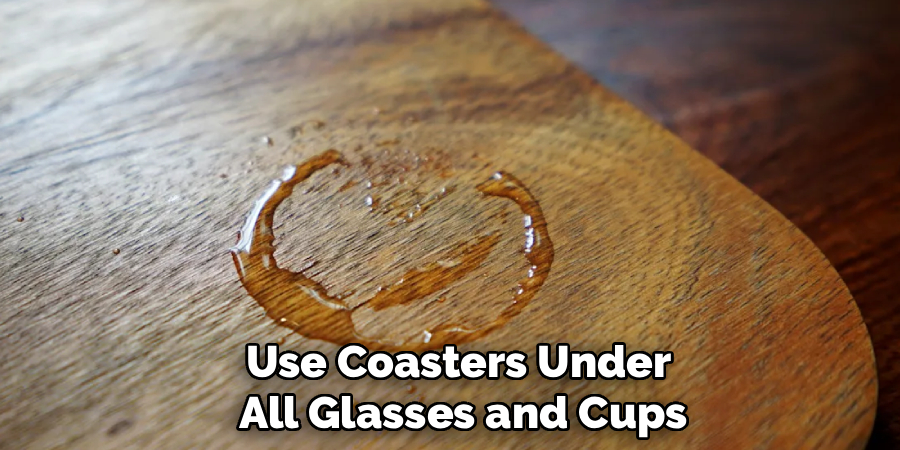
Prevention is always easier than removal. Use coasters under all glasses and cups, and place protective pads under plant pots and vases. Wipe up spills immediately, even if they seem minor—it only takes a few hours for water to penetrate wood finishes and cause staining.
Maintain your wood furniture’s finish by regularly cleaning and applying appropriate wood care products. A well-maintained finish creates a better barrier against moisture. Control humidity levels in your home, especially in rooms with wooden furniture, as excessive humidity can cause water to condense on surfaces. Consider using a dehumidifier in particularly humid climates or during damp seasons.
Common Mistakes to Avoid
Many people make the error of using too much heat when trying to remove watermarks. While heat can work for white surface marks, it can make black water marks worse by driving moisture deeper into the wood. Avoid using irons or heat guns on black stains.
Another common mistake is being too aggressive with sanding. Removing too much wood creates depressions and uneven surfaces that are difficult to fix. Always start with the gentlest method and work your way up to more intensive treatments only if necessary. Rushing the process is also problematic—wood needs time to dry completely between treatments, and finishing products need adequate curing time. Patience yields better results than hurrying through the restoration process.
Frequently Asked Questions
Q: Can Black Water Marks Be Completely Removed from All Types of Wood?
A: Most black water marks can be significantly improved or completely removed, but success depends on several factors. The depth of the stain, the type of wood, and how long the moisture has been present all affect the outcome. Softwoods like pine are more susceptible to deep staining and may be harder to restore completely. Hardwoods generally respond better to treatment. If mold has developed within the wood fibers, complete removal becomes more challenging and may require professional intervention. However, the methods outlined in this guide work effectively for the majority of black water marks when applied correctly and with patience.
Q: How Long Does It Take to Remove Black Water Marks from Wood?
A: The time required varies depending on the severity of the stain and the method you choose. Surface-level marks might improve within a day using the mayonnaise method, while deeper stains could take several days or multiple treatment cycles. If sanding and refinishing are necessary, you should allocate several days for the complete process, including drying and curing time for finishes. Don’t rush the process—allowing adequate time between treatments gives the wood a chance to respond to each method. Some stubborn marks may require weeks of repeated treatments, but persistent effort usually pays off with noticeable improvement.
Conclusion
Black water marks on wood don’t have to be permanent fixtures on your furniture. With the right techniques and a bit of patience, you can restore your wooden pieces to their original beauty. Start with gentler methods like mayonnaise or baking soda paste, and progress to stronger solutions only if needed. Remember that prevention is key—protect your wood surfaces from moisture and maintain their finishes regularly.
Don’t let those unsightly black marks diminish the beauty of your wooden furniture any longer. Gather your materials and start the restoration process today. Your furniture has served you well, and with these proven techniques, you can ensure it continues to look magnificent for years to come. Take action now and reclaim the natural beauty of your wood. Thanks for reading this guide on how to get rid of black water marks on wood.
About
Mike May is a distinguished figure in the world of woodworking and timber design, with a decade of expertise creating innovative and sustainable indoor solutions. His professional focus lies in merging traditional craftsmanship with modern manufacturing techniques, fostering designs that are both practical and environmentally conscious. As the author of Woodimber, Mike delves into the art and science of timber-craft, inspiring artisans and industry professionals alike.
Education
RMIT University (Melbourne, Australia)
-
Associate Degree in Design (Timber): Focus on sustainable design, industry-driven projects, and practical craftsmanship.
-
Gained hands-on experience with traditional and digital manufacturing tools, such as CAD and CNC software.
Nottingham Trent University (United Kingdom)
-
Bachelor’s in Woodworking and Product Design (Honors): Specialized in product design with a focus on blending creativity with production techniques.
-
Participated in industry projects, working with companies like John Lewis and Vitsoe to gain real-world insights.
Publications and Impact
In Woodimber, May shares his insights on timber design processes, materials, and strategies for efficient production. His writing bridges the gap between artisan knowledge and modern industry needs, making it a must-read for both budding designers and seasoned professionals.