

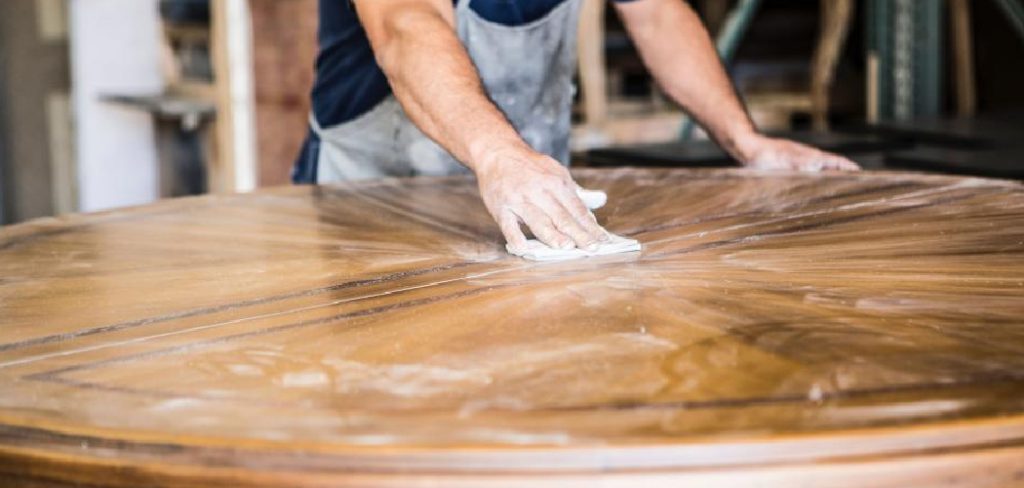
Beautiful furniture brings warmth and character to your home, but it requires the right care to maintain its charm over the years. Taking care of your dining or coffee piece ensures it remains a stunning focal point in your living space. Many people feel overwhelmed by the process, worrying that they might damage the delicate finish or use the wrong products. Fortunately, the process is straightforward once you understand the basic principles of wood care.
Learning how to clean wooden table surfaces will save you time and protect your investment for generations. You only need a few simple tools and a gentle touch to achieve excellent results. This guide breaks down everything you need to know into manageable steps. We will cover the best techniques, the safest materials to use, and exactly what to avoid when treating your furniture. By the end of this guide, you will feel completely confident maintaining your household pieces like a professional.
Why Proper Maintenance Matters
Proper maintenance goes far beyond simply making your furniture look nice for guests. Wood is a natural, porous material that reacts to its environment, meaning it requires consistent and appropriate care to survive changing seasons and daily use. When you neglect regular maintenance, dirt and grime build up and act like tiny abrasives. Every time you set down a plate or slide a book across a dirty surface, you risk creating microscopic scratches that dull the finish over time.
Moisture presents another significant threat to your valuable furniture. Silicone that can damage or strip the wood’s protective finish over time.Spills, condensation from glasses, and high humidity can penetrate the protective seal of the wood. This leads to unsightly white water rings, warping, or even severe structural damage. Regular care creates a protective barrier that repels moisture and prevents these common issues from taking hold.
Step-by-Step Guide To How To Clean Wooden Table
Step 1: Gather Your Supplies
Preparation makes the entire process smooth and efficient. You want to avoid stopping halfway through your work to search for a missing cloth or specific cleaner. Start by collecting two clean, soft microfiber cloths, which are essential because they trap dust without scratching the delicate finish. You will also need a mild dish soap, a small bucket of warm water, and a specialized wood polish or paste wax for the final protective layer.
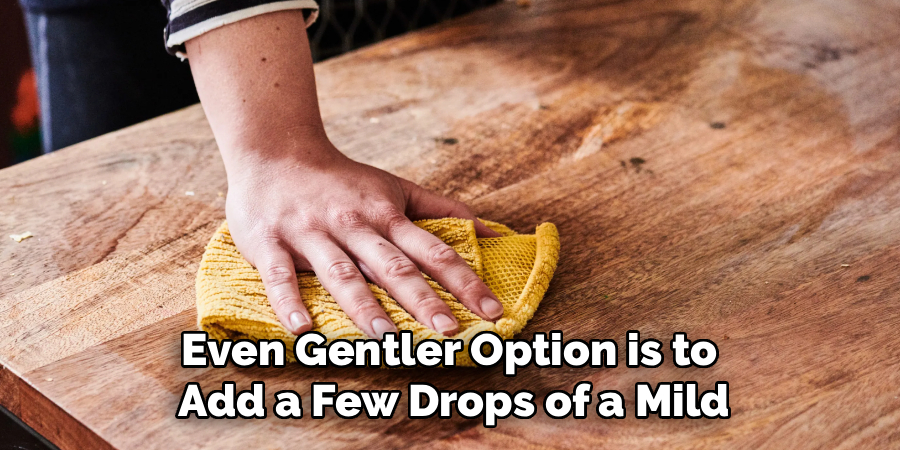
Keep a few cotton swabs handy for reaching into tight corners or decorative crevices where dust tends to settle. Bring everything to your workspace before you begin. Having your materials organized ensures you can move quickly through the steps without letting any moisture sit on the surface for too long.
Step 2: Dust The Surface Gently
Dusting provides the foundation for any good cleaning routine. If you apply moisture before removing loose debris, you will create a muddy smear that pushes dirt deeper into the grain. Take a dry microfiber cloth and gently sweep it across the entire surface. Move your hand in the same direction as the natural grain of the wood to lift particles effectively.
Pay special attention to the edges, corners, and any carved details on the legs or base. You can use a soft-bristled paintbrush or a dry cotton swab to gently coax dust out of intricate designs. Never use a feather duster, as the sharp quills can easily leave fine scratches behind. Take your time with this step to ensure a perfectly smooth surface for washing.
Step 3: Mix A Gentle Cleaning Solution
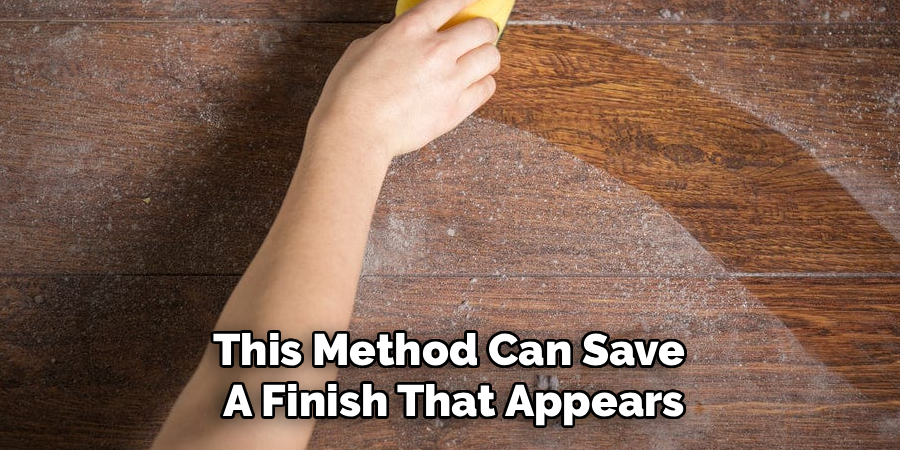
Harsh chemicals strip away protective finishes and leave the surface looking dull and dry. You only need a very mild solution to lift everyday grime and food residue. Fill your small bucket or bowl with warm water, making sure it is comfortable to the touch rather than boiling hot. Add just one or two drops of a gentle, pH-balanced dish soap into the water.
Swish the water lightly with your fingers to create a very faint soapy mixture. You do not want heavy suds or bubbles, as excessive soap leaves a cloudy film behind. This heavily diluted solution provides just enough cleaning power to break down grease without compromising the structural integrity of the seal.
Step 4: Wipe Down With A Microfiber Cloth
Moisture control remains the most critical aspect of washing any wood furniture. Dip your second clean microfiber cloth into the soapy solution you just prepared. Wring the cloth out as tightly as possible until it feels barely damp to the touch. It should not drip any water whatsoever when you squeeze it.
Start at one end and wipe in smooth, overlapping strokes following the direction of the grain. Work in small sections rather than trying to wash the entire piece at once. If your cloth gets too dirty, rinse it in the bucket and thoroughly wring it out again before continuing. Never let water pool or sit on the surface during this process.
Step 5: Tackle Sticky Spots Carefully
Sometimes you will encounter dried food spills or sticky spots that do not come off with a gentle wipe. Resist the strong urge to scrub vigorously or use an abrasive sponge, as this will permanently damage the finish. Instead, apply a tiny bit of your soapy mixture directly to the stubborn spot and let it sit for just a few seconds to soften the debris.
Use your damp cloth to apply gentle, circular pressure to the area until the sticky residue lifts away. For very stubborn spots, you can place a warm, slightly damp cloth over the area for a minute to loosen the hardened material. Always follow up immediately with a gentle wipe in the direction of the grain.
Step 6: Dry The Moisture Completely

Leaving your furniture to air dry invites water damage and cloudy spots. As soon as you finish washing a section, you must dry it immediately. Take your first dry microfiber cloth, or grab a fresh one if the first is dirty, and wipe away all remaining moisture. Use firm but gentle pressure, moving with the grain to ensure no dampness hides in the natural texture.
Run your hand lightly over the surface to check for any missed spots. The wood should feel completely dry and smooth under your fingertips. Paying strict attention to this drying phase prevents moisture from seeping into microscopic cracks in the finish and causing long-term structural issues.
Step 7: Apply Protective Wax
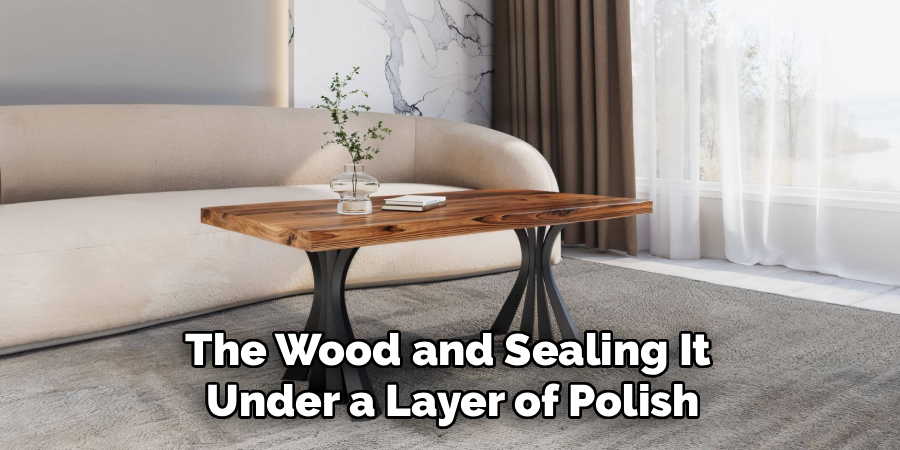
Once the surface is completely dry and free the wood and sealing, you should add a layer of protection. Paste wax offers the best defense against future spills and scratches while enriching the natural color. Scoop a small amount of high-quality paste wax onto a clean cotton cloth. Apply the wax using small, circular motions, working it gently into the finish.
Cover the entire surface evenly, making sure not to apply too thick of a layer. A thin, consistent coat works much better and is significantly easier to buff out later. Allow the wax to sit on the surface for a few minutes. It will begin to look slightly cloudy or hazy, which tells you it is ready for the final step.
Frequently Asked Questions
Can I Use Vinegar On My Furniture?
You should generally avoid using vinegar on finished furniture pieces. Vinegar is highly acidic, which means it can slowly eat away at the protective topcoat over time. While it cuts through grease effectively, repeated use will leave your finish looking dull, cloudy, and completely unprotected. Stick to highly diluted, mild dish soap and warm water for your routine maintenance.
How Often Should I Polish The Surface?
Routine dusting should happen weekly to prevent abrasive particles from building up. A damp wash with mild soap is only necessary when the surface feels sticky or looks visibly dirty. You should only apply paste wax or a high-quality polish twice a year. Over-polishing creates a cloudy buildup that attracts even more dust and requires professional stripping to remove completely.
What Removes Water Rings Effectively?
White water rings indicate moisture trapped just beneath the surface finish. You can often remove them by applying equal parts baking soda and non-gel toothpaste to the spot. Rub the mixture gently in the direction of the grain using a soft cloth until the ring fades. Wipe the area clean with a damp cloth and dry it thoroughly before applying a fresh coat of wax.
Is Dish Soap Safe For Daily Wiping?
While highly diluted dish soap works wonderfully for deep cleaning, you do not need it for daily maintenance. Using soap every single day can eventually degrade the protective wax layer prematurely. For daily crumb removal or quick wipe-downs after meals, a barely damp microfiber cloth followed immediately by a dry cloth provides the safest and most effective results.
Should I Use Paper Towels Or Cloth?
You should always choose soft microfiber or 100 percent cotton cloths over paper products. Paper towels consist of coarse wood pulp fibers that are surprisingly abrasive. Repeatedly wiping your delicate furniture with paper towels will create thousands of microscopic scratches that ruin the glossy finish over time. Microfiber traps dirt effectively without causing any structural harm to your valuable pieces.
Conclusion
Taking excellent care of your household furniture guarantees it remains beautiful and functional for years to come. By dedicating just a little time to proper maintenance, you protect the wood from irreversible water damage, harsh scratches, and everyday dullness. We covered everything from dusting techniques and safe washing solutions to applying that final, brilliant layer of protective wax. Remembering to control moisture and avoiding harsh chemicals makes all the difference in preserving the natural grain.
Now that you know exactly how to clean wooden table surfaces safely, you can implement this routine into your regular household schedule. Gather your microfiber cloths, grab your mild soap, and give your favorite piece of furniture the attention it deserves today. Your efforts will immediately pay off with a stunning, protected finish that brings warmth and elegance back into your living space.

About
Mike May is a distinguished figure in the world of woodworking and timber design, with a decade of expertise creating innovative and sustainable indoor solutions. His professional focus lies in merging traditional craftsmanship with modern manufacturing techniques, fostering designs that are both practical and environmentally conscious. As the author of Woodimber, Mike delves into the art and science of timber-craft, inspiring artisans and industry professionals alike.
Education
RMIT University (Melbourne, Australia)
-
Associate Degree in Design (Timber): Focus on sustainable design, industry-driven projects, and practical craftsmanship.
-
Gained hands-on experience with traditional and digital manufacturing tools, such as CAD and CNC software.
Nottingham Trent University (United Kingdom)
-
Bachelor’s in Woodworking and Product Design (Honors): Specialized in product design with a focus on blending creativity with production techniques.
-
Participated in industry projects, working with companies like John Lewis and Vitsoe to gain real-world insights.
Publications and Impact
In Woodimber, May shares his insights on timber design processes, materials, and strategies for efficient production. His writing bridges the gap between artisan knowledge and modern industry needs, making it a must-read for both budding designers and seasoned professionals.