 (1)")

Your workspace is the center of your daily productivity, but coffee rings, dust, and ink smudges can quickly ruin its appearance. A well-maintained surface not only looks professional but also extends the life of your furniture. If you are wondering how to clean wooden desk surfaces safely without damaging the finish, you are in the right place. Many commercial products contain harsh chemicals that strip away natural oils and leave behind a cloudy residue.
Fortunately, using gentle, household ingredients can easily restore that original shine. This guide will walk you through the essential techniques for daily upkeep, deep stain removal, and protective polishing. By the time you finish reading, you will know exactly what tools to grab and what methods to use to keep your workspace looking pristine. Let us dive into the best practices for caring for your timber furniture so it stays beautiful for years to come.
Why Routine Maintenance Matters
Wood is a natural, porous material that responds dramatically to its environment. Dust accumulation might seem harmless, but microscopic particles act like fine sandpaper. Every time you slide a laptop or rest your arms, those tiny particles create micro-scratches that dull the protective finish over time. Routine maintenance prevents this subtle degradation and keeps the seal completely intact.
Moreover, sudden spills from water or hot coffee can easily seep into the grain if you leave them untreated. This moisture causes the natural fibers to swell, warp, or permanently discolor. By implementing a consistent care routine, you preserve both the structural integrity and aesthetic value of your furniture.
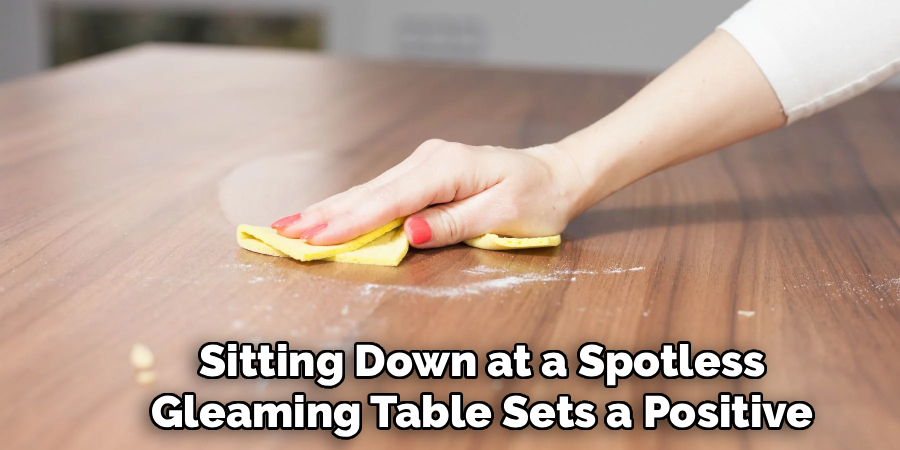
A pristine workspace also boosts your mental clarity and focus. Sitting down at a spotless, gleaming table sets a positive and productive tone for your entire workday. Ultimately, spending just a few minutes each week on basic upkeep saves you from expensive professional repairs or complete furniture replacements down the road.
Step-by-Step Guide on How to Clean Wooden Desk
Step 1: Clear the Surface Completely
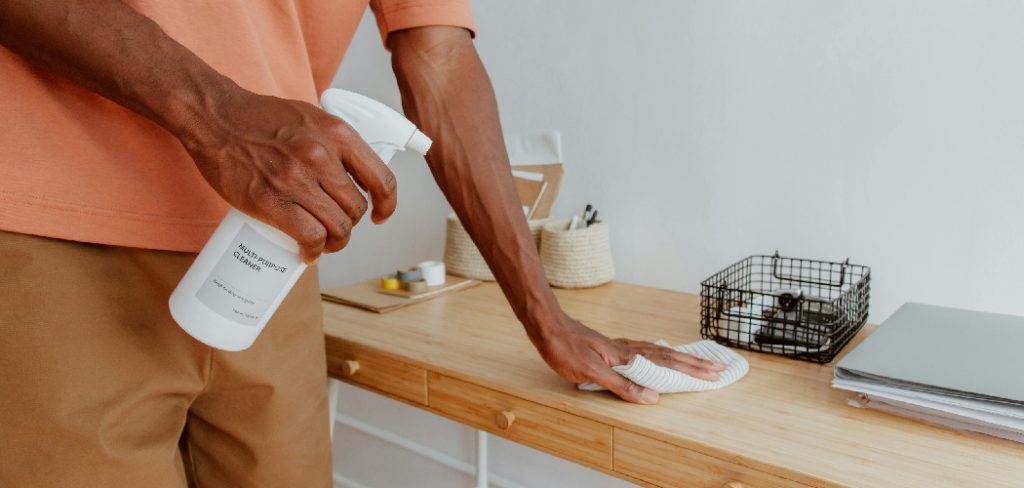
Before you can tackle any dirt or grime, you must remove every item from your workspace. Take off your computer monitor, keyboard, lamp, pen holders, and any loose paperwork. Moving items around while you wipe usually leads to missed spots and trapped dust. Clearing the area completely gives you an unobstructed view of all the sticky spots, stains, and hidden dust bunnies. It also protects your sensitive electronics from accidental water damage or cleaning solution overspray. Take this opportunity to gently wipe down your monitor and organize your messy cables before putting everything back later. Starting with a completely bare area guarantees a thorough and even application of your chosen solutions.
Step 2: Remove Surface Dust Gently
Once your area is completely bare, your next goal is to lift away loose dust and debris. Grab a dry, high-quality microfiber cloth or a soft feather duster. Microfiber works exceptionally well because its tiny synthetic fibers generate a static charge that grabs onto dust particles rather than just pushing them around. Wipe the entire area using smooth, sweeping motions, moving in the direction of the natural grain. Pay special attention to the corners, edges, and the back section where cables usually hide. Skipping this dusting phase is a major mistake, as adding liquid directly to a dusty area simply creates a muddy smear that becomes incredibly difficult to remove safely.
Step 3: Mix a Gentle Cleaning Solution
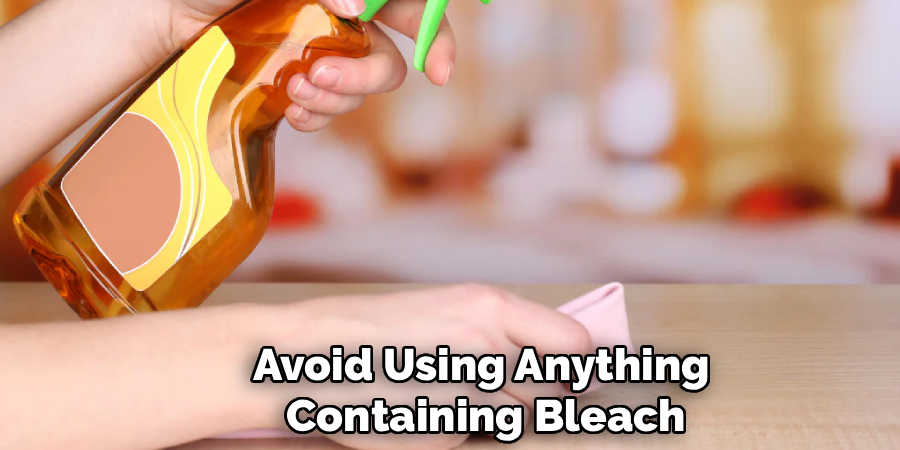
Harsh chemical sprays can easily strip away protective clear coats and dry out the natural fibers. Instead, you should create a mild, homemade solution that lifts grime without causing chemical damage. Fill a small bowl with warm water and add just a few drops of a gentle liquid dish soap. You only need a tiny amount of soap to break down oils from your skin and coffee cup rings. Stir the mixture gently until light bubbles form on the top. Avoid using anything containing bleach, ammonia, or silicone, as these will permanently alter the finish. This simple soapy water mixture is the safest and most effective method for regular washing.
Step 4: Wipe Down With a Damp Cloth
Dip a fresh microfiber rag into your soapy water mixture, then wring it out completely. The cloth must be barely damp, not dripping wet, because standing water is the absolute enemy of timber surfaces. Gently wipe down the entire area, focusing on sticky patches or smudges left by your hands. Work in small sections, always following the direction of the grain to prevent streaks from forming. If you encounter a stubborn coffee ring, resist the urge to scrub aggressively. Instead, let the damp cloth sit on the spot for ten seconds to soften the hardened residue, then gently wipe it away with light pressure.
Step 5: Master Wooden Desk Stains
Sometimes gentle soap cannot remove deep ink marks or white water rings. Knowing how to clean wooden desk stains correctly will save your furniture from permanent ruin. For white water rings caused by cold glasses, mix equal parts white vinegar and olive oil. Rub this mixture directly onto the cloudy spot using a soft rag, letting the oil penetrate and restore the finish while the vinegar breaks down the trapped moisture. For pesky ink stains, dab a cotton swab in rubbing alcohol and gently touch only the ink spot. Wipe it away immediately with a damp rag to prevent the alcohol from eating through the protective varnish layer underneath.
Step 6: Dry the Surface Immediately
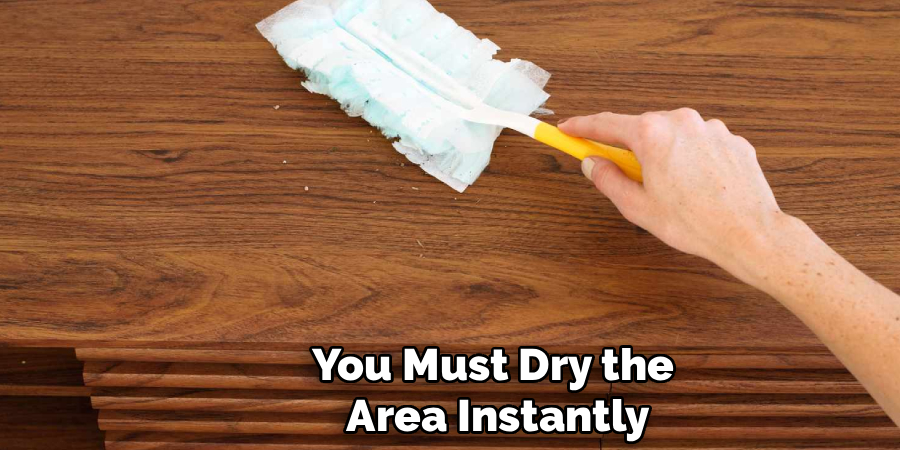
After you finish washing away the grime and treating any localized stains, you must dry the area instantly. Leaving moisture to air dry can cause the fibers to swell, leading to cracking or peeling veneer. Take a completely dry, clean microfiber towel and buff the entire area using circular motions. Make sure you absorb every single drop of water, especially around seams, edges, or decorative grooves where moisture loves to hide. The surface should feel completely smooth and dry to the touch within a few seconds. This drying phase also buffs away any lingering soap streaks, leaving behind a beautifully clear and even finish.
Step 7: Apply a Nourishing Polish
To keep the timber looking vibrant and to protect it from future spills, apply a high-quality furniture polish or natural wax as your final step. Choose a product containing carnauba wax or beeswax rather than aerosol sprays loaded with silicone. Apply a small dollop of the wax onto a soft cloth and rub it evenly across the surface in small circles. Let the wax sit for about ten minutes until it looks slightly hazy. Finally, take a fresh cloth and buff the area vigorously until it shines brilliantly. This protective barrier will repel dust, resist water rings, and give your workspace a gorgeous, professional glow.
Step 8: Clean and Polish the Base and Legs
Many people focus entirely on the top surface and completely forget about the legs, base, and drawer fronts. These lower sections accumulate a surprising amount of dust, pet hair, and scuff marks from your shoes. Dip your damp microfiber cloth back into your mild soapy water and wring it out completely. Wipe down the legs from top to bottom, paying special attention to decorative carvings or crevices where dirt gathers easily. If your furniture features metal drawer handles or brass footcaps, gently wipe them down to remove finger oils. Keeping the foundation of your furniture spotless guarantees that the entire piece looks cohesive and incredibly professional.
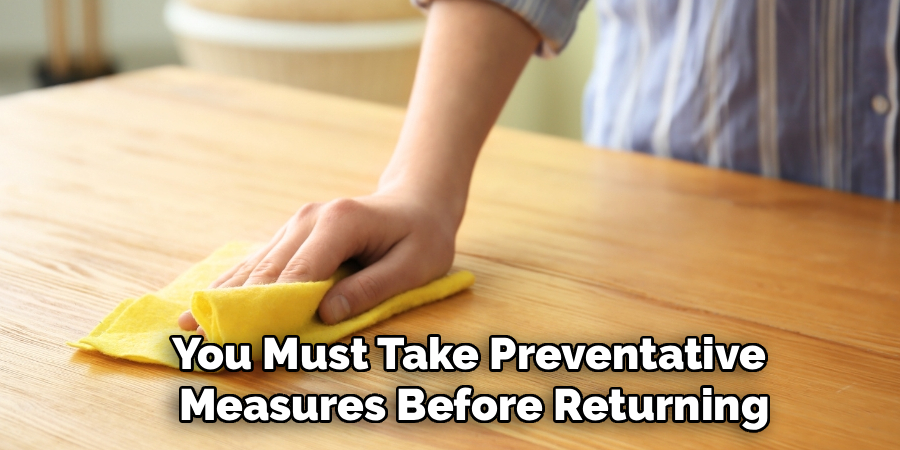
Step 9: Manage Cords to Prevent Future Scratching
After you have successfully washed and polished the timber, you must take preventative measures before returning your electronics. Hard plastic computer cables, thick power cords, and sharp monitor bases can easily scratch your fresh finish. Before you plug everything back in, take a few moments to bundle your messy wires together using soft fabric ties or protective cable sleeves. You can also attach small felt pads to the bottom of your keyboard, lamp, and monitor stand. Lifting the cords off the surface prevents aggressive micro-scratches when you shift your laptop around, and it makes your next dusting session significantly easier.
Frequently Asked Question
Can I Use Disinfecting Wipes On My Timber Furniture?
You should generally avoid using standard disinfecting wipes on these surfaces. Most commercial wipes contain alcohol and harsh chemicals that will eat through the protective lacquer. Over time, this causes the finish to peel and fade. Instead, stick to mild dish soap and warm water for safe cleaning.
How Often Should I Polish My Office Furniture?
You only need to apply a high-quality wax or polish every three to six months. Over-polishing creates a sticky buildup that attracts more dust and grime. For routine maintenance, simply stick to the following schedule:
- Dry dusting every couple of days.
- Damp wiping once a week.
Does Olive Oil Make A Good Furniture Polish?
While some people use plain olive oil, it is not the best long-term solution. Olive oil can eventually turn rancid, leaving a foul odor and a sticky residue that traps dirt. You are much better off using specialized products containing beeswax, lemon oil, or carnauba wax for lasting protection.
How Do I Fix Deep Scratches In The Wood?
For superficial surface scratches, you can often rub a matching colored wax pencil or a shelled walnut over the area to hide the damage. For deep gouges that penetrate the stain, you will likely need to use wood filler, sand the localized area, and reapply a matching timber stain.
Is Vinegar Safe For Washing Sealed Timber?
Vinegar is highly acidic and can safely remove sticky residue or hard water spots when diluted properly. However, you must be cautious.
- Never use undiluted vinegar.
- Always mix it with water or oil.
- Avoid using it daily, as frequent acidic washing will slowly degrade the clear coat finish.
Conclusion
Maintaining a brilliant and inspiring workspace does not require expensive chemicals or professional restoration services. By establishing a simple routine of clearing away clutter, lifting dust with microfiber, and washing with a gentle soapy solution, you can preserve the integrity of your furniture. Treating occasional water rings immediately and applying a protective wax every few months ensures your investment remains stunning for decades.
We hope this comprehensive guide has removed the guesswork from your maintenance routine. Now that you understand how to clean wooden desk surfaces like a seasoned professional, it is time to put these techniques into practice. Grab a soft cloth, mix up a mild soap solution, and give your workspace the careful attention it deserves today. A beautifully maintained environment will undoubtedly reward you with improved focus and a much more enjoyable workday.
About
Mike May is a distinguished figure in the world of woodworking and timber design, with a decade of expertise creating innovative and sustainable indoor solutions. His professional focus lies in merging traditional craftsmanship with modern manufacturing techniques, fostering designs that are both practical and environmentally conscious. As the author of Woodimber, Mike delves into the art and science of timber-craft, inspiring artisans and industry professionals alike.
Education
RMIT University (Melbourne, Australia)
-
Associate Degree in Design (Timber): Focus on sustainable design, industry-driven projects, and practical craftsmanship.
-
Gained hands-on experience with traditional and digital manufacturing tools, such as CAD and CNC software.
Nottingham Trent University (United Kingdom)
-
Bachelor’s in Woodworking and Product Design (Honors): Specialized in product design with a focus on blending creativity with production techniques.
-
Participated in industry projects, working with companies like John Lewis and Vitsoe to gain real-world insights.
Publications and Impact
In Woodimber, May shares his insights on timber design processes, materials, and strategies for efficient production. His writing bridges the gap between artisan knowledge and modern industry needs, making it a must-read for both budding designers and seasoned professionals.