 (1)")

Woodworking projects offer a fantastic way to improve your crafting skills while creating something visually striking. If you have been searching for a unique geometric piece for your garden or living room, a wooden pyramid is an excellent choice. Many beginners feel intimidated by angles and cuts, but mastering the basics makes the process incredibly straightforward.

This comprehensive guide will show you exactly how to build a pyramid out of wood, ensuring your final structure is sturdy and symmetrical. We will walk through the essential tools, safety measures, and precise cuts needed to bring this ancient shape to life. Whether you want a small decorative tabletop piece or a large outdoor garden structure, the foundational methods remain the same. Grab your safety goggles, dust off your saw, and let us dive into this rewarding DIY project together.
Why Build a Wooden Pyramid
Creating geometric structures from timber is more than just a fun weekend activity. A wooden pyramid serves multiple functional and aesthetic purposes around your home. First, these structures make exceptional garden centerpieces. Climbing plants like ivy, sweet peas, or morning glories love to wrap around angled wooden frames, creating a stunning vertical garden feature that maximizes your yard space while providing essential support for your foliage.
Furthermore, crafters often use smaller versions as meditation tools or unique display shelves. The triangular base and converging lines naturally draw the eye upward, making it a perfect showcase for crystals, small succulents, or cherished collectibles. Building one yourself allows you completely customized dimensions to fit whatever exact space you have available, something store-bought items rarely offer.
Step-By-Step Guide: How to Build a Pyramid Out of Wood
Step 1: Gather Your Materials And Tools
Before you begin making any cuts, you must prepare your workspace with the proper equipment. For this project, you will need high-quality lumber, a compound miter saw, wood glue, a brad nailer, measuring tape, and safety glasses. Choosing the right wood is crucial for structural integrity; pine is excellent for indoor crafts, while cedar is preferred for outdoor garden structures due to its natural weather resistance.

Taking the time to properly organize your gear makes the entire process smoother and safer. Understanding how to build a pyramid out of wood relies heavily on precise measurements, so ensure your tape measure and speed square are within easy reach before starting.
Step 2: Determine Your Dimensions And Angles
Calculating your angles is the most critical phase of this geometric project. A standard four-sided pyramid requires four triangular wooden panels that lean inward to meet at a central peak. To achieve this, you need to cut compound angles along the edges of your boards.
A compound angle involves a bevel cut and a miter cut performed simultaneously. For a classic shape, set your saw bevel to a specific degree based on your desired steepness. Many woodworkers start with a 30-degree bevel and a 30-degree miter for a balanced slope. Write down your planned base width and total height to keep your cuts consistent throughout the entire building phase.
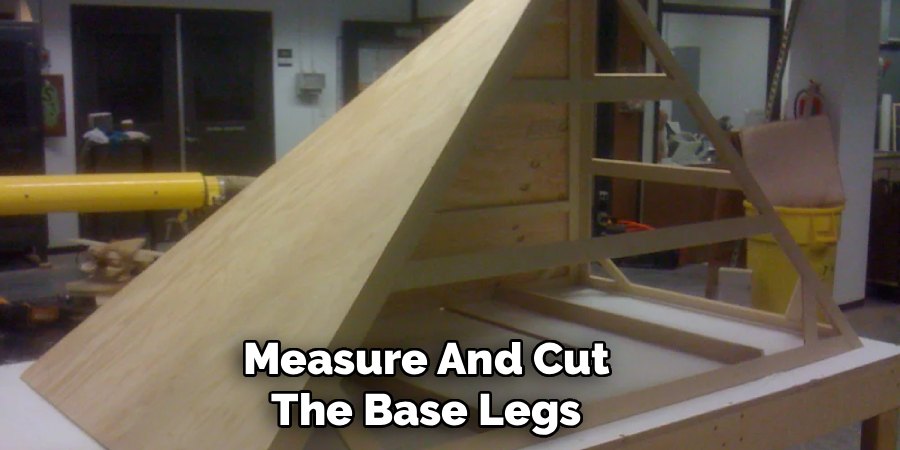
Step 3: Measure And Mark The Base Cuts
With your dimensions finalized, take your pencil and mark the bottom edge of your first triangular face. The base of each triangle dictates the total footprint of your final piece. Lay your selected lumber flat on your workbench and draw a straight, visible line across the grain. Double-check this measurement because even a minor millimeter discrepancy will cause the entire structure to sit unevenly or leave noticeable gaps at the seams. Using a reliable speed square will help keep your base lines perfectly perpendicular to the edges of the board. Always measure twice to conserve your timber and prevent frustrating mistakes during the final assembly.
Step 4: Execute The Compound Miter Cuts
Now it is time to shape the sides using your compound miter saw. Carefully adjust the blade to match the bevel and miter angles you calculated earlier. Secure your wooden board tightly against the saw fence to prevent any shifting during the cutting process. Lower the spinning blade slowly and steadily through the wood, allowing the saw teeth to do the work without forcing them. This steady pace prevents splintering and yields a perfectly smooth edge. Once you finish the left side of the triangle, flip the board or adjust your saw to mirror the exact same compound angle on the right side.
Step 5: Duplicate The Triangular Faces
You now have your first perfect wooden triangle, which will serve as the master template for the remaining three sides. Place this original piece on top of your uncut lumber and trace the angled edges closely with a sharp pencil. By using the first face as a stencil, you guarantee that all four sides are completely identical. Proceed to cut the remaining three pieces using the same careful compound saw techniques. Stack the four completed triangles together to verify they match in height and width. Sand the newly cut edges gently with medium-grit sandpaper to remove any rough splinters before moving to the joining phase.
Step 6: Apply Wood Glue To The Edges
Assembly begins with a generous but careful application of high-quality wood glue. Lay two of your triangular pieces flat on your workbench with their angled edges touching. Run a consistent bead of glue along the beveled edge of one piece.
Use a small brush or your finger to spread the adhesive evenly, ensuring full coverage across the entire joint surface. Wood glue creates a bond stronger than the timber itself when applied correctly. However, you must avoid applying too much, as excess squeeze-out will ruin the finish if you plan to stain the piece later. Have a damp rag nearby to wipe away drips immediately.
Step 7: Assemble And Nail The Structure
Carefully stand the first two glued pieces upright and press their beveled edges together to form a corner. Hold them firmly in place while you use a brad nailer to shoot small nails through the joint. The nails act as temporary clamps, keeping the wood perfectly still while the adhesive cures. Repeat this exact process for the third and fourth sides, working your way around until the geometric shape is enclosed. The peak should converge neatly into a single point. If you notice a slight gap at the top, gently adjust the sides before the glue fully hardens to ensure a tight, professional fit.

Step 8: Sand And Finish Your Piece
The final stage involves smoothing out your hard work and applying a protective finish. Start with a medium-grit sandpaper to level out any uneven joints, then transition to a fine-grit paper for a buttery smooth surface. Pay special attention to the sharp peak and base corners, rounding them slightly so they are safe to handle. Wipe away all residual dust with a tack cloth before applying your chosen stain or exterior paint. If your creation will live outdoors in the garden, apply a waterproof polyurethane sealant to protect the timber from moisture and sun damage, ensuring your project remains beautiful for years.
Frequently Asked Questions
What Is The Best Wood For Making Geometric Shapes?
Choosing the right material depends heavily on your intended use.
- Pine: Great for indoor projects because it is affordable and easy to cut.
- Cedar: Perfect for outdoor garden use due to its natural resistance to rot and insects.
- Hardwoods: Ideal for luxury indoor display pieces, though they require sharper tools and more patience.
Always select straight, untreated boards to ensure your angles line up perfectly during assembly.
Do I Really Need A Compound Miter Saw?
While you can technically make angled cuts with a standard hand saw and a miter box, a compound miter saw is highly recommended for this project. The saw allows you to simultaneously cut a bevel and a miter, which is required to make the sides lean inward and fit together. Doing this by hand is extremely tedious and often results in noticeable gaps at the seams.
How Can I Calculate The Correct Angles Easily?
Calculating compound angles can feel like advanced geometry, but you do not have to be a math expert to succeed. There are numerous free online angle calculators designed specifically for woodworking. You simply input your desired base width and height, and the tool will output the exact miter and bevel degrees to set your saw to, saving you immense time and frustration.
Why Are There Gaps In My Wood Joints?
Gaps typically occur due to three main reasons during the cutting or assembly phases:
- Inaccurate measuring before cutting the timber.
- Slight movement of the wood while pushing the saw blade through.
- Using warped or bowed lumber that refuses to sit flush against other pieces.
If you end up with small gaps, do not panic. You can mix fine wood dust with wood glue to create a custom filler.
Can I Build This Project Without Using Any Nails?
Yes, it is entirely possible to construct this geometric piece using only wood glue, but it requires patience and specific tools. Because of the awkward angled sides, standard clamps will slip off. Woodworkers often use a technique called the tape method. You lay the pieces flat, apply painters tape across the outer seams, apply glue, and then fold the structure together while the adhesive dries.
Conclusion
Mastering basic carpentry skills opens up a wonderful world of creative possibilities. By following this comprehensive tutorial, you have learned the essential techniques required to plan, measure, and assemble a striking geometric structure from scratch. From choosing the proper lumber to executing complex compound cuts safely, these foundational skills will serve you well in all your future crafting endeavors.
Now that you understand exactly how to build a pyramid out of wood, you can experiment with different sizes, angles, and finishes to suit your personal style. Whether you are crafting a sturdy trellis for your outdoor plants or a delicate display shelf for your living room, the satisfaction of creating it yourself is absolutely unmatched. Do not be afraid to fire up the saw and start your first project today!
About
Mike May is a distinguished figure in the world of woodworking and timber design, with a decade of expertise creating innovative and sustainable indoor solutions. His professional focus lies in merging traditional craftsmanship with modern manufacturing techniques, fostering designs that are both practical and environmentally conscious. As the author of Woodimber, Mike delves into the art and science of timber-craft, inspiring artisans and industry professionals alike.
Education
RMIT University (Melbourne, Australia)
-
Associate Degree in Design (Timber): Focus on sustainable design, industry-driven projects, and practical craftsmanship.
-
Gained hands-on experience with traditional and digital manufacturing tools, such as CAD and CNC software.
Nottingham Trent University (United Kingdom)
-
Bachelor’s in Woodworking and Product Design (Honors): Specialized in product design with a focus on blending creativity with production techniques.
-
Participated in industry projects, working with companies like John Lewis and Vitsoe to gain real-world insights.
Publications and Impact
In Woodimber, May shares his insights on timber design processes, materials, and strategies for efficient production. His writing bridges the gap between artisan knowledge and modern industry needs, making it a must-read for both budding designers and seasoned professionals.