

Gardens often need a little vertical interest to truly come alive and feel welcoming. Bare paneling can feel imposing and remarkably dull during the barren winter months. Adding climbing plants brings lush foliage and vibrant blooms right to your eye level. However, trailing vines need proper physical support to grow beautifully without damaging your permanent property boundaries.
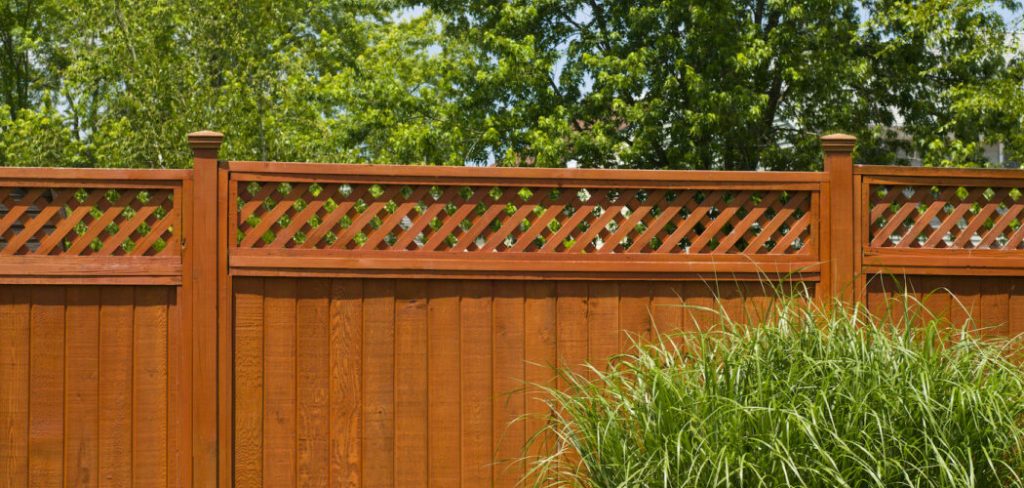
Understanding exactly how to attach wooden trellis to fence structures solves this common landscaping problem perfectly. This simple addition instantly elevates your outdoor space and creates a sturdy home for beautiful trailing plants. We have designed this comprehensive guide to walk you through the entire installation process safely. You will learn the absolute best methods for securing the timber safely while protecting your existing boundary lines.
Why Adding A Trellis To Your Fence Matters
Installing a supportive timber grid structure against your boundary walls offers incredible benefits for any outdoor space. This straightforward addition instantly increases the overall height of your existing boundaries. That extra height provides valuable additional privacy from neighboring properties without looking overly hostile or aggressive. You create a perfect, sturdy framework for gorgeous climbing roses, fragrant sweet peas, or classic trailing ivy to thrive.
The added vegetation acts as a fantastic natural sound barrier against annoying street noise and busy neighborhood traffic. Furthermore, the timber grid breaks up flat, monotonous surfaces and adds delightful visual texture to your backyard. You essentially create a lush living wall that actively supports local wildlife and essential pollinators throughout the changing seasons. Taking the DIY approach also proves highly cost-effective compared to hiring professionals or replacing the entire boundary structure entirely.
Step-By-Step Guide To How to Attach Wooden Trellis to Fence
Step 1: Planning To Fence Effectively
Every successful garden project heavily relies on thorough planning and careful preparation before purchasing any materials. You must evaluate the structural integrity of your current boundary to ensure it can support additional weight. Push gently on your existing posts to check for dangerous wobbling or hidden rot near the soil line. Identifying and fixing weak boundary posts now prevents the entire structure from collapsing during heavy winter windstorms. Taking this vital preparatory step guarantees your beautiful new garden feature remains standing tall for decades.
Step 2: Gathering Your Essential Tools And Supplies
Collecting all the necessary equipment beforehand saves you from frustrating mid-project trips to the hardware store. You need a reliable cordless power drill, a tape measure, a spirit level, and high-quality exterior wood screws. Grab enough treated timber battens to create a slight gap between your grid and the main boundary panels. Having your safety glasses and heavy work gloves ready ensures you remain completely protected while handling rough timber. Placing everything onto a small outdoor table keeps your workspace organized and highly efficient.
Step 3: Measuring And Marking Your Precise Dimensions
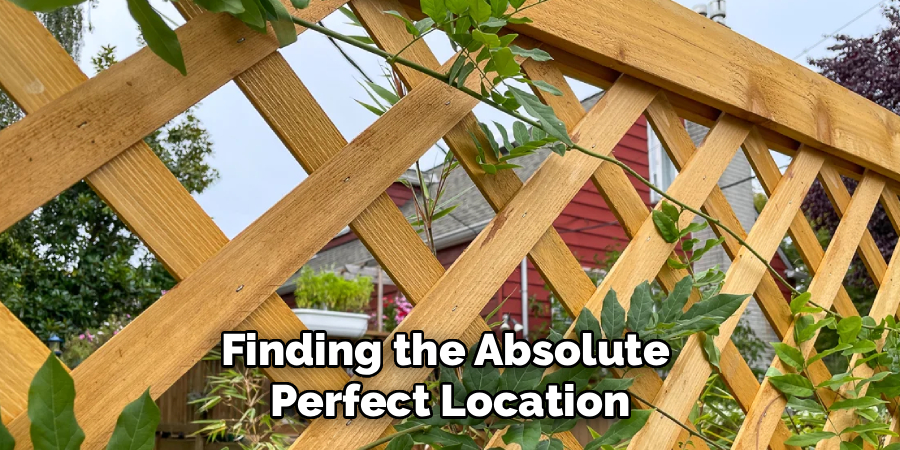
Accuracy remains incredibly important when positioning timber grids to ensure a highly professional, symmetrical final appearance. Use your tape measure to find the exact center of your boundary panel and mark it clearly with a pencil. Measure the total width of your grid piece and mark where the outer edges will sit on the panel. Use your spirit level to draw perfectly straight vertical lines down the face of your boundary boards. These clear pencil guidelines prevent crooked installations and make the final positioning phase significantly easier.
Step 4: Cutting Your Support Battens To Size
Support battens serve as a crucial spacer system that prevents your climbing plants from suffocating against flat boards. Measure the total height of your grid piece and cut your treated timber battens to match that exact length. You need two vertical battens for smaller grids, and three or more for exceptionally wide installations. Use a standard hand saw to cut the battens cleanly, taking your time to ensure the ends remain perfectly square. Sand the rough cut edges lightly to prevent painful splinters while you handle them during the next phase.
Step 5: Securing The Support Battens Firmly
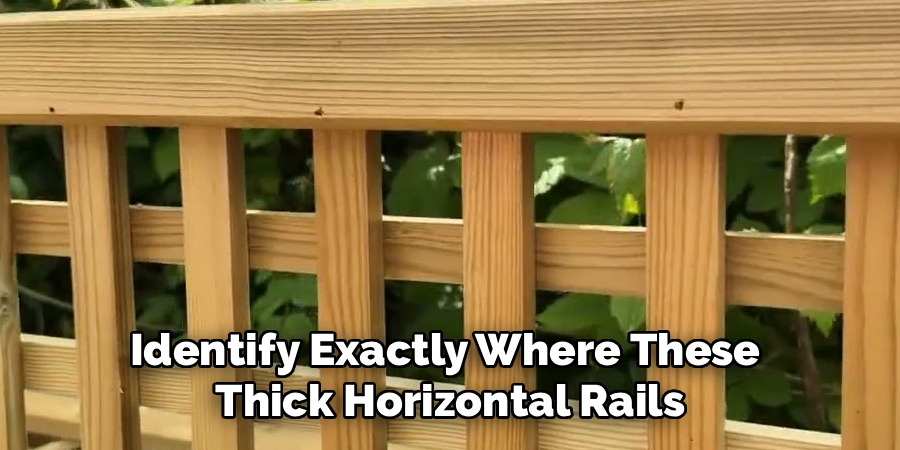
Installing the support battens properly provides the strong structural foundation your heavy grid desperately needs. Hold the first batten perfectly straight against the vertical pencil line you drew on your panel earlier. Drill pilot holes completely through the batten to prevent the dry timber from splitting when you insert the screws. Drive your exterior wood screws through the batten and directly into the thickest horizontal rails of your existing boundary. Repeat this precise process for all remaining battens, double-checking them frequently with your spirit level.
Step 6: Preparing The Grid Panels For Mounting
Getting your timber grid ready for the final mounting phase makes the actual lifting process much safer. Lay your grid completely flat on your lawn or patio surface to inspect it for loose staples or broken slats. Pre-drill small pilot holes along the thickest vertical edge pieces of the grid where they will meet the battens. Drilling these holes while the piece sits flat on the ground proves far easier than trying to drill them while balancing the heavy wood mid-air. This simple preparatory step ensures your screws grab the wood perfectly on the very first try.
Step 7: Finalizing To Fence Securely
The actual mounting phase requires patience, physical balance, and preferably a trusted friend to help support the heavy timber. Lift the grid carefully and press it firmly against the installed battens, aligning the top edge precisely. Ask your helper to hold the piece perfectly steady while you rest your spirit level across the top horizontal edge. Once you confirm the piece sits perfectly level, drive your screws through the pre-drilled holes directly into the wooden battens. Work your way down the sides slowly, securing every single attachment point firmly for maximum structural rigidity.
Step 8: Applying A Protective Weather Finish
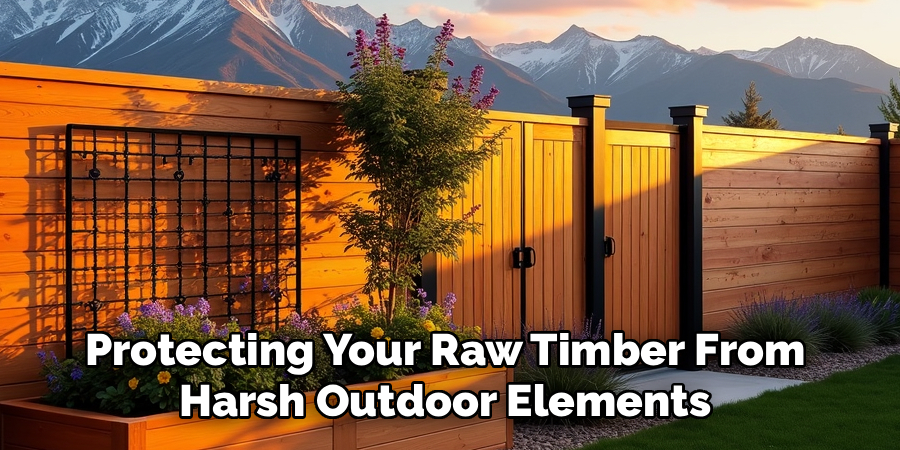
Bare timber actively absorbs rainwater and harsh sunlight, making a protective topcoat absolutely essential for long-term outdoor survival. Brush a high-quality exterior wood stain or clear waterproof sealant over every exposed surface of your newly installed grid. Pay special attention to the raw cut ends and the deep crevices where the overlapping slats meet. Apply a second coat after the first one dries completely to ensure maximum defense against seasonal rot and aggressive mold. Completing this final protective step guarantees your beautiful landscaping project easily survives freezing winters and scorching summers.
Frequently Asked Questions
Do I Need Permission To Raise My Boundary Height?
Local property laws and neighborhood homeowner association rules heavily dictate exactly how high you can build your outdoor structures. You should always speak directly with your immediate neighbors before installing anything that visibly alters a shared property line. Most local municipalities allow backyard boundaries up to two meters high without requiring any formal planning permission. However, confirming these specific regulations with your local zoning office first prevents costly fines and forced removals later.
What Are The Best Screws For Outdoor Timber Projects?
You must always select premium exterior-grade decking screws or specially coated outdoor construction fasteners for garden projects. Standard indoor zinc screws will rust rapidly when exposed to rain, eventually snapping under the heavy weight of mature plants. Stainless steel screws provide the absolute highest level of protection against ugly rust stains bleeding down your clean timber panels. Choosing screws that measure at least two and a half inches long guarantees they bite deeply into the supporting battens.
Can I Fix A Trellis Directly To Concrete Posts?
Attaching timber grids to solid concrete boundary posts requires specialized masonry equipment and significantly more physical effort. You must use a powerful hammer drill equipped with a specialized masonry bit to bore holes safely into the concrete. Once the holes exist, you insert plastic wall plugs before driving specialized masonry screws tightly into place. Many gardeners prefer using specially designed metal post clips instead, as they wrap completely around the concrete without requiring any stressful drilling.
How Much Space Do Climbing Plants Need Behind The Grid?
Climbing vines absolutely require a minimum gap of one to two inches between the grid and the solid wall behind it. This crucial breathing space allows thick plant stems to weave naturally through the wooden slats without becoming crushed or severely deformed. The gap also promotes excellent air circulation, which actively prevents harmful fungal diseases from developing on damp foliage. Using thick wooden battens as structural spacers provides the perfect amount of clearance for healthy, vigorous plant growth.
Should I Paint The Timber Before Or After Installation?
Painting or staining your materials before you begin the physical installation process saves you significant time and massive frustration. Reaching a paintbrush behind an installed grid to coat the hidden sides proves nearly impossible and usually results in a messy finish. Laying all your materials completely flat on a protective drop cloth allows you to coat every single angle perfectly. You only need to perform minor touch-ups on the screw heads once the final installation is complete.
Conclusion
Upgrading your backyard boundaries provides an incredibly rewarding weekend project that dramatically improves your daily outdoor living experience. We explored the immense benefits of adding vertical planting space, from increased privacy to beautiful natural sound absorption. By planning carefully, using sturdy spacer battens, and selecting the correct outdoor hardware, you guarantee a safe and reliable garden feature.
Now that you understand exactly how to attach wooden trellis to fence structures, you possess the confidence to tackle this project yourself. Stop settling for plain, boring boundary lines and start creating the lush, vertical garden you have always wanted. Gather your tools, select some gorgeous climbing plants, and enjoy transforming your outdoor space into a beautiful personal sanctuary.

About
Mike May is a distinguished figure in the world of woodworking and timber design, with a decade of expertise creating innovative and sustainable indoor solutions. His professional focus lies in merging traditional craftsmanship with modern manufacturing techniques, fostering designs that are both practical and environmentally conscious. As the author of Woodimber, Mike delves into the art and science of timber-craft, inspiring artisans and industry professionals alike.
Education
RMIT University (Melbourne, Australia)
-
Associate Degree in Design (Timber): Focus on sustainable design, industry-driven projects, and practical craftsmanship.
-
Gained hands-on experience with traditional and digital manufacturing tools, such as CAD and CNC software.
Nottingham Trent University (United Kingdom)
-
Bachelor’s in Woodworking and Product Design (Honors): Specialized in product design with a focus on blending creativity with production techniques.
-
Participated in industry projects, working with companies like John Lewis and Vitsoe to gain real-world insights.
Publications and Impact
In Woodimber, May shares his insights on timber design processes, materials, and strategies for efficient production. His writing bridges the gap between artisan knowledge and modern industry needs, making it a must-read for both budding designers and seasoned professionals.