

Embarking on the construction of a wooden house from scratch is not a task for the faint of heart; it’s a lengthy, often unpredictable undertaking that tends to reveal both one’s grit and capacity for improvisation. There are blueprints and guides, of course, but the lived experience—the aching muscles, endless measuring, fleeting optimism and occasional panic—leaves a mark quite unlike anything you’ll glean from a pre-fab kit or YouTube tutorial.
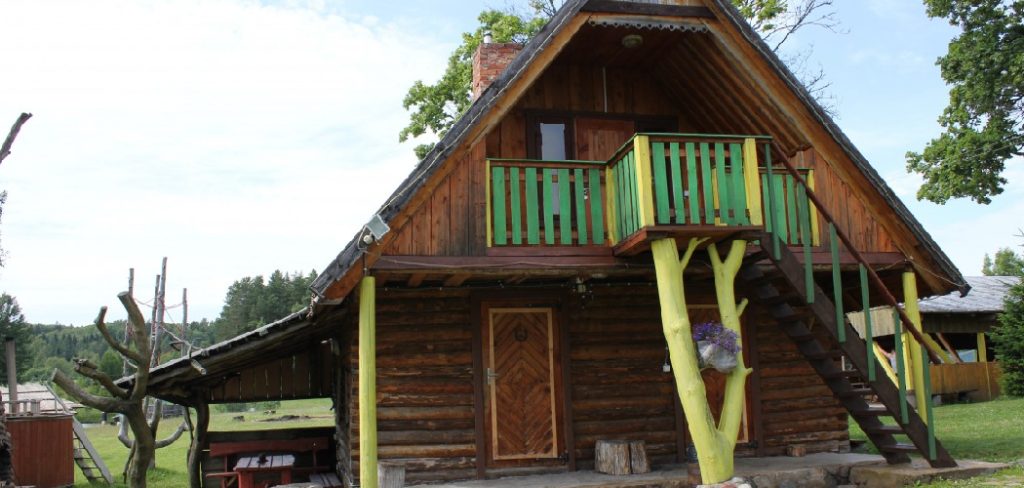
Why do it yourself? Maybe it’s the lure of shaping a space to your peculiarities, the stubborn corners of taste that standard floor plans rarely accommodate. The ability to decide, at each stage, whether you’d like the window beside your favorite chair, or what the slope of the ceiling should feel like when rain taps above. Certainly, you could hire it all out. But after weeks spent with sawdust in your hair and a tape measure threatening to vanish in your pocket, even minor victories become strangely meaningful. In this guide on how to make a wood house, we will explore the different aspects of building a wood house and give you tips and tricks to create your dream home.
Tools and Materials You’ll Need
Before a single board snaps into place, you’ll want to gather supplies in a manner bordering on obsession. Running out of screws mid-framing is a sure way to ruin momentum—and your mood. Some might say only the highest quality materials will do, but the truth is a bit less grand: durability matters more than polish, and practicality tends to trump dreams of “the perfect grain” when you’re knee-deep in joists.
- Treated lumber is suitable for the harsh weather conditions
- Concrete mix, for securing your house against time and wind
- An absurd number of nails, screws, plus various metal fasteners
- Roofing bits: shingles, underlayment rolls, and flashes of metal
- Insulation—whether you prefer thick panels or unruly fiberglass is up to you
- A trio of saws may clutter your workspace (circular, miter, and your grandma’s old hand saw)
- A dependable drill and its grumpy cousin, the impact driver
- Measuring tape that never retracts properly, spirit levels, and at least two framing squares (they’ll go missing)
- Protective gear: gloves, eye shields, and a helmet that feels too big
7 Not-Always-Simple Steps on How to Make a Wood House
Step 1: The Foundation, Or Where Everything Can Go Wrong Early
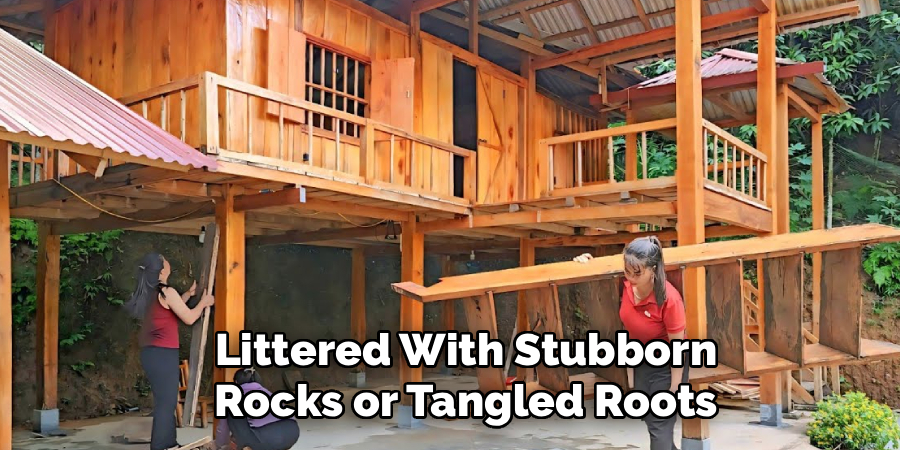
Some say the foundation is the “soul” of a structure. That may be reading too much into it, but it’s hard to deny its significance. The site, often uneven and littered with stubborn rocks or tangled roots, requires clearing. The goal is flatness—an ideal seldom reached, but well worth aiming for. Trenches are dug, wooden forms assembled (unevenly, until the third try), and everything is checked, checked again, then gingerly brought into square.
Pouring concrete is anticlimactic. It spreads, oozes into corners, but its importance is only clear weeks later. Experienced hands will warn you not to rush the curing process; concrete, like bread, cannot be hurried without compromising its integrity. Wait—impatiently or otherwise—until you’re certain it’s solid.
Step 2: Framing the Floor Makes It Real
With the foundation set, you’ll move fast to avoid dwelling on past mistakes. The floor frame fastens to your fresh concrete using anchor bolts that seem pointlessly robust until you imagine a winter gale. Each sill plate must align with the others; small errors multiply as the project advances.
Laying floor joists, there’s a rhythm to hours spent nailing every sixteen inches. By the time it’s done, you’ll swear you can eyeball a straight line with alarming accuracy. Subflooring (usually plywood or OSB) is cut, staggered, and fixed; adhesive and screws seal the deal, literally. If the floor creaks tomorrow, you’ll know where you got lazy.
Step 3: The Joys (and Agonies) of Walls
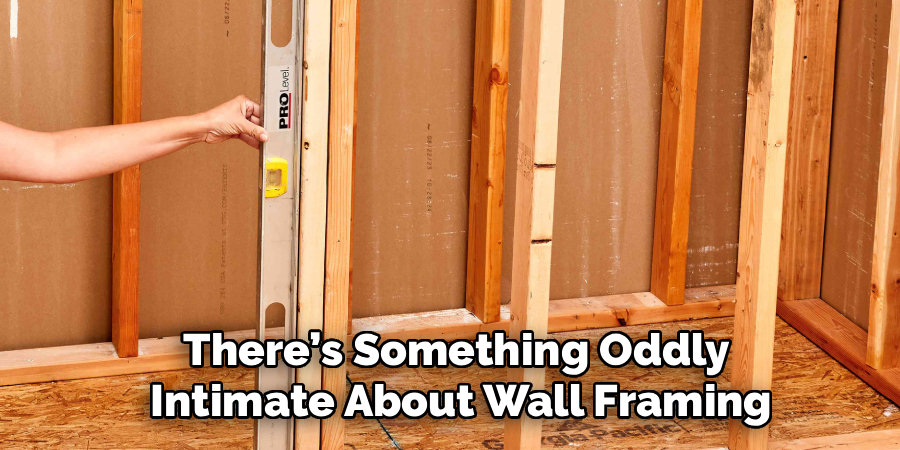
There’s something oddly intimate about wall framing. All reasoning—stud spacing, window opening measurements—plays out face-down atop your subfloor, with frequent checks against the “official” blueprints and, often enough, a bit of profanity. The process is forgiving only in the sense that you’ll build each wall flat, then gather any willing hands to tip it upright. The instant it’s vertical, every flaw announces itself. Out comes the level, the temporary brace, and more nails. Corners are awkward, but patience here spares you headaches later.
Interior walls offer fewer risks, but they require the same rigor. It’s at this stage that you’ll visualize rooms instead of rectangles.
Step 4: Roofing—From Bafflement to Shelter
Many builders quietly dread the roof. It’s an exercise in geometry, physical courage, and, usually, restraint. Prefabricated trusses save effort; hand-cut rafters appeal to purists, but at the cost of additional head-scratching. Either way, the structure must be secure enough to resist nature’s worst attempts at sabotage.
Once the skeleton’s in place, you’ll nail down plywood or OSB, connecting every rafter or truss so tightly the roof flexes as a single unit. The work is urgent whenever clouds threaten. Waterproof barriers follow fast, and only then—sometimes after midnight—do the shingles go on. Each overlapping row is another small gesture of protection against rain seeping into your winter plans.
Step 5: Windows, Doors, and the Art of “Drying In”
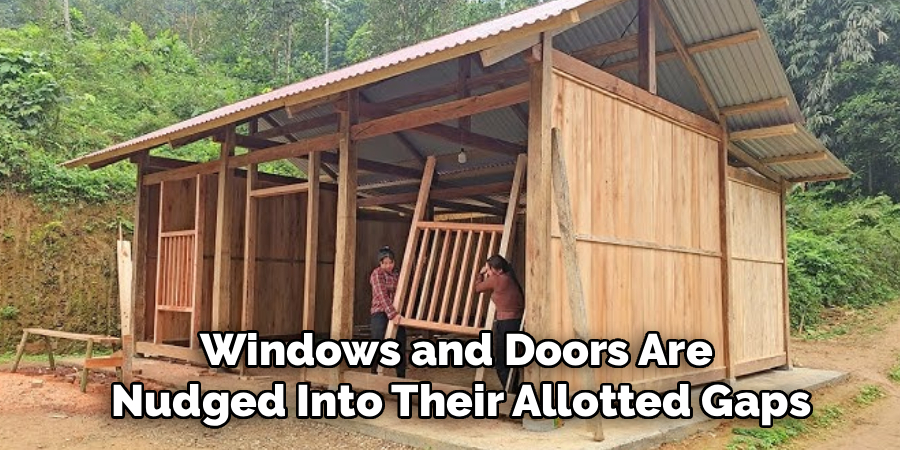
Getting the building “dried in” is a psychological checkpoint. Windows and doors are nudged into their allotted gaps, then fussed over with levels until they stand square and open properly. Caulking and flashing are, for once, not the places to cut corners; water rarely listens to good intentions.
Siding comes next, with more choices than necessary. Traditional wood appeals to nostalgia, vinyl ftolaziness, and fiber cement fotoeace of mind. Work upward, lap by lap, so every drop of rain slips harmlessly to the ground. Meticulous trim work—corners and window surrounds—does more for curb appeal than any paint color.
Step 6: Hiding the Essential—Plumbing and Electrical
Before the inner walls vanish behind drywall, the real arteries and nerves of the house must appear. Plumbing comes first: pipes snake behind walls, weaving through floor joists, tracing future sink and shower locations. Testing under pressure isn’t optional; a single overlooked drip can rot your efforts from the inside out.
The electrical rough-in, by comparison, is a maze of wires, boxes, and nervous double-checking against the building code. If you’ve ever debated whether to hire a professional, this stage usually tips the scales. Most local authorities insist on a licensed inspection, and with good reason.
Step 7: The Final Layers—Insulation, Walls, and the Finishing Touches
At last, a chance to think about comfort—namely, insulation. Fiberglass batts or spray-in foam fill every external gap, helping you stave off both chill and swelter. Careless placement leaves “cold spots” you’ll regret every winter.
Drywall follows, insecure stacks of white sheets propped against unfinished studs. Cut-out boxes and pipes take patience. After hanging, you’ll tape—and mud—every seam. The first attempt almost always disappoints, but three passes and some judicious sanding get it smooth enough to pass muster. Only then do you bring in color, trim, doors, and the glossy satisfaction of installed flooring. Once faucets glisten and appliances hum, the place starts to feel—if not finished—then at least free of echo.
Following these steps on how to make a wood house, you can create a beautiful and sturdy home that will last for generations. However, the journey to completing a wooden house does not end there. As with any type of home, maintenance is key to keeping it in good condition.
Common Mistakes to Avoid
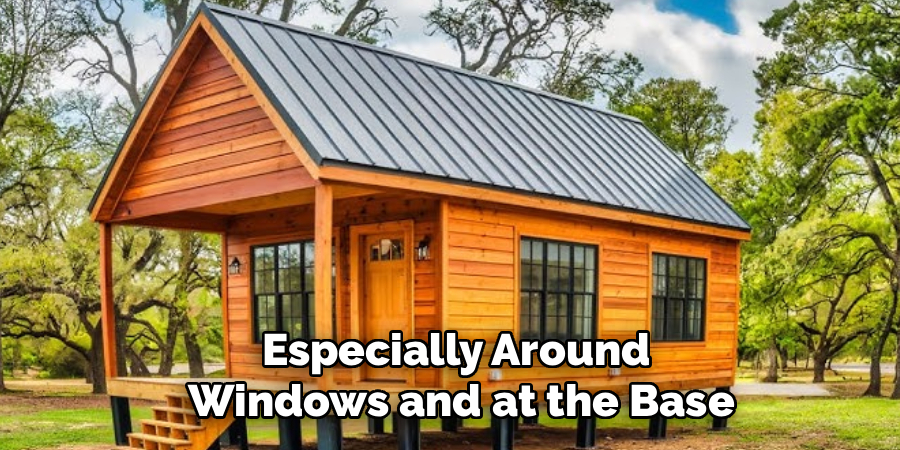
Permits are dull, but neglecting them invites misery: work can be halted, fines levied, or worse, walls torn back down. Measurement errors are another common pitfall; what feels like a minor misstep early on can trumpet itself loudly after you’ve closed up the walls. Water, the slow and silent destroyer, finds the smallest weakness in your waterproofing efforts, especially around windows and at the base.
Material shortages frustrate momentum and drag out timelines, so keep redundant counts. Perhaps the most dangerous error is optimism that isn’t tethered to budgeting reality. Projects stall more often from empty pockets than from incompetent labor.
Should You Involve Professionals?
You can, in theory, finish the entire project alone if you have months—or years—and plenty of willingness to patch mistakes. Reality suggests that at certain junctures, outside help represents wisdom, not defeat. Complex electrical and plumbing jobs almost always necessitate trained experts, both for legality and your own safety. An electrician will reduce your risk of future fire; a plumber, that of unseen leaks. Even foundation work sometimes calls for a contractor with specialized equipment (or at least more patience than you can muster).
Relinquishing a little control at these moments likely saves anguish, money, or both.
What Will It Cost?
Expectations vary wildly depending on whether you’re building a humble retreat or an ambitious statement. A compact, no-frills cabin—even if done mostly solo—will likely eat up at least $20,000 in material expenses. Step up to a family-size home filled with modern amenities, subcontracted expertise, and upscale fixtures, and six figures recede into the distance.
Scrutiny of your budget—broken down to stud, screw, and permit fee—may not spare you all surprises, but it dulls the worst shocks. Conventional wisdom, hard-won by those who’ve seen spreadsheets unravel, says set aside 20% more than you expect. One way or another, it disappears.
Frequently Asked Questions
Q1: What’s the Likely Timeline for Building?
There’s no universally correct answer here, only ranges and caveats. Professionals, unhindered by weekend schedules or indecision, will often have a complete wood-frame home assembled in as little as four months, maybe six. The lone builder (or well-meaning family crew) working after hours and on holidays should anticipate a project that stretches over a year, perhaps even three. It’s not always a marathon; sometimes, it’s more like a relay between seasons.
Q2: What Kind of Wood Should I Use?
Most house frames in North America are constructed with familiar softwoods: Douglas fir, pine, or spruce, all chosen for their balance of strength, workability, and price. Exposed external parts—like decks or siding—call for rot-resistant species, usually cedar or redwood. Even so, regional differences and availability tend to shape decisions as much as theory.
Q3: How Safe Is a Wood House—From Fire or Pests?
Absolute safety is elusive. Still, current building codes mandate things like fire-rated drywall between utility spaces and living areas, slowing the spread of flame. For lower sections, or wherever dampness or termites might intrude, pressure treatment is standard—its smell a faint but reassuring promise. Regular checkups, quick repairs, and an eye for cracks or chew marks help your house outlast more than a single generation.
Conclusion
If you manage to reach this point—calloused fingers, budget battered, but with walls upright around you—there’s satisfaction that can’t fully be explained to observers. Yes, the paint will dry and the dust will settle, but there’s a quieter pride in each crooked nail, each stubborn detail you drove into being.
The work is never quite as simple as the guides suggest. Then again, if you’ve made it this far, you already know that. Thanks for reading this guide on how to make a wood house.

About
Mike May is a distinguished figure in the world of woodworking and timber design, with a decade of expertise creating innovative and sustainable indoor solutions. His professional focus lies in merging traditional craftsmanship with modern manufacturing techniques, fostering designs that are both practical and environmentally conscious. As the author of Woodimber, Mike delves into the art and science of timber-craft, inspiring artisans and industry professionals alike.
Education
RMIT University (Melbourne, Australia)
-
Associate Degree in Design (Timber): Focus on sustainable design, industry-driven projects, and practical craftsmanship.
-
Gained hands-on experience with traditional and digital manufacturing tools, such as CAD and CNC software.
Nottingham Trent University (United Kingdom)
-
Bachelor’s in Woodworking and Product Design (Honors): Specialized in product design with a focus on blending creativity with production techniques.
-
Participated in industry projects, working with companies like John Lewis and Vitsoe to gain real-world insights.
Publications and Impact
In Woodimber, May shares his insights on timber design processes, materials, and strategies for efficient production. His writing bridges the gap between artisan knowledge and modern industry needs, making it a must-read for both budding designers and seasoned professionals.