

Carved wood furniture possesses a unique charm and character, with intricate details that tell a story. Whether you’ve found a vintage treasure at a flea market or want to update a family heirloom, a fresh coat of paint can breathe new life into these ornate pieces.
Painting carved wood might seem intimidating because of its intricate patterns and crevices, but it’s a rewarding DIY project that can transform your furniture from dated to dazzling. With the right techniques and a little patience, you can achieve a professional-quality finish that highlights every beautiful detail.
This guide on how to paint carved wood furniture will walk you through the entire process, from preparation to the final topcoat.
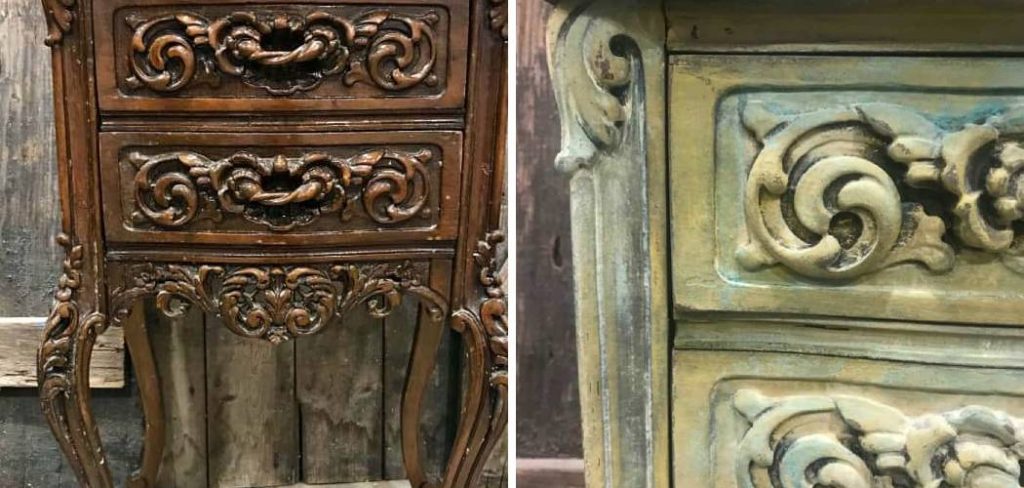
What You Will Need
Gathering your materials before you begin will make the process smoother and more enjoyable. Here is a comprehensive list of the tools and supplies required for painting carved wood furniture.
Cleaning & Preparation:
- TSP (Trisodium Phosphate) or a degreasing cleaner
- Clean cloths or rags
- A bucket with warm water
- Scrub brush or old toothbrush
- Wood filler and putty knife
- Fine-grit sandpaper (220-grit)
- Sanding sponge or block
- Tack cloth or microfiber cloth
- Painter’s tape
- Drop cloths or plastic sheeting
Priming & Painting:
- High-quality stain-blocking primer (shellac-based is excellent for preventing bleed-through)
- Your choice of paint (Chalk paint, milk paint, or a high-quality acrylic latex enamel)
- A selection of paintbrushes:
- An angled 1.5 to 2-inch brush for larger flat areas
- A small, round, or pointed artist’s brush for intricate details
- A small foam brush for smooth application in some areas
- Small paint tray or container
Finishing:
- Clear topcoat (Polycrylic in your desired sheen—matte, satin, or semi-gloss—is a popular choice)
- Optional: Dark or colored wax for antiquing
- Lint-free cloths for applying wax
Safety Gear:
- Gloves
- Mask or respirator (especially when sanding or using oil-based products)
- Safety glasses
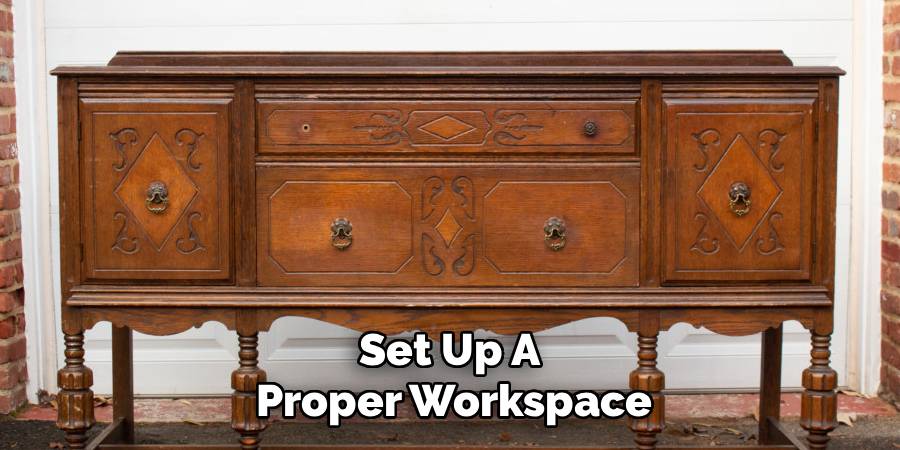
10 Easy Steps on How to Paint Carved Wood Furniture
Follow these detailed steps to achieve a flawless finish on your ornate furniture. The key to success lies in careful preparation and patience during the application process.
Step 1: Prepare Your Workspace
Before you even touch the furniture, set up a proper workspace. Choose a well-ventilated area, such as a garage with the door open, a covered patio, or a room with several open windows. Good airflow is crucial for your safety, as paint and primer fumes can be strong. It also helps the paint dry more efficiently. Lay down drop cloths or plastic sheeting to protect your floors from drips and dust. Ensure you have adequate lighting so you can see every detail and crevice as you work. If the furniture piece has any hardware like knobs or handles, remove them and store them safely in a labeled bag.
Step 2: Thoroughly Clean the Furniture
This is the most critical step for ensuring paint adhesion. Over the years, furniture accumulates dust, grime, oils from hands, and residue from cleaning polishes. Paint will not stick to a dirty or greasy surface. Start by vacuuming the piece, using a brush attachment to get into the carved details. Next, mix your TSP or degreaser with warm water according to the manufacturer’s instructions. Wearing gloves, use a clean cloth to wash down the entire piece.
For the intricate carved areas, use a soft-bristled scrub brush or an old toothbrush to gently scrub away the grime. Once clean, rinse the furniture thoroughly with a cloth dampened with plain water to remove any cleaning residue. Let the piece dry completely, which could take several hours.
Step 3: Repair and Sand the Surface
Inspect the furniture for any imperfections you want to fix. Use wood filler and a putty knife to fill any deep scratches, gouges, or unwanted holes. Overfill them slightly, as the filler will shrink as it dries. Once the filler is completely cured (check the product’s instructions), it’s time to sand. The goal of sanding is not to remove the old finish, but to “scuff” it up to create a texture that the primer can grip. Use a 220-grit sandpaper or a sanding sponge.
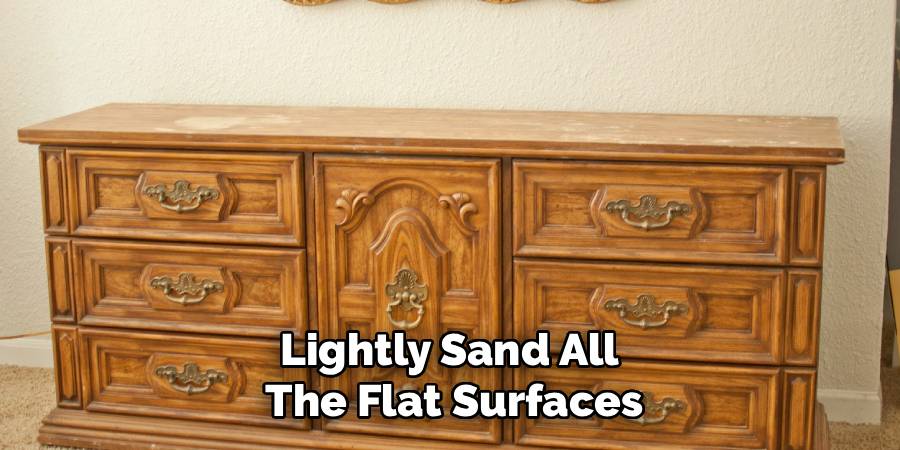
Lightly sand all the flat surfaces. For the carved details, a flexible sanding sponge or a small piece of sandpaper folded over can help you get into the contours without damaging them. Be gentle; you only need to dull the existing sheen. After sanding, the entire piece will be covered in fine dust. Wipe it all down with a tack cloth or a slightly damp microfiber cloth to create a perfectly clean, dust-free surface.
Step 4: Apply Painter’s Tape
If there are any areas on the furniture you do not want to paint, such as the inside of drawers, the back panel, or glass inserts, carefully apply painter’s tape to protect them. Press the edges of the tape down firmly to prevent any paint from bleeding underneath. This small step saves you a lot of cleanup time later and results in clean, professional-looking lines.
Step 5: Apply a Stain-Blocking Primer
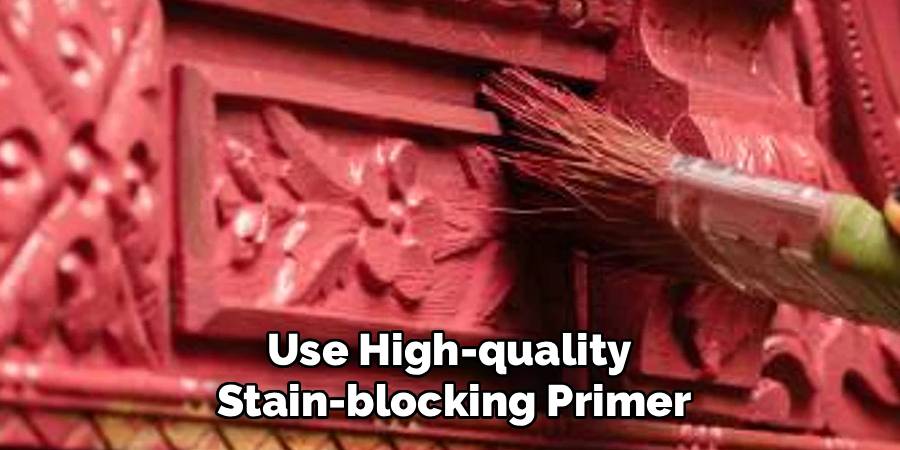
Primer is non-negotiable, especially for older wood furniture. Wood, particularly mahogany and cherry, contains natural compounds called tannins that can “bleed” through layers of paint, creating ugly yellow or pink stains. A high-quality stain-blocking primer creates a barrier that prevents this. Shellac-based primers are particularly effective at this. Using your angled brush for flat areas and your smaller artist’s brush for the carvings, apply a thin, even coat of primer to the entire piece.
Don’t worry about perfect coverage on this first coat; the goal is adhesion. Focus on getting the primer into all the nooks and crannies of the carvings. Let the primer dry completely according to the manufacturer’s directions. A second thin coat of primer is often recommended for extra protection against bleed-through.
Step 6: Lightly Sand After Priming
Once the final coat of primer is fully dry, you may notice the surface feels slightly rough. This is normal. Take your 220-grit sandpaper and give the entire piece a very light sanding. This will smooth out any brush strokes or raised grain and create an ideal surface for your paint. Be very gentle, as you only want to smooth the primer, not remove it. After this light sanding, wipe away all dust with a tack cloth one last time. Your piece is now perfectly prepped for paint.
Step 7: Apply the First Coat of Paint
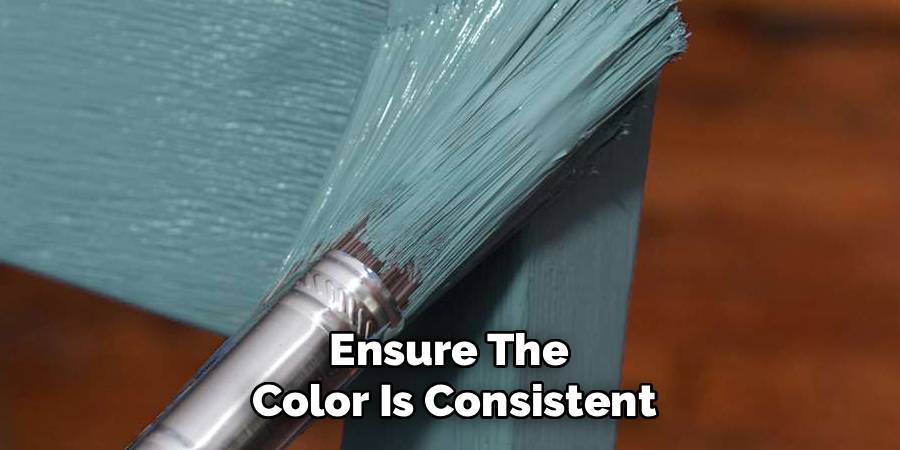
Now for the fun part. Stir your paint thoroughly to ensure the color is consistent. Using your high-quality brushes, begin applying your first coat of paint. A common mistake is to apply the paint too thickly, which can obscure the carved details and lead to drips. Instead, apply a thin, even coat. Use your angled brush for the larger, flat sections and switch to your small, round, or pointed artist’s brush for the intricate carvings.
Work the paint into all the crevices, but avoid letting it pool. Brush in the direction of the wood grain on flat surfaces. Check for drips as you go, especially around the edges and within the carved patterns, and smooth them out immediately with your brush. Don’t aim for full coverage on the first coat.
Step 8: Apply Subsequent Coats of Paint
Let the first coat of paint dry completely. Drying times can vary based on the type of paint and the humidity in your workspace, so refer to the can for guidance. Once dry, you can apply your second coat. Apply it in the same manner as the first: thin and even.
This second coat should provide much better coverage and deepen the color. For most colors, two coats will be sufficient. However, if you are painting a light color over a dark piece, you may need a third coat to achieve a solid, opaque finish. Let each coat dry fully before applying the next.
Step 9: Add a Protective Topcoat
Even if your paint claims to have a built-in topcoat, applying a separate clear sealer is highly recommended for a piece of furniture that will see regular use. A water-based polycrylic is an excellent choice as it is durable, non-yellowing, and easy to clean up. Choose the sheen that best suits your desired look—matte for a flat, modern finish, or satin for a slight luster.
Apply the topcoat using the same technique as the paint: thin, even layers. Use a clean, high-quality brush to avoid bristles getting stuck in the finish. Two to three thin coats are usually recommended for maximum durability. Allow each coat to dry completely and lightly sand with a very fine-grit (320 or higher) sandpaper between coats for the smoothest possible finish, wiping with a tack cloth after each sanding.
Step 10: Reassemble and Cure
After your final topcoat is fully dry to the touch, you can carefully remove the painter’s tape and reattach your hardware. While the paint may feel dry, it needs more time to “cure.” Curing is the process where the paint hardens to its maximum durability. This can take anywhere from a week to 30 days, depending on the product. During this curing period, be gentle with the furniture. Avoid placing heavy objects on it or cleaning it with harsh chemicals. Once fully cured, your beautifully painted, carved wood furniture is ready to be used and admired for years to come.
5 Things You Should Avoid
Prevent common DIY mistakes by keeping these tips in mind.
- Skipping Cleaning and Priming: Rushing into painting without properly cleaning and priming is the number one cause of a failed paint job. Paint will peel, chip, or become stained if applied to a dirty surface or one without a primer barrier.
- Using Thick Coats of Paint: It’s tempting to slather on thick coats to get the job done faster, but this is a mistake with carved furniture. Thick paint will fill in and obscure the beautiful details, lead to drips and runs, and take much longer to dry properly.
- Using Low-Quality Brushes: Cheap brushes shed bristles that get stuck in your finish and create visible, streaky brushstrokes. Invest in a few high-quality brushes; they will give you a smoother application and a more professional result.
- Not Allowing Adequate Dry Time: Patience is a virtue in painting. Applying another coat of paint or a topcoat before the previous one is fully dry can result in a tacky, easily damaged finish that may never cure properly. Always follow the recommended drying times.
- Rushing the Carved Details: The carvings are what make the piece special. Rushing this part can lead to pooled paint in the crevices or missed spots. Take your time with a small artist’s brush to ensure every detail is coated evenly and looks sharp.
Conclusion
How to paint carved wood furniture is a project that offers immense satisfaction and stunning results.
By transforming a dated or worn-out piece, you not only save it from the landfill but also create a custom item that perfectly reflects your personal style. While the intricate details may seem challenging, the process is straightforward when broken down into manageable steps.
Remember that thorough preparation is the foundation of a lasting finish. From meticulous cleaning and sanding to the careful application of thin, even coats of primer and paint, every step contributes to the outcome.

About
Mike May is a distinguished figure in the world of woodworking and timber design, with a decade of expertise creating innovative and sustainable indoor solutions. His professional focus lies in merging traditional craftsmanship with modern manufacturing techniques, fostering designs that are both practical and environmentally conscious. As the author of Woodimber, Mike delves into the art and science of timber-craft, inspiring artisans and industry professionals alike.
Education
RMIT University (Melbourne, Australia)
-
Associate Degree in Design (Timber): Focus on sustainable design, industry-driven projects, and practical craftsmanship.
-
Gained hands-on experience with traditional and digital manufacturing tools, such as CAD and CNC software.
Nottingham Trent University (United Kingdom)
-
Bachelor’s in Woodworking and Product Design (Honors): Specialized in product design with a focus on blending creativity with production techniques.
-
Participated in industry projects, working with companies like John Lewis and Vitsoe to gain real-world insights.
Publications and Impact
In Woodimber, May shares his insights on timber design processes, materials, and strategies for efficient production. His writing bridges the gap between artisan knowledge and modern industry needs, making it a must-read for both budding designers and seasoned professionals.