

Carving small figures from branches or blocks is a deeply relaxing and creative hobby. You only need a sharp blade and a piece of timber to get started. Many people find the rhythmic motion of peeling away layers to be an excellent way to reduce stress. You can take this highly portable hobby anywhere, from your back porch to a remote campsite.
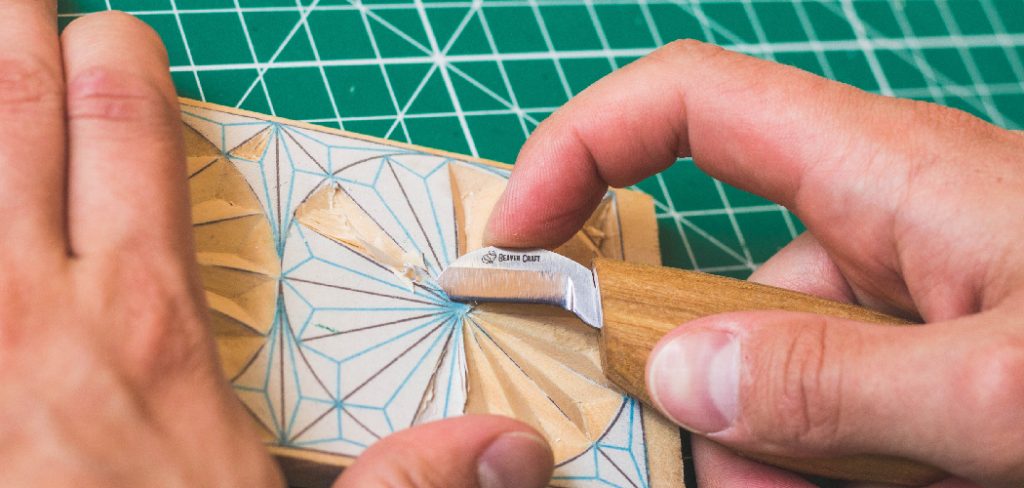
When you first begin, looking at a blank block can feel slightly intimidating. You might worry about making mistakes or cutting yourself. However, mastering the fundamental techniques requires only patience and a bit of practice. If you want to learn how to whittle wood, you simply need to understand the basic strokes and safety rules. We will walk you through the entire process from selecting your first knife to adding the final finishing touches. Gather your supplies, clear a comfortable workspace, and prepare to create your very first handcrafted masterpiece.
Step-By-Step Guide On How To Whittle Wood
Step 1: Choose the Right Pocket Knife
Your tool serves as the foundation of your new hobby. You do not need an expensive or elaborate set to begin shaping your first project. A simple pocket knife with a locking blade works perfectly for most beginners. You must ensure the blade is incredibly sharp before you make your first cut. A dull edge requires more force, which significantly increases the chance of slipping and causing an injury. Look for a blade made of high-carbon steel, as this material holds a sharp edge much longer than standard stainless steel options. Take your time selecting a handle that feels comfortable and secure in your grip.
Step 2: Select the Best Beginner Material
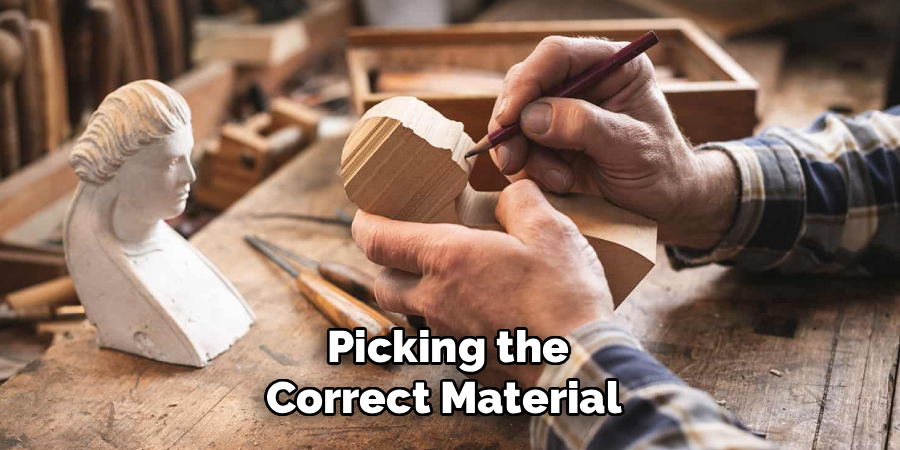
Picking the correct material makes a massive difference in your early success. Softwoods offer the least resistance, allowing you to focus on your technique rather than fighting the grain. Basswood stands out as the absolute best choice for newcomers to this craft. It features a fine, even grain that cuts smoothly in almost any direction. You can easily find small blocks of basswood at any local craft store or online hobby shop. Pine and balsa provide other soft alternatives, though pine often contains tough knots that can frustrate a novice. Avoid hardwoods like oak or maple until you build enough hand strength and confidence.
Step 3: Put on Proper Safety Gear
Safety must always remain your top priority when handling sharp tools. You should invest in a high-quality carving glove to protect your non-dominant hand. This hand holds the block and sits directly in the path of potential slips. A safety glove made from cut-resistant woven fibers will prevent serious injuries while you learn the required grip pressure. You should also consider wearing a leather thumb guard on your knife hand. This protects your thumb during specific pulling motions. Always carve in a well-lit area so you can clearly see the grain direction and the precise placement of your blade.
Step 4: Master the Basic Push Stroke
The push stroke serves as the most common and fundamental technique you will use. You hold the block securely in your protected hand while pushing the blade away from your body. This motion removes long, thin shavings and helps establish the rough shape of your project. You should lock your wrists and push using the strength of your shoulders and arms. This provides much greater control and prevents your hand from jerking forward unexpectedly. Take small, shallow slices rather than trying to remove large chunks all at once. Patience during this stage yields a much smoother and more accurate final shape.
Step 5: Learn the Controlled Pull Stroke
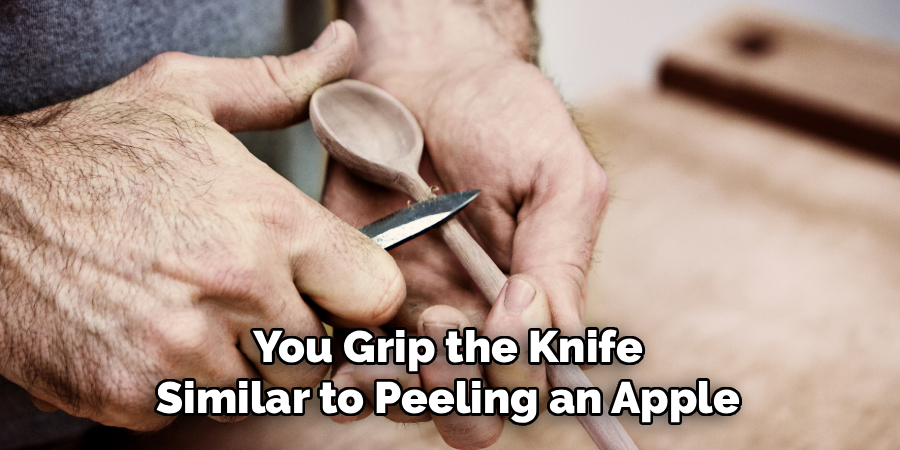
The pull stroke, also known as the paring cut, allows for finer details and greater control. You grip the knife similar to peeling an apple, bringing the blade slowly toward your thumb. This is exactly why wearing a leather thumb guard proves so essential. You rest your thumb against the block to act as a pivot point and brake for the blade. This stroke works perfectly for smoothing out rough edges or rounding off sharp corners. Always use slow, deliberate movements and keep your cuts very shallow. The pull stroke gives you the precise control needed for facial features or delicate curves.
Step 6: Try the Versatile V-Cut Technique
Once you feel comfortable with basic pushing and pulling, you can attempt the V-cut. This technique creates a distinct trench or groove in your piece. You make one angled slice downward, then make a second angled slice to meet the bottom of the first cut. This wedges out a small, V-shaped piece of material. You will use this method frequently to define separate areas of your project, like the line between a hat and a face. Practice making these grooves on a scrap piece of basswood first. Focus on making both angled slices meet perfectly at the bottom of the trench.
Step 7: Practice How To Whittle Wood With Detail
Adding fine details brings your creation to life and gives it unique character. You will use the very tip of your blade to score small lines and textures into the surface. This technique works wonderfully for simulating fur, feathers, or wood grain on your finished piece. You must use extremely light pressure, treating the blade almost like a pencil. Take frequent breaks to rest your hands, as detail work requires intense focus and a tight grip. Look at your project from different angles to ensure your details look symmetrical and intentional. Slow, careful texturing transforms a basic shape into a recognized figure.
Step 8: Sand and Finish Your Project
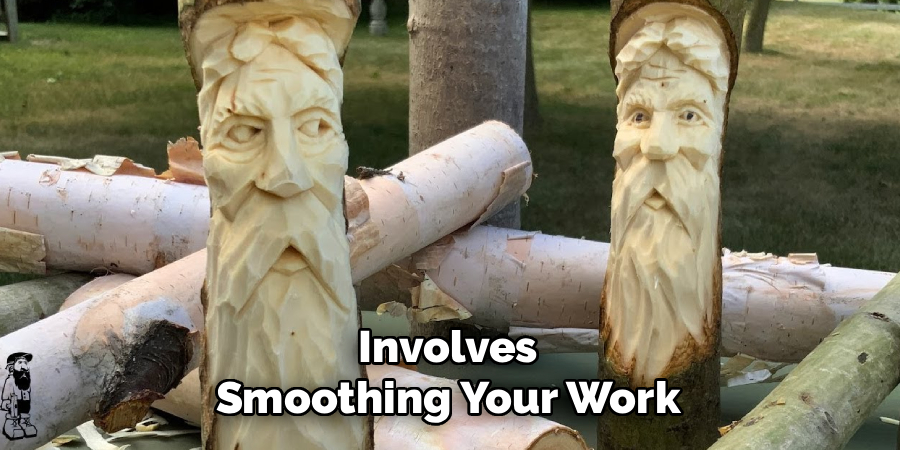
The final step involves smoothing your work and protecting the exposed surface. Some carvers prefer leaving the faceted knife marks visible for a rustic appearance. If you prefer a smoother look, use medium-grit sandpaper to gently remove any sharp ridges. Progress to a fine-grit paper for a silky finish. You must then apply a protective coating to seal the pores and prevent moisture damage. Mineral oil, beeswax, or clear polyurethane all serve as excellent finishes. Apply the coating with a soft cloth and let it dry completely in a well-ventilated area. Your handcrafted figure is now ready for display.
Frequently Asked Question (Faq)
What Is The Best Wood For A Beginner?
Basswood remains the absolute best choice for anyone just starting out.
- It has an incredibly soft texture that yields easily to a sharp blade.
- The straight, even grain prevents unpredictable splitting or cracking.
- It lacks the tough knots commonly found in cheap pine.
- You can buy pre-cut blocks relatively cheaply at most craft stores.
Starting with basswood prevents early frustration and helps you safely learn the basic cutting strokes.
How Do I Keep My Knife Sharp?
Maintaining a razor-sharp edge is critical for both safety and success. You do not need to use a grinding stone every time you carve.
- Use a leather strop treated with honing compound before every carving session.
- Drag the blade backward across the leather a few times on each side.
- This simple stropping process realigns the microscopic edge of the steel.
- Only use a whetstone if you accidentally nick the blade or let it get extremely dull over time.
Do I Really Need To Wear A Safety Glove?
Yes, wearing a protective glove on your holding hand is strictly necessary. Slips will inevitably happen, regardless of how careful you try to be.
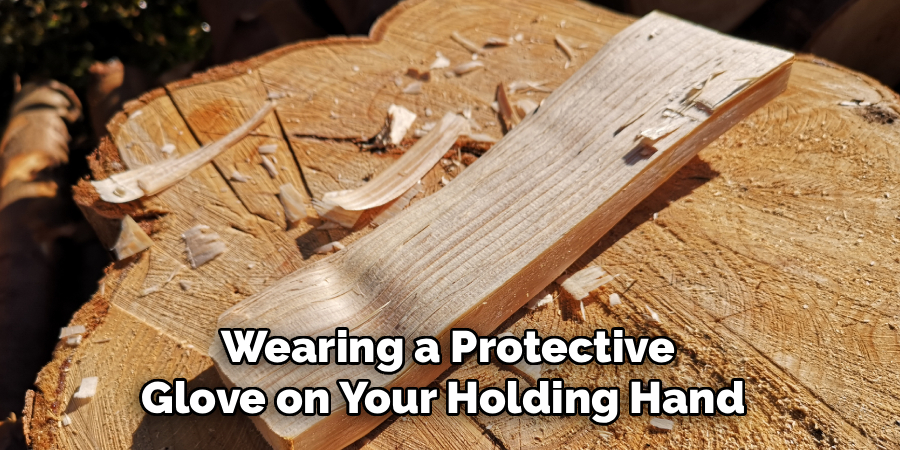
- A cut-resistant glove stops a glancing blade from slicing your fingers.
- It builds your confidence by removing the fear of a serious injury.
- Make sure you buy a glove that fits snugly so you can still grip the block tightly.
Never skip this crucial safety precaution, even for a quick five-minute session.
What Is The Difference Between Carving And Whittling?
People often use these terms interchangeably, but they refer to slightly different approaches.
- Whittling generally uses only one tool, typically a pocket knife, to shape a piece.
- It is a highly portable activity often done outdoors.
- Carving involves a wider variety of specialized tools, like gouges, chisels, and mallets.
- Carvers usually work at a dedicated workbench with their pieces clamped tightly in a vise.
How Long Does It Take To Make A Figure?
The required time depends entirely on the complexity of the design and your personal experience level.
- A basic shape like a small mushroom or a simple boat might take a beginner one hour.
- A detailed animal figure could take several evenings to complete.
- Rushing the process leads to mistakes and potential injuries.
- Focus on enjoying the relaxing journey rather than rushing to finish the final product.
Conclusion
Creating art from a simple block of timber offers a deeply satisfying and accessible creative outlet. By selecting the right beginner materials, utilizing a sharp pocket knife, and wearing proper safety gear, you set yourself up for immediate success. Remember to master the basic push and pull strokes slowly before attempting complex, detailed figures. Your skills will naturally improve with each new block you shape. Now that you understand exactly how to whittle wood, you can confidently start your first project. Grab a piece of soft basswood, put on your safety glove, and enjoy the relaxing rhythm of peeling away the layers.

About
Mike May is a distinguished figure in the world of woodworking and timber design, with a decade of expertise creating innovative and sustainable indoor solutions. His professional focus lies in merging traditional craftsmanship with modern manufacturing techniques, fostering designs that are both practical and environmentally conscious. As the author of Woodimber, Mike delves into the art and science of timber-craft, inspiring artisans and industry professionals alike.
Education
RMIT University (Melbourne, Australia)
-
Associate Degree in Design (Timber): Focus on sustainable design, industry-driven projects, and practical craftsmanship.
-
Gained hands-on experience with traditional and digital manufacturing tools, such as CAD and CNC software.
Nottingham Trent University (United Kingdom)
-
Bachelor’s in Woodworking and Product Design (Honors): Specialized in product design with a focus on blending creativity with production techniques.
-
Participated in industry projects, working with companies like John Lewis and Vitsoe to gain real-world insights.
Publications and Impact
In Woodimber, May shares his insights on timber design processes, materials, and strategies for efficient production. His writing bridges the gap between artisan knowledge and modern industry needs, making it a must-read for both budding designers and seasoned professionals.