

Plywood is an incredibly versatile building material, but it requires careful handling to maintain its structural integrity over time. Leaving it exposed to fluctuating temperatures and moisture can quickly ruin your expensive boards.
Learning how to store plywood in a garage ensures your wood remains flat, dry, and ready for your next woodworking project. This guide on how to store plywood in garage covers everything you need to know to protect your materials from warping and damage.
Understanding Plywood and Its Sensitivity
Plywood consists of thin layers of wood veneer glued together. This layered construction makes it strong, but it also makes the boards highly susceptible to environmental changes. Wood naturally absorbs moisture from the air, causing it to expand. When the air dries out, the wood contracts. These constant fluctuations are the primary cause of warping, bowing, and delamination.
Garages are particularly challenging environments for wood storage. They often lack climate control, meaning temperatures can soar in the summer and plummet in the winter. Humidity levels also fluctuate significantly based on the weather outside. Without proper protection, the moisture from a damp garage floor can easily seep into the bottom edges of your plywood, leading to irreversible rot and structural failure.
7 Simple Step-by-step Guidelines on How to Store Plywood in Garage
Step 1: Choose the Right Storage Location
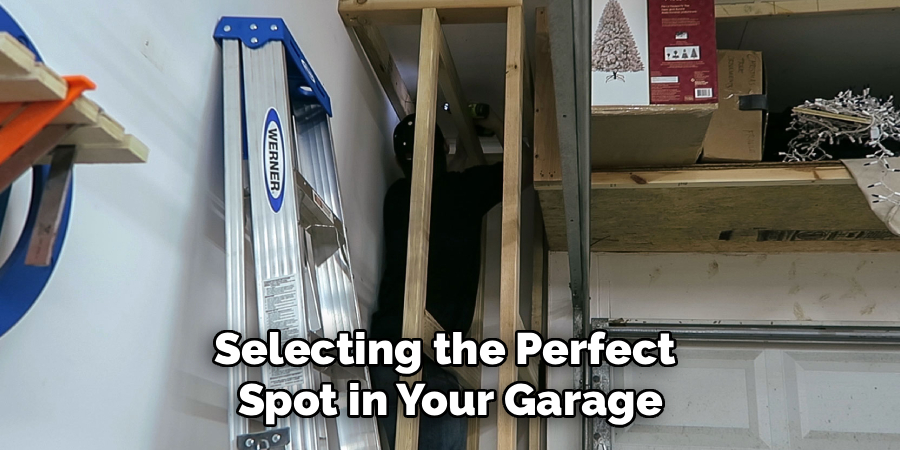
Selecting the perfect spot in your garage is the foundational step for protecting your valuable wood. You must identify an area that remains relatively dry and is shielded from direct sunlight, which can bleach and dry out the veneers unevenly. Keep the wood away from drafty doors or windows where moisture easily blows inside during heavy rainstorms.
Ensure the chosen location provides enough clearance for you to maneuver large sheets without damaging them or straining your back. If your garage occasionally floods or experiences water pooling near the garage door, pick a spot on the opposite side. Keeping the boards isolated from high-traffic zones also prevents accidental impacts from cars, bicycles, or heavy lawn equipment.
Step 2: Elevate the Wood Off the Floor
Never place your plywood directly on a concrete garage floor. Concrete is highly porous and constantly wicks moisture from the ground beneath it, transferring that dampness directly into your wood. You must create a physical barrier between the floor and your building materials to keep the bottom edges completely dry.
Use scrap lumber, wooden pallets, or thick foam insulation boards to elevate your plywood at least three to four inches off the ground. If you are building a custom rack, ensure the bottom supports are made from pressure-treated lumber that can withstand occasional floor moisture. This simple elevation strategy allows air to circulate underneath the stack, preventing mold growth and moisture absorption.
Step 3: Store Sheets Horizontally Whenever Possible
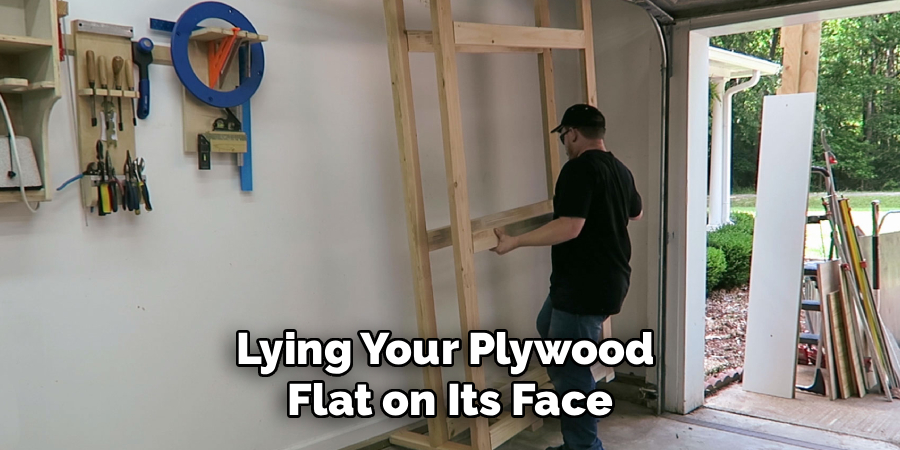
Lying your plywood flat on its face is the absolute best way to prevent warping and bowing. Gravity works in your favor when sheets are stored horizontally, keeping the layers pressed evenly against each other. You must ensure the surface you lay them on is perfectly flat and adequately supported to prevent the boards from sagging in the middle.
If you are stacking multiple sheets, place the thickest and heaviest boards at the very bottom to serve as a sturdy foundation. Align the edges of all the sheets as perfectly as possible so the weight is distributed evenly across the entire surface area. Avoid placing heavy, irregular objects on top of the flat stack, as this can create localized pressure points that dent or bend the top layers over time.
Step 4: Build or Buy a Sturdy Storage Rack
Investing in a dedicated storage rack is a game-changer for organizing your garage and protecting your lumber. A well-built rack keeps your sheets neatly contained, fully supported, and easily accessible. You can construct a simple A-frame cart using heavy-duty casters, allowing you to move the entire stack around your workspace with minimal effort.
If building a horizontal shelf system, ensure the supports are spaced no more than 16 to 24 inches apart to prevent the wood from bowing between the gaps. Wall-mounted racks are an excellent option for maximizing floor space, but you must secure them directly to the wall studs using heavy-duty lag screws. Test the weight capacity of your rack before loading it up completely to avoid a dangerous collapse.
Step 5: Implement Proper Vertical Storage Techniques
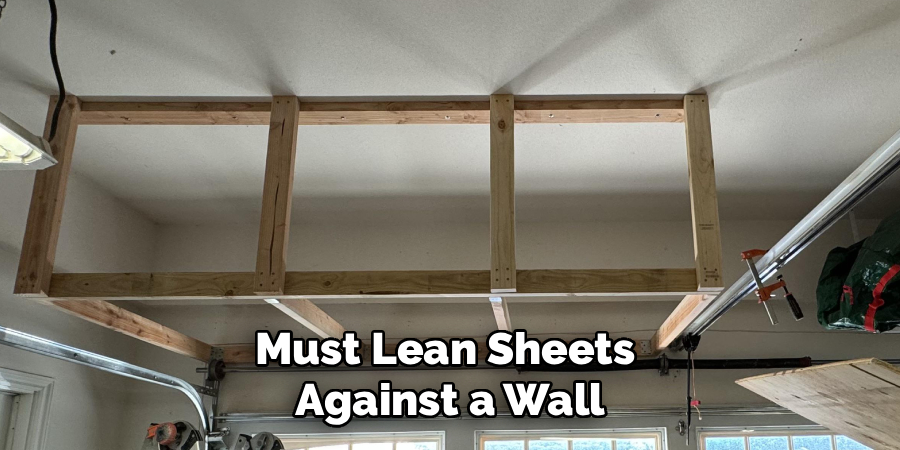
While horizontal storage is ideal, limited garage space often dictates that you must store plywood vertically. If you must lean sheets against a wall, keep the angle as steep as safely possible. Leaning them at too great an angle causes the boards to bow heavily under their own weight, resulting in a permanent curve.
Always place the boards on a raised base, like a piece of scrap 2×4, rather than resting the edges directly on the concrete. Support the entire face of the back sheet against a flat wall or a sturdy backing board to maintain a straight profile. Use a clamp or a securing strap to hold the top edges of the sheets tightly against the wall, preventing them from tipping over and causing severe injury or damage.
Step 6: Control the Garage Climate and Humidity
Managing the environment inside your garage significantly extends the lifespan of your stored lumber. Invest in a reliable hygrometer to monitor the humidity levels throughout the changing seasons. The ideal relative humidity for storing wood is generally between 40 and 50 percent, which prevents both excessive drying and dangerous moisture absorption.
If your garage is consistently damp, running a dehumidifier is a highly effective way to pull excess moisture out of the air. During humid summer months, ensure proper ventilation by occasionally opening windows or using exhaust fans to circulate fresh air. In extremely cold climates, consider adding basic insulation to your garage walls and garage door to stabilize temperature fluctuations and reduce winter condensation.
Step 7: Cover the Plywood for Added Protection
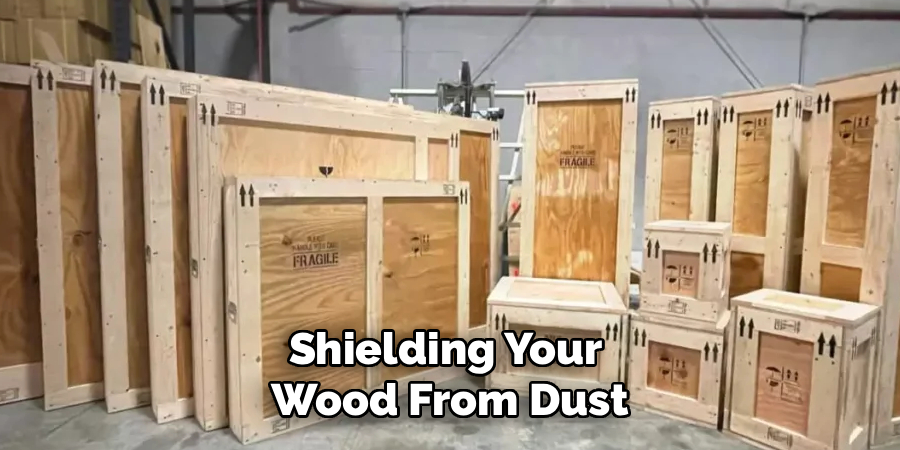
Shielding your wood from dust, dirt, and light keeps the surface pristine until you are ready to cut it. Drape a breathable canvas tarp or an old cotton bedsheet over the entire stack of plywood. This physical barrier stops sawdust and debris from settling into the wood grain, which is especially important for high-grade veneer sheets.
Avoid using heavy plastic tarps that tightly wrap the wood, as plastic traps existing moisture inside and creates a micro-climate that promotes rapid mold growth. The cover should be loose enough to allow adequate air circulation around the edges of the boards. Securing the cover with a few light clamps or bungee cords ensures it stays in place even if you frequently open the garage door.
Following these steps on how to store plywood in garage will ensure that your plywood remains in good condition until you are ready to use it. However, there are a few additional tips and precautions you should keep in mind.
Safety Considerations
Handling large sheets of plywood requires physical exertion and careful movements. Always bend your knees and lift with your legs to avoid severe back injuries when moving heavy boards.
Wear sturdy leather work gloves to protect your hands from sharp splinters and rough edges. If your stack is leaning against a wall, ensure it is properly secured so it cannot accidentally fall forward onto a person or a parked vehicle.
Maintenance and Inspection
Storing your wood is not a set-it-and-forget-it process; it requires ongoing vigilance. You should visually inspect your plywood stack at least once a month, paying close attention to the bottom edges for any signs of water damage or dark mold spots.
Check the topmost sheets to ensure they are remaining perfectly flat and have not started to cup or bow. If you notice a musty smell in the storage area, investigate immediately to locate the source of the hidden moisture. Re-stacking the boards periodically can also help alleviate prolonged stress on the bottom pieces and ensure even air exposure.
Frequently Asked Questions
Q1: Can I Store Plywood Upright Or Does It Have To Be Flat?
A1: While laying sheets perfectly flat is the best way to prevent warping, you can store plywood upright if space is limited. You must ensure the boards are elevated off the concrete floor and resting on a dry support base. The sheets should lean almost entirely vertical against a flat, fully supportive surface to minimize bowing.
Q2: How Long Can Plywood Sit In An Unheated Garage?
A2: Plywood can survive for several months in an unheated garage provided it is kept absolutely dry. Cold temperatures alone will not necessarily ruin the wood, but the condensation that occurs during temperature shifts can cause delamination. Proper elevation and a breathable cover will significantly extend its lifespan in cold conditions.
Q3: Does Plywood Need To Acclimate Before Use?
A3: Yes, you should always bring your plywood into the room where it will be installed or used several days before cutting it. This allows the wood fibers to adjust to the specific temperature and humidity of the indoor environment. Skipping this acclimation step often leads to the wood shrinking or expanding after your project is already assembled.
Conclusion
Proper storage saves you money, time, and immense frustration. By keeping your wood elevated, flat, and shielded from harsh climate changes, you ensure every sheet is ready for construction the moment you need it. Take the time to build a proper rack or clear a dedicated, safe space in your garage this weekend.
For more woodworking tips and workspace organization strategies, check out our other guides on garage upgrades and tool maintenance. Thanks for reading this guide on how to store plywood in garage.

About
Mike May is a distinguished figure in the world of woodworking and timber design, with a decade of expertise creating innovative and sustainable indoor solutions. His professional focus lies in merging traditional craftsmanship with modern manufacturing techniques, fostering designs that are both practical and environmentally conscious. As the author of Woodimber, Mike delves into the art and science of timber-craft, inspiring artisans and industry professionals alike.
Education
RMIT University (Melbourne, Australia)
-
Associate Degree in Design (Timber): Focus on sustainable design, industry-driven projects, and practical craftsmanship.
-
Gained hands-on experience with traditional and digital manufacturing tools, such as CAD and CNC software.
Nottingham Trent University (United Kingdom)
-
Bachelor’s in Woodworking and Product Design (Honors): Specialized in product design with a focus on blending creativity with production techniques.
-
Participated in industry projects, working with companies like John Lewis and Vitsoe to gain real-world insights.
Publications and Impact
In Woodimber, May shares his insights on timber design processes, materials, and strategies for efficient production. His writing bridges the gap between artisan knowledge and modern industry needs, making it a must-read for both budding designers and seasoned professionals.