

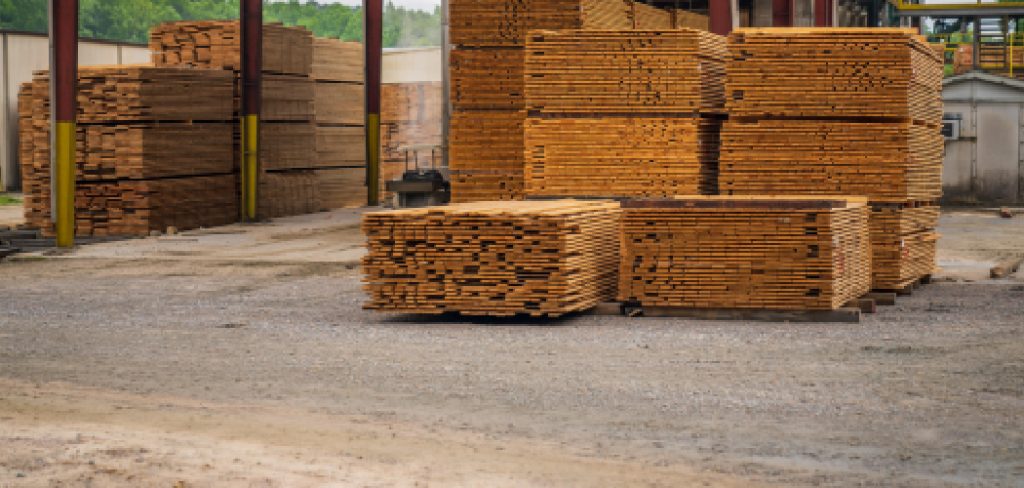
Welcome, home gardeners and DIY beginners! After building a beautiful raised vegetable bed or a sturdy wooden garden trellis, you often find yourself with leftover building materials. Leaving those valuable wooden boards directly on the wet grass is a massive mistake that quickly leads to severe rotting and aggressive warping. If you are wondering how to store lumber outside safely without ruining your expensive materials, you have come to the perfect place.
Protecting your spare wood from harsh weather ensures you always have high-quality supplies ready for your next big backyard project. In this beginner-friendly guide, we will explore the absolute best methods for stacking, covering, and elevating your timber to keep it perfectly dry and straight. Let us gather our foundational supplies and learn exactly how to protect your valuable wooden investments throughout every changing season.
Why Proper Lumber Storage Matters
For passionate home gardeners, building spectacular raised vegetable beds, lovely wooden trellises, and protective cold frames requires a significant financial investment in high-quality building materials. When a weekend project finishes, you inevitably end up with spare timber. If you simply toss these valuable leftover pieces onto the damp lawn behind your potting shed, nature will rapidly reclaim them.
Wood acts exactly like a giant organic sponge. When left unprotected outdoors, it eagerly absorbs heavy ground moisture and ambient humidity from the morning dew. As the porous cellular structure drinks in this unwanted water, the boards will physically swell, intensely twist, and severely cup out of their original straight shape. Once a beautiful piece of timber bows into a massive curve, it becomes completely useless for building tight, secure garden planter boxes.
Step-by-Step Guide On How to Store Lumber Outside
Step 1: Choose a Flat and Elevated Location
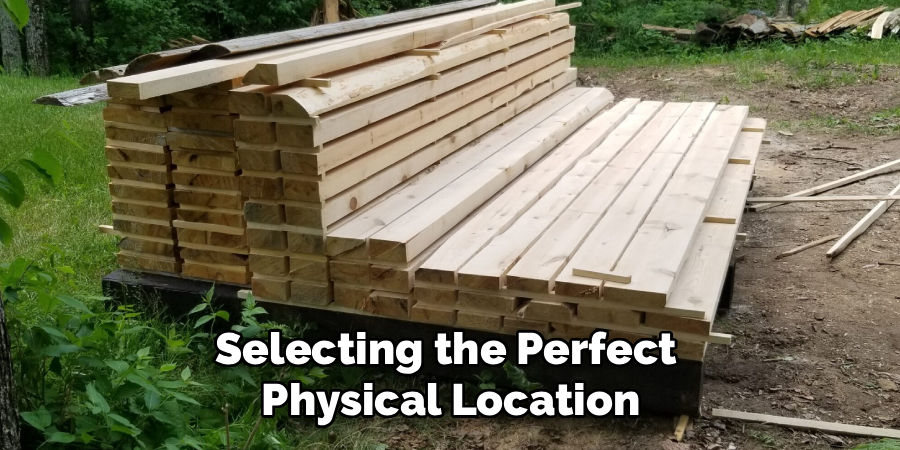
Selecting the perfect physical location in your backyard is absolutely critical for preserving your leftover garden building materials. Mastering how to store lumber outside begins with finding a perfectly flat, level patch of ground that naturally drains heavy rainwater away quickly. You should actively avoid low-lying areas in your lawn where deep puddles tend to gather after severe spring thunderstorms. Placing your valuable timber in a damp ditch guarantees rapid fungal decay and severe structural rotting. Instead, look for a slightly elevated spot near your backyard shed or directly beside your concrete driveway. Ensure the chosen area receives plenty of natural ambient air circulation, which actively prevents trapped humidity from destroying your expensive wooden boards over the long winter months.
Step 2: Build a Sturdy Base Foundation
Once you have identified the ideal dry location, you must construct a robust foundational base to hold the massive weight of your wood pile. You must absolutely never rest your wooden boards directly against the damp garden soil or wet grass. Take heavy concrete cinder blocks or thick pressure-treated landscaping timbers and place them evenly across your chosen flat area. Arrange these sturdy foundational supports horizontally about sixteen to twenty-four inches apart to prevent your long boards from sagging in the middle. This elevated base structure physically lifts your entire timber collection at least six inches off the cold ground, providing essential bottom ventilation and keeping destructive soil moisture far away from your pristine building materials.
Step 3: Lay Down a Moisture Barrier
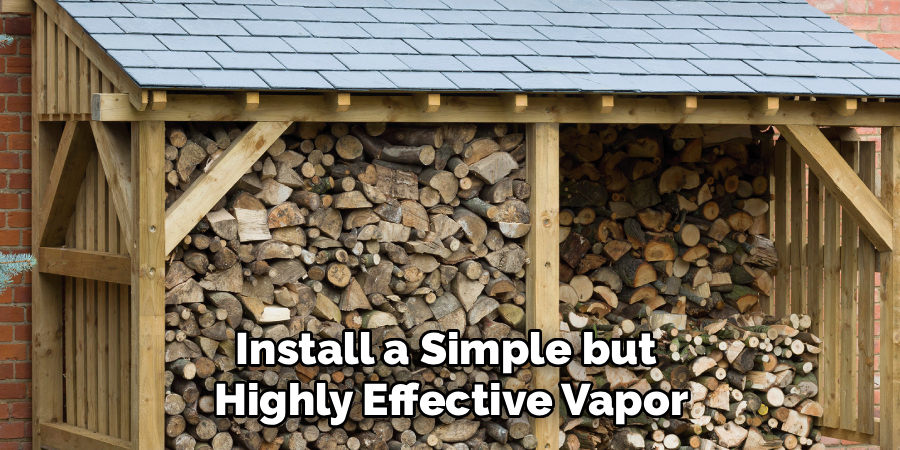
Even with your timber safely elevated on concrete blocks, the exposed earth below will constantly evaporate moisture upwards into your wood pile. To effectively block this rising humidity, you should install a simple but highly effective vapor barrier directly underneath your foundational supports. Purchase a thick, heavy-duty plastic sheeting roll from your local community hardware store. Spread the black plastic securely over the grass or dirt right below your cinder blocks, completely covering the entire footprint of your intended storage area. You can easily weigh down the outer edges of the plastic tarp with smooth garden stones or leftover bricks so strong afternoon winds do not blow it away, fully protecting the bottom of your valuable stack.
Step 4: Use Wooden Stickers Between Layers
Creating adequate airflow between each individual board is the absolute most important secret to preventing nasty fungal growth and sudden warping. You achieve this vital ventilation by utilizing small, uniformly cut pieces of scrap wood known in the carpentry world as stickers. Before you lay your second layer of expensive boards down, place these thin wooden stickers horizontally across the bottom layer. You should position a sticker exactly above each foundational cinder block to maintain perfect structural alignment and distribute the heavy weight evenly. These small wooden spacers create tiny horizontal tunnels throughout the entire stack, allowing fresh summer breezes to blow continuously through the lumber, drying out any trapped ambient moisture immediately.
Step 5: Stack Your Boards Carefully by Size
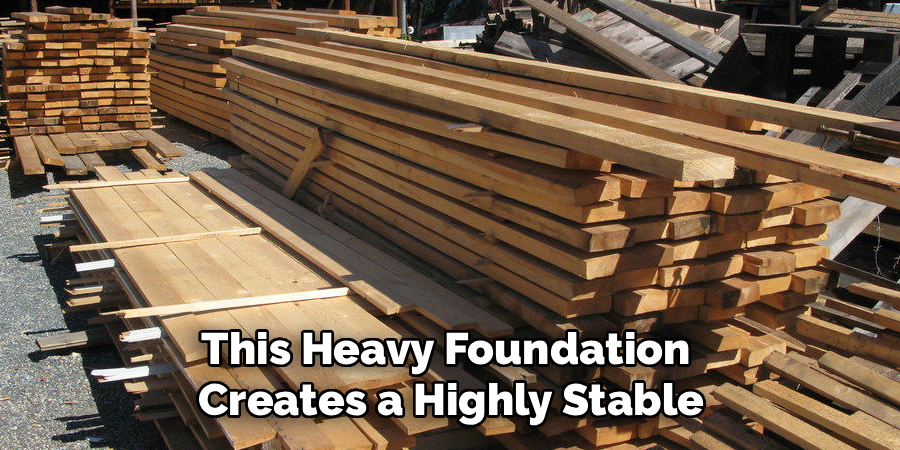
When you begin actually building the vertical pile, you must organize your materials strategically by their specific dimensions. Always place your longest, thickest, and heaviest pieces of timber at the very bottom of the elevated stack. This heavy foundation creates a highly stable, immovable anchor for the rest of your materials. As you build upward, transition to placing the shorter, thinner, and much lighter boards near the top. Keeping boards of identical lengths grouped carefully together prevents fragile, unsupported ends from dangling precariously off the edge of the pile. Dangling ends will inevitably bow, twist, and permanently warp over time under their own heavy weight, completely ruining them for your future raised garden bed projects.
Step 6: Secure the Stack with Ratchet Straps
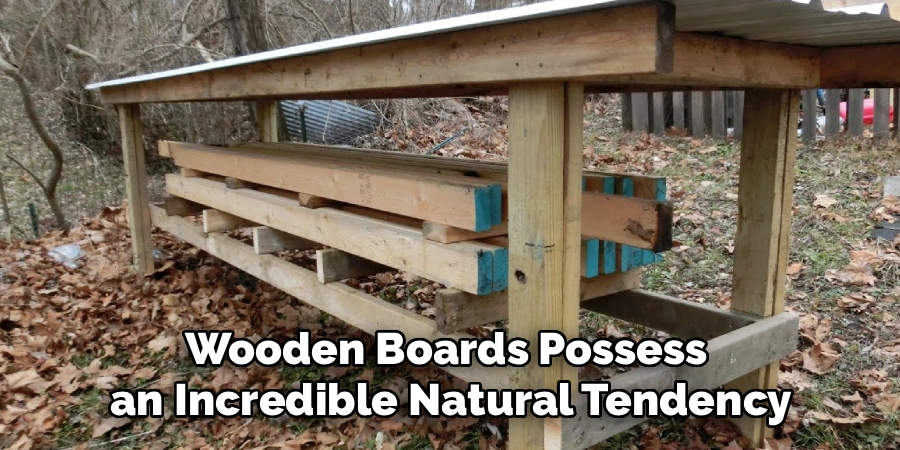
After meticulously stacking all your leftover garden building materials and separating them with wooden stickers, you must physically secure the entire structure. Wooden boards possess an incredible natural tendency to bend, cup, and twist as the seasonal temperature and outdoor humidity constantly fluctuate. To forcefully prevent this natural movement, grab two or three heavy-duty nylon ratchet straps. Loop these strong straps entirely around the completely assembled wood pile, including the sturdy bottom foundational blocks. Ratchet the straps down incredibly tight to apply massive downward pressure across the top boards. This intense, continuous mechanical compression forcefully holds every single piece of timber perfectly flat and wonderfully straight until you are finally ready to build your next project.
Frequently Asked Questions
Can I Store Pressure-Treated Wood Directly On The Ground?
- While pressure-treated lumber contains chemical preservatives that resist rot, storing it directly on the soil is highly discouraged.
- Continuous contact with wet earth overwhelms the chemical treatments over time, eventually leading to severe fungal decay.
- Ground moisture naturally causes the exterior boards to swell unevenly, resulting in severe twisting and permanent warping.
- Always elevate your treated garden timbers at least six inches using concrete blocks to ensure proper bottom airflow and maximum longevity.
Should I Wrap The Entire Wood Pile In A Plastic Tarp?
- You must never tightly wrap your entire stack of building materials in a massive plastic sheet or closed container.
- A tightly sealed tarp acts exactly like a greenhouse, trapping natural condensation and aggressive humidity directly against the vulnerable timber.
- This deeply trapped moisture rapidly creates the perfect biological environment for destructive mold, heavy mildew, and advanced rot.
- Only cover the top surface to block rain, leaving the sides completely open for essential cross-breeze ventilation.
How Do I Prevent Bugs From Infesting My Lumber?
- Keeping your stack safely elevated off the wet ground is the first major step in deterring ground-dwelling insects like destructive termites.
- Removing all surrounding tall grass, rotting autumn leaves, and dense garden weeds entirely eliminates hidden spots for destructive backyard pests.
- Using dry wooden stickers guarantees the pile remains completely dry, making it a highly inhospitable environment for moisture-loving insects.
- Routinely inspect the open crevices during the summer to gently sweep away wandering spiders or small nesting wasps.
What Are Wood Stickers And Why Are They Necessary?
- Stickers are simply thin, identically sized strips of scrap wood placed horizontally between the thick layers of your outdoor stack.
- They physically separate the large garden boards, safely preventing them from resting directly on top of one another.
- This critical separation successfully allows vital ambient air to flow entirely through the dark center of the deep pile.
- Without utilizing stickers, trapped moisture cannot physically escape, heavily accelerating the natural decay process of your expensive materials.
How Long Can Untreated Wood Last Outdoors?
- If left completely exposed to the heavy rain and resting on wet grass, standard untreated pine will rapidly rot in less than a single year.
- However, if properly elevated on concrete blocks, heavily stickered, and shielded with a breathable top cover, untreated timber can easily last several years outside.
- The overall protective lifespan heavily depends on your specific local climate and exactly how diligently you maintain the protective top cover.
- Consistently dry wood will comfortably survive until your next big gardening project finally begins.
Conclusion
Preserving the structural integrity of your valuable leftover building materials does not require an expensive indoor workshop or massive garage space. By carefully elevating your timber off the damp earth, meticulously placing wooden spacers for ventilation, and strapping the entire pile down securely, you completely eliminate the terrifying risks of natural warping and fungal decay. Shielding the top from heavy rain while allowing the sides to breathe perfectly mimics professional lumberyard techniques right in your very own backyard.
Now that you fully understand exactly how to store lumber outside, you possess the incredible confidence needed to protect your investments through every harsh season. Gather your concrete cinder blocks, slice up some thin wooden stickers, and spend a highly rewarding afternoon organizing your spare building supplies. Your perfectly straight, wonderfully dry boards will be patiently waiting for you when inspiration strikes for your next incredible garden building project!

About
Mike May is a distinguished figure in the world of woodworking and timber design, with a decade of expertise creating innovative and sustainable indoor solutions. His professional focus lies in merging traditional craftsmanship with modern manufacturing techniques, fostering designs that are both practical and environmentally conscious. As the author of Woodimber, Mike delves into the art and science of timber-craft, inspiring artisans and industry professionals alike.
Education
RMIT University (Melbourne, Australia)
-
Associate Degree in Design (Timber): Focus on sustainable design, industry-driven projects, and practical craftsmanship.
-
Gained hands-on experience with traditional and digital manufacturing tools, such as CAD and CNC software.
Nottingham Trent University (United Kingdom)
-
Bachelor’s in Woodworking and Product Design (Honors): Specialized in product design with a focus on blending creativity with production techniques.
-
Participated in industry projects, working with companies like John Lewis and Vitsoe to gain real-world insights.
Publications and Impact
In Woodimber, May shares his insights on timber design processes, materials, and strategies for efficient production. His writing bridges the gap between artisan knowledge and modern industry needs, making it a must-read for both budding designers and seasoned professionals.