

Wood is a beautiful, natural material that adds warmth and character to any home or garden. However, it has one major weakness: moisture. Whether it is a patio deck exposed to rain, a bathroom vanity facing humidity, or a handmade planter box, water can cause wood to warp, rot, and decay over time. Protecting your wooden projects is not just about aesthetics; it is about preserving the structural integrity and lifespan of the material. By applying the right sealant, you create a barrier that repels water and prevents damage before it starts.
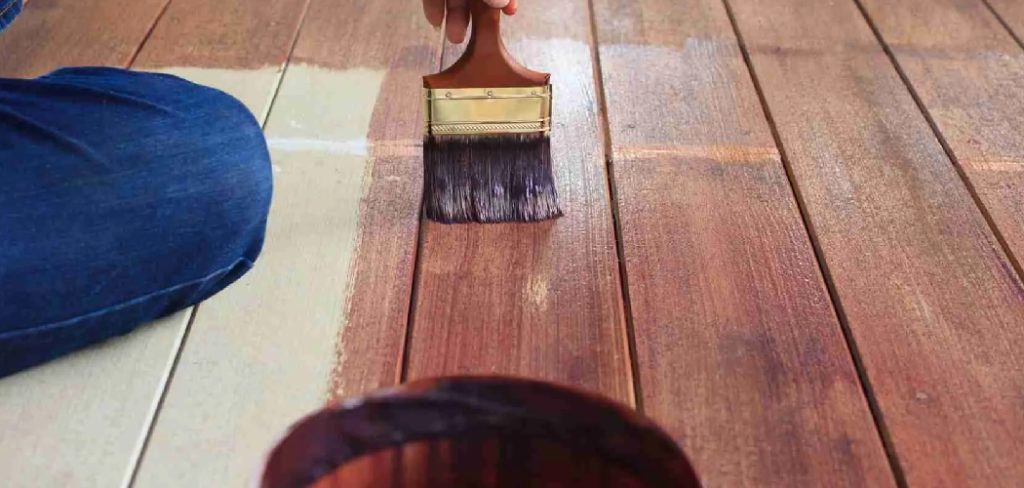
Learning how to seal wood to make it waterproof is a fundamental skill for any DIY enthusiast or home gardener. It is a straightforward process that does not require expensive tools or professional experience. With a little preparation and the right product, you can ensure your wooden creations withstand the elements and remain beautiful for years to come. This guide will walk you through the entire process, from choosing the right sealer to applying the final coat, giving you the confidence to tackle any waterproofing project.
Why You Must Waterproof Your Wood Projects
Leaving wood untreated outdoors or in damp environments is a recipe for disaster. Wood is hygroscopic, meaning it naturally absorbs and releases moisture from its surroundings. When it absorbs too much water, the fibers swell; when it dries, they shrink. This constant cycle of expansion and contraction leads to cracking, splitting, and warping. Furthermore, damp wood is a breeding ground for mold, mildew, and fungi, which can rot the wood from the inside out, turning a sturdy structure into a safety hazard.
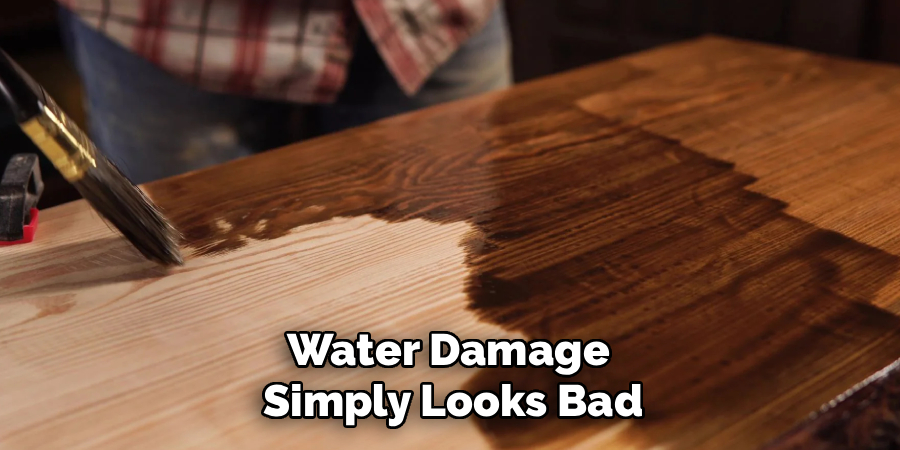
Beyond structural issues, water damage simply looks bad. It causes graying, staining, and peeling finishes that detract from the beauty of your home. Waterproofing acts as a shield, locking out moisture while often containing UV inhibitors that prevent sun damage. It is a small investment of time and money that pays huge dividends in the long run. By sealing your wood, you are effectively pausing the aging process, keeping your furniture, decks, and fences looking fresh and vibrant season after season.
Step-by-Step Guide on How to Seal Wood to Make it Waterproof
Step 1: Choose the Right Waterproofing Product
The first and most critical step is selecting the appropriate sealant for your specific project. Not all sealers are created equal, and your choice depends heavily on the wood type and its intended location. For outdoor projects like decks or fences, penetrating oil sealers are often best because they soak deep into the grain and won’t peel over time. For indoor furniture that needs a hard, protective shell, a polyurethane varnish or lacquer might be more suitable. Marine-grade varnishes offer the highest level of protection for wood exposed to extreme weather. Take time to read labels carefully to ensure the product is compatible with your wood and offers the specific protection you need against water and UV rays.
Step 2: Prepare the Wood Surface Thoroughly
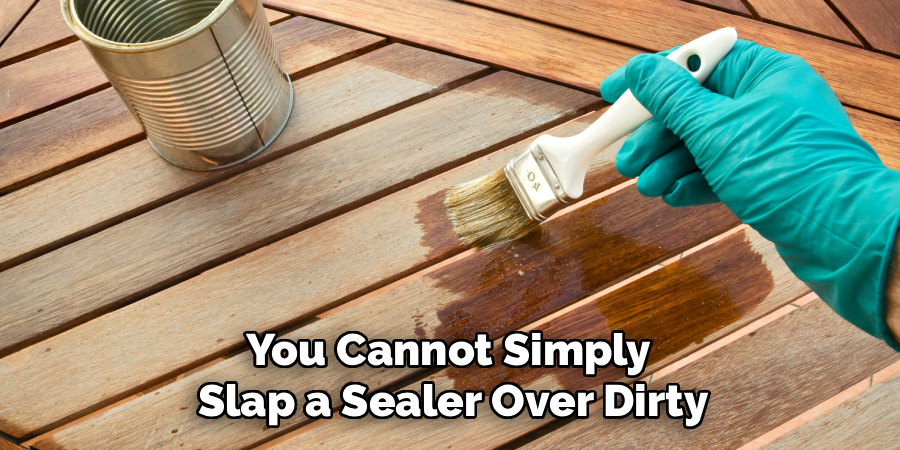
You cannot simply slap a sealer over dirty or old wood and expect good results. The surface must be clean, dry, and free of any previous coatings that might block adhesion. Start by cleaning the wood with a stiff brush and a dedicated wood cleaner or a mixture of water and mild detergent to remove dirt, grease, and mildew. If there is old paint or varnish peeling off, you must strip it completely using a chemical stripper or a heat gun. This preparation phase is often the most labor-intensive part of the job, but it is absolutely essential for a durable, professional finish. Any debris left on the surface will be trapped under the sealer forever.
Step 3: Sand the Wood to Open the Pores
Once the wood is clean and fully dry, sanding is the next non-negotiable step. Sanding serves two purposes: it smooths out imperfections like splinters or rough spots, and it opens up the wood pores so the sealer can penetrate deeply. Start with a medium-grit sandpaper, such as 80 or 100-grit, to remove any remaining old finish or weathered gray wood. Follow up with a finer grit, like 120 or 150-grit, to create a smooth, uniform surface. Always sand in the direction of the wood grain to avoid unsightly scratches. Wipe away all sanding dust with a tack cloth or vacuum before moving on to the application phase.
Step 4: Apply the First Coat of Sealer
Now you are ready to apply the product. Stir the sealer gently to mix any settled ingredients without creating air bubbles. Using a high-quality natural bristle brush, a paint roller, or a sprayer, apply the sealant evenly across the surface. Work in manageable sections to maintain a wet edge, which prevents lap marks from forming where wet and dry sealer meet. If you are learning how to seal wood to make it waterproof for the first time, remember that thin, even coats are always better than one thick, gloppy coat. Thick coats take longer to dry and are prone to dripping or wrinkling. Ensure you cover every inch, including the ends of the boards where water absorption is highest.
Step 5: Allow Proper Drying Time
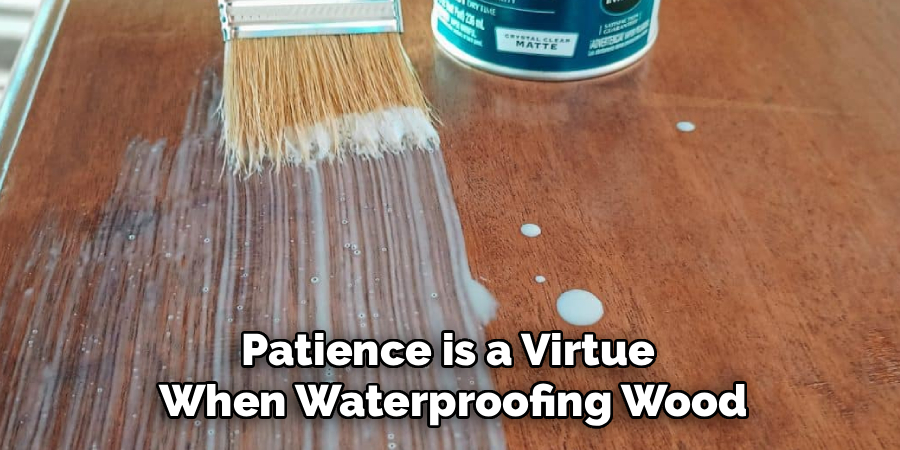
Patience is a virtue when waterproofing wood. After applying the first coat, you must allow it to dry completely before touching it or applying a second layer. The drying time varies significantly depending on the product type, temperature, and humidity levels. Oil-based sealers generally take longer to dry—sometimes up to 24 hours—while water-based products may be ready for a recoat in just a few hours. Check the manufacturer’s instructions on the can for specific dry times. Rushing this step can lead to a tacky finish that never cures properly or traps moisture between layers, compromising the waterproof barrier you are trying to create.
Step 6: Lightly Sand Between Coats
For a truly professional and ultra-smooth finish, you should lightly sand the surface between coats. Once the first layer is completely dry, run your hand over it. You may feel small bumps or “raised grain” where the wood fibers swelled from the liquid sealer. Use very fine 220-grit sandpaper to gently scuff the surface. You are not trying to remove the sealer you just applied; you are simply knocking down these high spots and creating a “tooth” for the next coat to adhere to. Wipe away the white dust with a clean cloth. This intermediate step ensures superior adhesion and a silky final texture.
Step 7: Apply Additional Coats for Maximum Protection
One coat of sealer is rarely enough to provide full waterproofing, especially for outdoor projects. Most manufacturers recommend at least two coats, and sometimes three for horizontal surfaces like deck floorboards that collect standing water. Apply the second coat exactly as you did the first, moving with the grain and maintaining a wet edge. This second layer fills in any microscopic pores missed by the first pass and builds up the thickness of the protective barrier. This layering is the secret to how to seal wood to make it waterproof effectively for the long haul. Pay extra attention to joints, corners, and end grains during this final application.
Step 8: Cure the Finish Completely
After the final coat is applied, the project needs time to cure. Curing is different from drying; while the surface may feel dry to the touch in a few hours, curing creates the full chemical hardness and water resistance. This process can take anywhere from a few days to a couple of weeks depending on the product. During this time, keep the wood dry and avoid placing heavy furniture or walking on the surface. If you put the wood into service too soon, you risk denting the soft finish or trapping moisture that can cause cloudiness. Giving the sealer ample time to harden ensures maximum durability and water repellency.
Frequently Asked Questions
What is the Difference Between Stain and Sealer?
While often used interchangeably, they serve different primary functions.
- Stain: Primarily used to change the color of the wood. While many modern stains include some sealant properties, their main job is aesthetic.
- Sealer: Designed specifically to repel water and protect wood from rot. Clear sealers maintain the natural wood look.
- Combo Products: Many products are sold as “stain and sealer in one,” offering both color and protection in a single step.
Can I Waterproof Wood That is Already Rotten?
Unfortunately, you cannot seal rot to stop it.
- Structural Integrity: Rot is a fungus that eats wood fibers. Sealing over it simply traps the moisture inside, accelerating the decay.
- The Fix: You must remove the rotten wood completely. If the damage is minor, you can chisel it out and use a wood hardener and filler. If extensive, the board must be replaced before sealing.
Is Oil-Based or Water-Based Sealer Better?
The “better” choice depends on your specific needs.
- Oil-Based: Penetrates deeper, offers a richer look, and is generally more durable for outdoor decks. However, it has high VOCs (strong smell) and takes longer to dry.
- Water-Based: Dries quickly, has low odor, and cleans up with soap and water. Modern water-based formulas are becoming incredibly durable and are often better for indoor furniture or eco-conscious projects.
How Often Do I Need to Reseal My Wood?
Maintenance depends on exposure to the elements.
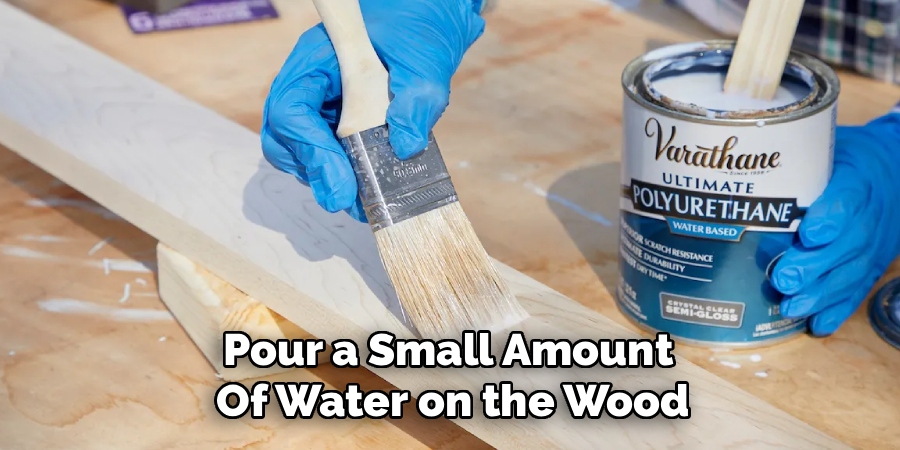
- The Water Test: Pour a small amount of water on the wood. If it beads up, the seal is good. If it soaks in and darkens the wood, it’s time to reseal.
- General Timeline: Horizontal surfaces (decks) typically need resealing every 1-2 years. Vertical surfaces (fences, siding) can often go 3-5 years between coats.
Can I Use Marine Varnish on Indoor Furniture?
Yes, you absolutely can, and it offers superior protection.
- Durability: Marine varnish (spar varnish) is designed to withstand sun, salt, and constant water, making it overkill but effective for indoor tables or bathroom vanities.
- Flexibility: It contains oils that allow it to expand and contract with wood movement better than standard polyurethane.
- Note: It is often more expensive and takes longer to dry than standard indoor finishes.
Conclusion
Waterproofing your wood projects is one of the most rewarding maintenance tasks you can undertake. It transforms vulnerable timber into a durable, resilient material capable of withstanding rain, snow, and humidity. While the process involves several steps—from cleaning and sanding to the careful application of multiple coats—the effort is minimal compared to the cost and hassle of replacing rotten wood. By following these guidelines, you ensure that your decks, fences, and furniture remain structurally sound and visually appealing for years.
Now that you understand exactly how to seal wood to make it waterproof, you can look around your home and garden for areas that need attention. Whether it is reviving an old planter box or protecting a brand-new picnic table, you have the knowledge to do the job right. Grab your brush, choose your sealer, and give your wood the protection it deserves so you can enjoy it for seasons to come.

About
Mike May is a distinguished figure in the world of woodworking and timber design, with a decade of expertise creating innovative and sustainable indoor solutions. His professional focus lies in merging traditional craftsmanship with modern manufacturing techniques, fostering designs that are both practical and environmentally conscious. As the author of Woodimber, Mike delves into the art and science of timber-craft, inspiring artisans and industry professionals alike.
Education
RMIT University (Melbourne, Australia)
-
Associate Degree in Design (Timber): Focus on sustainable design, industry-driven projects, and practical craftsmanship.
-
Gained hands-on experience with traditional and digital manufacturing tools, such as CAD and CNC software.
Nottingham Trent University (United Kingdom)
-
Bachelor’s in Woodworking and Product Design (Honors): Specialized in product design with a focus on blending creativity with production techniques.
-
Participated in industry projects, working with companies like John Lewis and Vitsoe to gain real-world insights.
Publications and Impact
In Woodimber, May shares his insights on timber design processes, materials, and strategies for efficient production. His writing bridges the gap between artisan knowledge and modern industry needs, making it a must-read for both budding designers and seasoned professionals.