

Transforming tired wood with a fresh coat of paint can breathe unexpected life into a space—or, sometimes, just reveal new headaches. Knots in the wood, though they might lend character in their raw state, have a troubling ability to undo your efforts: left untreated, those dark circles will bleed through layer after layer, no matter how carefully you paint. There’s a way to outwit them, but it hinges on preparation.
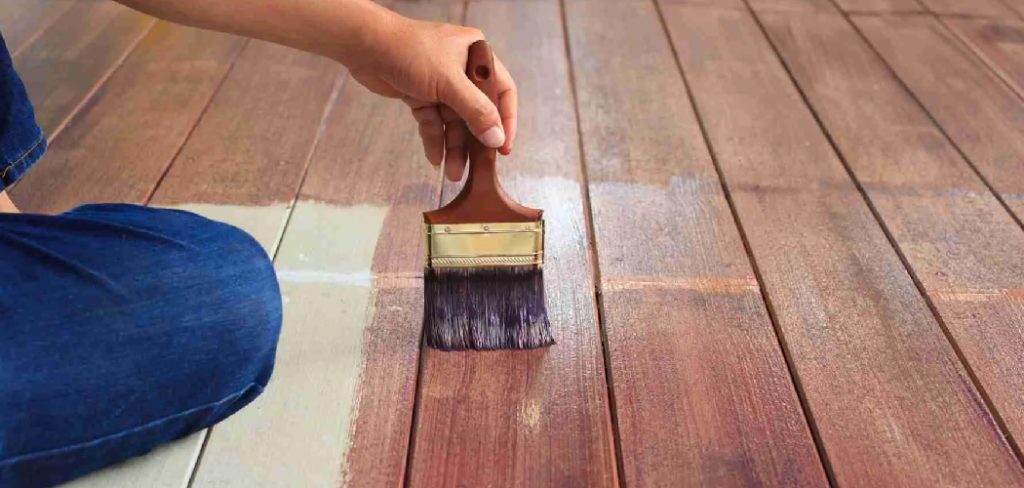
If you want your handiwork to last, if you’d rather not find ghostly yellow circles creeping up weeks down the road, sealing knots in wood before painting isn’t just helpful—it’s close to essential. What follows isn’t a shortcut, but a set of steps (and a handful of minor annoyances) that anyone hoping for a long-lasting finish ought to read. In this guide on how to seal knots in wood before painting, we will discuss the importance of knot sealing and the steps involved in preparing wood for painting.
Understanding Wood Knots
What, exactly, is a knot? It’s tempting to romanticize them as the old branches or the “history” in lumber, and while there’s a kernel of truth there, for the painter, they’re mostly a nuisance. These knotty whorls are where a branch once met the trunk; in sawn boards, they show up as dark, rough circles.
Natural finishes highlight them, but if you’re covering with paint, they tend to be trouble. The resin in these spots isn’t quaint or merely decorative: it’s restless and persistent. Long after the tree has been cut, sap can seep through—not instantly, but over months. You might think you’ve won. They always come back for another round.
Tools and Materials You’ll Need
Let’s be honest: you don’t need a hardware store’s worth of gadgets, but some basics are non-negotiable. Grab a mid-grade sandpaper (usually 120 grit works), and something finer—220 grit, perhaps—to chase away scratches. A scraper or, failing that, a sturdy putty knife handles sticky sap, though some knots play nice and won’t need it.
Wood filler comes in handy, especially if knots have fallen out or left craters. But whatever you skimp on, don’t try to get by without a shellac-based primer—the kind specifically labeled for stain and resin-blocking. Toss in tack cloths, a synthetic brush, and whatever paint you’ve picked for the job. You’ll want everything at hand before you start; it’s less tempting to skip steps that way.
7 Simple Step-by-step Guidelines on How to Seal Knots in Wood Before Painting
Step 1: Inspect and Prepare the Wood Surface
Jumping straight to the primer often backfires. Instead, slow down and look closely. Is the knot raised or weeping sap? Does it lie flush, or is there an obvious gap? Scrape away any sticky resin (and expect that some knots will fight you on this). Once you’ve dealt with sap, a damp cloth is your friend—dust or lingering dirt will block adhesion in unpredictable ways. Methodical cleaning isn’t glamorous, but it can make or break the longevity of your work.

Step 2: Sand the Knots Smooth
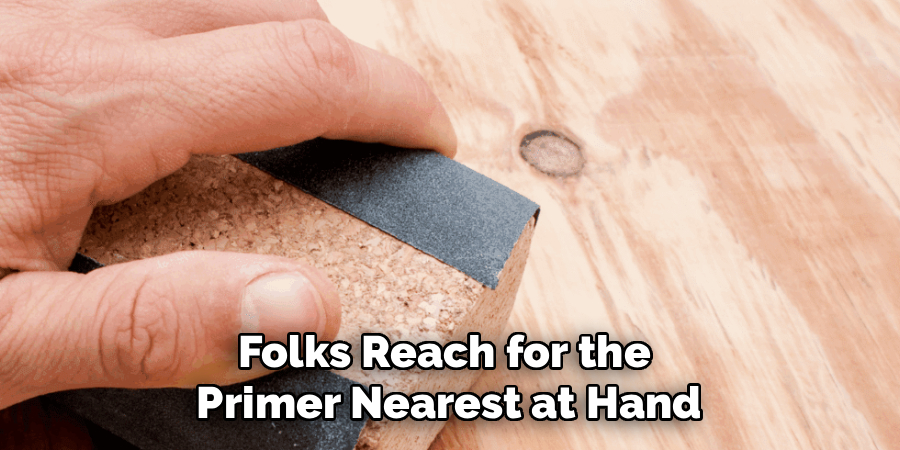
Only once the wood has dried out completely should you sand. Start with the 120-grit, focusing on the area right around the knots. You want enough roughness that the primer doesn’t struggle to stick, but not so much that you gouge into softer areas. Raised knots need taming, but don’t get carried away—a lumpy patch is easier to feather than a divot. Then, switch to 220 grit. This evens everything out, smoothing over any scuffs the rough paper left behind. It’s easy to skip a final brush or tack cloth, but even invisible dust can cause headaches once paint goes on.
Step 3: Apply Wood Filler to Deep Imperfections
Should you find missing knots or depressions that no amount of sanding will fix, pull out some wood filler. With your putty knife, press it firmly into the void—leave a slight bump, not a perfectly even patch. Filler settles as it dries, and it’s often less forgiving than advertised. Manufacturer’s instructions are worth following here; most fillers ask for a couple of patient hours. Once the spot feels stone-hard, sand again until everything blends into the surrounding wood.
Step 4: Choose the Right Shellac-Based Primer
This is where many paint jobs go wrong: folks reach for the primer nearest at hand, painting in good faith and hoping for the best. Regular water-based or oil-based primers nearly always lose to knotty resin in the end. Shellac-based primers, however, have proven themselves for ages—fast-drying, stubbornly sealing, and effective against even the most persistent saps. Find a true shellac primer (not a “multi-surface” compromise). Stir thoroughly. These primers can smell sharp, so open a window or work outside if possible.
Step 5: Apply the First Coat of Primer
Use a synthetic bristle brush for best results. Apply shellac primer generously, but only to the knots themselves. No need to prime the entire board just yet; spot treatment suffices for this round. Border the primed area with feathered strokes, so you don’t lay down obvious brush lines. Even if the primer feels dry after fifteen minutes, it’s wise to wait an hour before adding another coat. Impatience is an invitation for resin to find its way back through.
Step 6: Lightly Sand and Apply a Second Coat
Shellac dries surprisingly fast, but don’t rush. Once you’re sure the first coat is set, sand lightly with your fine-grit paper. Just a gentle touch—enough to smooth out brush marks or raised grain, not so much as to remove your hard work. Clean up the dust, then repeat with a second coat, hitting the same old knots. The most stubborn ones need this extra measure; a single coat might prove insufficient, and experience suggests a little caution here pays off in the long run. Let it dry fully.
Step 7: Prime the Entire Piece and Paint
By now, the knots are sealed off from the world. You can return to a more traditional primer for the whole surface—water- or oil-based, your choice. Coat everything evenly, following the instructions on your primer. Let it dry, then paint. Two thin coats of your top paint, rather than one thick one, usually produce the most lasting result. If you’ve followed these steps—tedious as some may seem—knot stains are unlikely to haunt your finish.

Following these steps on how to seal knots in wood before painting can help you achieve a professional and long-lasting finish. However, there are some additional tips and tricks that can further improve the overall appearance of your painted wood.
Common Mistakes to Avoid
It bears repeating: skipping shellac primer is perhaps the most common misstep, and rarely does it work out. Even good intentions can’t speed up drying time; impatience tends to backfire. Paint won’t stick if there’s sap left behind, no matter how hard you push ahead. Environmental details matter—temperature can make shellac dry erratically.
And don’t trust an old brush with this job; lingering grit and dried paint make for messy streaks that are nearly impossible to sand out later.
Tips for Best Results
A stuffy, closed room isn’t the place for shellac. Open windows, set up fans, and keep your workspace breezy. When cleaning brushes, denatured alcohol cuts through dried shellac—nothing else really works.
Pine demands particular effort; with especially knotty boards, covering everything twice with shellac (not just the knots) might be worth considering, though it depends on your tolerance for extra work and fumes.
Maintenance and Long-Term Results
A sealed finish makes wood nearly maintenance-free. To keep it looking sharp, occasional cleaning with soap and water will do—harsh chemicals may undermine your effort by softening or eroding the paint and primer.
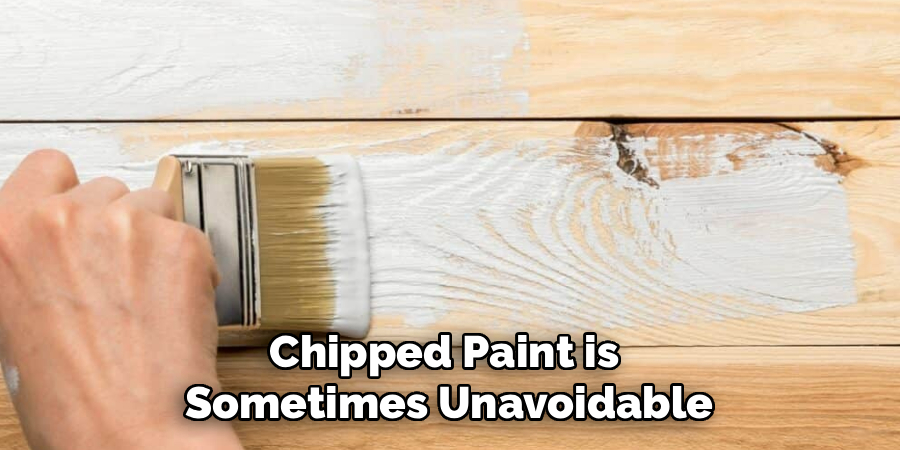
Chipped paint is sometimes unavoidable. Should you notice it, sand the spot lightly and touch it up before moisture or dirt takes hold. Minor repairs like these can mean your painted woodwork looks crisp for much longer than anyone expects.
Frequently Asked Questions
Q1: Can I Use Wood Glue To Seal Knots?
It’s a tempting shortcut, but wood glue can’t do what shellac does. Even a thick layer of glue only hides sap and tannins for a little while—eventually, the stain finds its way through, spoiling your paint. For a stain-proof solution, stick to shellac-based primers.
Q2: What Happens If I Paint Directly Over A Wood Knot?
In the short term, you’ll see a clean, fresh surface. Give it time, though, and yellowish or brownish rings start to appear, no matter the number of coats. Standard paint simply can’t hold back the resins for long.
Q3: Does Polyurethane Stop Knots From Bleeding?
Polyurethane is a good finish for bare or stained wood, but it doesn’t block resin. Knots still find ways to bleed through clear coats, slowly darkening or discoloring the wood. Shellac is, so far, the closest thing to a reliable defense.
Conclusion
Sealing knots in wood calls for both patience and an eye for detail. Sand, fill, and shellac with care, and you’ll sidestep that all-too-familiar heartbreak of stains re-emerging through your new paint. When you finally lay down your final coat, you’ve earned that grin—your finish should last, and, if you’ve been thorough, those knots won’t return to haunt you. Thanks for reading this guide on how to seal knots in wood before painting.

About
Mike May is a distinguished figure in the world of woodworking and timber design, with a decade of expertise creating innovative and sustainable indoor solutions. His professional focus lies in merging traditional craftsmanship with modern manufacturing techniques, fostering designs that are both practical and environmentally conscious. As the author of Woodimber, Mike delves into the art and science of timber-craft, inspiring artisans and industry professionals alike.
Education
RMIT University (Melbourne, Australia)
-
Associate Degree in Design (Timber): Focus on sustainable design, industry-driven projects, and practical craftsmanship.
-
Gained hands-on experience with traditional and digital manufacturing tools, such as CAD and CNC software.
Nottingham Trent University (United Kingdom)
-
Bachelor’s in Woodworking and Product Design (Honors): Specialized in product design with a focus on blending creativity with production techniques.
-
Participated in industry projects, working with companies like John Lewis and Vitsoe to gain real-world insights.
Publications and Impact
In Woodimber, May shares his insights on timber design processes, materials, and strategies for efficient production. His writing bridges the gap between artisan knowledge and modern industry needs, making it a must-read for both budding designers and seasoned professionals.