 (1)")

Bringing an antique piece of wood furniture back to life is a deeply rewarding project. That worn-down table or faded dresser holds a history and a level of craftsmanship often missing in modern furnishings. Refinishing allows you to strip away the years of wear and tear, revealing the beautiful wood grain beneath and giving it a new lease on life.
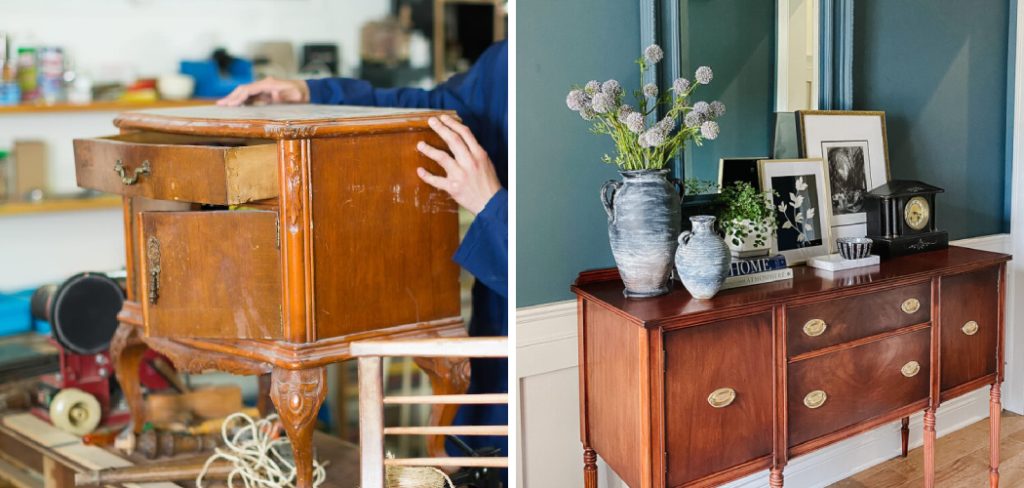
This process is more than just a repair; it’s an act of preservation. With the right tools, techniques, and a little patience, you can transform a tired heirloom into a stunning centerpiece for your home.
This guide on how to refinish antique wood furniture will walk you through every step, ensuring you have the knowledge to achieve a professional-quality finish while honoring the piece’s original character.
What Will You Need?
Safety Gear:
- Chemical-resistant gloves
- Safety glasses or goggles
- Respirator mask with organic vapor cartridges
- Old clothing or an apron
Stripping and Sanding Supplies:
- Chemical paint and varnish stripper (gel or liquid)
- Paintbrushes (for applying stripper)
- Plastic or metal scrapers
- Mineral spirits or denatured alcohol
- Clean rags or tack cloths
- Sandpaper (various grits: 120, 150, 180, 220)
- Sanding block or orbital sander
- Steel wool (0000 grade)
Staining and Finishing Supplies:
- Wood conditioner (pre-stain)
- Oil-based or water-based wood stain
- Polyurethane, lacquer, or wax finish
- High-quality natural bristle brushes (for oil-based finishes) or synthetic brushes (for water-based finishes)
- Clean, lint-free cloths (for applying stain and wiping excess)
- Drop cloths or plastic sheeting to protect your work area
10 Easy Steps on How to Refinish Antique Wood Furniture
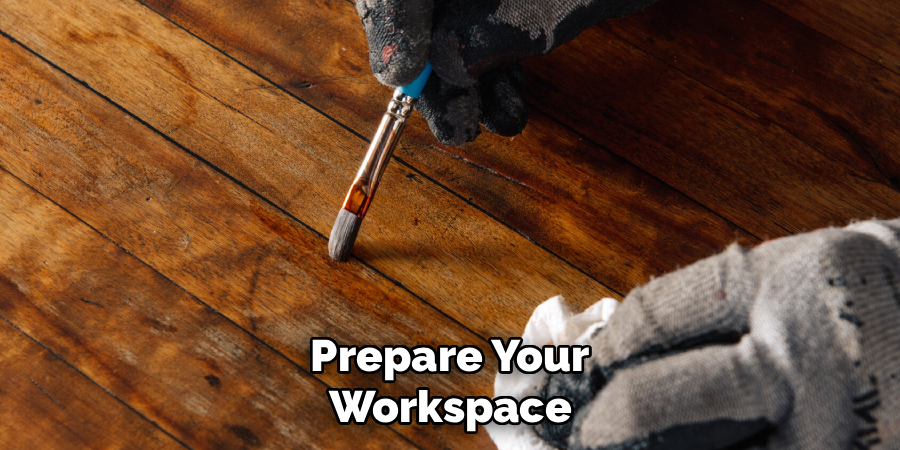
Step 1: Prepare Your Workspace and the Furniture
Your first step is to create a safe and organized environment. Lay down drop cloths to protect your floor from spills and dust. Ensure you have excellent ventilation to disperse the fumes from chemical strippers and finishes. If possible, work outside or in a garage with the doors wide open. Once your space is ready, prepare the furniture itself.
Remove all hardware—knobs, handles, hinges, and locks. Place them in a labeled bag so you don’t lose any small screws or pieces. This is also a good time to inspect the furniture for any necessary repairs. Check for loose joints, cracks in the wood, or deep gouges. It is much easier to address these structural issues now, before you invest time in the cosmetic work.
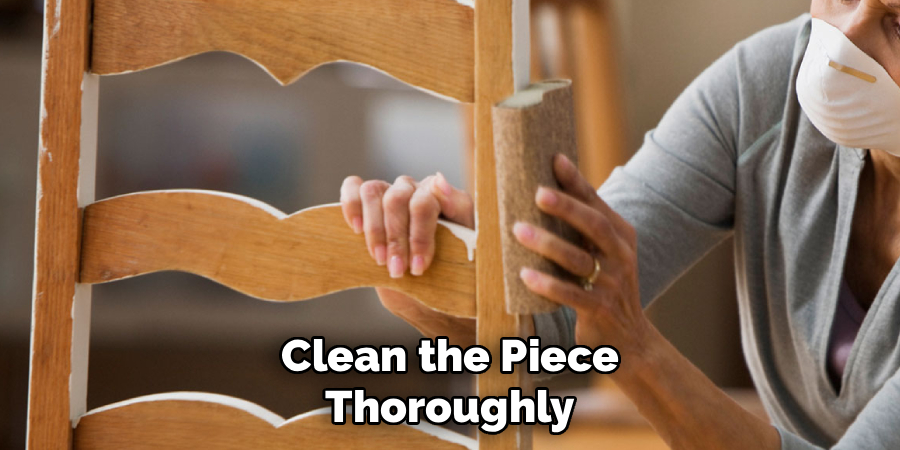
Step 2: Clean the Piece Thoroughly
Over the years, antique furniture accumulates layers of dirt, wax, and polish that can interfere with the stripping process. Before applying any chemicals, you need to give the piece a deep cleaning. Create a simple cleaning solution by mixing a mild soap, like dish soap, with warm water.
Dip a clean cloth into the solution, wring it out well, and gently wipe down every surface of the furniture. Be careful not to oversaturate the wood, as excess water can cause it to swell or warp. For stubborn grime or thick wax buildup, you can use mineral spirits. Apply a small amount to a clean rag and rub the affected areas. The mineral spirits will dissolve the old wax and polish without harming the wood underneath.
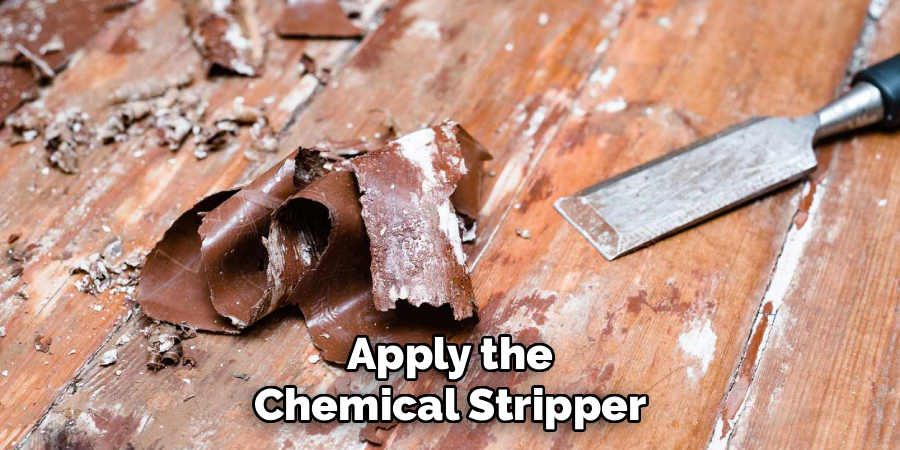
Step 3: Apply the Chemical Stripper
This is where the major transformation begins. With your safety gear on (gloves, goggles, and respirator), it’s time to apply the chemical stripper. Choose a gel-based stripper, as it tends to cling better to vertical surfaces and evaporates more slowly than liquid versions. Use a cheap, disposable paintbrush to apply a thick, even coat of the stripper over a manageable section of the furniture. Don’t brush it back and forth like paint; lay it on in one direction.
The goal is to cover the surface without overworking it, which can inhibit its effectiveness. Let the stripper do the work. The product’s instructions will specify how long to wait, usually between 15 and 30 minutes. You will see the old finish begin to bubble and lift away from the wood surface. This indicates that the chemical is breaking down the layers of varnish, lacquer, or paint, preparing it for removal.
Step 4: Scrape Away the Old Finish
Once the stripper has had enough time to work its magic, you can begin removing the old finish. Use a plastic scraper for flat surfaces. Hold it at a low angle and push forward, away from your body, to lift the gooey mixture of stripper and dissolved finish. You’ll be surprised at how easily it comes off.
For curved or detailed areas, like spindles or carvings, a metal scraper can be too harsh and may gouge the wood. Instead, use steel wool, a stiff-bristled brush, or specialized scraping tools designed for contours. Dip your tool into the stripper to keep it lubricated and gently scrub the finish out of the crevices. Work methodically, section by section.
Step 5: Neutralize and Clean the Wood
After you have scraped away all the old finish, a chemical residue will remain on the wood. This residue must be neutralized to prevent it from interfering with the new stain and topcoat. The stripper’s manufacturer will recommend a specific solvent for this purpose, which is typically mineral spirits or denatured alcohol.
Dampen a clean rag with the recommended solvent and thoroughly wipe down the entire piece of furniture. This process removes any last traces of the stripper and lingering bits of the old finish. You may need to use several clean rags to get the surface completely clean. As you wipe, you will see the true, bare wood for the first time. Let the piece dry completely, which could take several hours.
Step 6: Make Necessary Repairs
Now that the furniture is stripped bare, you can clearly see its condition. This is the ideal time to make any final repairs before you begin the sanding process. Examine the piece for small cracks, dents, or deep gouges that were hidden under the old finish. For these imperfections, use a stainable wood filler that closely matches the color of your wood.
Apply the filler with a small putty knife, slightly overfilling the damaged area to account for shrinkage as it dries. Once the filler is completely cured (check the product’s instructions for drying time), you can sand it flush with the surrounding wood. This is also your last chance to address any structural issues you may have missed earlier, such as tightening loose screws or reinforcing wobbly joints.
Step 7: Sand the Furniture Smooth
Sanding is a critical step that creates a smooth, uniform surface ready to accept stain evenly. It’s a process that requires patience, as rushing can leave scratches that will be magnified by the stain. Start with a medium-grit sandpaper, such as 120-grit, to smooth out any remaining roughness and to sand down the wood filler from your repairs.
Always sand in the direction of the wood grain. Going against the grain will create cross-grain scratches that are very difficult to remove. You can use an orbital sander for large, flat surfaces like a tabletop, but switch to hand sanding with a block for legs, edges, and detailed areas. After the initial sanding, move to a finer 150-grit sandpaper to further refine the surface. Finally, finish with an even finer grit, like 180 or 220, to create a silky-smooth finish. After sanding is complete, remove all the dust with a vacuum and a tack cloth.
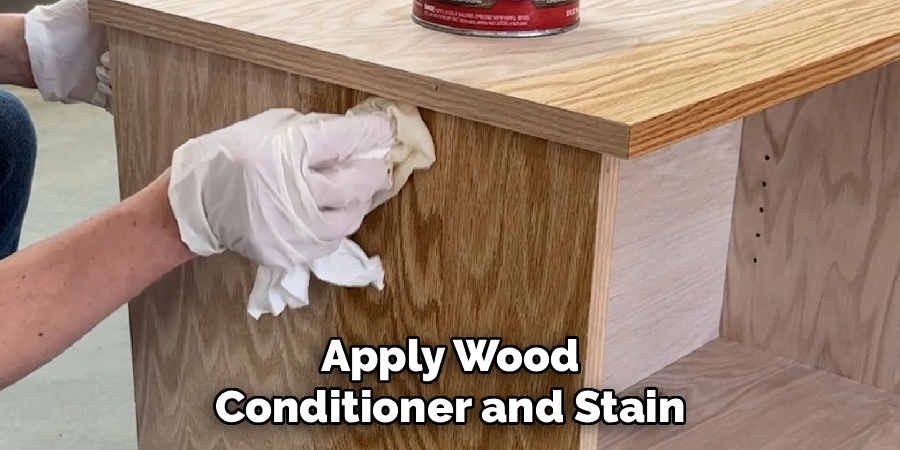
Step 8: Apply Wood Conditioner and Stain
With your furniture perfectly prepped, you are ready to apply color. The first step is to apply a pre-stain wood conditioner. This is especially important for soft woods like pine, which can absorb stain unevenly and result in a blotchy appearance. The conditioner partially seals the wood, ensuring the stain penetrates uniformly. Apply it with a brush or cloth, let it sit for the recommended time, and then wipe off the excess.
Next, apply your chosen wood stain. Use a clean, lint-free cloth or a foam brush to apply the stain, again working in the direction of the wood grain. Let the stain penetrate the wood for a few minutes—the longer you leave it on, the darker the color will be. Then, use another clean cloth to wipe away all the excess stain. Wiping is crucial for an even color and a professional look.
Step 9: Apply the Protective Topcoat
The topcoat is the clear, protective layer that seals the stain and shields the wood from moisture, scratches, and daily wear. The most common choice for DIYers is polyurethane, which comes in oil-based and water-based formulas and various sheens from matte to high-gloss. Use a high-quality natural bristle brush for oil-based polyurethane or a synthetic brush for water-based.
Apply a thin, even coat, moving in long, smooth strokes in the direction of the wood grain. Avoid over-brushing, as this can create bubbles. Let the first coat dry completely according to the manufacturer’s instructions. Once dry, lightly sand the surface with very fine-grit sandpaper (220-grit) or 0000 steel wool. This scuffs the surface just enough to help the next coat adhere properly.
Step 10: Reassemble and Cure
The final step is perhaps the most exciting. After the last topcoat has dried completely, you can reassemble your furniture. Carefully reattach the hardware you removed at the beginning. If the old hardware looks dated, now is a great time to update it with new knobs or pulls that complement the new finish.
Once the piece is fully assembled, move it to its final location. Although the finish may feel dry to the touch, it needs more time to fully cure. The curing process is when the finish hardens completely to achieve its maximum durability. This can take anywhere from a few days to a month, depending on the product you used. During this time, be gentle with the furniture.
Conclusion
Refinishing an antique piece of furniture is a journey that connects you with the past while creating something beautiful for your future.
The process requires careful planning and a commitment to detail, but the outcome is more than just a renewed object. It’s the satisfaction of using your own hands to restore quality craftsmanship, the pride in rescuing a piece from neglect, and the joy of creating a custom heirloom for your home.
By following these steps on how to refinish antique wood furniture, you can confidently take on this rewarding project, transforming a forgotten treasure into a functional work of art that tells a story for generations to come.
About
Mike May is a distinguished figure in the world of woodworking and timber design, with a decade of expertise creating innovative and sustainable indoor solutions. His professional focus lies in merging traditional craftsmanship with modern manufacturing techniques, fostering designs that are both practical and environmentally conscious. As the author of Woodimber, Mike delves into the art and science of timber-craft, inspiring artisans and industry professionals alike.
Education
RMIT University (Melbourne, Australia)
-
Associate Degree in Design (Timber): Focus on sustainable design, industry-driven projects, and practical craftsmanship.
-
Gained hands-on experience with traditional and digital manufacturing tools, such as CAD and CNC software.
Nottingham Trent University (United Kingdom)
-
Bachelor’s in Woodworking and Product Design (Honors): Specialized in product design with a focus on blending creativity with production techniques.
-
Participated in industry projects, working with companies like John Lewis and Vitsoe to gain real-world insights.
Publications and Impact
In Woodimber, May shares his insights on timber design processes, materials, and strategies for efficient production. His writing bridges the gap between artisan knowledge and modern industry needs, making it a must-read for both budding designers and seasoned professionals.