 (1)")

Your fireplace is the focal point of your living room, but a bare brick face can sometimes feel cold or unfinished. Adding a wood mantel changes everything. It introduces warmth, texture, and a perfect shelf for displaying family photos or holiday decor.
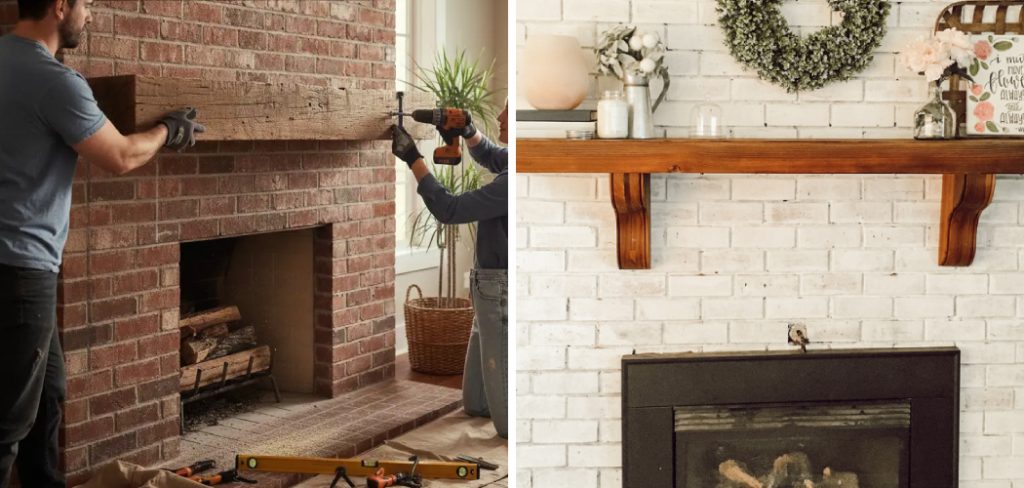
Installing a wood mantel on brick might seem intimidating because you are dealing with masonry rather than drywall studs. However, with the right approach and proper anchors, it is a straightforward weekend project.
This guide on how to install a wood mantel on brick fireplace walks you through every phase of the process, from gathering materials to the final polish, ensuring your new mantel is secure, level, and beautiful.
What Will You Need?
Preparation is 90% of the battle. Having the right tools on hand prevents mid-project trips to the hardware store. Here is your checklist for success.
Tools:
- Hammer drill (essential for drilling into brick)
- Masonry drill bits (sized to match your lag shields)
- Standard power drill
- Tape measure
- 4-foot level
- Socket wrench or impact driver
- Caulk gun
- Pencil or painter’s tape
- Circular saw or hand saw (if cutting a mounting cleat)
- Stud finder (if mounting into studs behind brick, though rare)
- Safety glasses and a dust mask
Materials:
- The wood mantel (solid beam or box beam)
- 2×4 lumber (for the mounting cleat)
- Lag shields (lead or metal anchors designed for masonry)
- Lag bolts (3/8 inch or 1/2 inch, usually 3-5 inches long)
- Construction adhesive (heavy-duty, suitable for brick and wood)
- Wood screws (3-inch, for securing the mantel to the cleat)
- Finishing nails
10 Easy Steps on How to Install a Wood Mantel on Brick Fireplace
Step 1: Determine the Ideal Height
Finding the right position is critical for both safety and aesthetics. You cannot just guess where the mantel goes. Building codes typically require specific clearances between the firebox opening and combustible materials like wood. Generally, you need at least 12 inches of clearance above the firebox, but check your local codes.
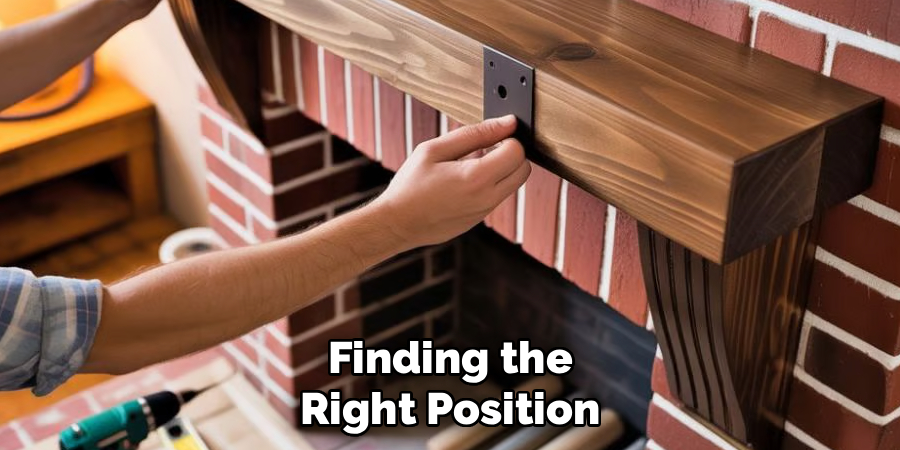
Hold a piece of painter’s tape or a scrap piece of wood against the brick to visualize the height. Stand back and look at the proportions of the room. A mantel that is too high looks disconnected; one that is too low feels cramped. Once you find the sweet spot that satisfies both safety codes and your eye, mark the bottom edge of where the mantel will sit using a pencil or a strip of painter’s tape.
Step 2: Measure and Cut the Mounting Cleat
Since you cannot easily screw a heavy beam directly into brick and expect it to stay, you will use a mounting cleat. This is a piece of lumber (usually a 2×4) that is bolted to the brick, which the mantel then slides over or attaches to.
Measure the length of your mantel. If you are using a hollow box beam, measure the interior length and depth. Cut your 2×4 cleat so it fits snugly inside the back of your mantel box. If you are installing a solid beam, you might be using heavy-duty steel brackets or lag bolts directly, but for this guide, we assume a box beam or a cleat-style installation. Cut the 2×4 slightly shorter than the mantel length (about 1/2 inch) to allow for adjustments.
Step 3: Mark the Drill Holes on the Cleat
Before drilling into the brick, prep your wood cleat. Lay the 2×4 flat and mark drill holes along the center line. You want a secure hold, so space your bolts about every 16 to 24 inches. Start your first hole about 4 inches from the end of the board to prevent splitting.
Using a standard wood drill bit, pre-drill these holes through the 2×4. This ensures that when you transfer the marks to the wall, they are perfectly spaced. Pre-drilling the wood now saves you from struggling to hold the board and drill at the same time later. Make sure the holes are large enough for your lag bolts to pass through freely.
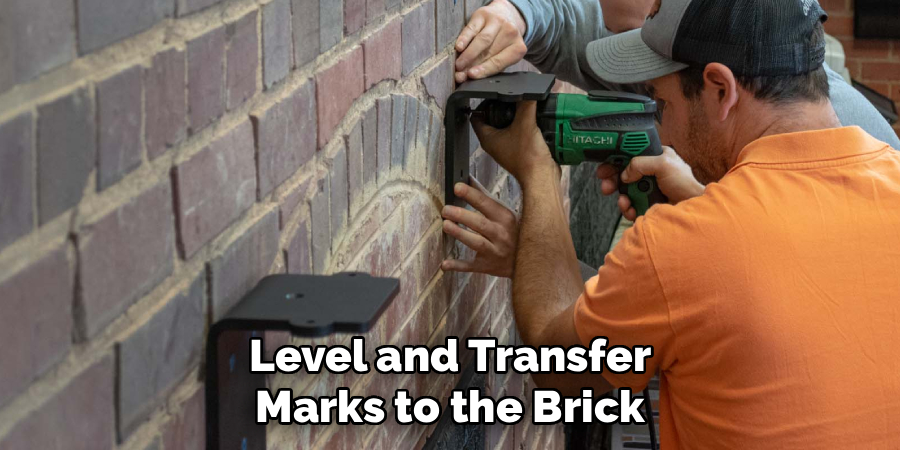
Step 4: Level and Transfer Marks to the Brick
This is the “measure twice, cut once” moment. Place your pre-drilled 2×4 cleat against the brick wall. Align the bottom of the cleat with the reference line you marked in Step 1. Place your 4-foot level on top of the 2×4. Brick lines are notoriously uneven, so never rely on the mortar lines to determine what is level.

Once the bubble is perfectly centered, hold the wood firmly in place (a helper is great here). Insert a pencil, a nail, or a punch through the pre-drilled holes in the wood to mark the exact spots on the brick face. Try to position your holes so they go into the brick itself rather than the mortar. While mortar is easier to drill, brick provides a much stronger, longer-lasting anchor for heavy loads.
Step 5: Drill the Masonry Holes
Put on your safety glasses and dust mask. Brick dust is fine and gets everywhere. Insert the correct size masonry bit into your hammer drill. The bit size must correspond exactly to the size of the lag shields you purchased. If the hole is too big, the anchor will spin; if it is too small, you will crack the brick trying to hammer it in.
Drill into the brick at your marked locations. Keep the drill perpendicular to the wall. The hammer function creates a percussive action that pulverizes the masonry while the bit scoops it out. Drill to a depth slightly longer than your lag shields. Use a vacuum or a can of compressed air to blow the dust out of the holes.
Step 6: Insert the Lag Shields
Lag shields (or lead anchors) are the sleeves that expand when you drive a bolt into them, gripping the masonry from the inside. Take your lag shields and insert them into the holes you just drilled.
They should fit snugly. You may need to tap them gently with a hammer to get them flush with the face of the brick. If they slide in too easily or feel loose, your hole is too big, and you will need to use a larger anchor or fill the hole with masonry epoxy before inserting the shield.
Step 7: Secure the Cleat to the Wall
Now you are ready to attach the mounting board. Align the pre-drilled 2×4 with the holes in the wall. Thread a washer onto each lag bolt. Push the bolts through the wood and into the anchors in the wall.
Using your socket wrench or impact driver, tighten the lag bolts. As you tighten, the shield expands inside the brick, locking the board in place. Alternate tightening the bolts (left, right, center) to ensure the board pulls tight against the uneven brick surface evenly. Check for level one last time before the final torque. The board should be rock solid—if you can wiggle it, it is not tight enough.
Step 8: Apply Construction Adhesive
This step adds an extra layer of security. Before sliding the mantel onto the cleat, apply a bead of heavy-duty construction adhesive along the top edge of the mounting cleat.
If you are installing a solid beam that relies on steel rods, you would apply adhesive to the rod holes. For a box beam mantel fitting over a cleat, apply the adhesive to the top of the 2×4 cleat. This prevents the mantel from shifting or rattling over time and helps distribute the weight load.
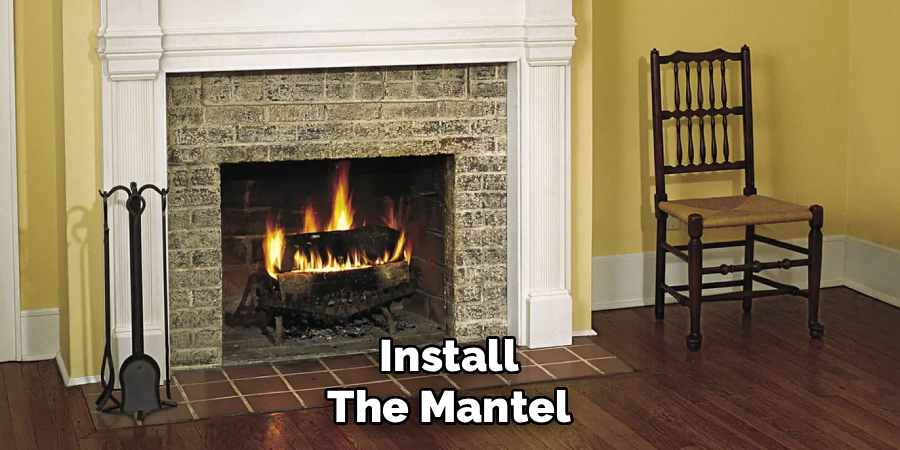
Step 9: Install the Mantel
Lift your mantel and slide it over the mounting cleat. It should fit snugly like a sleeve. If it is a tight fit, you might need to use a rubber mallet to gently tap it into place against the brick.
Ensure the mantel is pushed all the way back so there is no gap between the wood and the brick surface. If your brick is very uneven (like rough stone), you might have small gaps. You can scribe the wood to match the stone beforehand for a perfect fit, or you can use trim to hide gaps later. Once seated, place your level on top of the mantel one final time to verify it is perfect.
Step 10: Secure and Finish
The final step locks the mantel to the cleat so it cannot be lifted off. Using finish nails or countersunk trim screws, drive fasteners through the top of the mantel down into the 2×4 cleat underneath.
Ideally, do this near the back edge where the holes won’t be seen. If you use screws, countersink the heads and fill the holes with wood putty that matches your stain. If using finish nails, set them just below the surface and fill. Wipe away any dust, clean up the brick, and step back to admire your work. Your mantel is now officially installed.
Conclusion
Installing a wood mantel on a brick fireplace is a rewarding project that dramatically changes the look and feel of your home. It bridges the gap between rugged masonry and cozy interior design, providing a centerpiece that draws the eye.
By following these steps on how to install a wood mantel on brick fireplace—measuring accurately, drilling correctly, and anchoring securely—you ensure a result that is as safe as it is stylish.
Gather your tools, take your time with the measurements, and enjoy the warmth your new mantel brings to the room.
About
Mike May is a distinguished figure in the world of woodworking and timber design, with a decade of expertise creating innovative and sustainable indoor solutions. His professional focus lies in merging traditional craftsmanship with modern manufacturing techniques, fostering designs that are both practical and environmentally conscious. As the author of Woodimber, Mike delves into the art and science of timber-craft, inspiring artisans and industry professionals alike.
Education
RMIT University (Melbourne, Australia)
-
Associate Degree in Design (Timber): Focus on sustainable design, industry-driven projects, and practical craftsmanship.
-
Gained hands-on experience with traditional and digital manufacturing tools, such as CAD and CNC software.
Nottingham Trent University (United Kingdom)
-
Bachelor’s in Woodworking and Product Design (Honors): Specialized in product design with a focus on blending creativity with production techniques.
-
Participated in industry projects, working with companies like John Lewis and Vitsoe to gain real-world insights.
Publications and Impact
In Woodimber, May shares his insights on timber design processes, materials, and strategies for efficient production. His writing bridges the gap between artisan knowledge and modern industry needs, making it a must-read for both budding designers and seasoned professionals.