

Your oak dining table serves as the heart of your home. It hosts family dinners, late-night homework sessions, and holiday gatherings. Over time, all this activity leaves behind scratches, water rings, and faded patches. Instead of replacing a perfectly good piece of solid wood furniture, you can restore its original beauty. Oak is incredibly resilient and features a stunning, prominent grain pattern that looks incredible when properly treated.
Refinishing furniture might seem like a heavy task for a weekend, but the process is highly manageable when you break it down.
This guide on how to refinish an oak dining table gives you everything you need to know to tackle this project with confidence.
What Are the Benefits of Refinishing?
Choosing to restore your furniture offers several major advantages over buying new items. First, it saves you a significant amount of money. Solid oak furniture carries a premium price tag. For the cost of a few supplies, you can make your existing table look brand new.
Second, refinishing gives you complete creative control. You get to choose the exact stain color and finish type to perfectly match your current home decor. If you want a dark espresso look or a light, natural Scandinavian vibe, the choice is entirely yours.
Finally, restoring old furniture is a highly sustainable practice. It keeps heavy, usable wood out of landfills and reduces the demand for new manufacturing. Because oak is a dense, durable hardwood, an older table is often built much better than modern, mass-produced alternatives.
What Will You Need?
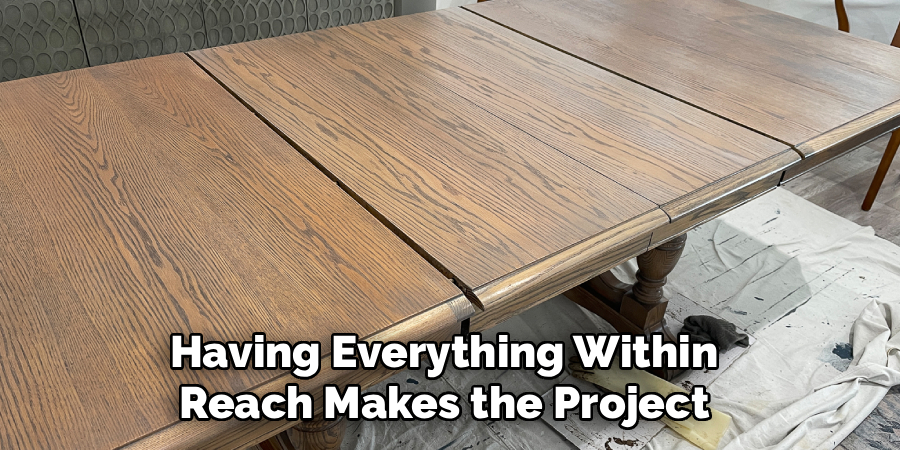
Before you start, gather your materials. Having everything within reach makes the project run smoothly.
Safety Gear:
- Chemical-resistant gloves
- Safety goggles
- A high-quality respirator mask
Prep and Stripping Tools:
- Chemical wood stripper
- Plastic putty knife or wood scraper
- Mineral spirits
- Clean cotton rags or shop towels
Sanding and Finishing:
- Random orbital sander
- Sandpaper discs and sheets (80-grit, 120-grit, and 220-grit)
- Tack cloth
- Pre-stain wood conditioner
- Wood stain of your choice
- Polyurethane topcoat (water-based or oil-based)
- Synthetic or natural bristle paint brushes
10 Easy Steps on How to Refinish an Oak Dining Table
Transforming your table requires patience and a methodical approach. Follow these ten steps to strip away the old damage and reveal the beautiful oak beneath.
Step 1: Prepare Your Workspace Properly
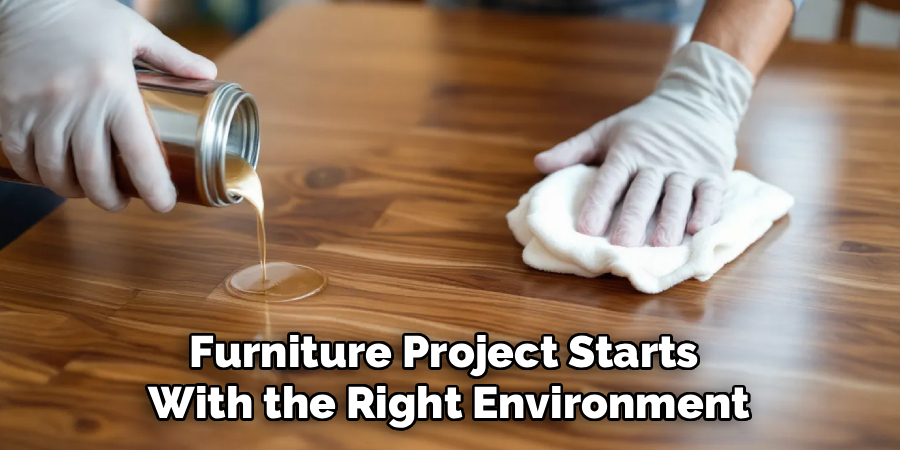
A successful furniture project starts with the right environment. Refinishing creates dust and strong fumes, so you need a well-ventilated area. A garage with the door open or a covered patio works best. Lay down a heavy-duty drop cloth to catch chemical drips and wood dust. If your dining table has a leaf, remove it and place it on a separate set of sawhorses. Remove all chairs from the area so you have clear space to walk around the table. Finally, put on your safety goggles, heavy gloves, and respirator before opening any chemical containers.
Step 2: Clean the Wood Surface Thoroughly
Years of dining leave behind invisible layers of grease, furniture polish, and skin oils. If you try to strip or sand through this grime, it will gum up your tools and ruin the new finish. Mix a solution of warm water and a heavy-duty degreaser, like tri-sodium phosphate (TSP). Dip a clean rag into the mixture, wring it out until it is just damp, and scrub the entire table. Pay close attention to the edges and the table legs, as these spots collect a lot of dirt. Wipe the table down with clean water afterward and let it dry completely.
Step 3: Apply the Chemical Stripper
Using a chemical stripper is the safest way to remove the old finish without damaging the oak underneath. Pour a thick layer of stripper into a metal or glass container. Using a cheap disposable brush, apply a heavy, even coat of the stripper across the tabletop. Do not brush it back and forth like paint; simply lay it on thick and leave it alone. The chemicals need time to break down the old varnish. Let the stripper sit according to the manufacturer’s instructions, which usually takes about 15 to 30 minutes. You will know it is working when the old finish starts to bubble and lift.
Step 4: Scrape Away the Old Finish
Once the old varnish has bubbled up, it is time to remove it. Take a plastic putty knife and gently scrape along the surface of the wood. Always push your scraper in the direction of the oak’s wood grain to avoid leaving gouges. The old finish should slide off easily like thick mud. Have an empty cardboard box or a metal bucket nearby so you can wipe the gunk off your scraper after every pass. If the table has intricate carvings on the legs, use an old toothbrush or a stiff nylon brush to dig the stripper out of those tight crevices.
Step 5: Wipe Down with Mineral Spirits
After you scrape off the bulk of the old finish, there will still be sticky residue left behind. This leftover chemical needs to be neutralized before you can sand the wood. Pour a generous amount of mineral spirits over a medium-grade steel wool pad or a clean rag. Scrub the entire table down, rubbing firmly to lift the remaining varnish and stripper off the wood. The mineral spirits will wash away the sludge and expose the bare oak beneath. Wipe the surface completely dry with clean paper towels and let the table sit for an hour to air out.
Step 6: Sand the Table Rough
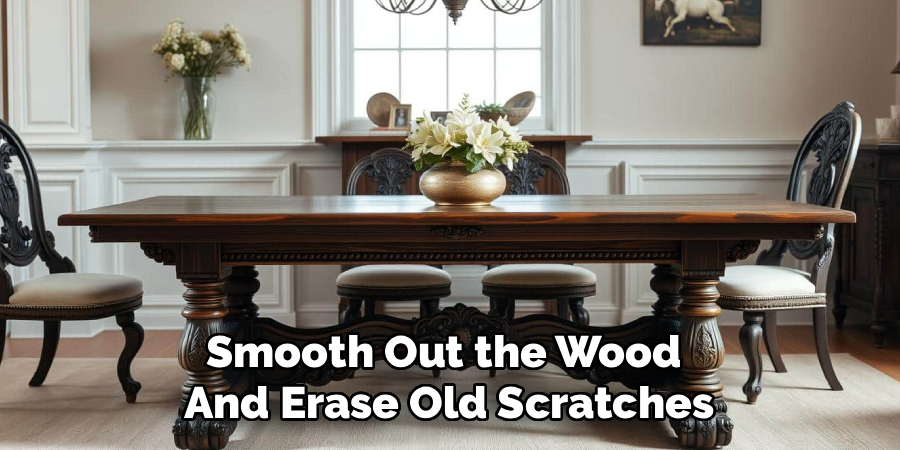
Now you get to smooth out the wood and erase old scratches. Attach an 80-grit sanding disc to your random orbital sander. Turn the sander on and move it slowly across the tabletop, always moving parallel to the oak grain. Do not push down hard; let the weight of the machine do the work. The goal here is to remove any stubborn bits of stain that survived the chemical stripper and to level out deep scratches. Wipe the dust away with a rag. Next, switch to a 120-grit sanding disc and repeat the entire process to smooth out the rough marks left by the previous sandpaper.
Step 7: Fine Sanding for a Smooth Finish
Oak has an open, prominent grain, which means it requires careful fine sanding to feel smooth to the touch. Switch your orbital sander to a 220-grit sanding disc. Go over the entire tabletop one last time, keeping your movements slow and steady. This final sanding pass closes the wood fibers and prepares the surface to absorb the stain evenly. Once you finish sanding, vacuum the table thoroughly to pull the dust out of the open oak pores. Finally, wipe the entire piece down with a sticky tack cloth to grab any microscopic dust particles left behind.
Step 8: Condition the Oak
Oak takes stain beautifully, but applying a pre-stain wood conditioner ensures the absolute best results. Conditioner acts like a primer for the wood, preventing the stain from soaking in unevenly and creating ugly, dark blotches. Dip a clean rag or a brush into the wood conditioner and rub a liberal coat across the bare wood. Let the conditioner soak into the oak for about 15 minutes. Afterward, take a clean, dry cloth and wipe away any excess liquid that the wood did not absorb. You must apply your wood stain within two hours of applying the conditioner.
Step 9: Apply Your Chosen Wood Stain
Stir your can of wood stain thoroughly with a wooden stick to mix the color pigments at the bottom. Dip a clean rag or a foam brush into the stain and wipe it onto the table, following the direction of the grain. Work in small sections so the stain does not dry before you can wipe it off. Let the stain penetrate the oak for five to ten minutes, depending on how dark you want the final color to be. Take a clean cotton cloth and wipe off all the excess stain, rubbing firmly. Let the table dry for at least 24 hours.
Step 10: Seal and Protect with Polyurethane
Your beautiful new color needs protection from spills and daily wear. Stir a can of polyurethane gently to avoid creating air bubbles. Using a high-quality synthetic bristle brush, apply a thin, even coat of polyurethane over the tabletop. Pull the brush along the grain in long, continuous strokes. Let the first coat dry completely, which usually takes four to six hours. Lightly sand the dry surface by hand with 220-grit sandpaper to remove any rough dust bumps, then wipe it clean with a tack cloth. Apply a second and third coat the exact same way for maximum durability.
5 Things You Should Avoid
1. Rushing the Preparation Phase
Skipping steps during the prep phase guarantees a bad result. If you fail to clean the table properly or rush the stripping process, your new stain will look blotchy. Take your time cleaning and stripping the wood.

2. Sanding Against the Grain
Never move your sander or sandpaper across the natural lines of the wood. Sanding against the grain creates deep, ugly scratches that act as magnets for wood stain. Always keep your movements parallel to the oak grain.
3. Skipping the Tack Cloth
Wiping the table with a dry rag does not remove all the fine sanding dust. If you leave dust on the table, it will get trapped in your polyurethane and make the surface feel like sandpaper. A tack cloth is essential for a glass-smooth finish.
4. Shaking the Polyurethane Can
Never shake a can of polyurethane like a can of paint. Shaking introduces hundreds of tiny air bubbles into the liquid. When you brush the finish onto your table, those bubbles will dry in place and ruin the smooth texture.
5. Ignoring Proper Dry Times
Patience is vital when refinishing furniture. If you apply a topcoat before the stain fully dries, the moisture will become trapped and ruin the finish. Always wait the full recommended time listed on your product labels before moving to the next step.
Conclusion
How to refinish an oak dining table is a highly rewarding project that transforms an aged piece of furniture into a stunning focal point.
By taking your time to strip, sand, and seal the wood properly, you honor the natural beauty of the oak grain. Now that you have the knowledge and the right tools, you can confidently breathe new life into your dining space.
Gather your supplies, set up your workspace, and enjoy the process of bringing your old table back to its original glory.

About
Mike May is a distinguished figure in the world of woodworking and timber design, with a decade of expertise creating innovative and sustainable indoor solutions. His professional focus lies in merging traditional craftsmanship with modern manufacturing techniques, fostering designs that are both practical and environmentally conscious. As the author of Woodimber, Mike delves into the art and science of timber-craft, inspiring artisans and industry professionals alike.
Education
RMIT University (Melbourne, Australia)
-
Associate Degree in Design (Timber): Focus on sustainable design, industry-driven projects, and practical craftsmanship.
-
Gained hands-on experience with traditional and digital manufacturing tools, such as CAD and CNC software.
Nottingham Trent University (United Kingdom)
-
Bachelor’s in Woodworking and Product Design (Honors): Specialized in product design with a focus on blending creativity with production techniques.
-
Participated in industry projects, working with companies like John Lewis and Vitsoe to gain real-world insights.
Publications and Impact
In Woodimber, May shares his insights on timber design processes, materials, and strategies for efficient production. His writing bridges the gap between artisan knowledge and modern industry needs, making it a must-read for both budding designers and seasoned professionals.