

Wooden staircases endure a relentless amount of daily friction. Over years of heavy foot traffic, the natural finish inevitably degrades, often leaving a scratched surface that masks the original grain. Peeling back these layers to reveal the raw material underneath might seem like a daunting prospect. Yet, this particular DIY project appears to offer a highly rewarding return on investment, assuming you approach the preparation phase with adequate patience.
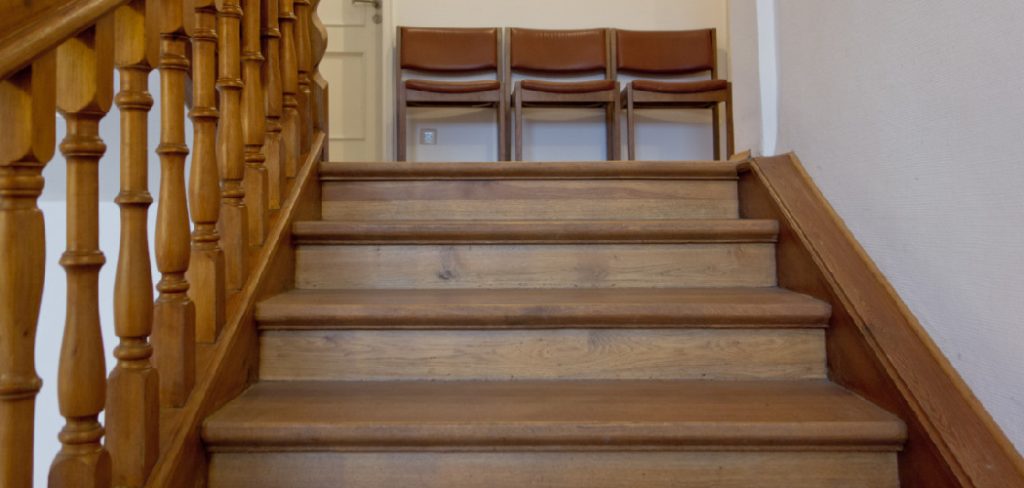
Beneath aging carpets or yellowed varnish, there is usually a solid foundation waiting for a second life. Stripping away the accumulated damage could dramatically alter how a home feels, shifting an entryway from neglected to intentional. You do not necessarily need an expansive budget to achieve a striking result. Instead, success largely depends on methodical execution and a willingness to respect the chemical and physical processes involved in wood restoration.
This overview outlines a sequential approach to staircase refinishing. By addressing each phase systematically—from the initial demolition to the final clear coat—you can navigate the common pitfalls that typically trap amateur restorers. Gather your safety equipment, clear your schedule, and prepare to expose the natural character hidden right under your feet. In this guide on how to redo wood stairs, you’ll find helpful tips and tricks for each step of the process.
Safety First
Before you begin any restoration project, it’s essential to prioritize safety. This goes beyond simply wearing protective gear like goggles, gloves, and a dust mask (though these are crucial too). It also means taking necessary precautions such as ensuring proper ventilation in the work area and using appropriate tools for each task.
For example, if you’re working with chemical strippers or staining agents, make sure to read and follow all instructions carefully.
Tools and Materials You Might Need
Approaching this project without the correct inventory will likely stall your progress. You should gather these items before starting:
- Pry bar and heavy-duty pliers
- Chemical wood stripper and a plastic putty knife
- Orbital sander with 60, 80, 120, and 220-grit sandpaper
- Stainable wood filler and wood glue
- Sticky tack cloths and a wet/dry shop vacuum
- Wood stain and floor-grade polyurethane finish
- Natural bristle brushes and synthetic foam brushes
- Safety goggles, a respirator mask, and work gloves
7 Step-by-step Restoration Process on How to Redo Wood Stairs
Step 1: Remove Old Carpet and Nails
The initial demolition phase frequently reveals how many makeshift repairs a staircase has survived. Start by pulling up any existing carpet or padding with your pliers and pry bar, working cautiously from the top landing downward. As the material lifts, you will almost certainly find an excessive number of staples and concealed nails embedded in the wood. Extracting every single metal fastener is absolutely necessary. Leaving even a minor staple behind could severely tear your sanding pads later in the week.

Rushing through this extraction phase usually leads to frustration. Run a metal putty knife flat across the bare wood to identify stubborn staples that blend in with the grain. Once the treads are completely bare of metal and fabric, use a shop vacuum to clear the accumulated dust. A sanitized workspace makes it much easier to evaluate the structural integrity of the wood before you introduce any chemicals.
Step 2: Strip the Existing Finish
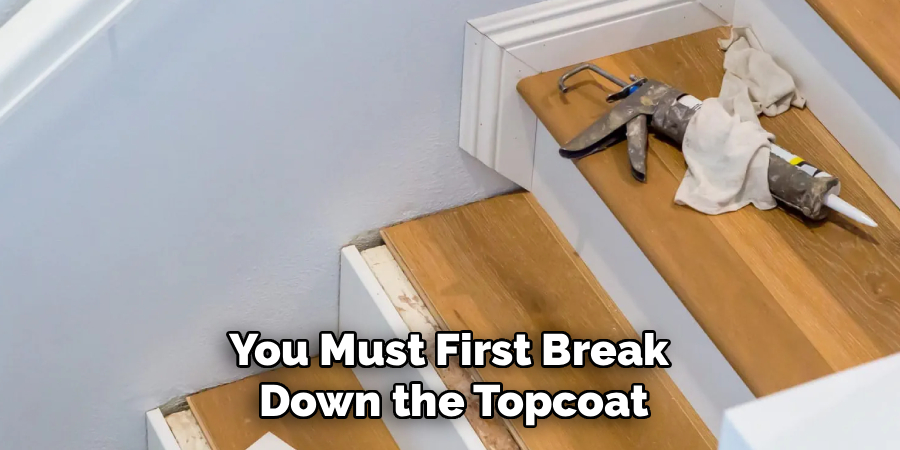
Sanding through thick layers of old paint or varnish is rarely efficient. You must first break down the topcoat using a chemical wood stripper. Apply the liquid generously across the wood using a disposable brush, letting it sit for the manufacturer’s suggested duration—typically fifteen to thirty minutes. The old finish will likely begin to bubble, which appears to indicate that the chemical bonds are successfully degrading.
When the residue softens, gently scrape it away with a plastic putty knife. Always push your tool parallel to the wood grain to avoid inflicting new gouges into the softened surface. Stubborn paint might require a secondary application of the stripping agent. Finally, wipe the treated areas with mineral spirits to neutralize the remaining chemicals.
Step 3: Repair Damage and Fill Holes
With the wood exposed, decades of physical impact become visible. Deep scratches and splintered edges need attention before you introduce any new color. Press a stainable wood filler into every nail hole and crack using a small putty knife. It is wise to leave a slight mound of excess filler over the defect. This minor overfill compensates for the natural shrinkage that occurs as the patching compound cures.
Check for structural movement while the filler dries. A loose tread may suggest that the underlying stringers need reinforcement, which you can often manage with wood glue and finishing nails. Fixing a squeaky board at this juncture prevents auditory annoyances down the line.
Step 4: Sand the Wood Smooth
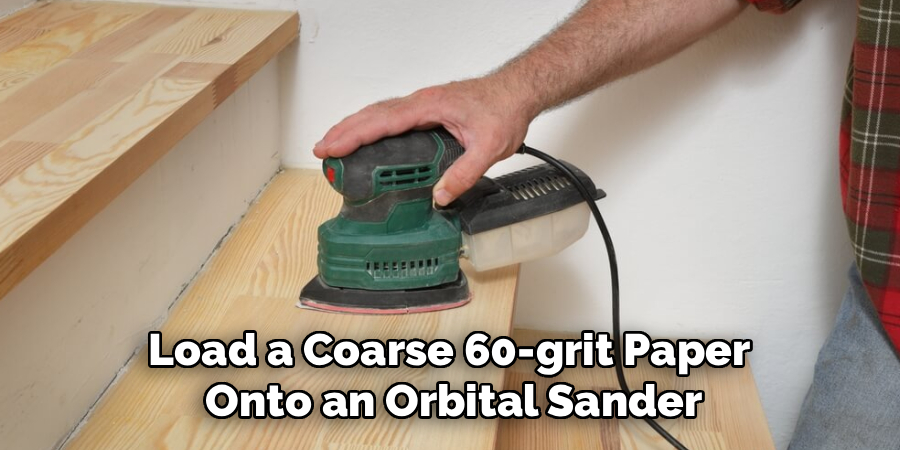
Sanding dictates the final aesthetic quality of your staircase. It is an unavoidably tedious task. Load a coarse 60-grit paper onto an orbital sander to level the dried filler and strip away the last remnants of varnish. Keep the machine moving at a steady, deliberate pace along the grain. Corners and tight crevices usually demand a specialized detail sander or manual friction.
Vacuum the entire area thoroughly after your first pass. Debris left behind will cause deep circular scratches during the subsequent sanding rounds. Progress steadily through 80-grit, then 120-grit, eventually concluding with a 220-grit paper. This gradual escalation polishes the wood until it feels distinctly smooth. A final vacuuming and a wipe-down with a tack cloth will remove the microscopic dust that could otherwise contaminate your topcoat.
Step 5: Apply the New Wood Stain
Applying pigment allows you to synchronize the staircase with your existing flooring. Stir the stain carefully to distribute the settled pigments. Using a natural bristle brush or a lint-free cloth, push an even layer of liquid into the bare wood. You should focus on a single step at a time, allowing the chemical to penetrate the pores for five to fifteen minutes. The exact timing determines the visual weight of the color.
Wipe away any unabsorbed liquid with a clean rag. Neglecting this wipe-down often leaves a sticky surface that refuses to cure. A deeper shade requires a second application, but only after the first coat has completely dried. Ensure your home remains highly ventilated throughout this toxic phase.
Step 6: Seal with Polyurethane Finish
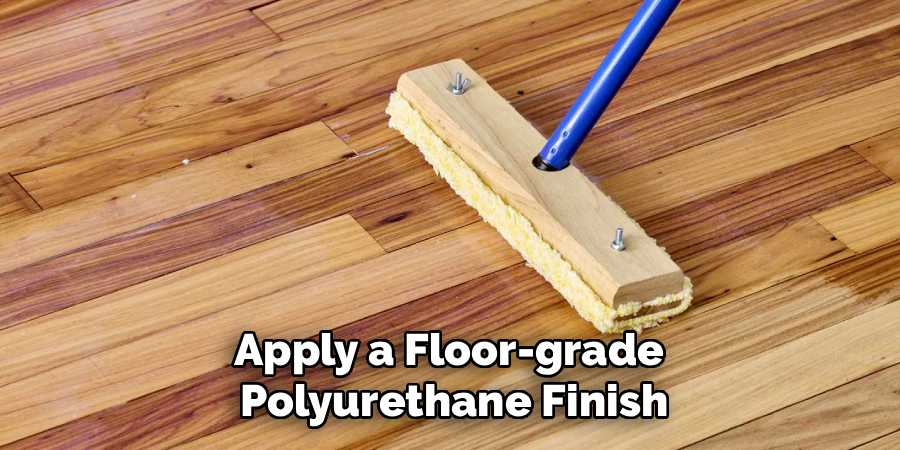
An unprotected stain degrades rapidly under human footsteps. A clear protective layer is non-negotiable. Apply a floor-grade polyurethane finish using a synthetic bristle brush once the stain is entirely dry. Drag the applicator in long strokes parallel to the grain. Over-brushing the liquid is a common error that frequently introduces trapped air bubbles into the clear film. Plan your physical exit route carefully; start at the top step so you do not maroon yourself on an upper floor.
Let the initial layer cure for at least six hours. A light manual sanding with 220-grit paper will level out any wood fibers that absorbed the liquid and swelled upright. Clean the dust with a tack cloth, then apply your second coat. Residential flooring experts normally recommend three full coats for high-traffic zones.
Step 7: Reinstall Hardware and Add Finishing Touches
Walking on the stairs is only safe after the final polyurethane coat achieves a full chemical cure. At this point, you can reattach any handrails or decorative hardware removed during demolition. Verify that all mounting brackets are securely anchored into the wall studs, as a loose banister poses a severe safety hazard. If you opted for painted risers, correct any errant brush marks now.
Some homeowners choose to install a decorative fabric runner down the center of the restored wood. This provides traction for pets while leaving the newly stained margins visible. Stepping back to observe the finished structure often reveals how a few days of manual labor can completely redefine a home’s entryway.
Following these steps on how to redo wood stairs can transform a tired, worn-out staircase into a stunning focal point in your home. However, don’t limit yourself to just following these steps – get creative and add your own personal touch. You could try painting the risers with a bold color or stenciling a pattern on them for a unique look. Alternatively, you could install LED strip lights under each step for added ambiance and safety at night.
Common Mistakes to Avoid
The most frequent error in DIY floor restoration is rushing the sandpaper progression. Skipping grits leaves deep gouges that instantly fill with dark pigment during the staining phase, highlighting the mistake permanently. Additionally, applying a thick, heavy layer of polyurethane rather than multiple thin coats almost guarantees a cloudy finish that takes weeks to dry.
Treating softwoods like pine without a pre-stain wood conditioner is another likely misstep. Softwood pores absorb liquid unevenly, which typically results in a highly blotchy appearance. Finally, poor dust management between sealing coats will leave the handrail and treads feeling noticeably gritty.
Do You Need To Use Professionals?
Restoration work extracts a heavy physical toll. While amateur renovators can certainly achieve excellent outcomes, evaluating your own stamina is a practical necessity. Professional contractors utilize industrial extraction sanders that drastically minimize airborne dust. They also operate with a speed born of repetition.
If your staircase suffers from severe dry rot or features intricate custom joinery, hiring an expert may prevent costly structural accidents. However, if your budget is restricted and your timeline is flexible, the DIY route remains a highly viable alternative for addressing surface-level aesthetic issues.
Frequently Asked Questions
Q1: How Long Does It Take to Redo Wood Stairs?
The full procedure usually spans three to five days. Demolition and sanding can consume a full weekend. The application of chemical stains and sealers requires several consecutive days of drying time. You must factor in the final curing period before the wood can tolerate regular use.
Q2: Can I Refinish Stairs Without Sanding?
Chemical agents remove the heaviest layers of old varnish, but sanding remains a mandatory step. Friction opens the cellular structure of the wood, creating a mechanical bond for the new stain. Staining unsanded wood usually results in a peeling, unstable finish.
Q3: What is the Best Finish for Wooden Stairs?
Oil-based polyurethane is widely regarded as the most durable barrier for residential stairs. It handles heavy impacts well. Conversely, water-based polyurethane offers a faster curing time and dries completely clear, avoiding the slight amber tint associated with oil-based products.
Stepping Forward with Your Restored Wood
Reviving a wooden staircase is a demanding physical endeavor that tests your attention to detail. Yet, managing the process correctly yields a permanent architectural upgrade. By executing the sanding and sealing phases with precision, you create a hardened surface capable of surviving decades of daily life.
Maintain the clear coat by sweeping regularly and addressing liquid spills immediately. With the right preparation, your entryway will remain a functional asset for years to come. Thanks for reading this guide on how to redo wood stairs.

About
Mike May is a distinguished figure in the world of woodworking and timber design, with a decade of expertise creating innovative and sustainable indoor solutions. His professional focus lies in merging traditional craftsmanship with modern manufacturing techniques, fostering designs that are both practical and environmentally conscious. As the author of Woodimber, Mike delves into the art and science of timber-craft, inspiring artisans and industry professionals alike.
Education
RMIT University (Melbourne, Australia)
-
Associate Degree in Design (Timber): Focus on sustainable design, industry-driven projects, and practical craftsmanship.
-
Gained hands-on experience with traditional and digital manufacturing tools, such as CAD and CNC software.
Nottingham Trent University (United Kingdom)
-
Bachelor’s in Woodworking and Product Design (Honors): Specialized in product design with a focus on blending creativity with production techniques.
-
Participated in industry projects, working with companies like John Lewis and Vitsoe to gain real-world insights.
Publications and Impact
In Woodimber, May shares his insights on timber design processes, materials, and strategies for efficient production. His writing bridges the gap between artisan knowledge and modern industry needs, making it a must-read for both budding designers and seasoned professionals.