

Creating custom home decor allows you to express your unique personality while upgrading your living space. Handcrafted art pieces bring warmth and character into any room, especially when they feature personal photographs or meaningful quotes. Many crafters assume that putting images onto raw timber requires highly expensive industrial equipment or complex chemical processes. You can easily achieve stunning, professional-quality results right at your kitchen table using basic craft supplies and standard copy paper.
Mastering how to print on wooden plaques transforms standard lumber into breathtaking personalized gifts for your friends and family. We designed this comprehensive guide to walk you through the entire image transfer process safely and effectively. You will learn the exact techniques needed to fuse ink directly into natural timber fibers for a permanent, beautiful finish. By following these straightforward instructions, you can bypass common beginner mistakes and start producing gorgeous custom artwork immediately.
Why Creating Custom Timber Art Matters
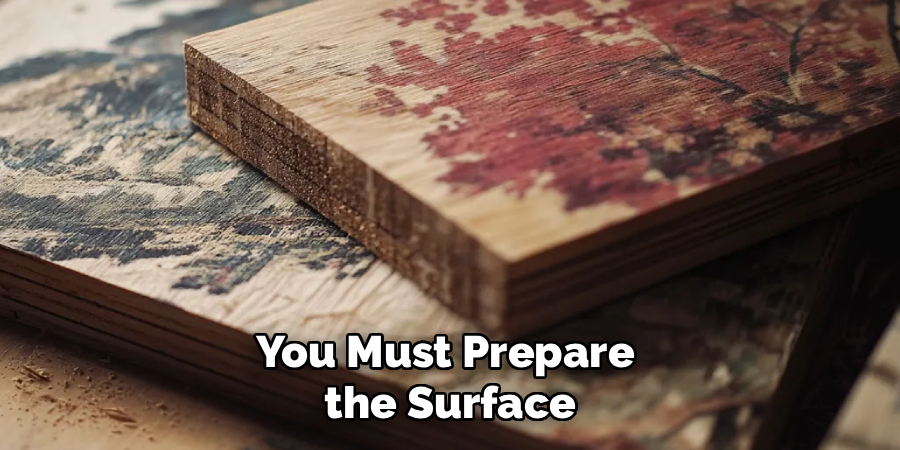
Personalized wooden decor offers incredible advantages over standard framed photographs or mass-produced canvas prints from big box stores. Natural timber provides a highly durable, rigid foundation that adds rustic charm and incredible texture to any image. The natural wood grain actually shows through the lighter areas of your transferred photograph, creating a beautifully vintage, painted appearance. This unique integration of organic material and digital imagery creates aesthetic depth that standard photo paper simply cannot replicate.
Taking the DIY approach allows you complete creative control over every single aspect of your home decor projects. You determine the exact dimensions of your canvas, the style of the base material, and the final protective finish. You no longer have to settle for generic wall art that looks identical to everything else on the retail market. Crafting these pieces yourself directly increases the aesthetic value of your living room, bedroom, or personal workspace.
Step-By-Step Guide To How to Print on Wooden Plaques
Step 1: Gather Your Essential Materials First
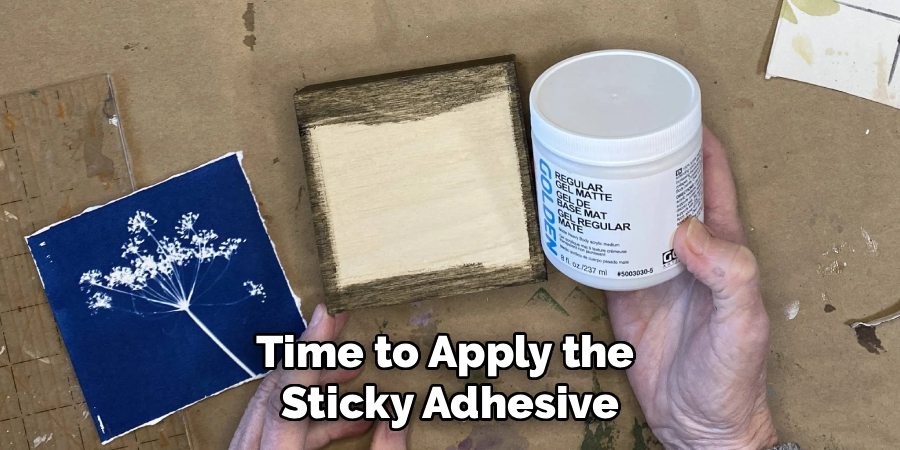
Every successful crafting session begins with thorough preparation and organizing your workspace before opening any messy adhesives. You need a piece of smooth timber, acrylic gel medium, a standard paintbrush, and a damp microfiber cloth. Grab a reliable plastic smoothing tool, like an old credit card or a specialized craft scraper, to remove air bubbles. Having your protective workspace covering and paper towels within arm’s reach ensures you maintain a clean environment. You save significant time and prevent unnecessary frustration by placing all necessary supplies directly on your crafting table before starting.
Step 2: Prepare And Sand The Timber Surface
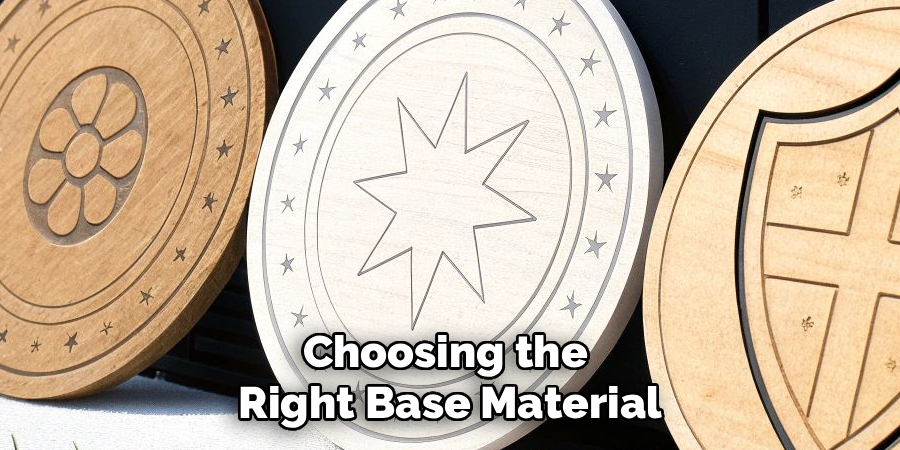
Precision matters immensely when preparing your base, as rough fibers easily disrupt the delicate ink transfer process. You must sand the timber lightly using fine-grit sandpaper to remove any glossy finish, old paint, or rough splinters. The transfer medium requires an incredibly smooth, porous surface to grip the paper and absorb the printer ink properly. After sanding the board thoroughly, use a slightly damp cloth to remove all lingering dust particles entirely. Dust acts as a terrible barrier between the ink and the wood, often causing large patches of your image to peel away.
Step 3: Selecting the Correct Type of Printer
Selecting the correct type of printer and paper serves as the absolute most critical part of this entire bonding process. You must print your chosen photograph or text using a standard laser printer rather than a traditional household inkjet machine. Inkjet ink smears instantly when it touches wet adhesive, completely ruining your beautiful image before the transfer even begins. You also need to digitally flip or mirror your image horizontally before pressing print, especially if your design contains any text. Printing onto thin, standard copy paper works significantly better than thick cardstock because thin paper rubs away much easier later.
Step 4: Apply The Transfer Medium Evenly
Proper adhesive application directly dictates the clarity and crispness of your final transferred photograph. Dip your paintbrush into the acrylic gel medium and apply a generous, completely even layer across the entire timber surface. You must avoid applying the gel in thick clumps, as excessive medium causes the paper to slide around uncontrollably. Keep your brush strokes smooth and consistent, ensuring you cover every single square inch where the paper will rest. Missing even a tiny spot with the gel medium means the ink in that specific area will not transfer properly.
Step 5: Position The Image Face Down Carefully
Handling the delicate printer paper requires extreme focus and steady hands to ensure perfectly centered placement. Grip the edges of your printed paper firmly, keeping your fingers completely clear of the wet gel medium on your board. Hover the page directly over your timber, taking a moment to align the corners exactly where you want them. Gently lower the paper straight down onto the adhesive, trying your best to place it perfectly on the very first try. Sliding the paper around smears the wet ink and weakens the final visual clarity of your custom artwork significantly.
Step 6: Smooth Out Air Bubbles And Creases
Once you position the paper perfectly, you must ensure the ink makes full contact with the wet gel medium. Place your plastic smoothing tool lightly against the center of the paper and carefully drag it toward the outer edges. This gentle, consistent pressure pushes trapped air bubbles out from beneath the sheet and squishes the adhesive perfectly flat. Do not press too hard or use sharp angles, as aggressive scraping easily tears the fragile, wet copy paper. Wipe away any excess gel medium that squeezes out from the edges using a clean paper towel immediately.
Step 7: Mastering Print On Plaques Perfectly
The transfer medium needs absolutely undisturbed time to dry and cure fully before you attempt to remove the paper backing. You must place your timber project in a safe, dry location and leave it entirely alone for at least twenty-four hours. Large projects might require slightly more time if you live in a particularly humid environment with poor air circulation. Rushing this crucial curing step always results in a ruined project because the wet ink pulls away with the paper. Practicing patience remains the ultimate secret to achieving crisp, professional-looking images that look genuinely painted onto the timber.
Frequently Asked Questions
What Type Of Wood Works Best For Image Transfers?
Light-colored woods like birch, basswood, and maple offer the absolute best canvas for displaying crisp, highly visible transferred images. The natural lightness of these species allows the darker printer ink to contrast beautifully, making your photographs pop perfectly. You should generally avoid dark woods like walnut or mahogany because they completely obscure the lighter details of your printed picture. Always select pieces that feel incredibly smooth and feature minimal deep knots or severe cracks that might distort faces or text.
Can I Use A Standard Inkjet Printer For This Project?
You should never use a standard inkjet machine when attempting to transfer photographs using wet acrylic gel mediums. Inkjet machines spray liquid ink onto the paper, which immediately reactivates and bleeds violently as soon as it touches wet adhesive. Laser machines use heat to permanently fuse dry toner powder directly onto the paper, making it completely waterproof and stable. If you only own an inkjet machine, you can simply print your image and photocopy it at a local office supply store.
How Can I Prevent The Image From Rubbing Off During Peeling?
Aggressive scrubbing stands as the primary reason beginners accidentally destroy their transferred images during the final paper removal stage. You must let the water do the heavy lifting by allowing it to soak into the paper for several minutes first. Always use the soft pads of your fingertips rather than your fingernails or abrasive scouring pads to remove the pulp. If the paper feels dry or highly resistant to your touch, simply apply more warm water and wait another minute before continuing.
Does Traditional Mod Podge Work For Image Transfers?
Standard decoupage glues certainly work for this process, but heavy gel mediums specifically formulated for image transfers provide vastly superior results. Decoupage glues tend to dry slightly softer and hold onto the paper pulp a bit more stubbornly during the rubbing phase. Acrylic transfer mediums offer a much stronger chemical bond with the laser toner, ensuring sharper lines and much brighter colors overall. Investing a few extra dollars in a dedicated transfer medium saves you massive amounts of frustration and ruined materials later.
Why Does My Finished Project Look Cloudy After Drying?
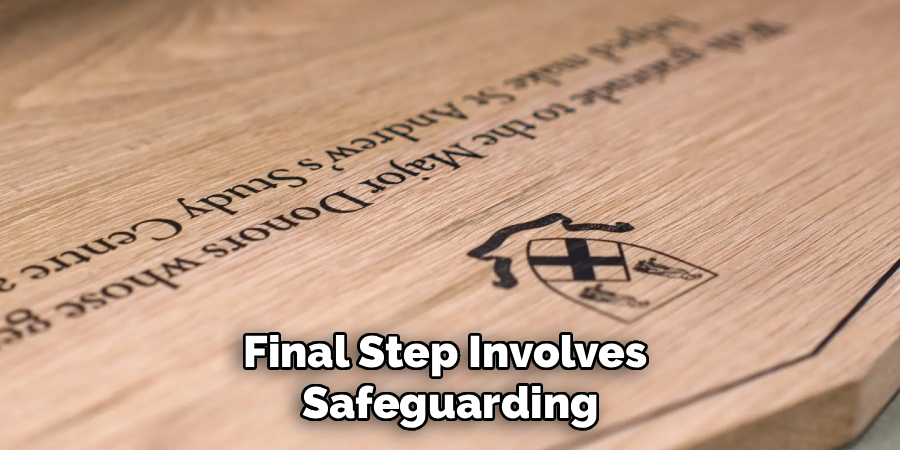
A cloudy or hazy appearance simply means that a microscopic layer of paper fibers still remains trapped on top of the ink. You often cannot see these tiny fibers while the wood remains wet, but they turn stark white once the moisture evaporates completely. You can easily fix this by applying a slightly damp cloth to rub away the final stubborn layer of invisible pulp. Applying your final glossy or matte clear coat also permanently hides any remaining micro-fibers, restoring the deep contrast of your beautiful image.
Conclusion
Taking the time to craft your own custom decor rewards you with durable, breathtaking pieces that perfectly match your exact aesthetic preferences. We explored the immense benefits of working with raw timber, from saving money to controlling the final visual finish completely. By preparing your materials properly, applying the medium evenly, and patiently removing the paper, you guarantee a flawless final product.
Now that you know how to print on wooden plaques, you possess the confidence to upgrade your interior design personally. Stop settling for generic framed posters and start gathering your smooth lumber for this highly rewarding weekend craft project. Grab your laser-printed photographs, set up your crafting table, and enjoy the incredible satisfaction of building gorgeous customized art with your own two hands.

About
Mike May is a distinguished figure in the world of woodworking and timber design, with a decade of expertise creating innovative and sustainable indoor solutions. His professional focus lies in merging traditional craftsmanship with modern manufacturing techniques, fostering designs that are both practical and environmentally conscious. As the author of Woodimber, Mike delves into the art and science of timber-craft, inspiring artisans and industry professionals alike.
Education
RMIT University (Melbourne, Australia)
-
Associate Degree in Design (Timber): Focus on sustainable design, industry-driven projects, and practical craftsmanship.
-
Gained hands-on experience with traditional and digital manufacturing tools, such as CAD and CNC software.
Nottingham Trent University (United Kingdom)
-
Bachelor’s in Woodworking and Product Design (Honors): Specialized in product design with a focus on blending creativity with production techniques.
-
Participated in industry projects, working with companies like John Lewis and Vitsoe to gain real-world insights.
Publications and Impact
In Woodimber, May shares his insights on timber design processes, materials, and strategies for efficient production. His writing bridges the gap between artisan knowledge and modern industry needs, making it a must-read for both budding designers and seasoned professionals.