 (1)")

Wood-paneled walls, whether they are classic tongue-and-groove or 70s-style paneling, can sometimes make a room feel dark, dated, and heavy. While some wood features are timeless, a full wall of dark wood can shrink a space visually. The great news is that you do not have to live with it or undertake a costly and messy demolition project.
A fresh coat of paint is a transformative and budget-friendly solution that can instantly brighten and modernize your room, making it feel larger and more inviting. Learning how to paint wood walls is a straightforward DIY project that any beginner can tackle with confidence. This guide will walk you through the essential preparation and application steps to ensure a smooth, durable, and professional-looking finish.
Why Painting Wood Walls is a Smart Upgrade
Opting to paint over wood paneling or walls is one of the most impactful design choices you can make with minimal investment. It dramatically brightens a room, reflecting natural and artificial light to create an airy, open atmosphere. This is especially effective for rooms with dark, knotty pine or old, yellowed varnish that absorb light. Painting provides a clean, neutral canvas, allowing your furniture, art, and decor to take center stage. Beyond the aesthetic benefits, a proper paint job seals the wood, can hide minor imperfections, and makes the surface much easier to clean than porous, unsealed wood. It is a project that offers a high return on investment, completely changing the character of a room in a single weekend.
A Step-by-Step Guide on How to Paint Wood Walls
Step 1: Clean the Walls Thoroughly
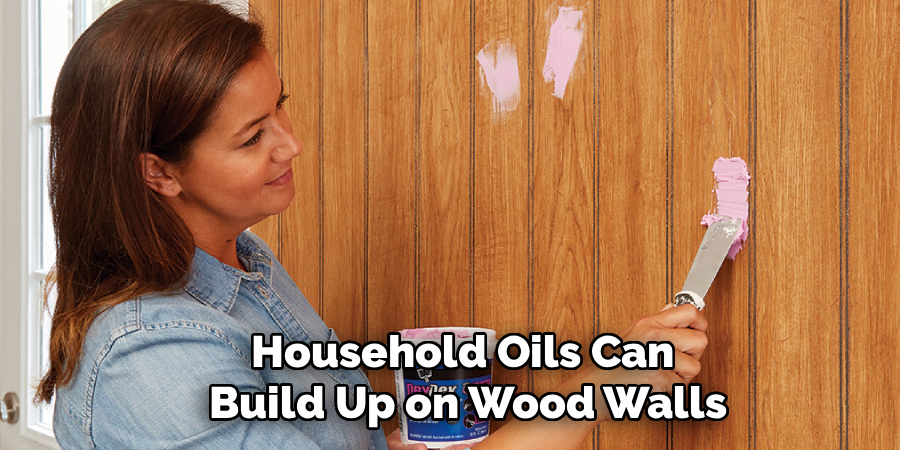
Years of dust, grime, and household oils can build up on wood walls, and paint will not adhere to a dirty surface. The first and most critical step is to give the walls a deep clean. Mix a solution of a degreasing cleaner, like trisodium phosphate (TSP) substitute, with warm water according to the product’s directions.
Wearing gloves, use a sponge or cloth to scrub down the entire wall surface, paying special attention to the grooves between panels where dust collects. After scrubbing, rinse the walls with a separate cloth dampened with clean water to remove any cleaner residue. Allow the walls to dry completely before proceeding.
Step 2: Fill Holes and Make Repairs
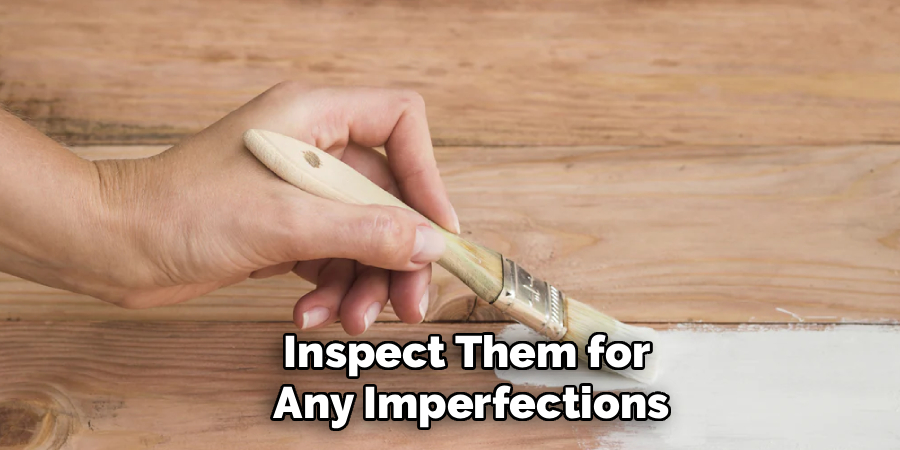
Once the walls are clean and dry, inspect them for any imperfections. Look for old nail holes, scratches, gouges, or cracks. Use a high-quality, paintable wood filler or spackle and a flexible putty knife to fill these blemishes. Overfill the holes slightly, as the filler will shrink a bit as it dries. For any gaps between the paneling and the baseboards or ceiling trim, apply a thin, smooth bead of paintable caulk. This simple repair work creates a seamless, uniform canvas and is essential for achieving a professional finish that looks new, not just painted over. Let all fillers and caulk dry completely.
Step 3: Scuff Sand the Entire Surface
Sanding is a non-negotiable step for ensuring proper paint adhesion, especially if the wood has a glossy or varnished finish. You are not trying to strip the wood down to its bare state; you are simply trying to scuff up the surface to give the primer something to grip onto. Use medium-grit sandpaper (around 120- to 150-grit) and lightly sand the entire surface of the walls, including inside the grooves. A sanding pole can make this process faster for large, flat areas. The goal is to dull the shine. After sanding, the walls will be covered in fine dust, which must be removed completely with a vacuum and a tack cloth.
Step 4: Choose and Apply a Stain-Blocking Primer
Wood, especially knotty pine, contains natural oils and tannins that can bleed through latex paint over time, creating ugly yellow or brown stains. To prevent this, you must use a high-quality stain-blocking primer. An oil-based or shellac-based primer is the most effective choice for blocking wood tannins and knots permanently. These primers also do an excellent job of adhering to previously finished surfaces. Using a roller for the flat areas and a brush for the grooves, apply a full, even coat of primer to the entire wall. This step is a cornerstone of knowing how to paint wood walls for a long-lasting, flawless result.
Step 5: Fill the Grooves for a Flat Wall (Optional)
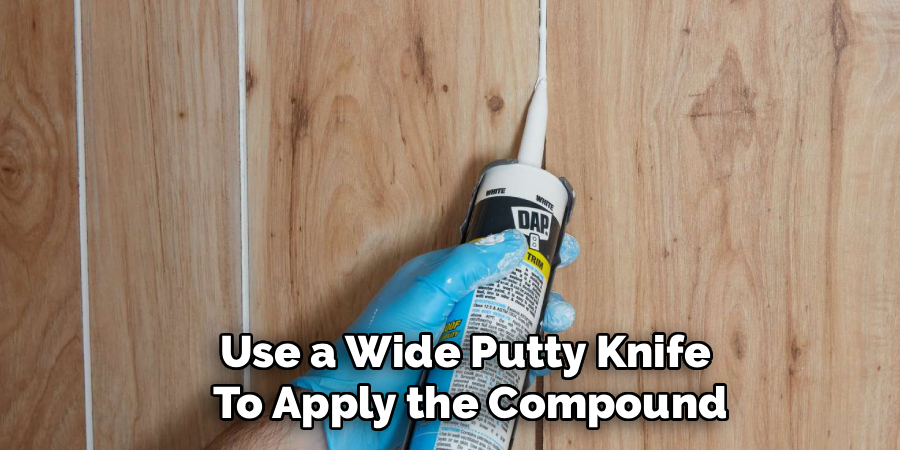
If your goal is to make the wood paneling look like a flat wall and hide the grooves completely, this is the time to do it. After the primer is dry, you can fill the grooves with drywall joint compound. Use a wide putty knife to apply the compound, pressing it firmly into each groove. You will likely need to apply two or three coats, allowing each coat to dry and sanding it smooth in between, to get a perfectly flat surface. This is a labor-intensive step, but it is the most effective way to completely erase the paneled look if that is your desired outcome.
Step 6: Apply the First Coat of Paint
Now for the exciting part—adding your color. Stir your paint thoroughly and begin cutting in the edges. Use a high-quality angled brush to paint along the ceiling, baseboards, and corners, as well as inside the grooves if you have left them exposed. Once the edges are done, use a roller with a 3/8-inch nap to apply a thin, even coat of paint to the flat surfaces of the wall. Work in small sections, maintaining a wet edge to avoid lap marks. Avoid the temptation to apply a thick coat to cover everything at once; multiple thin coats are always superior for a smooth finish.
Step 7: Apply the Second and Final Coat
Let the first coat of paint dry completely according to the manufacturer’s recommended re-coat time. Once it is dry, you can apply your second coat. This coat will provide the true, rich color and cover any thin or streaky spots left from the first pass. Apply it just as you did the first coat: cut in the edges and grooves with a brush, then roll the flat surfaces. The second coat should give you full, beautiful coverage. Inspect the wall in good light to check for any missed spots before you clean up your tools.
Frequently Asked Questions
What Is the Best Kind of Paint for Wood Walls?
A high-quality acrylic latex paint is the best choice for interior wood walls.
- Finish: A satin or eggshell finish offers a durable, scrubbable surface that is easy to clean, which is great for high-traffic areas. These sheens also have a slight luster that looks better on walls than a completely flat paint.
- Formula: Look for a paint-and-primer-in-one for better coverage, but remember this does not replace the need for a separate, dedicated stain-blocking primer on the bare wood.
Do I Really Have to Sand Before Painting Wood Paneling?
Yes, sanding is a critical step you should not skip. Most wood paneling has a glossy varnish or lacquer finish that is too smooth for new paint to stick to properly. Scuff sanding with medium-grit sandpaper creates microscopic scratches that give the primer a surface to grip. Without this step, your paint is very likely to peel, chip, or scratch off easily.

How Can I Paint the Grooves in Wood Paneling?
Painting the grooves requires a brush. The most efficient method is to paint the grooves first before you roll the flat surfaces. Use a 2-inch angled brush to apply primer and paint into all the channels. This ensures they are fully coated. Then, when you use the roller on the main wall, you can slightly overlap the grooves for a seamless blend.
Should I Use a Brush or a Roller to Paint Wood Walls?
You should use both. A brush is essential for “cutting in”—painting the corners, the edges along the ceiling and trim, and getting paint into the grooves of the paneling. A roller is the best tool for applying paint quickly and evenly to the large, flat surfaces of the wall. Using both tools in combination will give you the most professional and efficient result.
Can I Make Wood Paneling Look Like a Flat Drywall?
Yes, you can make paneling look like a flat wall, but it is a labor-intensive process. After priming, you must fill all the grooves with drywall joint compound using a putty knife. This will likely require multiple coats, with sanding between each coat, to achieve a perfectly smooth, seamless surface. Once it is smooth and re-primed, you can paint it like a standard wall.
Conclusion
Painting wood walls is a powerful and accessible DIY project that can completely redefine a living space. It replaces dark, dated surfaces with bright, modern style, making your home feel more open and personalized. While the process demands careful and thorough preparation—cleaning, sanding, and priming are absolutely essential—the final result is well worth the effort. By following these steps methodically, you can achieve a finish that is not only beautiful but also durable enough to last for many years.
You are now equipped with a complete guide on how to paint wood walls and can approach this project with confidence. Choose your color, gather your supplies, and get ready to unlock the hidden potential in your room, transforming it into a space you truly love.
About
Mike May is a distinguished figure in the world of woodworking and timber design, with a decade of expertise creating innovative and sustainable indoor solutions. His professional focus lies in merging traditional craftsmanship with modern manufacturing techniques, fostering designs that are both practical and environmentally conscious. As the author of Woodimber, Mike delves into the art and science of timber-craft, inspiring artisans and industry professionals alike.
Education
RMIT University (Melbourne, Australia)
-
Associate Degree in Design (Timber): Focus on sustainable design, industry-driven projects, and practical craftsmanship.
-
Gained hands-on experience with traditional and digital manufacturing tools, such as CAD and CNC software.
Nottingham Trent University (United Kingdom)
-
Bachelor’s in Woodworking and Product Design (Honors): Specialized in product design with a focus on blending creativity with production techniques.
-
Participated in industry projects, working with companies like John Lewis and Vitsoe to gain real-world insights.
Publications and Impact
In Woodimber, May shares his insights on timber design processes, materials, and strategies for efficient production. His writing bridges the gap between artisan knowledge and modern industry needs, making it a must-read for both budding designers and seasoned professionals.