 (1)")

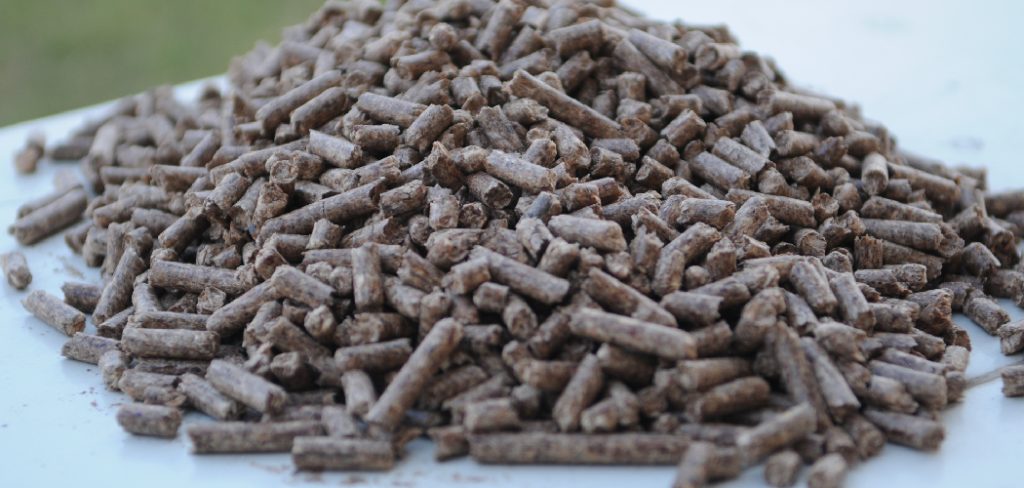
Wood pellets have become a popular and eco-friendly fuel source for heating homes and powering specialty grills. They are made from compressed sawdust and other wood waste, turning a byproduct into a dense, efficient energy source. While most people buy bags of pellets from a store, there is a growing interest in creating them at home.
For those with access to a steady supply of wood waste, such as from a workshop or sawmill, producing your own pellets can be a cost-effective and sustainable endeavor. Learning how to make wood pellets is a project that transforms raw biomass into valuable fuel, giving you greater control over your energy needs. This guide will walk you through the essential equipment and processes, making this seemingly industrial task accessible for the dedicated DIY enthusiast.
Why Make Your Own Wood Pellets?
The primary motivation for many people to produce their own wood pellets is cost savings and sustainability. If you have a source of free or low-cost raw materials, like sawdust from a woodworking hobby or scrap from a local sawmill, you can create fuel for a fraction of the retail price. This turns a waste product that would otherwise be discarded into a valuable resource.
Making your own pellets also gives you complete control over the quality and composition of your fuel. You know exactly what kind of wood is going in, ensuring there are no additives, glues, or contaminants. This results in a cleaner burn for your pellet stove and a deeper connection to your home’s energy consumption, promoting self-sufficiency and reducing your environmental footprint.
A Step-by-Step Guide on How to Make Wood Pellets
Step 1: Gather and Prepare Your Raw Biomass
The foundation of any good wood pellet is the quality of the raw material. The ideal material is clean sawdust or wood shavings from untreated lumber.

You can also use wood chips, small branches, or other forestry waste. It is critical that your source material is free from contaminants like paint, glue, plastic, or dirt, as these can release harmful fumes when burned and damage your equipment. Gather a sufficient quantity of your chosen biomass. If you are starting with larger pieces like chips or branches, they will need to be processed into a smaller, more uniform size before they can be pelletized, which is the next crucial step in the process.
Step 2: Reduce Material Size with a Hammer Mill
For the pellet mill to function correctly, the raw biomass must be reduced to a consistent, fine particle size, typically less than 3 millimeters. This is accomplished using a machine called a hammer mill. A hammer mill contains a rotating chamber with swinging hammers that repeatedly strike the wood material, shattering it into a fine powder as it passes through a screen. This step is essential because small, uniform particles are required to be compressed evenly into dense pellets. Running your wood chips or coarse sawdust through a hammer mill ensures that the material will feed smoothly into the pellet die and bind together properly under pressure.
Step 3: Achieve the Optimal Moisture Content
Moisture content is the most critical variable in pellet production. The ideal moisture level for wood to pelletize correctly is between 12% and 15%. If the material is too dry, it will not have enough natural lignin to bind together and will produce dusty, crumbly pellets. If it is too wet, the excess moisture will turn to steam in the pellet mill, preventing proper compression and potentially damaging the machine. You can test the moisture content with a specialized meter. If your material is too wet, you must spread it out to air dry or use a rotary dryer to bring it down to the target range.
Step 4: The Process of Wood Pellets with a Pellet Mill
With your material properly sized and dried, you are ready for the main event. A pellet mill is a machine that uses a combination of immense pressure and heat to form the pellets. The powdered wood material is fed into a hopper, which then moves it to a die and roller assembly. As the rollers press down, they force the material through small holes in the die. The intense pressure and friction generate heat, which releases the natural lignin in the wood. This lignin acts as a glue, binding the compressed particles together into a solid, dense pellet as it is extruded from the die.
Step 5: A Detailed Look
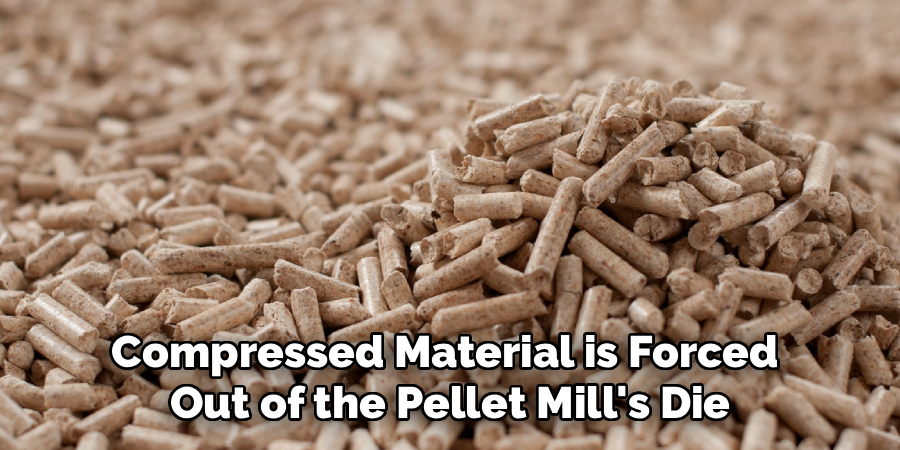
As the compressed material is forced out of the pellet mill’s die, it emerges as long, continuous strands, similar to how a meat grinder works. These hot, dense strands are then cut to a uniform length by a knife assembly on the pellet mill. The typical length for a wood pellet is between a quarter-inch and one and a half inches. The machine will continuously extrude and cut the pellets, which then fall into a collection chute. At this stage, the pellets are very hot and soft, so they must be handled carefully as they move to the final stage of the process: cooling and hardening.
Step 6: Cool and Harden the Freshly Made Pellets
The newly formed pellets are extremely hot (often over 200°F) and quite soft as they exit the pellet mill. They must be cooled properly to harden and become durable. For small-scale production, you can spread the pellets out in a thin layer on a clean, dry surface and allow them to air cool for several hours. A simple fan can speed up this process. As the pellets cool, the lignin solidifies, locking the wood fibers into their dense shape. This cooling and hardening phase is what gives the finished pellets their durability, preventing them from crumbling during storage and handling.
Step 7: Sift and Store the Finished Pellets
Once the pellets are completely cool and hard, a final quality control step is to sift them. Pour the pellets over a screen to separate any fine dust or broken pieces from the whole pellets. This “fines” material can be collected and run back through the pellet mill with your next batch. The clean, whole pellets are now ready for storage.
They must be kept in a dry, protected location, as exposure to moisture will cause them to expand and disintegrate. Airtight bags or sealed containers are ideal for keeping your homemade fuel in perfect condition until you are ready to use it.

Frequently Asked Questions
What Is the Best Wood for Making Pellets?
Hardwoods like oak and maple and softwoods like pine are both excellent for making pellets.
- Hardwoods: Tend to produce pellets that are denser and burn longer and hotter.
- Softwoods: Often contain more natural resins and lignin, which can help them bind together more easily during compression.
- The most important factor is that the wood is clean, untreated, and has the correct moisture content.
Do I Need a Binder to Make Wood Pellets?
For pure wood pellets, no additional binder is needed. The immense pressure and heat from the pellet mill release the natural lignin within the wood itself, which acts as a glue to bind the compressed wood fibers together. Additives are only necessary if you are pelletizing materials with low lignin content, like some agricultural grasses.
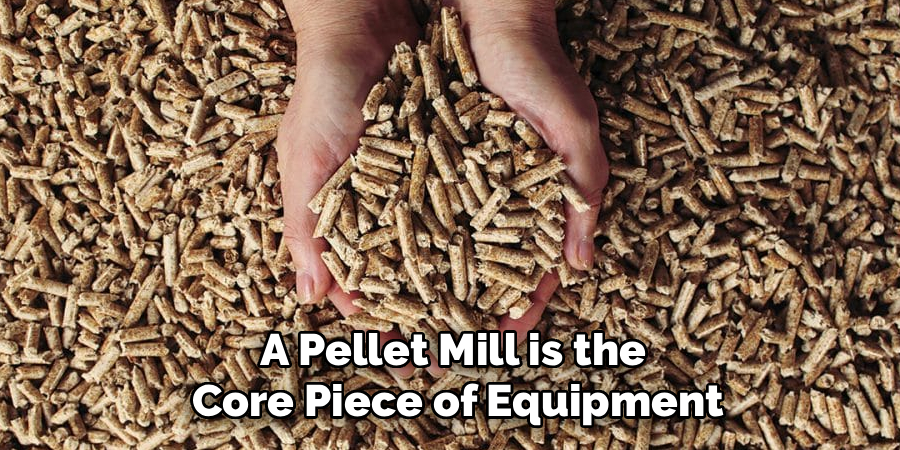
What Is a Pellet Mill and Is It Expensive?
A pellet mill is the core piece of equipment. It is a machine that uses a roller and die to compress sawdust into dense pellets. Small, flat-die pellet mills designed for home or farm use can range in price from around $1,500 to several thousand dollars. While it is a significant investment, it can pay for itself over time if you have access to a large volume of free raw material.
Why Is Moisture Content So Important?
Moisture content is the single most critical factor in pellet production. The ideal range is 12-15%.
- Too Wet: If the material is too moist, the water will turn to steam in the die, preventing proper compression and leading to mushy, low-quality pellets.
- Too Dry: If the material is too dry, there is not enough moisture to help activate the natural lignin, resulting in brittle pellets that crumble easily.
Can I Make Pellets from Leaves or Cardboard?
While it is technically possible to pelletize other forms of biomass, it is not recommended for home heating. Materials like leaves and cardboard have very different chemical compositions, burn characteristics, and ash content compared to wood. Burning them in a stove designed for wood pellets can lead to poor performance, excessive smoke, and potentially damaging deposits like clinkers in your stove’s burn pot.
Conclusion
Making your own wood pellets is a rewarding venture that puts you in control of your fuel supply. While it requires a significant upfront investment in machinery like a hammer mill and a pellet mill, the long-term benefits of turning waste into energy are substantial.
The process hinges on careful preparation: ensuring your raw material is the right size and, most importantly, achieving the precise moisture content needed for compression. With the right equipment and a methodical approach, you can create high-quality, dense fuel for your pellet stove or grill.
Now that you have this detailed guide on how to make wood pellets, you are better prepared to decide if this DIY project is right for you. It is a journey into self-sufficiency that rewards your effort with warmth, savings, and the satisfaction of creating something valuable from scratch.
About
Mike May is a distinguished figure in the world of woodworking and timber design, with a decade of expertise creating innovative and sustainable indoor solutions. His professional focus lies in merging traditional craftsmanship with modern manufacturing techniques, fostering designs that are both practical and environmentally conscious. As the author of Woodimber, Mike delves into the art and science of timber-craft, inspiring artisans and industry professionals alike.
Education
RMIT University (Melbourne, Australia)
-
Associate Degree in Design (Timber): Focus on sustainable design, industry-driven projects, and practical craftsmanship.
-
Gained hands-on experience with traditional and digital manufacturing tools, such as CAD and CNC software.
Nottingham Trent University (United Kingdom)
-
Bachelor’s in Woodworking and Product Design (Honors): Specialized in product design with a focus on blending creativity with production techniques.
-
Participated in industry projects, working with companies like John Lewis and Vitsoe to gain real-world insights.
Publications and Impact
In Woodimber, May shares his insights on timber design processes, materials, and strategies for efficient production. His writing bridges the gap between artisan knowledge and modern industry needs, making it a must-read for both budding designers and seasoned professionals.