

Walking into a room covered in dark, dated wood paneling can feel like stepping into a time capsule from the 1970s. While some homeowners love the retro vibe, many find that dark wood absorbs light and makes a space feel small and oppressive. The thought of updating it often brings up nightmares of endless sanding, thick dust clouds, and hours of back-breaking labor to strip away the old varnish. Fortunately, modern paint technology has made this tedious prep work largely unnecessary. You can achieve a bright, modern look without ever touching a piece of sandpaper to the entire wall.
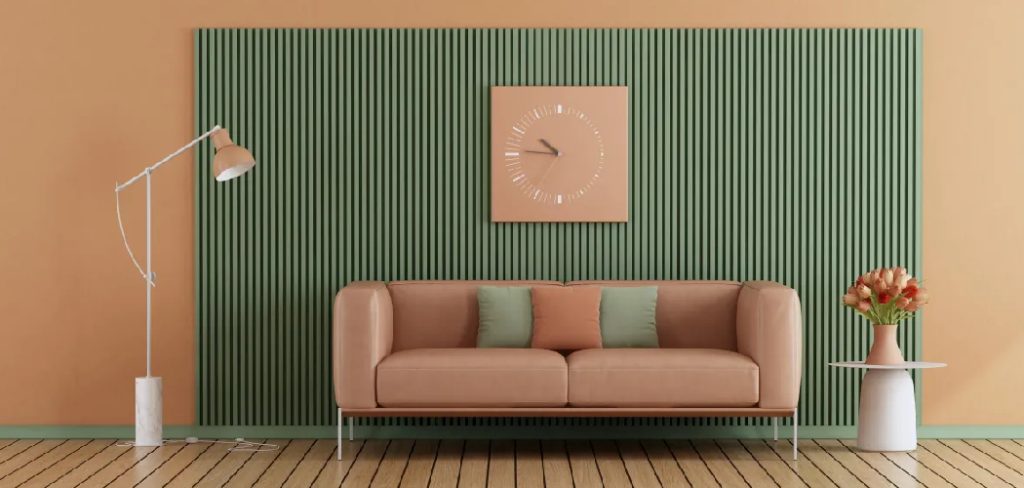
Learning how to paint wood paneling with grooves without sanding is a transformative skill that saves time and preserves your sanity. By using the right cleaning agents and high-quality bonding primers, you can create a surface that paint adheres to perfectly. This approach allows you to update your living room, basement, or den in a single weekend. This guide strips away the complexity, offering a clear, beginner-friendly path to a fresh, contemporary space. Get ready to say goodbye to that gloomy wood and hello to a bright, beautiful new room.
Why Painting Paneling Without Sanding is a Smart Move
Opting to skip the sanding process isn’t just about laziness; it’s a strategic choice for efficiency and cleanliness. Traditional sanding of wood paneling is incredibly messy. The dust gets everywhere—into your HVAC system, onto furniture in other rooms, and deep into carpets. By using chemical deglossers and bonding primers instead, you eliminate this hazardous dust entirely, making the project safer for your lungs and much easier to clean up.
Furthermore, many vintage wood paneling sheets are actually thin veneers or even printed laminates over composite board. Aggressive sanding can easily damage this thin top layer, ruining the texture and creating a surface that looks patchy when painted. The “no-sand” method relies on chemical adhesion rather than mechanical abrasion. High-quality bonding primers are designed specifically to stick to glossy, hard-to-paint surfaces like varnish or laminate. This method preserves the integrity of the paneling while providing a rock-solid base for your new color. It turns a massive renovation headache into a manageable, satisfying DIY project.
Step-by-Step Guide on How to Paint Wood Paneling with Grooves Without Sanding
Step 1: Clean the Walls Thoroughly with TSP
The most critical step in this entire process is cleaning. Over the years, wood paneling accumulates layers of dust, furniture polish, cooking grease, and fingerprints. If you paint over this grime, the paint will eventually peel off. You need a heavy-duty cleaner like Trisodium Phosphate (TSP) or a phosphate-free substitute. Mix the TSP with warm water in a bucket according to the package directions.
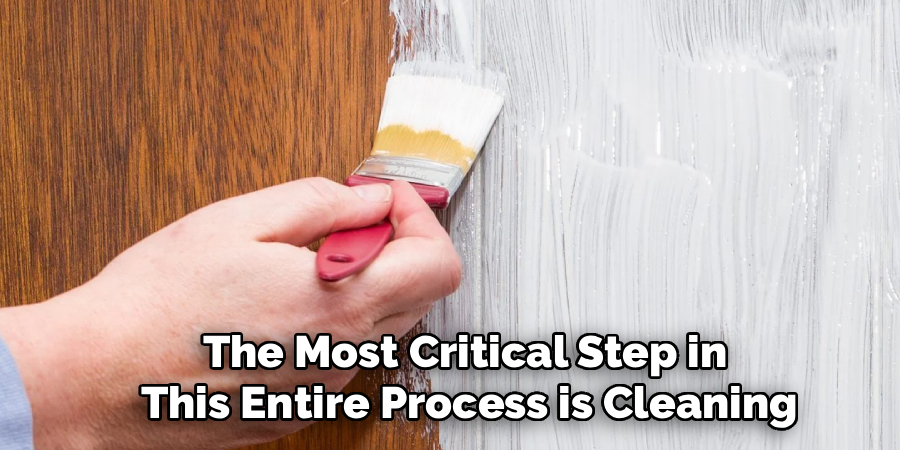
Wear rubber gloves and use a sponge or a scrub brush to wash every inch of the paneling. Pay special attention to the areas near light switches and door frames where oils accumulate. Rinse the walls with clean water and a fresh sponge to remove any chemical residue. Let the walls dry completely before moving on.
Step 2: Protect Your Floors and Trim
Before you open a single can of paint, you must protect the surrounding areas. Paint splatter is inevitable, especially when working with rollers. Lay down canvas drop cloths or heavy-duty plastic sheeting to cover the entire floor area. Secure the edges with painter’s tape to prevent the cloth from sliding around as you work. Next, apply painter’s tape to the ceiling line, baseboards, and any window or door trim you do not intend to paint. Run your finger or a putty knife firmly along the edge of the tape to seal it tight. This prevents paint from bleeding underneath and ensures crisp, professional-looking lines. Taking time here saves you hours of cleanup later.
Step 3: Fill Nail Holes and Damages
Inspect the paneling for any deep scratches, nail holes, or gouges that mar the surface. If you want a smooth finish, these need to be filled. Use a lightweight spackling compound or wood filler and a putty knife to fill these imperfections. Press the filler firmly into the hole and smooth it out so it is flush with the paneling surface. Since you are not sanding the entire wall, you only need to spot-sand these filled areas lightly once they are dry to ensure they blend in. If you plan to keep the rustic look of the paneling, you might choose to leave small imperfections, but filling large holes is essential for a clean final appearance.
Step 4: Apply a Liquid Deglosser
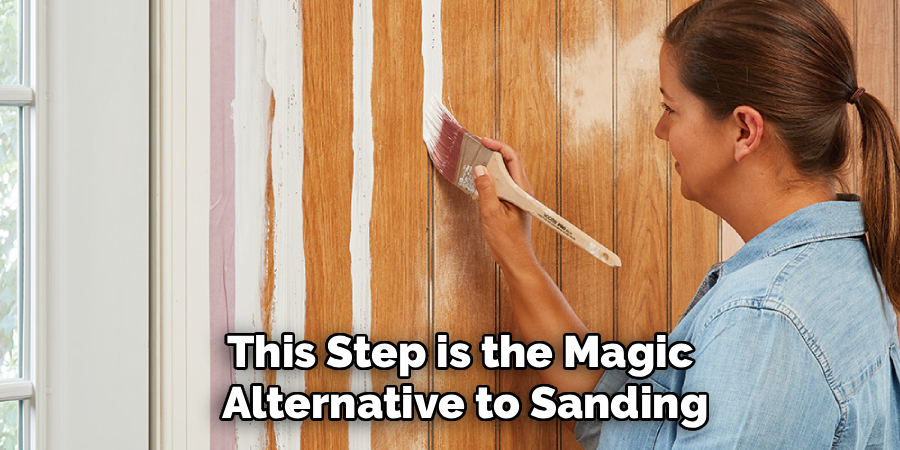
This step is the magic alternative to sanding. A liquid deglosser, sometimes called “liquid sandpaper,” creates a slightly tacky surface that helps the new paint stick. Apply the deglosser to a clean, lint-free cloth and wipe it over the paneling in circular motions. Work in manageable sections so the product does not dry out before you have wiped it properly. This chemical effectively dulls the old glossy finish, breaking the seal of the varnish or polyurethane. It reaches into the grooves and textures far better than sandpaper ever could. Allow the deglosser to dry for the time recommended on the bottle, usually about 10 to 15 minutes. This prepares the surface perfectly for the primer.
Step 5: Prime the Grooves and Edges First
Now you are ready to prime. Choose a high-quality oil-based or shellac-based bonding primer. These are superior for covering dark wood stains and preventing bleed-through. Start by “cutting in” around the edges of the room and, most importantly, inside the vertical grooves of the paneling. Use a 2-inch angled sash brush to paint inside every groove. It is tedious work, but it is necessary because a roller will bridge over the gaps and leave them unpainted or messy. Ensure the primer gets into every nook and cranny of the texture. This detailed brushwork is a vital part of how to paint wood paneling with grooves without sanding effectively.
Step 6: Roll Primer onto the Flat Surfaces
Once the grooves and edges are cut in, switch to a paint roller with a medium nap (about 3/8 inch or 1/2 inch) to tackle the flat surfaces. Pour your primer into a tray and load the roller evenly. Roll the primer onto the paneling using long, smooth strokes. Work in vertical sections, overlapping your wet edges to ensure uniform coverage. Do not worry if the primer looks streaky or if the wood grain shows through slightly; the goal is adhesion and stain blocking, not perfect color coverage yet. Oil-based primers can be thick and sticky, so work steadily. Allow the primer to dry completely, which usually takes longer than latex paint—often 24 hours.
Step 7: Caulk the Gaps and Seams
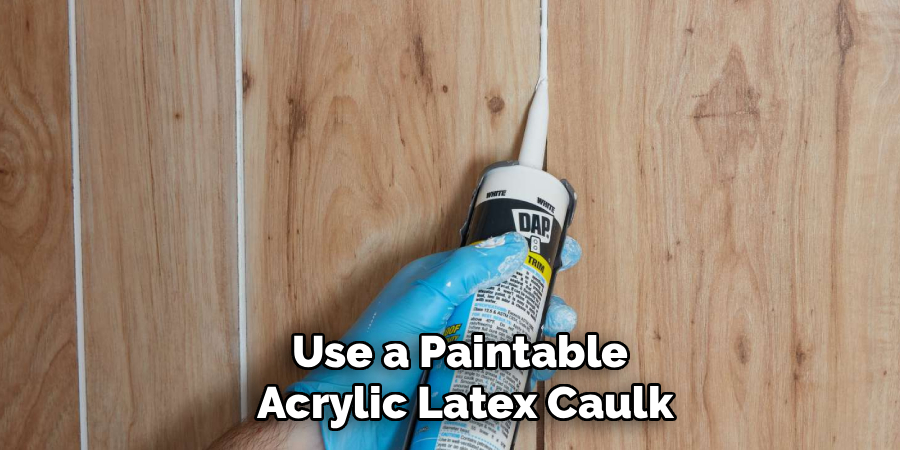
After the primer is dry, you will likely notice gaps or cracks that were hard to see on the dark wood. Now is the perfect time to caulk seams between panels if they are unsightly, or gaps along the trim and baseboards. Use a paintable acrylic latex caulk. Run a thin bead along the gap, then smooth it out with a wet finger or a damp rag. This step gives the project a truly finished, professional look. However, do not caulk the vertical grooves of the paneling unless you want to make the wall look flat like drywall, which is a much more labor-intensive process involving drywall compound. For this guide, we are keeping the groove texture.
Step 8: Apply the First Coat of Paint
With a solid, dry coat of primer and all prep work done, you can finally apply your color. Use a high-quality interior latex paint in your chosen sheen. Satin or eggshell finishes are popular for walls as they are durable and easy to clean without being too shiny. Just like with the primer, start by using a brush to paint the grooves and cut in around the edges. Then, use a roller to cover the flat panels. Apply the paint in a “W” pattern and fill it in to distribute the paint evenly. Avoid applying the paint too thickly, as this can cause drips in the grooves. Two thin coats are always better than one thick coat.
Step 9: Apply the Second Coat for Full Coverage
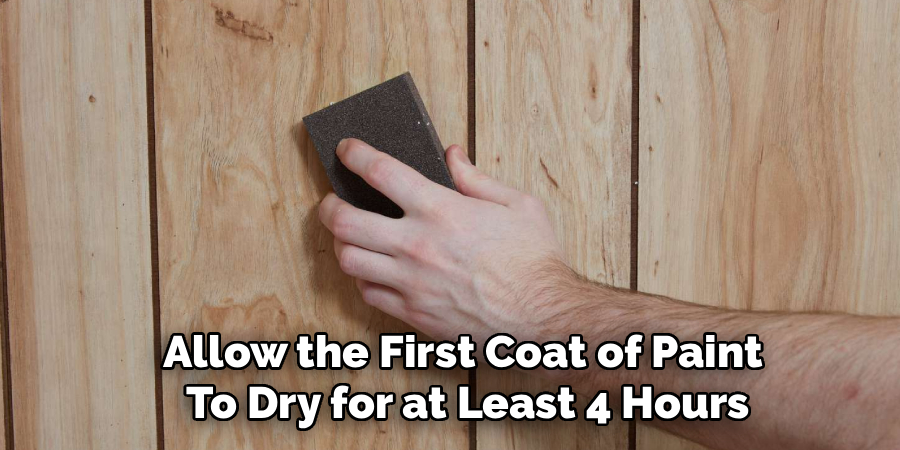
Allow the first coat of paint to dry for at least 4 hours, or as directed by the paint manufacturer. Once it is dry to the touch, inspect the wall for any light spots or bleed-through. Apply the second coat exactly as you did the first: brush the grooves, then roll the flats. This second coat is where the true color depth and richness will appear. It covers any remaining streaks and ensures a uniform finish. Because you used a quality bonding primer, this topcoat will adhere beautifully and prove to be very durable. Remove the painter’s tape carefully while the paint is still slightly tacky to avoid peeling any dry paint off the wall.
Frequently Asked Questions
What Type of Primer Should I Use?
The primer is the most important product in this project.
- Oil-Based Primer: This is the industry standard for covering stained wood. It blocks tannins and stains from bleeding through and sticks to glossy surfaces exceptionally well.
- Shellac-Based Primer: These primers (like BIN) dry very fast and are the ultimate stain blockers, perfect for knotty pine that bleeds sap.
- Avoid: Standard water-based latex primers often fail to block wood stains, leading to yellowing over time.
Can I Fill the Grooves to Make it Look Like Drywall?
Yes, you can, but it adds significant labor.
- The Process: You must fill every groove with drywall joint compound. It usually takes three coats, with sanding in between each coat, to get it perfectly flush.
- The Risk: If the paneling moves or expands with temperature changes, the compound in the grooves can crack.
- Recommendation: Unless you are experienced with drywall finishing, it is often easier to embrace the texture or cover the wall with a new layer of 1/4-inch drywall.
How Do I Know if My Paneling Is Real Wood or Fake?
You can usually tell by looking closely at the grain.
- Real Wood: Has random grain patterns, actual texture variations, and imperfections like knots.
- Faux/Laminate: The grain pattern repeats identically every few feet. It often feels perfectly smooth and plastic-like to the touch.
- Painting Implications: The method described here (cleaning, deglossing, bonding primer) works for both types. In fact, it is even more critical for the slick laminate types.
Why Is My Paint Peeling Off the Paneling?
Peeling paint is almost always a preparation failure.
- Dirty Surface: Painting over wax, grease, or dust prevents adhesion.
- No Deglosser: Painting directly over a glossy finish gives the paint nothing to “grip.”
- Wrong Primer: Using a cheap latex primer instead of a bonding primer allows the paint to slide off.
- Solution: You will likely need to scrape the peeling areas, sand them, and re-prime with the correct bonding primer.
Do I Need to Sand if I Use Liquid Deglosser?
Generally, no. That is the purpose of the product.
- How it Works: Liquid deglosser chemically dulls the finish, acting as “liquid sandpaper.”
- Exceptions: If there are loose, flaking chips of old varnish, those must be physically sanded or scraped off. The liquid cannot fix loose material. Also, if you filled holes with wood putty, those specific spots need a quick sand to be flush.
Conclusion
Transforming a room by painting over dark wood paneling is one of the most rewarding home improvement projects you can undertake. It instantly modernizes the space, making it feel larger, cleaner, and more inviting. By utilizing chemical deglossers and bonding primers, you bypass the dusty, exhausting misery of sanding while still ensuring a durable, professional finish. The key lies in not rushing the preparation—thorough cleaning and proper priming are the secrets to success.
Now that you possess the knowledge of how to paint wood paneling with grooves without sanding, that dated den or basement doesn’t have to stay that way. You have the power to brighten your home with just a few cans of paint and a weekend of effort. So grab your supplies, put on some music, and get ready to see your home in a whole new light. The difference will be night and day.

About
Mike May is a distinguished figure in the world of woodworking and timber design, with a decade of expertise creating innovative and sustainable indoor solutions. His professional focus lies in merging traditional craftsmanship with modern manufacturing techniques, fostering designs that are both practical and environmentally conscious. As the author of Woodimber, Mike delves into the art and science of timber-craft, inspiring artisans and industry professionals alike.
Education
RMIT University (Melbourne, Australia)
-
Associate Degree in Design (Timber): Focus on sustainable design, industry-driven projects, and practical craftsmanship.
-
Gained hands-on experience with traditional and digital manufacturing tools, such as CAD and CNC software.
Nottingham Trent University (United Kingdom)
-
Bachelor’s in Woodworking and Product Design (Honors): Specialized in product design with a focus on blending creativity with production techniques.
-
Participated in industry projects, working with companies like John Lewis and Vitsoe to gain real-world insights.
Publications and Impact
In Woodimber, May shares his insights on timber design processes, materials, and strategies for efficient production. His writing bridges the gap between artisan knowledge and modern industry needs, making it a must-read for both budding designers and seasoned professionals.