

A freshly updated exterior border instantly boosts curb appeal and protects your property from the elements. If you have been searching for instructions on how to paint a wooden fence, you have arrived at the perfect resource.
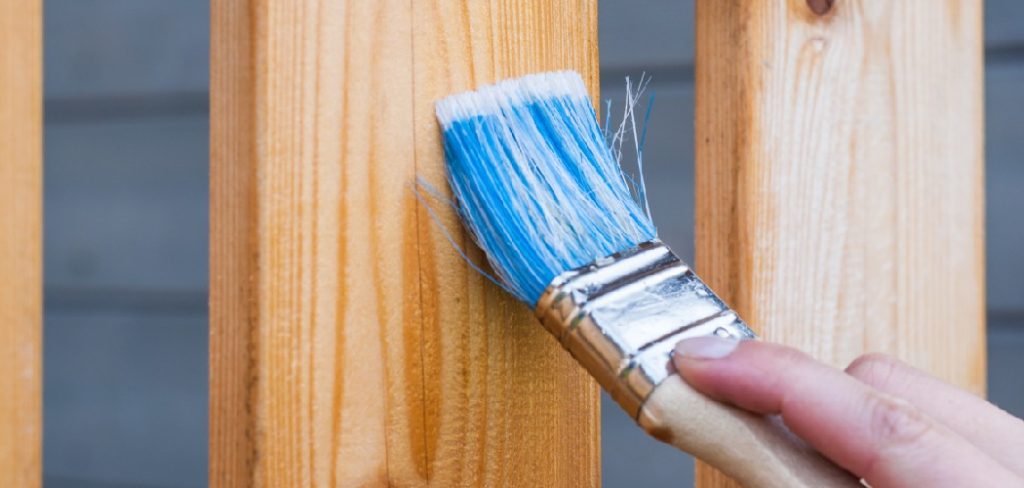
Many homeowners put off this task because they believe it requires professional skills or expensive equipment. The truth is that anyone can achieve beautiful, long-lasting results with a little patience and the right approach. This guide is designed entirely for beginners, breaking the process down into manageable chunks. You do not need a background in carpentry or professional finishing to succeed. By following clear instructions, you will learn to protect your exterior structures while adding a vibrant touch to your outdoor living space. We will cover everything from initial preparation to the final protective coat, ensuring your project turns out flawlessly.
Why Updating Your Timber Fence Matters
Your exterior perimeter does much more than mark your property line. It provides privacy, keeps pets safe, and serves as a backdrop for your garden or lawn. However, exposure to harsh sunlight, heavy rain, and fluctuating temperatures takes a serious toll on raw materials over time. Applying a fresh coat of color acts as a vital shield against these destructive forces.
One major benefit of this project is moisture protection. When water seeps into raw boards, it causes rot, warping, and structural weakness. A proper coating seals the pores, preventing water from penetrating the surface. This simple maintenance step can easily extend the lifespan of your property border by several years, saving you a significant amount of money on early replacement costs.
Step-by-Step Guide to How to Paint a Wooden Fence
Step 1: Gather All Necessary Supplies First
Before you start any physical labor, you must gather all the right tools to ensure a smooth workflow. You will need a stiff bristle brush, heavy-duty sandpaper, and a high-quality exterior primer. You also need exterior-grade color finish, drop cloths, painter’s tape, and your choice of application tools.
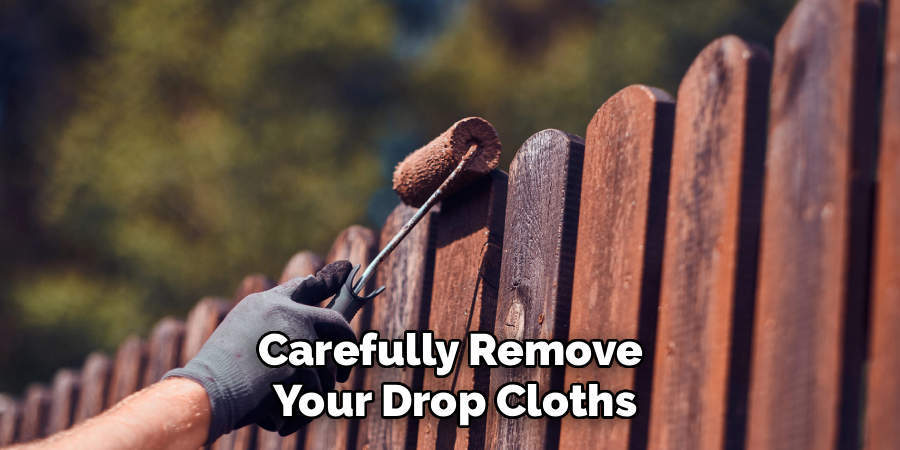
Most beginners prefer using a combination of a medium-nap roller for the flat boards and a high-quality angled brush for the edges and tight corners. Having everything within reach prevents frustrating pauses during your workflow. Make sure to wear old clothes and comfortable shoes, as this project can get quite messy. Taking the time to prepare your tool station sets a positive tone for the entire weekend project.
Step 2: Protect the Surrounding Environment
Your outdoor space likely features grass, bushes, or decorative stones right alongside the work area. You must protect these elements from accidental drips and splatters before opening any cans. Lay down canvas drop cloths or heavy plastic sheeting along the base of the boards.
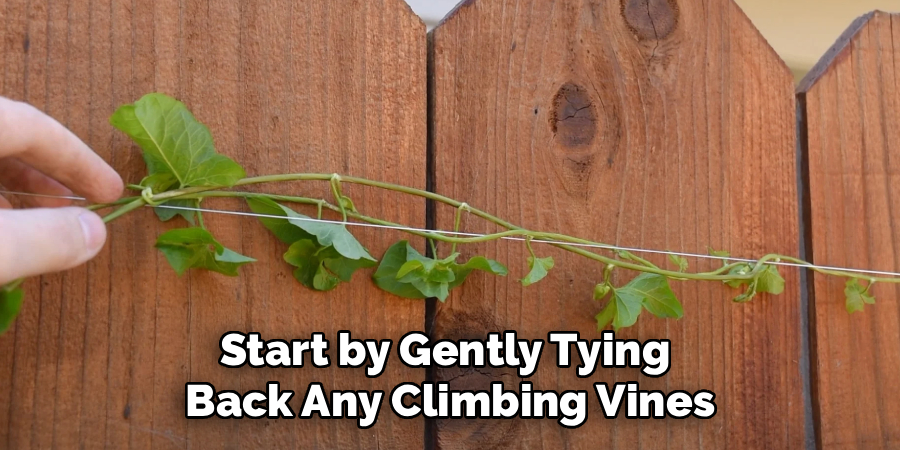
Use painter’s tape to secure the drop cloths in place, ensuring the wind does not blow them away while you work. If you have climbing vines or plants resting against the boards, gently tie them back using soft twine and garden stakes. Covering nearby concrete walkways or patio pavers is equally important, as exterior coatings are notoriously difficult to remove from porous stones. A clean workspace ensures a professional-looking final result.
Step 3: Preparing the Surface
You cannot apply a new coating directly over dirt, algae, or loose debris and expect it to last. Surface preparation is the most critical phase of this entire project. Start by using a stiff bristle brush to scrub away cobwebs, dry mud, and loose dirt from every single board.
For heavily soiled areas or patches of green algae, use a mixture of warm water and mild detergent. Scrub the boards vigorously and rinse them thoroughly with a garden hose. If you own a pressure washer, you can use it on a low setting to speed up the cleaning process. However, you must allow the boards to dry completely for at least two full days before moving forward.
Step 4: Sand Down Rough Patches and Splinters
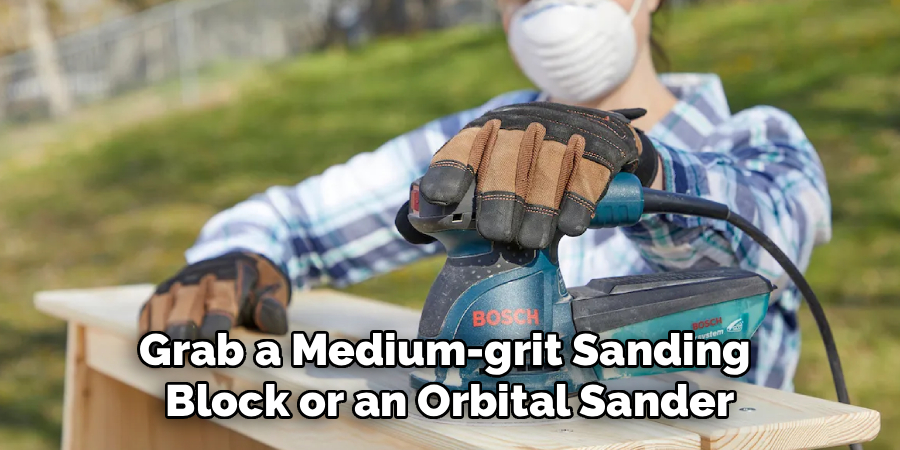
Once the boards are completely dry, you must smooth out the surface to guarantee even adhesion. Grab a medium-grit sandpaper block and lightly sand the entire surface area. You do not need to sand it down to the bare grain unless the previous coating is actively flaking off in large chunks.
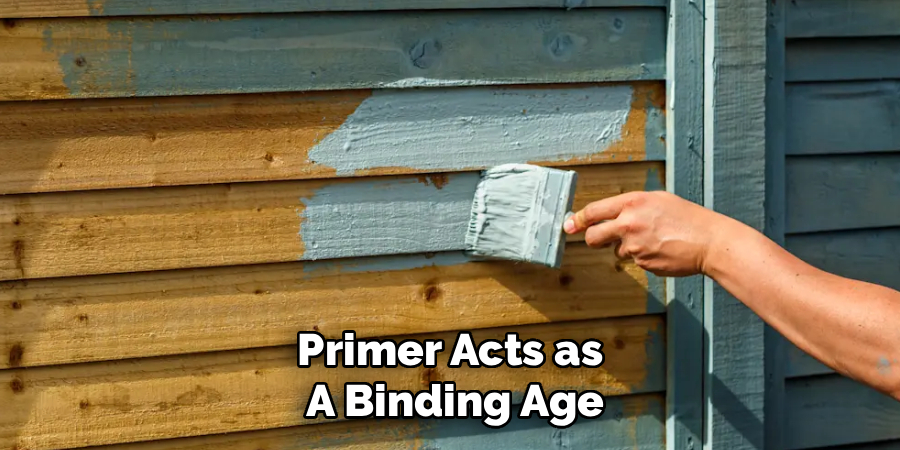
Focus your attention on rough patches, sharp splinters, and areas where old layers are peeling. Sanding opens up the pores of the material, which helps the new layers bond securely. After you finish sanding, use a dry brush or a shop vacuum to remove all the residual dust. Even a thin layer of dust can prevent the primer from sticking properly.
Step 5: Apply a High-Quality Exterior Primer
Applying primer is a step many beginners try to skip, but it is absolutely essential for a durable finish. Primer seals the raw material, prevents natural tannins from bleeding through the final color, and provides a sticky surface for the topcoat. Open your can of exterior primer and stir it thoroughly with a wooden stick.
Use your angled brush to cut in around the hinges, latches, and tight corners where a roller cannot reach. Once the edges are cut in, switch to your roller to apply a smooth, even layer over the broad flat sections. Work in small sections, blending the brush strokes with the roller to prevent visible lines. Allow the primer to dry completely according to the manufacturer’s instructions.
Step 6: Fence with Even Coats
Now comes the most rewarding part of the process. Open your exterior topcoat, stir it well, and pour a manageable amount into a clean tray. Just like you did with the primer, start by using your angled brush to carefully edge around the hardware and between the individual boards.
Switch back to your roller and apply the topcoat using long, even strokes. Work from the top of the boards down to the bottom to easily catch and smooth out any accidental drips. Apply the first coat somewhat thinly, as thick layers take longer to dry and are prone to bubbling. A thin, consistent application looks much better and provides a stronger protective shell against the elements.
Step 7: Apply a Second Coat and Let It Cure
One coat is rarely enough to provide full coverage and maximum weather protection. Wait for the first coat to dry entirely, which usually takes between four to six hours depending on the humidity and temperature in your area. Once the surface is dry to the touch, apply a second coat using the exact same technique.
The second coat will deepen the color and cover any patchy spots you missed during the first round. After applying the final layer, carefully remove all the painter’s tape and drop cloths before the surface completely hardens. Let the structure cure untouched for at least forty-eight hours before allowing pets or children to play near it.
Frequently Asked Questions
Can I Apply Color Over Old Peeling Layers?
You should never apply new layers directly over peeling or flaking areas. If the old base is failing, the new topcoat will not have a stable foundation to grip. The fresh layers will simply peel off right alongside the old ones within a few months. You must use a scraper and medium-grit sandpaper to remove all loose flakes until you reach a stable, smooth surface before applying any primer.
What Is The Best Weather For Exterior Projects?
The ideal weather for exterior finishing projects is dry and mild. You should aim for days when the temperature rests comfortably between fifty and eighty degrees Fahrenheit. Avoid working in direct, scorching sunlight, as this causes the liquid to dry too quickly and leads to uneven brush marks. You must also check the forecast to ensure there is absolutely no rain expected for at least two days following your project.
Do I Really Need To Use A Primer First?
Using a primer is highly recommended for almost all exterior board projects. Primer acts as a dedicated bonding agent that seals porous surfaces and creates a uniform base. It stops natural wood oils and tannins from bleeding through and ruining your final color. While some modern products advertise a two-in-one formula, using a separate, high-quality primer always yields a more durable and professional-looking result.
Should I Use A Brush, Roller, Or Sprayer?
The best tool depends entirely on your comfort level and the size of your yard. A high-volume, low-pressure sprayer is incredibly fast but requires practice to avoid messy overspray. Rollers are fantastic for covering large flat areas quickly and evenly. Brushes are strictly necessary for cutting in tight corners, narrow gaps, and around metal hardware. Most beginners achieve the best results by combining a medium-nap roller with an angled brush.
How Long Will The Fresh Finish Last?
A properly applied solid exterior finish typically lasts between five and seven years before requiring major touch-ups. The exact lifespan depends heavily on your local climate, the quality of the products used, and how well you prepared the surface. Areas exposed to constant, direct sunlight or heavy rain will naturally degrade faster than shaded sections. Performing a gentle yearly cleaning will significantly extend the life and vibrancy of your hard work.
Conclusion
Taking the time to refresh your outdoor boundaries is a rewarding weekend project that instantly elevates the look of your entire property. By properly preparing the surface, using a high-quality primer, and applying even layers, you guarantee a beautiful result that withstands harsh weather for years to come. Do not rush the preparation phase, as a clean and smooth surface is the secret to a professional-grade finish.
Now that you know exactly how to paint a wooden fence, it is time to grab your supplies and transform your yard. Pick out a color that complements your home, wait for a weekend with perfect mild weather, and enjoy the satisfaction of completing this valuable home improvement task yourself. Your property will look fantastic, and you will save money while learning a great new skill.

About
Mike May is a distinguished figure in the world of woodworking and timber design, with a decade of expertise creating innovative and sustainable indoor solutions. His professional focus lies in merging traditional craftsmanship with modern manufacturing techniques, fostering designs that are both practical and environmentally conscious. As the author of Woodimber, Mike delves into the art and science of timber-craft, inspiring artisans and industry professionals alike.
Education
RMIT University (Melbourne, Australia)
-
Associate Degree in Design (Timber): Focus on sustainable design, industry-driven projects, and practical craftsmanship.
-
Gained hands-on experience with traditional and digital manufacturing tools, such as CAD and CNC software.
Nottingham Trent University (United Kingdom)
-
Bachelor’s in Woodworking and Product Design (Honors): Specialized in product design with a focus on blending creativity with production techniques.
-
Participated in industry projects, working with companies like John Lewis and Vitsoe to gain real-world insights.
Publications and Impact
In Woodimber, May shares his insights on timber design processes, materials, and strategies for efficient production. His writing bridges the gap between artisan knowledge and modern industry needs, making it a must-read for both budding designers and seasoned professionals.