

Building a custom wooden headboard transforms an ordinary bedroom into a personalized sanctuary. Many people struggle to find store-bought furniture that fits their exact aesthetic and budget. This comprehensive guide on how to make a wooden headboard walks you through the entire process of creating a beautiful, durable wooden headboard from scratch.
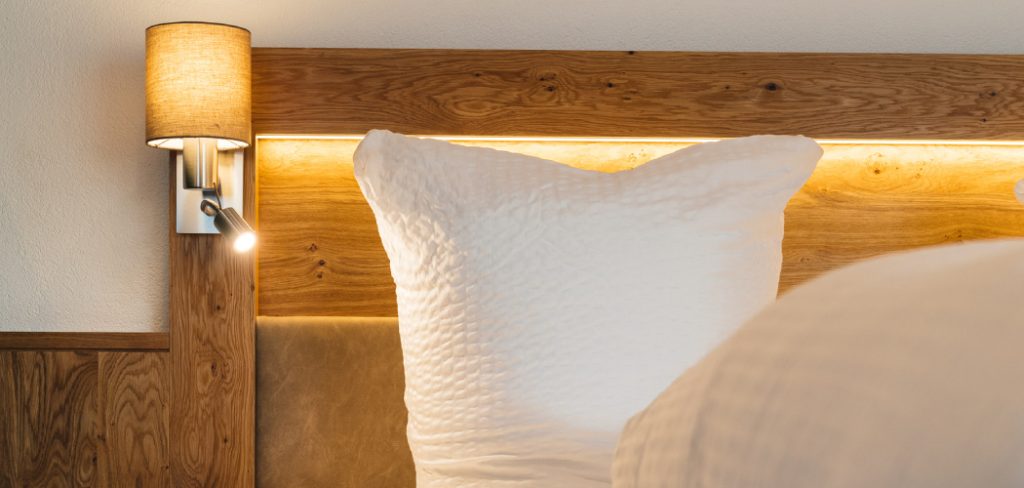
You will learn how to measure your space accurately, select the best lumber, and assemble a sturdy frame with professional-level precision. We also cover crucial finishing techniques and outline common pitfalls to ensure your woodworking project turns out perfectly.
Grab your tools, clear your workspace, and prepare to elevate your sleeping space with a highly rewarding weekend project.
What Will You Need?
Materials:
- Structural Supports: 2×4 pine boards for the main legs.
- Frame and Panels: 1×4 and 1×6 pine boards for the face and trim.
- Fasteners: 1 ¼-inch and 2 ½-inch pocket hole screws.
- Adhesive: High-quality wood glue.
- Finishing Supplies: Wood filler (stainable if you plan to use stain).
- Abrasives: Sandpaper in various grits (80, 120, and 220).
- Coatings: Pre-stain wood conditioner, interior wood stain or paint, and a clear polyurethane topcoat.
Tools:
- Saws: A miter saw or circular saw for making straight, accurate cuts.
- Drilling: A standard power drill.
- Joinery: A pocket hole jig (such as a Kreg Jig) for hiding screws.
- Sanding: A random orbital sander to save time and achieve a smooth finish.
- Measuring: A reliable tape measure and a speed square.
- Alignment: A spirit level to ensure straight construction.
- Application: Paintbrushes, foam brushes, or clean lint-free rags for finishing.
10 Easy Steps on How to Make a Wooden Headboard
Step 1: Measuring Your Bed and Planning
Accurate measurements form the foundation of any successful woodworking project. Start by measuring the exact width of your current mattress and bed frame. A standard Queen mattress measures 60 inches wide, but you should add an extra inch or two on each side so the headboard visually frames the bed perfectly.
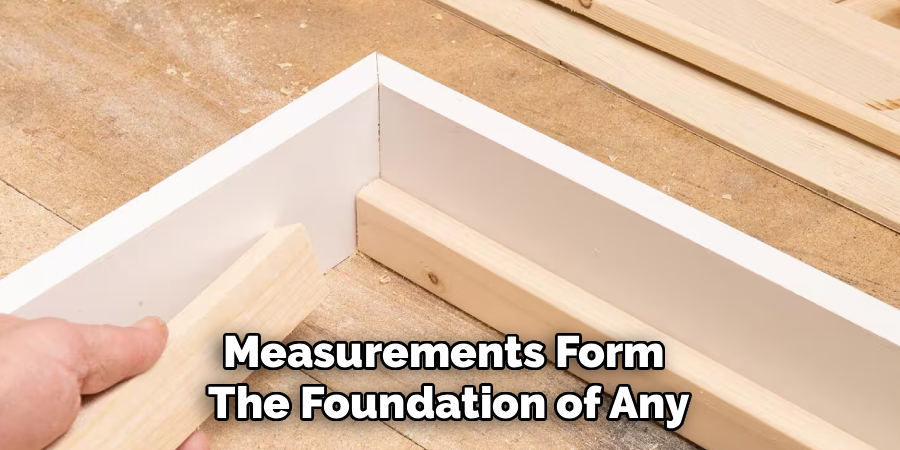
Next, determine your ideal headboard height. Measure from the floor to the top of your mattress to ensure the decorative part of the headboard starts exactly where the mattress ends. You do not want a visible gap showing the wall behind your pillows. Consider the height of your ceilings and any existing wall art when deciding how tall the final piece should be. Sketch your design on a piece of paper, noting all dimensions, to create a reliable master plan.
Step 2: Selecting the Right Wood
Choosing the right lumber drastically impacts both the final appearance and the longevity of your headboard. Standard white pine offers an excellent balance of affordability and ease of use, making it the top choice for most DIY beginners. If you want a more rustic look, knotty cedar provides beautiful texture and a pleasant natural aroma.
For a modern, high-end finish, consider hardwoods like oak, walnut, or maple, though these will significantly increase your materials budget. When shopping at the lumberyard or hardware store, inspect each board carefully. Sight down the length of the wood to check for severe bowing, twisting, or cupping. Avoid boards with large, loose knots or significant cracks. Taking the time to select straight, dry lumber makes the assembly process infinitely smoother.
Step 3: Cutting the Wood to Size
Once you have your materials and your master plan, it is time to cut the boards to their final lengths. Create a precise cut list based on your sketches. Set up your miter saw or circular saw in a well-ventilated area and put on your safety glasses and hearing protection.
Measure twice and cut once to avoid wasting expensive lumber. Remember to account for the width of the saw blade (the kerf) when making consecutive cuts on a single board. Cut the heavy 2×4 legs first, followed by the horizontal framing pieces, and finally the interior panel boards. If you do not own a saw, many major home improvement stores will cut the wood to your specified lengths for a small fee, provided you bring a detailed cut list.
Step 4: Sanding the Wood for a Smooth Finish
Sanding raw lumber before assembly proves much easier than trying to sand tight inside corners after the frame is built. Use your random orbital sander to smooth every surface, starting with a coarse 80-grit sandpaper to remove mill marks, stamps, and rough patches. Progressively move to a medium 120-grit paper to smooth out the scratches left by the previous grit.
Always keep the sander moving to avoid digging gouges into the wood, and always sand in the direction of the wood grain. Pay special attention to the edges and corners, slightly rounding them over so they are not sharp to the touch. Once you finish the initial sanding, wipe all the boards down with a tack cloth or a lightly damp rag to remove the fine sawdust.
Step 5: Assembling the Headboard Frame
The frame provides the structural integrity necessary to keep your headboard standing strong. Use your pocket hole jig to drill pocket holes into the ends of all your horizontal framing support pieces. Adjust the jig settings to match the thickness of your wood (typically ¾-inch for 1x boards and 1 ½-inch for 2x boards). Apply a thin, even bead of wood glue to the ends of the horizontal supports before securing them to the vertical legs.
Drive the appropriate pocket hole screws into the pre-drilled holes using your power drill. The wood glue actually provides the majority of the holding strength, while the screws act as internal clamps holding the joint tight while the glue dries. Use a speed square during assembly to guarantee every corner meets at a perfect 90-degree angle.

Step 6: Attaching the Wood Panels
With the outer skeleton complete, you can begin attaching the interior face panels that make up the main visual body of the headboard. Lay your assembled frame flat on the ground. Position your panel boards across the frame according to your design—you can lay them horizontally for a shiplap look or vertically for a traditional wainscoting style.
Apply wood glue to the back of each panel where it contacts the frame. Secure the panels from the back using shorter screws or brad nails, ensuring fasteners do not poke through to the front. If you want a slight, uniform gap between horizontal panels for a rustic look, place coins or tile spacers between each board as you attach them.
Step 7: Adding Decorative Trim and Details
Adding trim elevates a basic wooden panel into a professional-looking piece of furniture. Cut a 1×6 board slightly longer than the width of your headboard to serve as the top cap. This creates a finished upper ledge that gives the headboard a substantial, heavy look. Center the top cap so it overhangs equally on both sides and the front.
Secure it using wood glue and finish nails driven down into the frame. You can also add thin 1×2 vertical trim pieces along the side edges to cover the exposed end grain of your panel boards. Take your time measuring and cutting these trim pieces, as they frame the entire project and draw the eye directly to the finished edges.
Step 8: Applying Wood Filler and Final Sanding
Even with precise cuts, minor gaps, nail holes, or small tear-outs will likely appear on the final piece. Use a putty knife to press wood filler into any visible holes, cracks, or slightly open joints. If you plan to stain the headboard, ensure you purchase a wood filler explicitly labeled as “stainable.” Allow the wood filler to dry completely according to the manufacturer’s instructions.
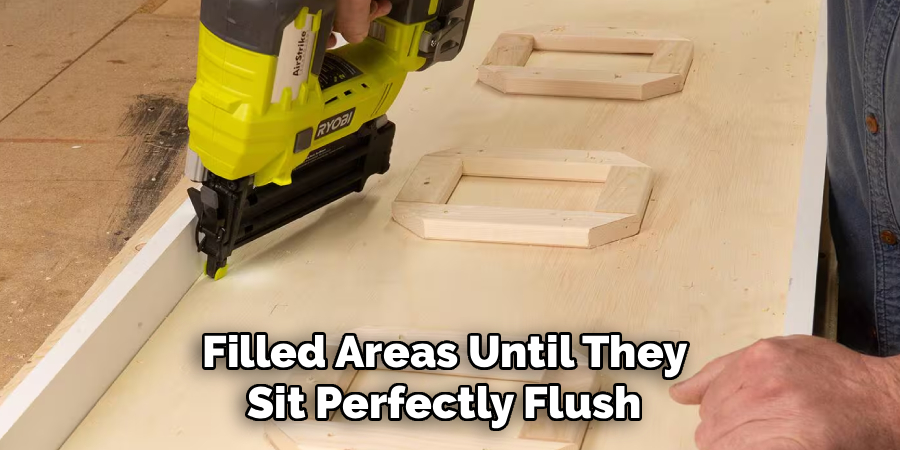
Once dry, take a piece of fine 220-grit sandpaper and hand-sand the filled areas until they sit perfectly flush with the surrounding wood. Do a final pass over the entire headboard with the 220-grit paper to prepare the surface for finishing. Wipe away all residual dust thoroughly, as any leftover debris will ruin the final topcoat.
Step 9: Staining or Painting the Wood
Applying the finish brings your headboard to life and protects the wood for years to come. If you choose to stain pine or other softwoods, always apply a pre-stain wood conditioner first. This prevents the wood from absorbing the stain unevenly and creating a blotchy appearance. After the conditioner dries, apply your wood stain using a clean rag or foam brush, wiping away the excess after a few minutes. Allow the stain to dry completely.
Next, apply two to three coats of a clear polyurethane finish to seal and protect the wood. Lightly hand-sand with 220-grit paper between polyurethane coats to ensure a glass-smooth final finish. If painting, apply a high-quality primer first, followed by two coats of durable interior latex paint.
Step 10: Mounting the Headboard to the Wall or Bed
The final step involves safely securing your completed headboard in your bedroom. You have two primary mounting options: attaching it directly to a metal bed frame or mounting it flat against the wall. To attach it to a bed frame, measure the distance between the mounting brackets on your frame, drill corresponding holes through the bottom of the wooden headboard legs, and secure them together using thick carriage bolts, washers, and nuts.
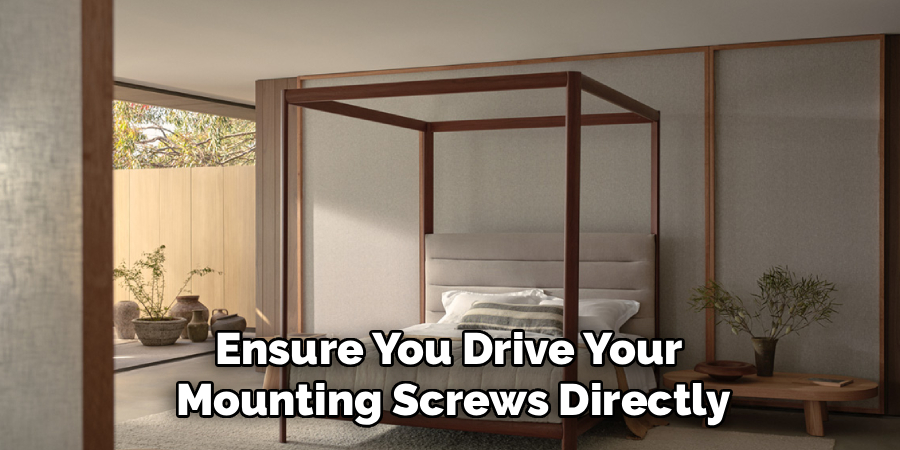
For a more secure, flush mount, use a heavy-duty metal French cleat system to hang the headboard directly on the wall. If wall-mounting, use a stud finder to ensure you drive your mounting screws directly into the wooden wall studs, as the headboard will be far too heavy for standard drywall anchors.
Conclusion
How to make a wooden headboard serves as an outstanding introduction to the world of do-it-yourself furniture making.
By following these steps carefully, you can create a stunning focal point for your bedroom that fits your exact stylistic preferences and dimensions. The process requires patience, precise measurements, and a willingness to learn, but the final result easily outshines expensive, mass-produced store options. You now possess the knowledge to transform raw lumber into a beautiful, functional piece of home decor.
Gather your materials, prepare your workspace, and start building the bedroom of your dreams today.

About
Mike May is a distinguished figure in the world of woodworking and timber design, with a decade of expertise creating innovative and sustainable indoor solutions. His professional focus lies in merging traditional craftsmanship with modern manufacturing techniques, fostering designs that are both practical and environmentally conscious. As the author of Woodimber, Mike delves into the art and science of timber-craft, inspiring artisans and industry professionals alike.
Education
RMIT University (Melbourne, Australia)
-
Associate Degree in Design (Timber): Focus on sustainable design, industry-driven projects, and practical craftsmanship.
-
Gained hands-on experience with traditional and digital manufacturing tools, such as CAD and CNC software.
Nottingham Trent University (United Kingdom)
-
Bachelor’s in Woodworking and Product Design (Honors): Specialized in product design with a focus on blending creativity with production techniques.
-
Participated in industry projects, working with companies like John Lewis and Vitsoe to gain real-world insights.
Publications and Impact
In Woodimber, May shares his insights on timber design processes, materials, and strategies for efficient production. His writing bridges the gap between artisan knowledge and modern industry needs, making it a must-read for both budding designers and seasoned professionals.