 (1)")

Building your own furniture is a rewarding experience that combines creativity, practicality, and a bit of handiwork.
A wooden bench made from 2x4s is an excellent starting point for any aspiring DIY enthusiast. This type of project is not only budget-friendly but also results in a sturdy, functional piece that you can use in your garden, on your patio, or even indoors.
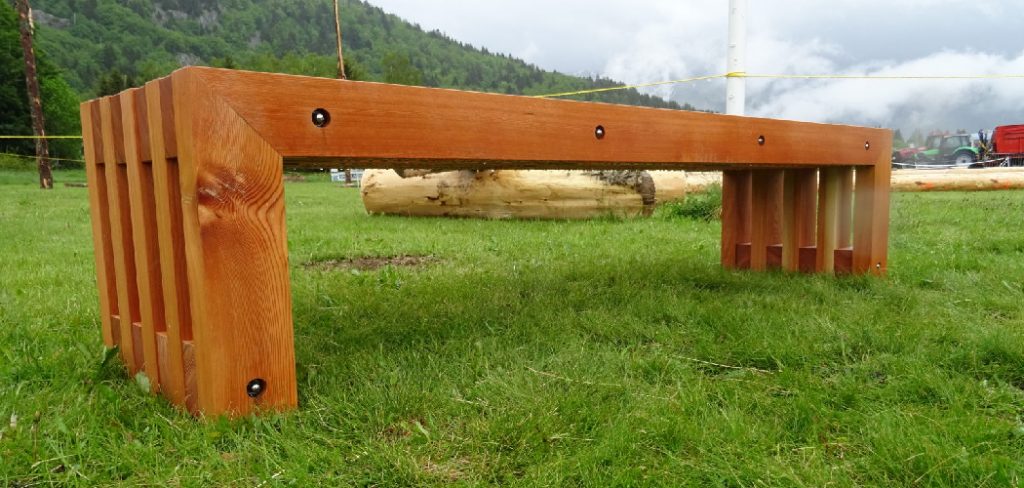
This guide on how to make a wooden bench out of 2×4 will walk you through everything you need to know, from gathering materials to applying the final touches. We’ll break down the process into simple, manageable steps, ensuring you have the confidence to create a beautiful bench you can be proud of.
Tools and Materials
Before you begin, it’s essential to gather all the necessary tools and materials. Having everything ready will make the building process smoother and more enjoyable.
Materials:
- (10) 8-foot long 2×4 lumber boards (choose straight boards with minimal knots)
- (1) box of 2 ½-inch exterior wood screws
- (1) box of 4-inch exterior wood screws (or structural screws)
- Wood glue (exterior grade)
- Sandpaper (120-grit and 220-grit)
- Wood filler or putty
- Your choice of exterior paint, stain, or sealer
Tools:
- Tape measure
- Pencil
- Miter saw or circular saw
- Power drill with Phillips head bit
- Kreg Jig (pocket-hole jig) or a similar system (optional but highly recommended for stronger joints)
- Clamps (at least two, 4-inch or larger)
- Speed square or combination square
- Level
- Safety glasses
- Hearing protection
- Sander (orbital or belt sander recommended)
- Paintbrushes or rags for finishing
10 Easy Steps on How to Make a Wooden Bench Out of 2×4
Step 1: Cut the Frame Pieces
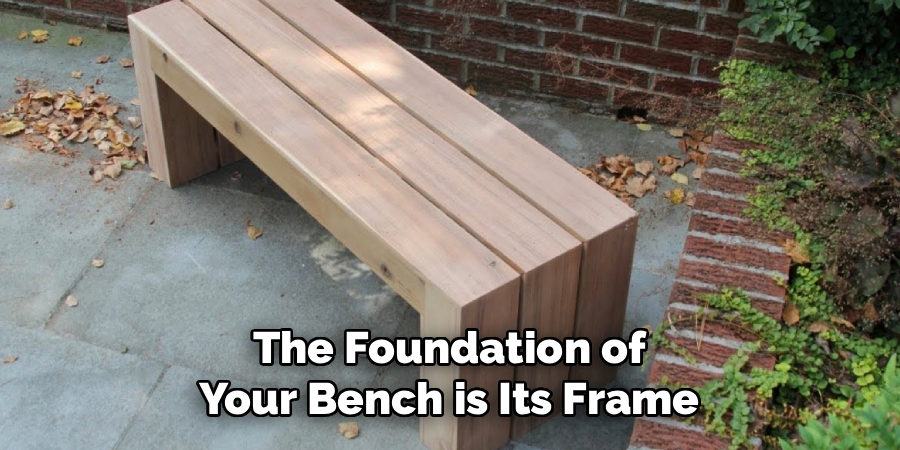
The foundation of your bench is its frame, which consists of the legs and the support aprons. Precision here is key to ensuring your bench is stable and level. Using your miter saw or circular saw, make the following cuts from your 2×4 lumber. It’s a good practice to measure and cut one piece, then use it as a template for identical pieces to ensure consistency.
- Legs: Cut four (4) pieces at 16 ½ inches long. These will form the vertical supports for the bench.
- Long Aprons: Cut two (2) pieces at 45 inches long. These will connect the two leg sets and define the length of your bench.
- Short Aprons: Cut two (2) pieces at 11 ½ inches long. These will connect the front and back legs on each side, defining the depth.
After cutting, it’s wise to lightly sand the cut ends to remove any rough splinters. This makes handling the pieces safer and ensures a tighter fit during assembly. A quick pass with 120-grit sandpaper is all you need at this stage. Labeling each group of cuts with a pencil (e.g., “Legs,” “Long Aprons”) can also help keep things organized as you move forward.
Step 2: Cut the Seat and Backrest Slats
The seat and backrest are what make the bench functional and comfortable. These slats will be attached to the frame you build in the next steps. Using your saw, cut the following pieces from your 2×4 lumber.
- Seat Slats: Cut five (5) pieces at 48 inches long. These will form the seating surface.
- Backrest Support Slats: Cut two (2) pieces at 24 inches long with a 15-degree angle on one end. These angled pieces will attach to the back of the bench frame and hold the backrest slats.
- Backrest Slats: Cut two (2) pieces at 48 inches long. These will form the backrest.
For the angled cuts on the backrest supports, set your miter saw to 15 degrees. If using a circular saw, use a speed square or protractor to mark the angle accurately before cutting. These angled supports are crucial for creating a comfortable, slightly reclined backrest.
Step 3: Assemble the Leg Sections
Now you will build the two side assemblies, each consisting of two legs and one short apron. This forms the “U” shape that makes up the sides of your bench. Lay two of the 16 ½-inch leg pieces on a flat work surface. Place one of the 11 ½-inch short aprons between them at the top, ensuring the ends are flush with the outer edges of the legs. The apron should sit on its 1 ½-inch edge, making the top surface of the bench frame.
For a professional and incredibly strong joint, using a pocket-hole jig is the best method. Drill two pocket holes on each end of the short apron. Apply a thin layer of exterior wood glue to the ends of the apron before positioning it. Use a clamp to hold the pieces tightly together, ensuring the top surfaces are perfectly flush. Drive 2 ½-inch pocket-hole screws to secure the apron to the legs.
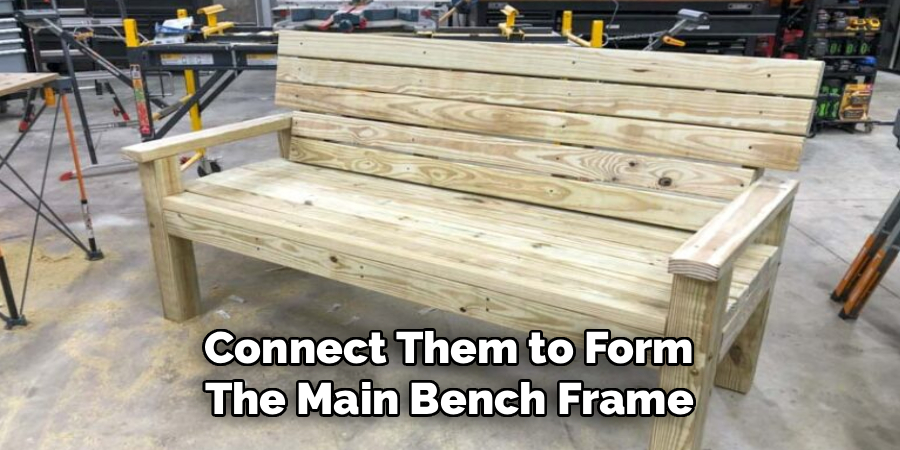
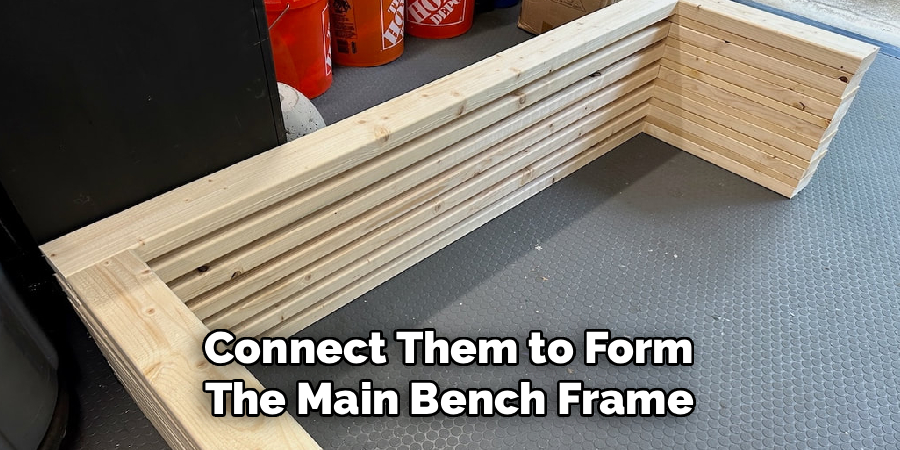
Step 4: Connect the Leg Assemblies
With your two side assemblies built, it’s time to connect them to form the main bench frame. Stand the two leg assemblies upright, about 45 inches apart. You may need a helper for this step, or you can use clamps and supports to hold them in place. Take one of the 45-inch-long aprons and place it between the front two legs, flush with the top. Take the second 45-inch apron and place it between the back two legs, also flush with the top.
Again, the pocket-hole method is superior. If you used it in the previous step, you should have already drilled pocket holes on the ends of your long aprons. Apply wood glue to the ends, clamp the apron firmly in place so it’s flush with the top of the legs, and drive 2 ½-inch screws. Ensure the frame is square by measuring the diagonals; they should be equal. If not, gently nudge the frame until they are before the glue sets.
If you are not using pocket holes, you will drive 4-inch screws through the front of the legs into the ends of the aprons. Pre-drill to avoid splitting. Secure both long aprons to create a rectangular box frame. Your bench structure is now taking shape.
Step 5: Add the Center Support
A bench of this length needs a center support to prevent the seat slats from sagging over time. This support will run down the middle of the frame, parallel to the long aprons. First, cut one (1) 2×4 piece to 11 ½ inches long. This will be your center support piece.
Next, you need to attach it in the exact middle of the frame. Measure and mark the center point on both of the 45-inch-long aprons (at 22 ½ inches). Now, drill two pocket holes on each end of your 11 ½-inch center support piece. Apply wood glue to the ends.
Position the support piece between the two long aprons, aligning it with your center marks. Make sure its top edge is perfectly flush with the top edges of the aprons. Use clamps to hold it securely in place. Drive 2 ½-inch pocket-hole screws through the support piece and into the long aprons.
Step 6: Attach the Seat Slats
Your bench frame is now complete and ready for the seat. Take your five 48-inch seat slats. The bench frame is 45 inches long, so the seat slats will overhang the frame by 1 ½ inches on each side, which creates a nice visual detail.
Start by placing the front and back seat slats. Position the front slat so its front edge overhangs the front apron by about ¾ of an inch. This creates a more comfortable seating edge. The slat should be flush with the outside edge of the legs. Attach it by driving two 2 ½-inch screws through the slat and into the short aprons at each end, and two more into the center support. Pre-drilling helps prevent splitting.
Next, place the back slat. This one should be flush with the back of the frame. Secure it in the same manner. Now, place the remaining three slats between the front and back ones. Use a spacer to ensure even gaps between them.
Step 7: Install the Backrest Supports
The backrest provides both comfort and stability. Take your two 24-inch backrest support slats with the 15-degree angled cut. These will be attached to the back of the bench frame, on the inside of the rear legs. The angled cut should be at the top, slanting away from the bench to create a comfortable recline.
Position one support against the inside of a rear leg and the back apron. The bottom of the support should rest on the ground (or be flush with the bottom of the leg). The support should be straight up and down. Use a level to verify it’s plumb.
Secure the support to the frame using both wood glue and screws for maximum strength. Apply glue to the surfaces of the support that will contact the leg and the back apron. Clamp it firmly in place. Drive two 4-inch screws through the back of the support and into the rear leg. Then, drive two more 2 ½-inch screws through the support and into the back apron.
Step 8: Attach the Backrest Slats
With the supports in place, you can now attach the two 48-inch backrest slats. You will have a top slat and a bottom slat. Start with the bottom slat. Decide on a comfortable height for it—usually about 3-4 inches above the seat. Use a level to ensure it is perfectly horizontal.
Have a helper hold the slat in place, or use clamps to secure it to the two angled backrest supports. Ensure the overhang on each side is equal (it should be about 1 ½ inches on each side, just like the seat slats). Once you are happy with the position, apply a small amount of wood glue where the slat meets the supports.
Secure the slat by driving two 2 ½-inch screws through the front of the slat and into each support. Pre-drilling is highly recommended here to avoid splitting the wood. Next, position the top slat.
Step 9: Sanding and Preparation for Finishing
The difference between a homemade project and a professional-looking piece of furniture is often in the finishing. This step is crucial. Start by filling all visible screw holes with wood filler or putty. Apply it with a putty knife, slightly overfilling each hole to account for shrinkage as it dries. Let it dry completely according to the manufacturer’s instructions.
Once the filler is dry, it’s time to sand the entire bench. Start with 120-grit sandpaper using an orbital or belt sander. This will smooth out any rough spots, level the dried wood filler, and remove any machine marks from the lumberyard. Pay special attention to all edges and corners, “breaking” or rounding them over slightly. This not only looks better but also makes the bench more comfortable to sit on and handle.
After sanding the entire piece with 120-grit, go over it again with 220-grit sandpaper. This finer grit will give the wood a very smooth surface, which is ideal for applying paint or stain.
Step 10: Apply Your Finish
The final step is to protect your bench from the elements and give it the look you want. Your choice of finish—paint, stain, or a clear sealer—depends on your personal preference and where the bench will be located.
If you’re painting, start with a coat of exterior-grade primer. Primer helps the paint adhere better and provides an extra layer of protection. Once the primer is dry, apply at least two coats of high-quality exterior paint, allowing for adequate drying time between coats as specified on the can.
Conclusion
You now have all the knowledge required to build a handsome and durable wooden bench from simple 2x4s.
This project is more than just a way to add seating to your space; it’s an opportunity to learn basic woodworking skills and gain the satisfaction of creating something with your own two hands. Don’t be intimidated by the process. By following these steps on how to make a wooden bench out of 2×4 carefully and avoiding common mistakes, you can successfully build a piece of furniture that will serve you well for years to come.
So gather your tools, head to the lumberyard, and get ready to build.
About
Mike May is a distinguished figure in the world of woodworking and timber design, with a decade of expertise creating innovative and sustainable indoor solutions. His professional focus lies in merging traditional craftsmanship with modern manufacturing techniques, fostering designs that are both practical and environmentally conscious. As the author of Woodimber, Mike delves into the art and science of timber-craft, inspiring artisans and industry professionals alike.
Education
RMIT University (Melbourne, Australia)
-
Associate Degree in Design (Timber): Focus on sustainable design, industry-driven projects, and practical craftsmanship.
-
Gained hands-on experience with traditional and digital manufacturing tools, such as CAD and CNC software.
Nottingham Trent University (United Kingdom)
-
Bachelor’s in Woodworking and Product Design (Honors): Specialized in product design with a focus on blending creativity with production techniques.
-
Participated in industry projects, working with companies like John Lewis and Vitsoe to gain real-world insights.
Publications and Impact
In Woodimber, May shares his insights on timber design processes, materials, and strategies for efficient production. His writing bridges the gap between artisan knowledge and modern industry needs, making it a must-read for both budding designers and seasoned professionals.