

There’s something quietly satisfying about making a wooden horse from scratch. This isn’t just a weekend project or a quick craft; it’s the sort of undertaking that lingers in the memory—a little heirloom that picks up scratches, stories, and smiles over the years. For many, the urge to shape wood into a toy feels both simple and oddly ambitious. Maybe it’s the idea of building something that outlasts the fads of plastic, or perhaps it’s the thought that you can give your kids a plaything made just for them, right down to the very grain.
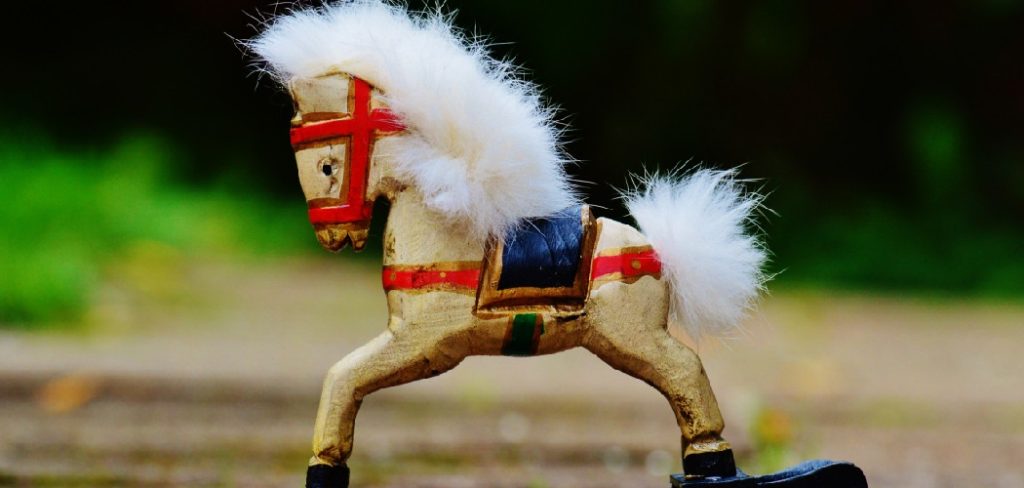
Rather than give you a rigid template, I’ll walk you through the nuts and bolts, sparing a little room for improvisation and the quirks of different workshops. This guide on how to make a wood horse will walk you from an empty bench to a finished, paint-dried wooden horse—pausing to point out the places where patience pays off (and the little mistakes that are easier to avoid than fix).
Laying the Groundwork: Planning Your Wooden Horse
First things first—what sort of horse are you building? Some folks want the classic rocker, others a sturdy ride-on toy that sits solid and still. That choice shapes everything that follows: the dimensions you’ll need, the pile of wood to purchase, and how you’ll map out your plans. I often find it helps to sketch on paper, not settling for the first attempt. Templates are everywhere online, but a piece sketched out at the kitchen table somehow feels more personal.
And don’t forget your rider. Measure legs and seat height, and think about where small hands will reach for handles. A couple of extra minutes here can spare you from wasted wood and frustrated afternoons trying to shift things later in the build. Better to catch a mistake on paper than after the sawdust starts to fly.
What You’ll Need In Your Workshop
For any woodworking project, you’ll need a well-equipped workshop. Here are some essential tools and materials you’ll need to get started:
Wood
This may seem obvious, but selecting the right type of wood for your project is crucial. Different types of wood have different grain patterns, strengths, and finishes. Pine is a popular choice for beginners as it’s easy to work with and relatively inexpensive.
Measuring Tools
Accurate measurements are vital when working with wood. Some essential measuring tools include:
- Tape measure
- Ruler
- Combination square
- Protractor
Cutting Tools
The most commonly used tool in woodworking is a saw. Whether it’s a hand saw or a power saw, there are different types of saws for various cutting tasks. Some popular options include:
- Circular saw
- Jigsaw
- Miter saw
- Table saw
Safety Isn’t Optional
If you’re new to woodworking, or if you’re a bit casual about habits, now’s the time to shape up. Those sharp edges and swirling dust aren’t just background noise—they bite or linger in your lungs if ignored.
A pair of safety glasses, properly rated, is a must. The mask or respirator isn’t only for looks either; dust is finer and far more persistent than most realize. Keep your workspace clean, well-lit, and free of clutter. Most crucial of all, never change a saw blade or drill bit with the tool still plugged in. The one time you don’t double-check is, inevitably, the time the switch gets bumped.
7 Simple Steps on How to Make a Wood Horse
Step 1: Tracing the Outline
Begin with your paper template, or the one you’ve adapted for your needs. Lay it gently atop the boards. A dark pencil works best—don’t trust your eyes to see faint scratches when sawdust starts covering everything. Trace out the major shapes: head, body, legs, and rockers if you’re going that route. Wood grain direction matters more than you might think; aim to have the longest pieces run along the grain for added strength.
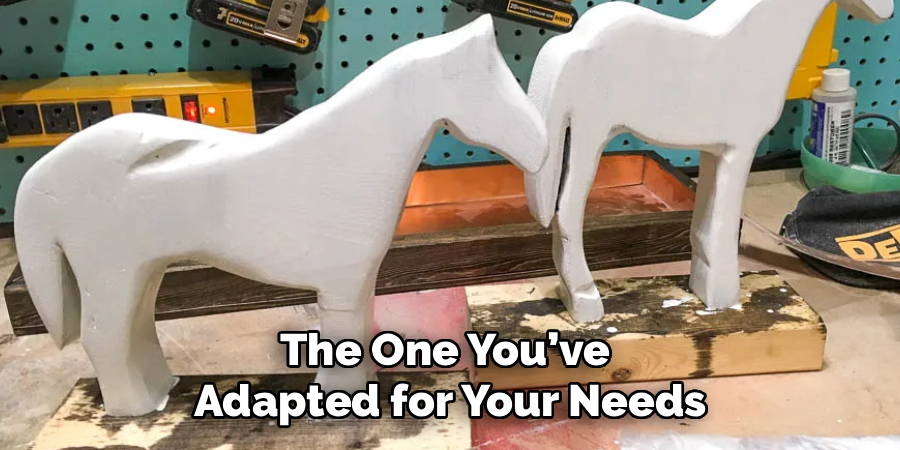
Triple-check your marks now, because every wobble shows up after cutting. If you’re duplicating a part, like two matching legs, cut one and use it to trace the second. It’s the surest way to guarantee twins.
Step 2: Cut It Out
Time for music (quiet enough to hear the saw) and the careful handling of power tools. Clamp your board to the bench. Not tight enough? It’ll shift, messing up your best-laid plan. I always use a slow, patient pace with the jigsaw—forcing the blade is a recipe for jagged edges and, sometimes, minor disaster. Curves like the horse’s neck or the sweep of a rocker require a steady hand and even steadier nerves. If you hit a tight spot, don’t muscle your way through. Relief cuts—cutting away excess wood—are your friend here.
Step 3: Sanding Away the Flaws
After the chaos of cutting, it’s tempting to skip ahead. Don’t. Smoothing the edges with 80-grit sandpaper will put you well ahead. I gravitate toward an orbital sander for large areas, but there’s no shame in handling stubborn spots manually. Pay close attention to any part that’ll touch skin. It’s the difference between a toy that gets played with and one that’s disregarded after the first splinter.
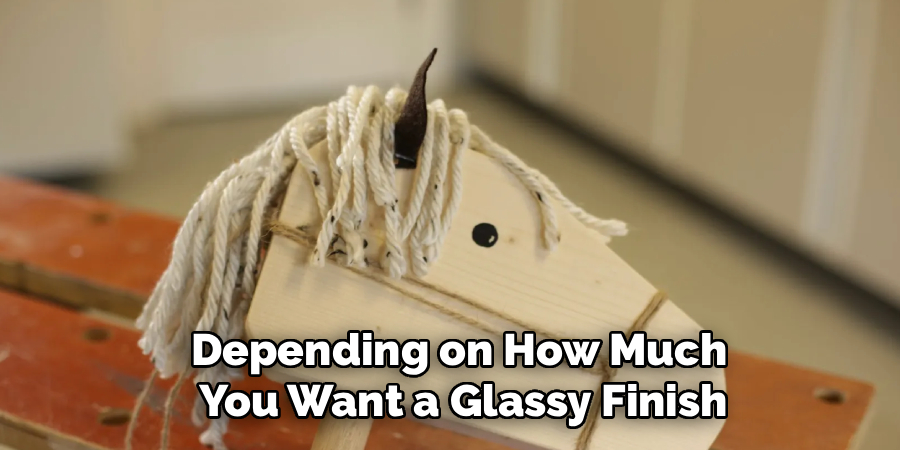
Work through finer grits—120 or 220, depending on how much you want a glassy finish. Clean with a tack cloth and inspect. Missed something? Now’s the time, not after painting.
Step 4: Drilling For Handles and Footrests
This is less dramatic than it sounds. Mark the holes for handles and footrests—usually on the head or main body. Precision counts. Select a drill bit that snugly matches your dowel. Drilling all the way through? Place a scrap board underneath to prevent ugly tear-out. Dowels should need a firm tap—too loose, and you’ll be forever re-gluing after play sessions.
Step 5: Main Assembly
Bring out the wood glue and screws. Legs to body first. Use a generous layer of glue (don’t be stingy), then screw the pieces together. Countersink the screws—they should disappear beneath the surface so you can patch them later. Clamps? As many as you can find, applied tightly until the glue dries. Wipe stray glue before it hardens; it blocks stain and mocks your best efforts at a finish.
Overnight curing is smart. Ignore that, and you risk shaky joints.
Step 6: Handles, Footrests, and Rockers (If Needed)
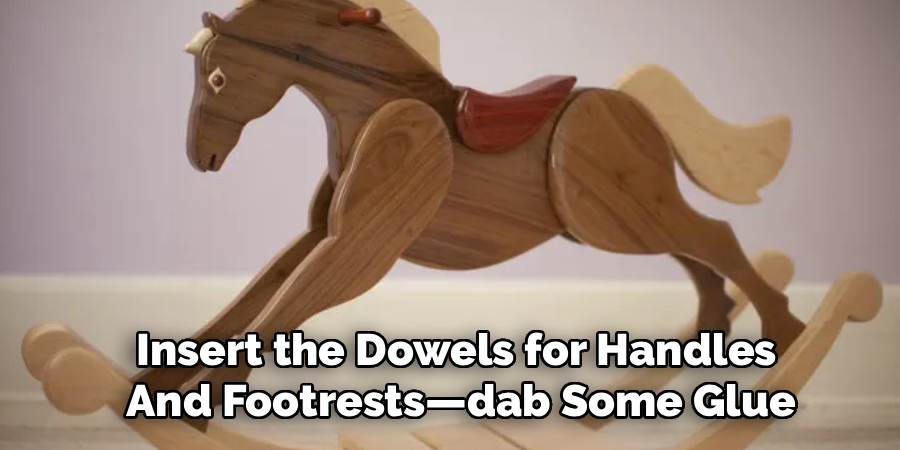
Now that your frame is sturdy, insert the dowels for handles and footrests—dab some glue, tap them home. For rockers, line up each leg with care. A wooden horse that tips or wobbles? That’s a project headed for the attic. Once attached, set the horse on a perfectly flat surface and test its motion. Adjust uneven legs while the glue is still soft.
Step 7: The Final Flourish
Wood filler works magic to hide screws and minor blemishes. Let patches dry, then sand flush with the surface. When it comes to finishes, pick your favorite—natural oil, clear coat, or bold paint—but check again that it’s rated child-safe. Now’s your chance for creativity: eyes, spots, a bright saddle, maybe a yarn mane. Let it dry thoroughly—48 hours, minimum, in a ventilated area. Hurrying this step can undo days of careful work.
Following these steps on how to make a wood horse toy, you can create a custom and safe toy for your child to enjoy. This project is not just about creating a fun toy, but also about instilling the value of craftsmanship and creativity in your child.
Frequent Pitfalls To Watch For
It’s far too easy to cut corners (sometimes literally). Skimp on sanding, and you’ll be treating splinters later. Skip drilling pilot holes and watch your precious wood split out of spite. Impatience with glue means a wobbly, vulnerable toy.
Another hard-learned lesson: steer clear of finishes not designed for kids. A glossy look isn’t worth the risk. Measure twice, cut once—no old saying is more relevant here.
Keeping Your Wooden Horse Looking Its Best
After the sawdust settles, maintenance is straightforward, though often ignored. Tug each dowel or screw from time to time to ensure nothing has loosened with play. Wipe it clean with a barely damp towel—no need for harsh cleaners.
If a patch gets scuffed, a quick sanding and a second coat of finish usually handles it. Store indoors. Wood has a mind of its own when left in the garage through sticky summers or damp winters.
Why Bother? The Benefits
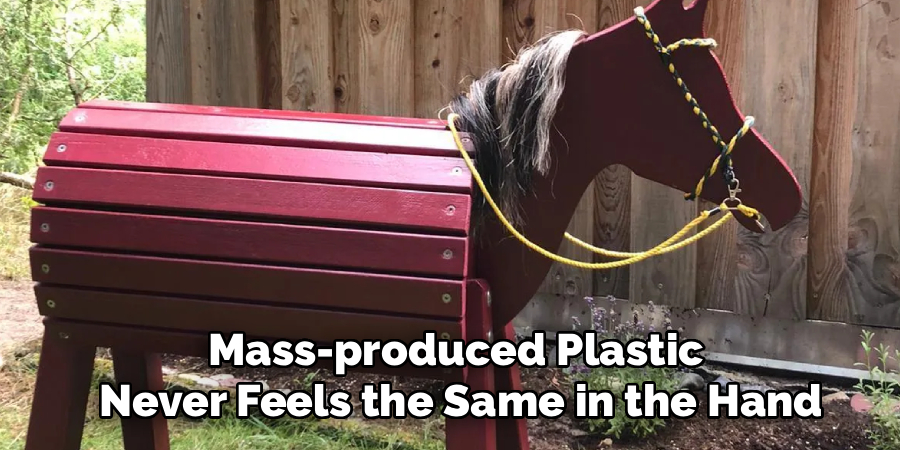
There’s an argument to be made for buying off the shelf. Still, crafting your own wooden horse scratches a creative itch that nothing else quite matches. Mass-produced plastic never feels the same in the hand. When you choose your lumber and finish, you sidestep the question of whether strange chemicals are lurking in the paint. The satisfaction in seeing a finished project, in handing over a toy you built, is hard to put into words. Over time, these pieces tend to become family treasures—scuffed, faded, but treasured all the same.
Along the way, you’ll likely pick up a few new woodworking skills. Even if you never make another, those lessons stick with you.
Questions Folks Often Ask
Q: What Type of Wood Do You Recommend?
A: Hardwoods—oak, maple, birch—are resilient. They hold up better against bumps and rough play, though they aren’t the easiest for beginners. Pine is soft, affordable, and usually more forgiving with a saw or sandpaper. Whichever you use, check for dryness and avoid big knots that weaken pieces.
Q: Do I Need to Be an Expert Woodworker to Make This?
A: Not at all. If you’re comfortable working with a saw and aren’t hurried, you can turn out something wonderful. Templates help. Patience helps more.
Q: How Do I Keep It Safe for Little Ones?
A: Sand every edge until you can confidently run your hand along it. Hide all hardware under filler. Above all, use only non-toxic paints and sealants—there’s no substitute.
Conclusion
The fun in building a wooden horse isn’t just in the finished piece, but in the making of it—the slow progress, the mistakes learned from, the pleasure of crafting. With the tools laid out and instructions in mind, you’re ready to chase after one of childhood’s oldest joys.
Dig up those tools, pick your planks, settle in, and get building. This could be the start of something unexpectedly special. Thanks for reading this guide on how to make a wood horse.

About
Mike May is a distinguished figure in the world of woodworking and timber design, with a decade of expertise creating innovative and sustainable indoor solutions. His professional focus lies in merging traditional craftsmanship with modern manufacturing techniques, fostering designs that are both practical and environmentally conscious. As the author of Woodimber, Mike delves into the art and science of timber-craft, inspiring artisans and industry professionals alike.
Education
RMIT University (Melbourne, Australia)
-
Associate Degree in Design (Timber): Focus on sustainable design, industry-driven projects, and practical craftsmanship.
-
Gained hands-on experience with traditional and digital manufacturing tools, such as CAD and CNC software.
Nottingham Trent University (United Kingdom)
-
Bachelor’s in Woodworking and Product Design (Honors): Specialized in product design with a focus on blending creativity with production techniques.
-
Participated in industry projects, working with companies like John Lewis and Vitsoe to gain real-world insights.
Publications and Impact
In Woodimber, May shares his insights on timber design processes, materials, and strategies for efficient production. His writing bridges the gap between artisan knowledge and modern industry needs, making it a must-read for both budding designers and seasoned professionals.