

So, you’re thinking about building your own wood heater. I get it—there’s something oddly satisfying about warming up a shop or garage with heat from a contraption you’ve rigged together yourself, especially when winter bites. It’s not just about saving cash, either (though that’s nothing to sneeze at). Taking charge of the entire process means you get to tinker, adapt, and design the heater to fit your own needs—which, arguably, is half the appeal.
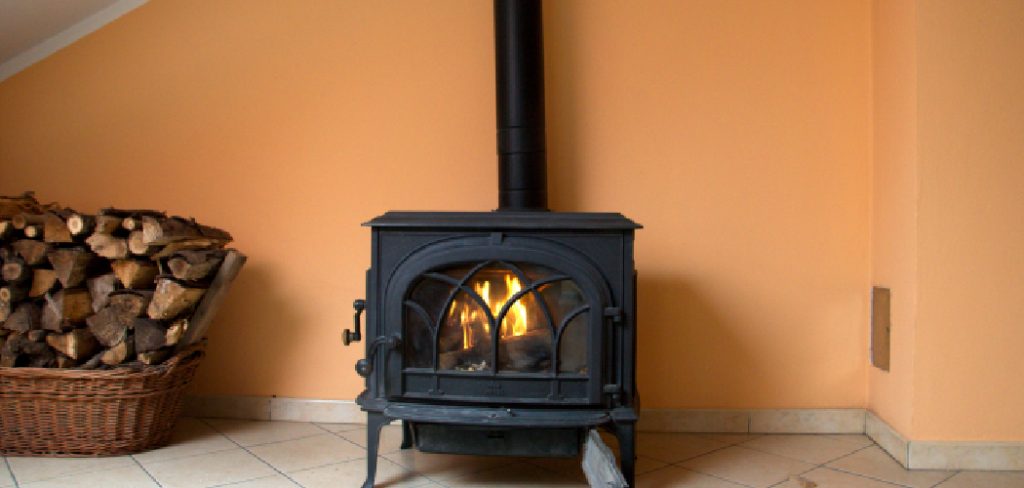
Now, if you poke around, you’ll find plenty of folks using old steel barrels or whatever scrap they have lying around to cobble together a heater. Success in this arena really hinges on a halfway-decent grasp of how fire breathes—airflow and combustion aren’t just science class words; they will determine whether your heater works, smokes you out, or puts you in danger. I’ll walk you through each decision and pitfall, and by the end, you’ll either have a toasty space or a newfound respect for the professionals. In this guide on how to make a wood heater, we’ll cover everything you need to know to create a safe and efficient wood heater.
Tools and Materials You’ll Need
Best not to dive in without your gear sorted. Scrambling for tools mid-project? Trust me, that’s when corners get cut, and mistakes start creeping in. Here’s what you might want within arm’s reach—adjust as needed for what you actually intend to build:
- One clean, ungalvanized 55-gallon steel barrel, or custom-cut steel plates if you’re feeling ambitious
- Angle grinder (with both cutting and grinding discs)
- Welding machine (MIG or stick—each has its quirks), and a welding helmet that still fits
- Gloves rated for heat, plus reliable safety goggles (don’t be a hero)
- Steel pipe for the chimney—at least a 6-inch diameter, or you’ll regret it when the smoke won’t draft
- Cast-iron stove door kit, or enough decent steel to hack together your own
- Rated stove paint (the regular stuff peels right off)
- Firebricks (just for the bottom, unless you love frequent repairs)
- Drill equipped with sharp metal-cutting bits
7 Simple Steps on How to Make a Wood Heater
Step 1: Planning and Material Prep
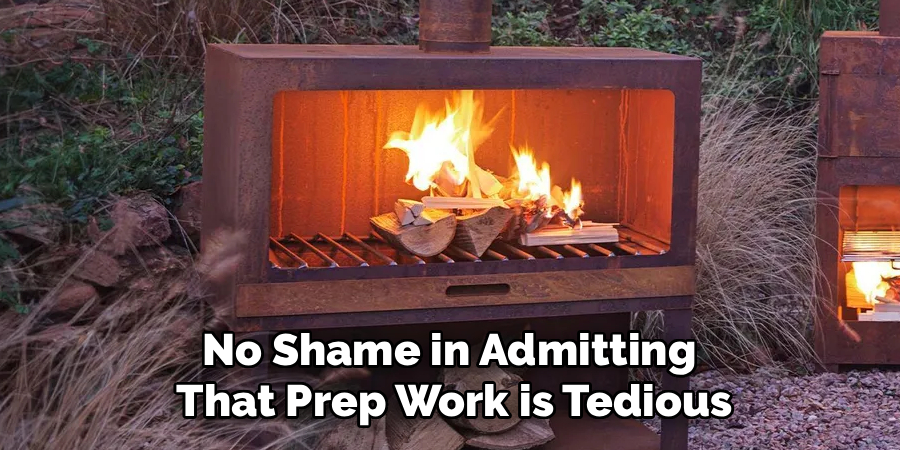
No shame in admitting that prep work is tedious. Still, it tends to separate safe projects from stories that end with fire trucks. Say you found a 55-gallon drum. First question: What was in this thing before? If it’s ever held anything flammable or especially toxic, walk away. Ideally, you want food-grade, but even then, give it a scrub with degreaser and lots of water; residues can cause some nasty surprises once you start welding.
Once that’s done, use something obvious—chalk or a thick marker—to map out where the door, exhaust pipe, and air intake should go. Resist the urge to eyeball this. Accurate measurements (taken at least twice) pay off later, helping you avoid that “good enough” fit that always leaks smoke.
Step 2: Cutting the Door Opening
This bit will get loud, and there’s no undo. Double-check your lines, suit up, and give your hands a pep talk before firing up the grinder. Slow, deliberate cuts win out over forcing the blade; the temptation to rush often ends in jagged gouges or dangerous kickback. Once the main piece is cut, get after the rough edges with a grinding wheel. If you skip this, you’re basically inviting blood blisters—or leaving gaps that let smoke slither out.
Step 3: Fixing the Stove Door
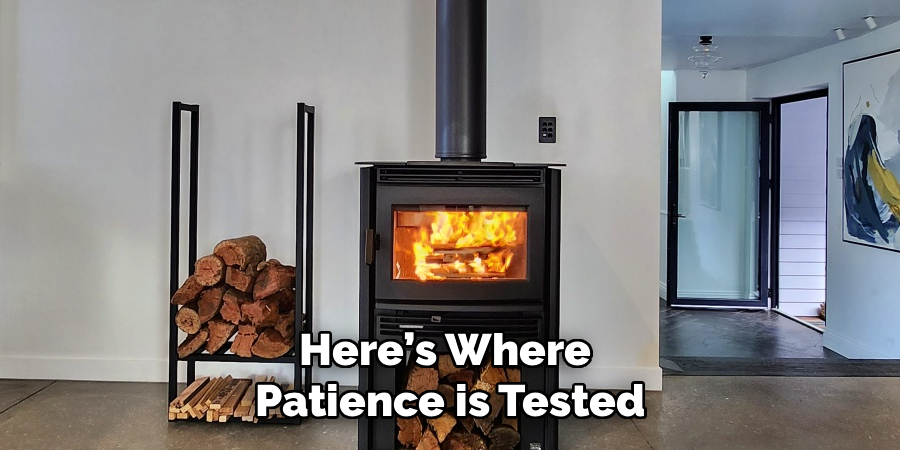
Here’s where patience is tested. The door must fit snugly and open without drama—it also needs to manage airflow and contain the flames. If you’ve bought a kit, mark and drill your mounting holes right where they’re needed, then fasten the frame tight enough so the gasket seals all the way around. Made your own door? Well, be ready to weld proper hinges (not the flimsy stuff from old cabinets) and add a latch you can handle with gloves. A strip of steel welded as a door stop will help the custom gasket stay put, minimizing leaks.
Step 4: Adding the Exhaust Flange
Ventilation isn’t optional—combustion gases can kill. You’ll want your chimney out the back or top, usually at the rear. Trace the pipe, cut the hole slowly (plasma cutter makes this easier, but a grinder works with patience), and try to get a circle that doesn’t embarrass you. Drop in the collar or pipe section, then lay a continuous, careful weld around the base for a gas-tight seal. Once cooled, inspect carefully—shine a flashlight inside and outside, looking for pinholes that could spell trouble.
Step 5: Creating Air Intake Vents
Fire needs oxygen, but too much or too little and you’ll either starve the flames or choke yourself with smoke. Drill a series of holes, spaced with some logic, near the bottom of your heater, or cut a small vent below the door. The low placement encourages better combustion. Attach a sliding metal draft cover—could be as simple as a scrap plate on a bolt—which you can move to increase or decrease the incoming air. This one detail often separates heaters you can dial in from ones that burn out of control.
Step 6: Making and Attaching the Legs
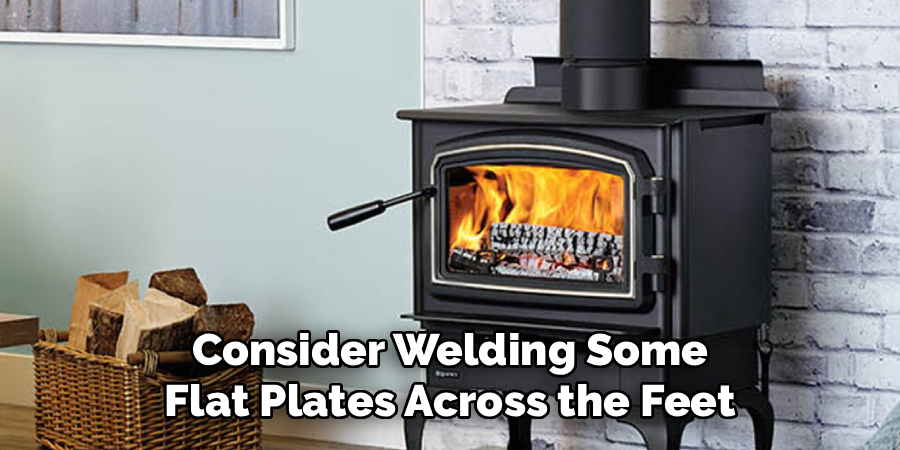
Don’t skip the legs. They aren’t just about comfort—they prevent heat damage to the floor. Four good chunks of angle iron or square tubing, maybe 4–6 inches long, welded securely to the corners, will do it. If your heater sits on concrete, consider welding some flat plates across the feet to spread out the weight. Test for wobble before declaring victory; nobody enjoys a heater that’s one bump from tipping.
Step 7: First Burn and Final Touches
Nearly done. Before hauling it inside, take it outside for an initial burn. Lay in the firebricks, paint the whole deal with stove paint, and let everything cure. Your first fire should be small—think kindling, not logs—so you can gradually heat the paint and drive off residual oils. Watch for smoke leaks, especially around welds and the door. Seal any you find before the unit moves indoors. Once it’s performing how you like, hook up the chimney (outside wall or roof, per code), and enjoy the warmth.
Following these steps on how to make a wood heater, you now have a functional and efficient heating solution for your home.
Common Mistakes to Avoid
It’s easier than you think to mess this up. Failing to clean the barrel can leave flammable residues. Some people skip the firebrick, figuring it doesn’t matter; it does, since the base metal can warp or even burn through over time. Rushed or spotty welds almost always create leaks.
Chimney’s too narrow? You’ll know soon enough when smoke backfills the room. Most of these mistakes don’t just reduce efficiency—they’re real safety hazards.
Should You Bring in a Professional?
There’s a lot you can do yourself, sure. But if you haven’t welded before, fabricating flawless, airtight joints is trickier than it sounds—poor seals let in smoke and carbon monoxide.
Cutting holes for a chimney through structural walls or a roof is also rarely DIY-friendly unless you know your building and the local codes. In those cases, a quick call to a professional could legitimately save your bacon (and your building).
How Much Will It Cost?
Cost swings wildly based on what you already own. Repurposing a barrel and hunting down free scrap keeps your bill low—under $100 if you’re thrifty.
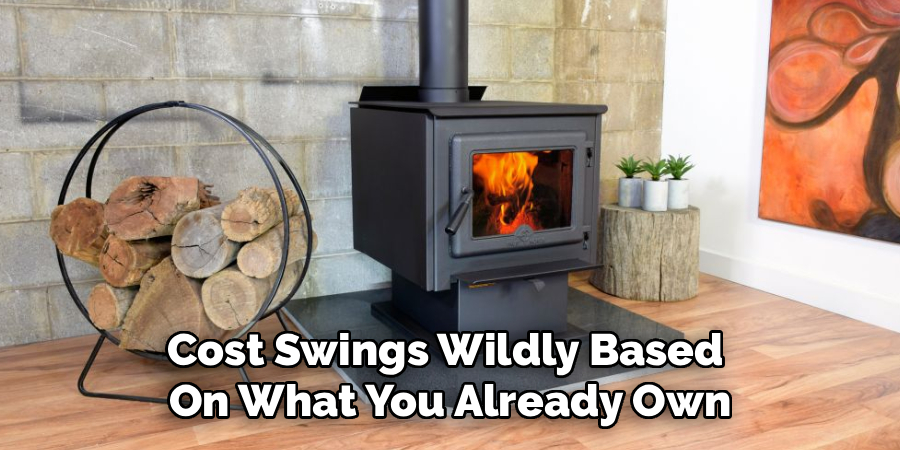
Go for new stock and accessories (door kits, pipes, all-new steel) and watch the price tick closer to $400. Still, that’s well below what a name-brand wood stove will run you, and you get to say you built it yourself.
Frequently Asked Questions
Q1: Can I Use A Galvanized Barrel For A Wood Heater?
Short answer: absolutely not. Galvanized steel emits toxic zinc fumes when heated—think metal fume fever, not something you want to experience. Always hunt down plain carbon steel or stainless that’s never been treated with zinc.
Q2: What Type Of Wood Burns Best In A Homemade Heater?
Dense hardwoods—oak, hickory, maple, ash—are ideal. They burn slowly, make more heat, and need less tending. No matter the species, wood needs to be fully seasoned: split, stacked, and dried for at least six months; a year is better. Load in wet or green logs and you’ll get thick smoke, soot, and dangerous creosote.
Q3: How Do I Maintain My New DIY Wood Heater?
Get in the habit of clearing ash—as it accumulates, but leave a thin layer to insulate the base. Each season, eyeball the door gasket for wear. Replace if it’s compressed or worn out. Most critical, sweep the chimney regularly—creosote buildup causes flue fires.
Conclusion
There’s a real satisfaction in firing up a heater you built from spare parts and know inside-out. Not much beats the independent feeling of a warm, self-sufficient workshop. Of course, never lose sight of safety: clear anything combustible well away, ventilate as needed, and put a carbon monoxide detector within reach of the heater.
Old-school warmth is best enjoyed with new-school caution. Thanks for reading this guide on how to make a wood heater.

About
Mike May is a distinguished figure in the world of woodworking and timber design, with a decade of expertise creating innovative and sustainable indoor solutions. His professional focus lies in merging traditional craftsmanship with modern manufacturing techniques, fostering designs that are both practical and environmentally conscious. As the author of Woodimber, Mike delves into the art and science of timber-craft, inspiring artisans and industry professionals alike.
Education
RMIT University (Melbourne, Australia)
-
Associate Degree in Design (Timber): Focus on sustainable design, industry-driven projects, and practical craftsmanship.
-
Gained hands-on experience with traditional and digital manufacturing tools, such as CAD and CNC software.
Nottingham Trent University (United Kingdom)
-
Bachelor’s in Woodworking and Product Design (Honors): Specialized in product design with a focus on blending creativity with production techniques.
-
Participated in industry projects, working with companies like John Lewis and Vitsoe to gain real-world insights.
Publications and Impact
In Woodimber, May shares his insights on timber design processes, materials, and strategies for efficient production. His writing bridges the gap between artisan knowledge and modern industry needs, making it a must-read for both budding designers and seasoned professionals.