

Creating backyard memories does not have to cost a fortune or require advanced carpentry skills. Building your own playground equipment brings a profound sense of accomplishment while providing endless entertainment for your family. If you have some basic tools and a free afternoon, you already have everything required to transform raw lumber into a classic backyard toy.
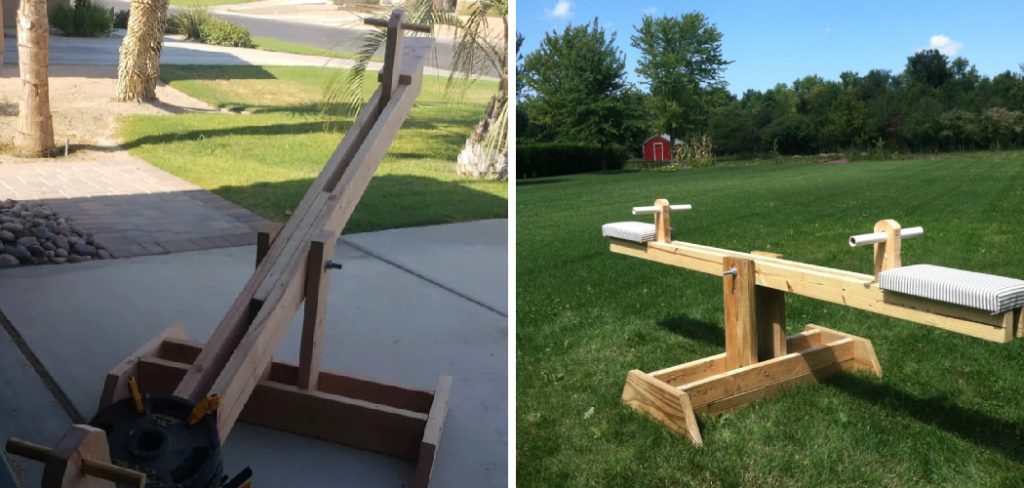
Many beginners feel intimidated by woodworking projects, but constructing a sturdy balance board is surprisingly straightforward. You just need the right measurements, strong materials, and proper guidance to ensure structural safety. In this guide, we will show you exactly how to make a seesaw out of wood using standard materials found at any local hardware store. We will cover selecting the perfect timber, creating a stable base, and attaching the central pivot mechanism. Grab your tape measure, put on your safety glasses, and let us dive into this rewarding weekend project together.
Step-By-Step Guide On How to Make a Seesaw Out of Wood
Step 1: Gather Your Materials And Tools
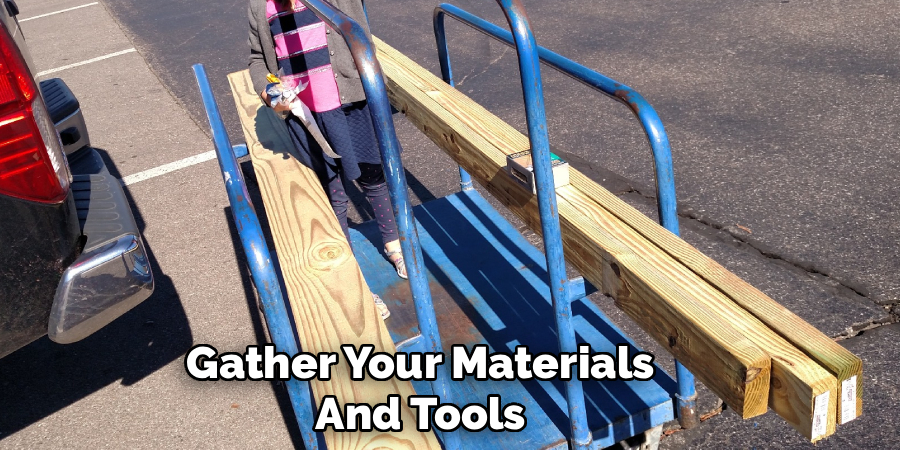
Before you start cutting or drilling, you must assemble all the necessary supplies for your project. You will need a thick piece of pine or cedar for the main plank, usually measuring about ten feet long and two inches thick. Cedar works wonderfully because it naturally resists outdoor rot and insect damage.
You also need sturdy posts for the base, a thick galvanized steel pipe for the pivot, and heavy-duty deck screws. Grab your power drill, a reliable circular saw, a tape measure, and some sandpaper to smooth out the rough edges. Having everything organized in your workspace prevents frustrating interruptions once the actual construction begins.
Step 2: Measure And Cut The Main Plank
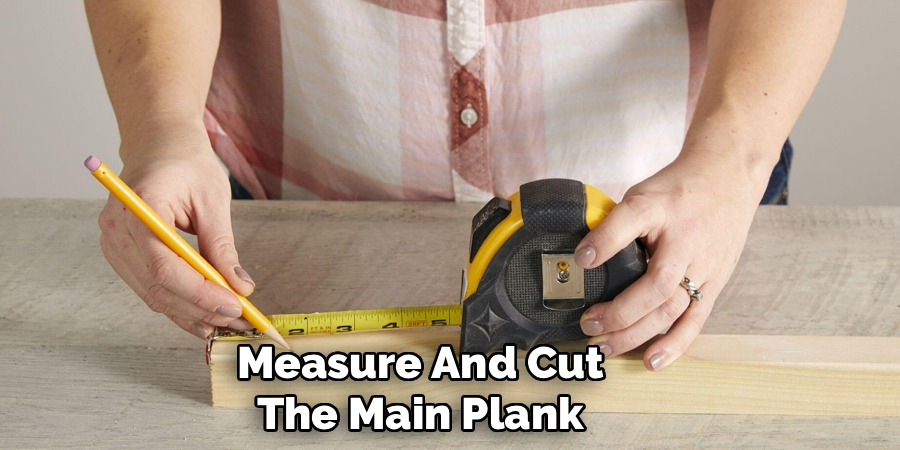
Once your workspace is ready, turn your attention to the main riding board. Lay your ten-foot piece of lumber flat on your sawhorses and measure exactly to find the absolute center point. Marking this center accurately ensures the final project balances perfectly when two people sit on opposite ends. Use your circular saw to trim the ends if the board exceeds your desired length. Next, use a jigsaw to round off the harsh corners at both ends of the board. Rounding these edges prevents painful bumps and scrapes while children play on the equipment in your backyard.
Step 3: Sand The Wood Smooth
Safety remains the top priority when building outdoor toys for children. Raw lumber often contains dangerous splinters and rough patches that can cause minor injuries. Spend plenty of time using a power sander to smooth down every single surface of the main board and the base pieces. Start with a coarse grit sandpaper to remove the largest imperfections and mill marks. Slowly transition to a fine grit sandpaper to create a buttery smooth finish across the entire surface. Pay special attention to the sitting areas and the edges where small hands will grip the board tightly.
Step 4: Construct The Support Base
A stable foundation keeps the entire structure upright during vigorous playtime. You will build a sturdy fulcrum using heavy wooden posts arranged in an A-frame shape for maximum stability. Cut four matching pieces of thick timber to serve as the angled legs. Attach these legs securely to a thick horizontal support block using long galvanized deck screws. You must ensure the base rests completely flat on the ground without any rocking or wobbling. Some builders choose to sink these support legs into the ground with concrete for permanent placement, while others prefer a movable freestanding design.
Step 5: Install The Pivot Pipe
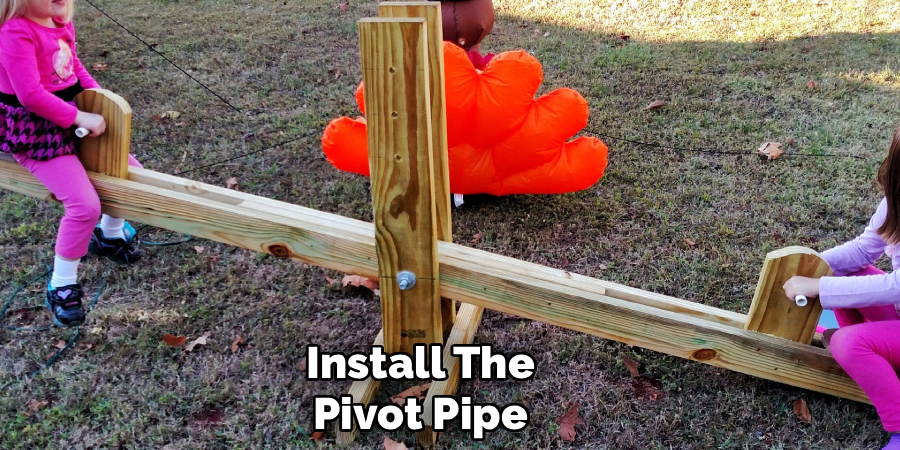
The pivot point experiences the most physical stress, so it requires strong metal components. Drill a large hole straight through the top horizontal block of your A-frame base. The hole must perfectly match the diameter of your galvanized steel pipe to prevent sloppy movements. Slide the steel pipe through the hole, ensuring it sticks out evenly on both sides of the wooden support. You can secure the pipe in place using heavy-duty metal brackets and thick lag bolts. This metal axle allows the main board to tilt up and down smoothly without wearing away the wooden base.
Step 6: Attach The Board To The Pivot
Now you must connect the long wooden board to your sturdy metal axle. Flip the main board upside down and locate the exact center mark you made earlier. Secure two thick wooden blocks on either side of this center line to create a snug channel for the metal pipe. You will then place metal U-bolts over the pipe and bolt them directly through the main wooden plank. Tighten the bolts securely with a wrench, but leave just enough clearance so the board can move freely. This connection keeps the board centered while allowing a full range of motion.
Step 7: Add Handles And Seats
Riders need something safe to hold onto while soaring through the air. You can craft simple handles using thick wooden dowels or purchase specialized plastic playground grips from a hardware store. Drill holes near the end of the plank and glue the dowels firmly into place. To increase comfort, you might also attach small cushions or rubber pads to the designated seating areas. Learning the steps for how to make a seesaw out of wood involves adding these crucial finishing touches that elevate a basic plank into a truly enjoyable playground fixture for your family.
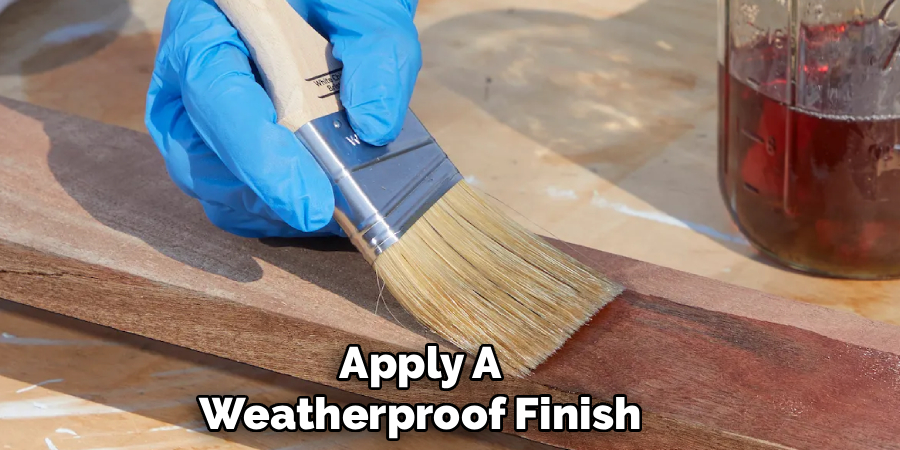
Step 8: Apply A Weatherproof Finish
Outdoor wooden furniture faces constant attacks from rain, intense sunlight, and morning dew. You must protect your hard work by applying a high-quality exterior wood sealant or durable outdoor paint. Brush the sealant generously over every exposed wooden surface, letting it soak deep into the grain. Apply at least two full coats, allowing the manufacturer’s recommended drying time between each layer. This protective coating prevents the wood from cracking, warping, or rotting over the years. Reapply this protective finish every other spring to keep your backyard toy looking beautiful and functioning safely for future generations.
Frequently Asked Question
What Is The Best Wood For Outdoor Playground Equipment?
Choosing the right timber ensures your project lasts through many harsh seasons. You want materials that naturally resist rot, moisture, and hungry insects.
- Cedar remains the most popular choice due to its natural protective oils.
- Redwood offers incredible durability and a beautiful dark finish.
- Pressure-treated pine provides a highly affordable and sturdy alternative.
Always inspect the lumber closely at the store to avoid boards with massive knots, deep cracks, or severe warping.
How Long Should The Main Board Be?
The length of your main riding plank determines how high the riders will travel. Most standard backyard designs utilize a board that measures between eight and ten feet long.
- An eight-foot board works perfectly for smaller children and tighter spaces.
- A ten-foot board provides a more dramatic lift for older kids.
Boards longer than twelve feet often sag in the middle under heavy weight. Always use lumber that measures at least two inches thick to prevent the wood from bending or snapping during playtime.
Do I Need To Anchor The Base Into The Ground?
Anchoring the foundation depends entirely on your yard setup and personal preference. A well-built, wide A-frame base can safely support riders without permanent installation.
- Freestanding designs allow you to move the toy when mowing the lawn.
- Sinking the posts in concrete provides maximum stability for aggressive play.
- You can also use temporary ground anchors screwed into the dirt.
If you leave it freestanding, always ensure you place the structure on completely level, solid ground to prevent dangerous tipping.
How Can I Make The Impact Softer?
Repeatedly hitting the hard ground sends uncomfortable shockwaves up the rider’s spine. You can easily modify your project to include soft shock absorbers under each seat.
- Attach halved rubber car tires underneath the ends of the board.
- Secure thick rubber industrial mats directly to the landing zones.
- Bury old playground balls partially into the dirt where the board strikes.
These simple additions protect your yard from deep divots while making the riding experience much more comfortable and enjoyable.
Is This Project Safe For Absolute Beginners?
Yes, this ranks among the most accessible woodworking projects for novice builders. The design relies entirely on basic straight cuts and simple bolt connections.
- You do not need complex joinery skills or expensive table saws.
- The entire assembly requires only basic hand and power tools.
- Most beginners finish the construction in a single weekend.
Take your time checking every measurement twice before cutting the wood. As long as you securely tighten the pivot hardware, you will create a structurally sound piece of equipment.
Conclusion
Building your own backyard equipment provides an incredibly rewarding experience that your family will appreciate for years. We have covered the essential steps, from selecting sturdy cedar planks to securing the crucial metal pivot mechanism. You now understand the importance of rounding off harsh edges, sanding the surfaces perfectly smooth, and applying a tough weatherproof finish.
Armed with a few basic power tools and a free weekend, you can easily transform standard lumber into a source of boundless joy. Do not let a lack of professional carpentry experience hold you back from tackling this exciting project. Just measure carefully, work slowly, and follow the safety guidelines outlined above. When you finally learn how to make a seesaw out of wood, you gain the confidence to pursue even more ambitious backyard upgrades. Head to your local hardware store, pick out your favorite pieces of timber, and start building those wonderful childhood memories today.

About
Mike May is a distinguished figure in the world of woodworking and timber design, with a decade of expertise creating innovative and sustainable indoor solutions. His professional focus lies in merging traditional craftsmanship with modern manufacturing techniques, fostering designs that are both practical and environmentally conscious. As the author of Woodimber, Mike delves into the art and science of timber-craft, inspiring artisans and industry professionals alike.
Education
RMIT University (Melbourne, Australia)
-
Associate Degree in Design (Timber): Focus on sustainable design, industry-driven projects, and practical craftsmanship.
-
Gained hands-on experience with traditional and digital manufacturing tools, such as CAD and CNC software.
Nottingham Trent University (United Kingdom)
-
Bachelor’s in Woodworking and Product Design (Honors): Specialized in product design with a focus on blending creativity with production techniques.
-
Participated in industry projects, working with companies like John Lewis and Vitsoe to gain real-world insights.
Publications and Impact
In Woodimber, May shares his insights on timber design processes, materials, and strategies for efficient production. His writing bridges the gap between artisan knowledge and modern industry needs, making it a must-read for both budding designers and seasoned professionals.