

Crafting a wooden cane from scratch is a highly rewarding project that blends artistry with practical function.
Whether you want a reliable walking aid for yourself or a thoughtful handmade gift for a loved one, making a cane allows you to create something unique. Woodworking brings you closer to nature, taking a raw branch or blank of lumber and transforming it into a smooth, sturdy companion for everyday walks.
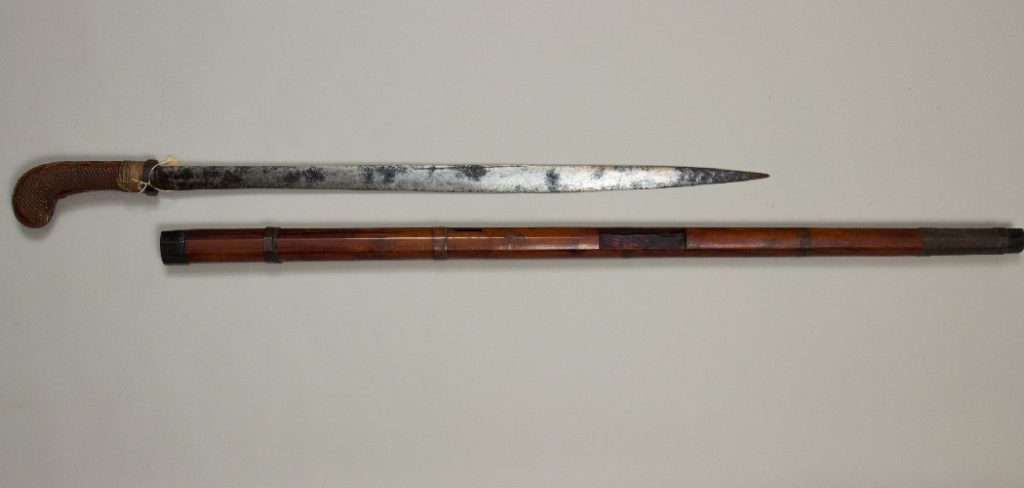
This guide on how to make a cane out of wood walks you through the entire process, from selecting the right piece of wood to applying the final protective coat.
Benefits of Using a Wood Cane
Making your own wooden cane comes with several distinct advantages:
- Custom Fit: You can measure the cane to fit your exact height, ensuring proper posture and comfort.
- Personalized Style: You control the design, choosing the type of wood, the shape of the handle, and the color of the finish.
- Cost-Effective: Crafting a cane is surprisingly affordable, especially if you source a fallen branch from your own property.
- Sense of Accomplishment: There is a deep sense of pride that comes from using a functional tool you built with your own two hands.
Materials & Tools
Before you begin, gather the following supplies:
- A sturdy piece of hardwood (such as oak, hickory, ash, or cherry)
- A handsaw or pruning saw
- A carving knife, drawknife, or spokeshave
- Sandpaper in various grits (80, 120, 220, and 400)
- Wood finish (such as boiled linseed oil, polyurethane, or beeswax)
- Clean rags for applying the finish
- A rubber cane tip for traction
- Measuring tape
- Wood glue and a dowel (if attaching a separate handle)
10 Easy Steps on How to Make a Cane Out of Wood
Step 1: Selecting the Right Wood
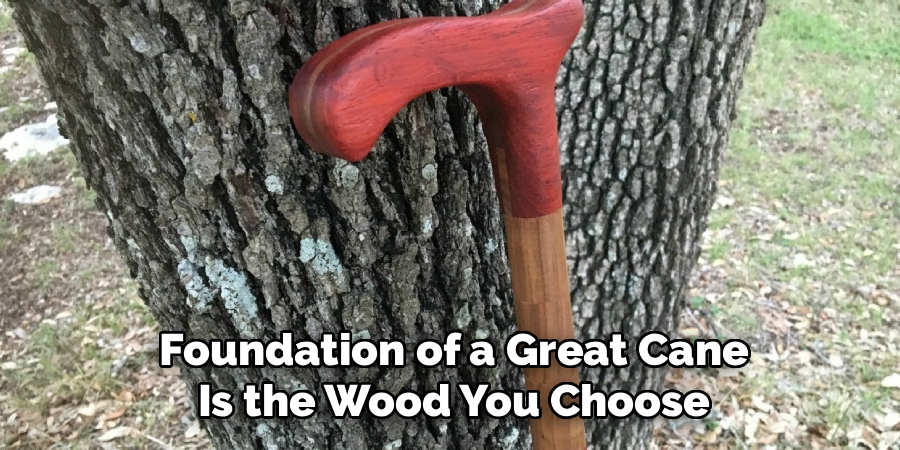
The foundation of a great cane is the wood you choose. You want a species that is strong and durable to support your weight safely. Hardwoods like hickory, oak, maple, and cherry are excellent choices. If you are foraging for a branch in the woods, look for a straight, healthy piece free of rot or insect damage. Avoid softwoods like pine, as they can snap under pressure. Choose a piece that is slightly thicker than you want your final cane to be, as you will remove material during the shaping process.
Step 2: Harvesting and Drying
If you are using a fresh branch from the woods, it is crucial to dry it properly before shaping. Working with “green” wood can lead to severe warping or cracking as the moisture leaves the fibers. Seal the ends of the branch with wax or paint to slow down the drying process and prevent splitting. Store the wood in a cool, dry place out of direct sunlight. Depending on the thickness of the branch and your local climate, this drying process can take anywhere from a few months to a full year.
Step 3: Measuring for the Perfect Height
A cane must be the correct height to provide proper support and prevent strain on your shoulders and back. To find the ideal length, stand up straight with your arms hanging naturally at your sides. Have someone measure the distance from the floor to the crease of your wrist. This measurement is the exact length your cane should be, including the handle and the rubber tip. It is always best to leave the wood slightly longer than this measurement during the initial steps, as you can always cut more off later.
Step 4: Cutting the Wood to Size
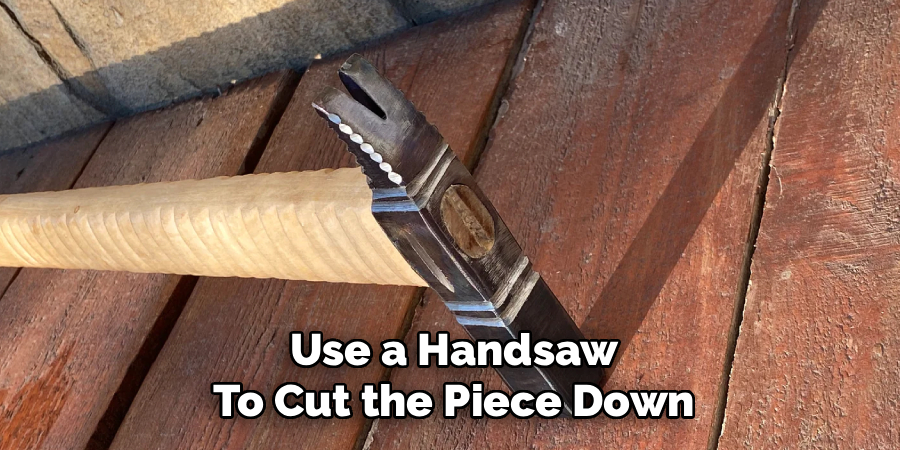
Once your wood is completely dry and you have your measurements, use a handsaw to cut the piece down to a manageable length. Cut the top and bottom flat. Remember to factor in the height of the rubber tip and any separate handle you might attach. Leave an extra inch or two of length at the bottom for now. This gives you a margin of error in case the wood splinters slightly during the shaping or carving process.
Step 5: Removing the Bark
If you are using a natural branch, you will need to strip away the bark. Secure the wood in a vise to keep it steady. Using a drawknife, spokeshave, or a sharp carving knife, carefully peel away the outer layer of bark and the softer layer just beneath it (the cambium). Always carve away from your body to ensure safety. Work slowly and methodically down the length of the shaft. You can leave small patches of inner bark if you prefer a rustic, natural look.
Step 6: Shaping the Shaft
With the bark removed, begin refining the overall shape of the cane. Most canes taper slightly from top to bottom, being thicker near the handle for strength and narrower at the base for an elegant appearance. Use your drawknife or spokeshave to shave down the high spots and create a smooth, rounded profile. Periodically run your hands up and down the wood to feel for any uneven areas. The goal is to make the shaft comfortable to hold and visually balanced.
Step 7: Crafting or Attaching the Handle
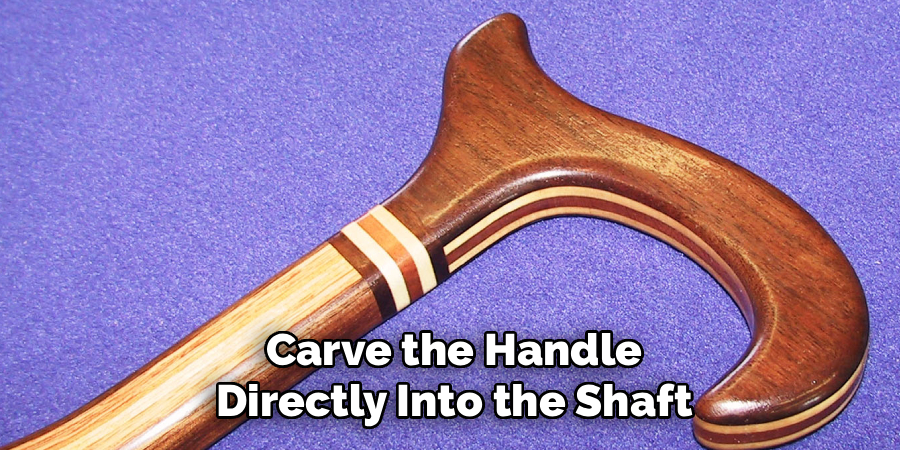
You have a few options for the handle. If your branch has a natural root ball or a thick bend, you can carve the handle directly into the shaft. Alternatively, you can craft a separate T-handle or rounded knob from a contrasting piece of wood. To attach a separate handle, drill matching holes in the top of the shaft and the bottom of the handle. Insert a hardwood dowel coated in strong wood glue to join the two pieces. Clamp them together tightly and let the glue dry completely.
Step 8: Sanding the Cane Smooth
Sanding is the secret to a professional-looking finish. Start with a coarse 80-grit sandpaper to remove any deep tool marks, scratches, or dried glue. Once the entire cane feels uniform, move on to a medium 120-grit paper. Continue progressing to a finer 220-grit, and finally a 400-grit sandpaper. By the time you finish with the 400-grit, the wood should feel as smooth as glass to the touch. Pay special attention to the handle, as this area will be in constant contact with your hand.
Step 9: Applying the Finish
A good finish protects the wood from moisture, dirt, and daily wear while highlighting the natural grain patterns. You can use a traditional oil finish like boiled linseed oil or tung oil for a deep, rich look. Apply the oil generously with a clean rag, let it soak in for ten minutes, and wipe off the excess. Apply three to four coats, allowing each coat to dry overnight. For maximum durability and a glossy shine, you might prefer brushing on two coats of clear polyurethane instead.
Step 10: Adding the Rubber Tip
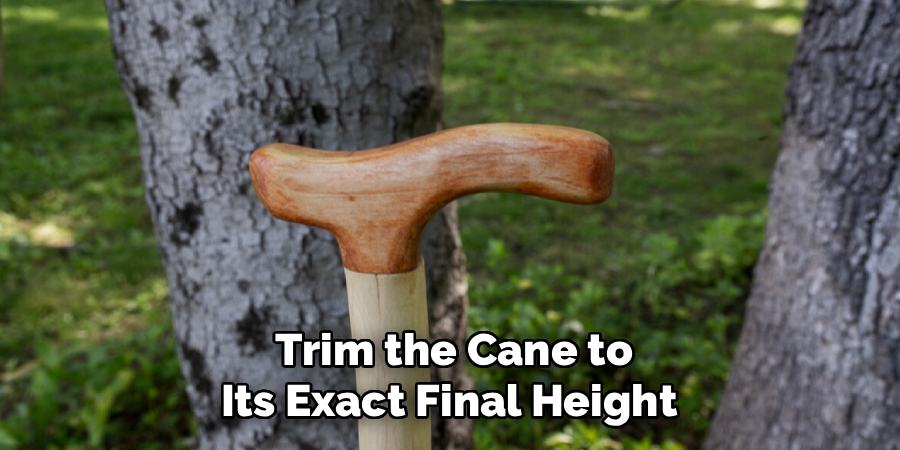
The final step is to trim the cane to its exact final height and attach a rubber tip to the bottom. Stand with the cane one last time to double-check the measurement against your wrist crease. Make your final cut with a fine-toothed saw to prevent splintering. Purchase a heavy-duty rubber cane tip from a pharmacy or medical supply store. Slide the rubber tip firmly onto the base of the wood. This simple addition provides essential traction, preventing the cane from slipping on smooth floors or wet pavement.
5 Things You Should Avoid
- Using Softwoods: Avoid woods like pine, fir, or cedar. They are too soft to safely support a person’s weight and can snap unexpectedly.
- Rushing the Drying Process: Do not carve green wood immediately. It will warp, twist, or crack as it dries, ruining your hard work.
- Incorrect Measurements: Do not guess the height. A cane that is too tall or too short will cause shoulder pain and poor posture.
- Weak Handle Joints: If attaching a separate handle, avoid using just glue or nails. Always use a thick hardwood dowel to ensure the joint is secure.
- Skipping the Rubber Tip: Never use a bare wooden tip on hard floors. It will easily slide out from under you and quickly wear down the bottom of the cane.
Frequently Asked Questions
- How Long Does the Wood Need to Dry?
Depending on the thickness of the branch, drying takes between six months to a year.
You must store the wood in a dry, cool place to prevent rotting.
Sealing the ends with wax or paint stops the wood from drying too fast.
Drying too quickly causes deep cracks that ruin the structural integrity.
You will know the wood is ready when it feels significantly lighter in weight. - What is the Best Finish for a Walking Cane?
Boiled linseed oil is fantastic because it brings out the wood’s natural beauty.
Tung oil is another excellent choice that hardens inside the wood fibers.
If you plan to use the cane in heavy rain, marine spar varnish offers great protection.
Polyurethane creates a very durable, hard shell over the exterior of the cane.
Applying a coat of paste wax over your finish will make the handle incredibly smooth. - Can I Attach a Different Handle to a Straight Shaft?
Yes, attaching a separate handle is a very common and effective technique.
You should use a strong mortise and tenon joint or a thick hardwood dowel.
Make sure you use a high-quality wood glue that expands into the wood fibers.
Always clamp the pieces tightly together and let them sit for at least twenty-four hours.
Carve the transition area smoothly so the handle blends seamlessly into the main shaft.
Conclusion
How to make a cane out of wood is a deeply satisfying process that turns raw timber into a highly personalized walking aid.
By taking your time to source the right materials, measure accurately, and finish the wood properly, you will create a strong, beautiful piece that will last for years. Remember that patience is your best tool, especially during the drying and sanding phases.
Enjoy the craftsmanship journey, and step confidently with a cane made exactly for you.

About
Mike May is a distinguished figure in the world of woodworking and timber design, with a decade of expertise creating innovative and sustainable indoor solutions. His professional focus lies in merging traditional craftsmanship with modern manufacturing techniques, fostering designs that are both practical and environmentally conscious. As the author of Woodimber, Mike delves into the art and science of timber-craft, inspiring artisans and industry professionals alike.
Education
RMIT University (Melbourne, Australia)
-
Associate Degree in Design (Timber): Focus on sustainable design, industry-driven projects, and practical craftsmanship.
-
Gained hands-on experience with traditional and digital manufacturing tools, such as CAD and CNC software.
Nottingham Trent University (United Kingdom)
-
Bachelor’s in Woodworking and Product Design (Honors): Specialized in product design with a focus on blending creativity with production techniques.
-
Participated in industry projects, working with companies like John Lewis and Vitsoe to gain real-world insights.
Publications and Impact
In Woodimber, May shares his insights on timber design processes, materials, and strategies for efficient production. His writing bridges the gap between artisan knowledge and modern industry needs, making it a must-read for both budding designers and seasoned professionals.