

Welcoming native birds into your garden brings vibrant life, beautiful songs, and natural pest control to your outdoor space. As a home gardener, you already nurture plants and flowers, but providing safe shelter for local wildlife takes your backyard ecosystem to the next level. Crafting a simple nesting box is an incredibly rewarding weekend project that requires minimal tools and experience.
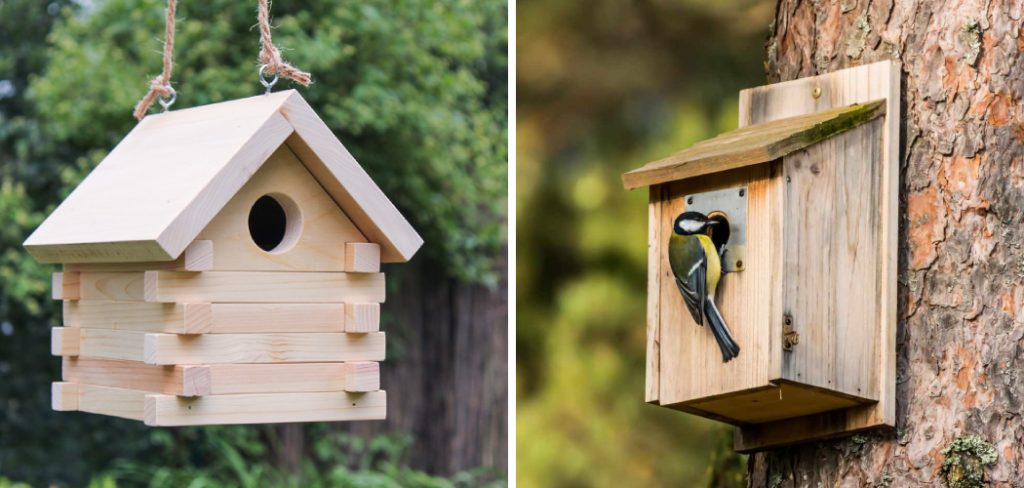
You do not need to be a master carpenter to create a beautiful, functional shelter for your feathered friends. By following a few fundamental woodworking principles, anyone can build a sturdy and weather-resistant nesting box. If you have been wondering how to make a bird house out of wood, you are in the right place. We will walk you through the entire process, from selecting the right lumber to hanging your finished creation in the perfect garden spot. Gather your basic tools, clear off a workspace, and let us start building a wonderful new home for your local birds.
Step-By-Step Guide: How to Make a Bird House Out of Wood
Step 1: Select the Proper Wood and Materials
Choosing the right materials determines how long your nesting box will survive the outdoor elements. Cedar and redwood remain the absolute best choices for outdoor garden projects because they naturally resist rotting and insect damage. You want to purchase untreated lumber, as the harsh chemicals in pressure-treated wood can harm delicate birds and their young hatchlings.
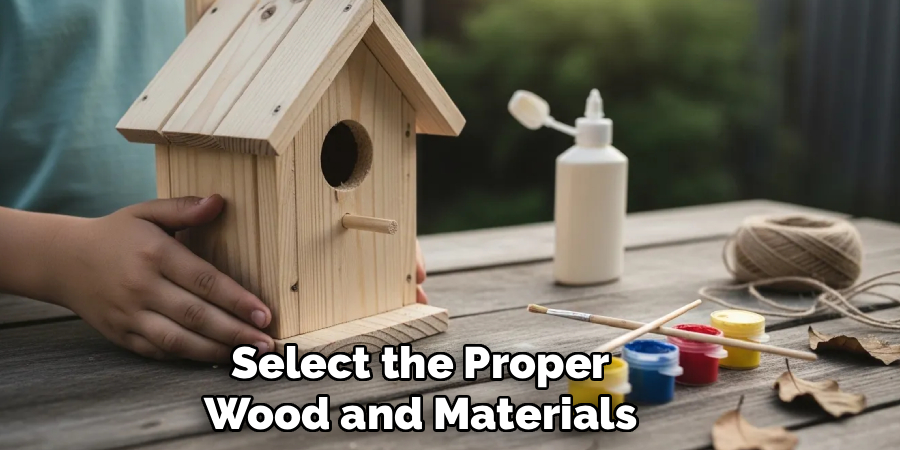
A standard piece of one-by-six cedar board measuring about six feet long provides more than enough material for a standard single-cavity box. Avoid using pressed plywood or particle board, as these materials quickly swell and fall apart when exposed to rain. Pick lumber with a rough exterior surface if possible, because young fledglings need rough texture to grip when climbing out of the nest.
Step 2: Measure and Mark Your Wooden Board
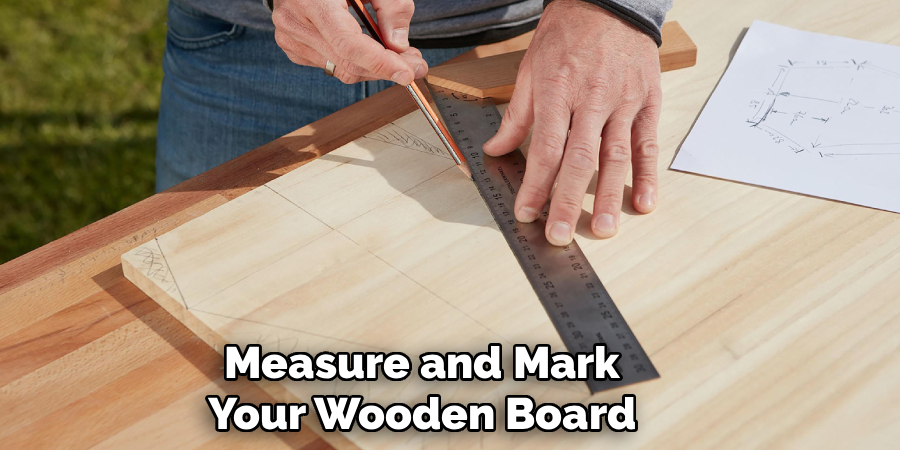
Accurate measurements ensure that all your pieces fit together tightly, keeping cold drafts and rain away from the nesting birds. You need to cut six distinct pieces from your single board: a floor, a roof, two side walls, a front face, and a back panel. Grab a metal tape measure, a straight edge, and a carpenter pencil to mark your cuts clearly.
The back panel should be the longest piece, allowing you extra room at the top and bottom for mounting the box to a tree or post. The roof needs an angled overhang to shed rainwater effectively. Double-check every single measurement before you power up your saw. Taking your time during this layout phase prevents wasted wood and guarantees a much smoother assembly process later on.
Step 3: Cut the Pieces Safely and Accurately
Once you have marked your board, it is time to cut out the individual components. You can use a hand saw, a circular saw, or a compound miter saw depending on what you have available in your garage. Always wear proper eye protection and a dust mask when cutting lumber to keep yourself safe.
Cut along the outside edge of your pencil lines so your pieces do not end up slightly too small. For the roof to sit securely and shed water, you must cut the top edges of the two side walls at a matching downward angle. If any edges feel exceptionally splintered after cutting, leave them alone rather than sanding them perfectly smooth. Birds actually prefer a slightly rougher surface, as it mimics the natural texture of hollowed-out tree trunks.
Step 4: Drill the Entrance Hole and Ventilation
The entrance hole acts as the front door for your feathered guests, and its size dictates exactly which species will move in. For common garden birds like chickadees or wrens, a hole measuring one and one-eighth inches in diameter works perfectly. Use a power drill with a sharp spade bit or hole saw attachment to cut this entrance near the top of the front panel.
Next, you must create adequate ventilation so the interior does not overheat during warm summer afternoons. Drill three or four small, quarter-inch holes near the top edge of the side panels to allow hot air to escape. Finally, drill four small holes directly through the floor piece to ensure any rainwater that blows inside can drain out quickly.
Step 5: Assemble the Walls and Floor
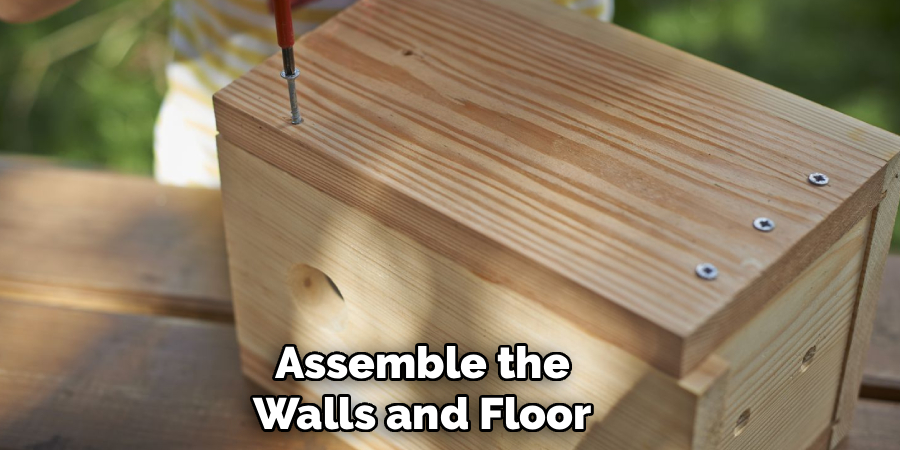
With all your pieces cut and drilled, you can finally begin putting the structure together. Start by attaching the two side walls to the back panel. Apply a thin line of weather-resistant wood glue along the connecting edges for extra strength. Use galvanized finishing nails or exterior-grade wood screws to secure the pieces firmly together.
Once the sides are attached to the back, slide the floor piece into place at the bottom. Position the floor slightly recessed up from the bottom edges of the walls rather than flush with them. This recessed design creates a drip edge that stops rainwater from seeping into the floor seam. Secure the floor piece with screws so the nesting box remains completely stable against strong garden winds.
Step 6: Attach the Front Panel and Roof
The front panel and roof complete the main structure, but you need to attach them thoughtfully. Secure the front piece using nails or screws only at the top edge, creating a simple hinge mechanism. This allows you to swing the front panel open upward so you can clean out old nesting materials at the end of the breeding season. Drill a single screw at the bottom as a latch to keep it closed.
For the roof, position it over the top of the walls so it overhangs the entrance hole significantly. This overhang acts like an awning, protecting the entrance from driving rain and intense midday sun. Fasten the roof securely to the back panel and side walls using wood glue and several exterior screws to ensure it never blows off.
Step 7: Protect the Exterior
Your completed project needs some basic protection to withstand the elements, but you must be careful about what products you apply. Never paint or stain the inside of the box, as the fumes remain toxic to birds long after drying. You can leave cedar or redwood completely bare, allowing it to weather naturally into a beautiful silvery-gray color that blends into the garden.
If you prefer to paint the outside to match your home, use water-based, non-toxic exterior latex paint. Stick to natural, muted colors like sage green, brown, or slate gray. Bright colors like red or yellow might look charming to us, but they attract unwanted predators to the nest. Allow any paint or finish to dry in a well-ventilated area for at least two full weeks before mounting.
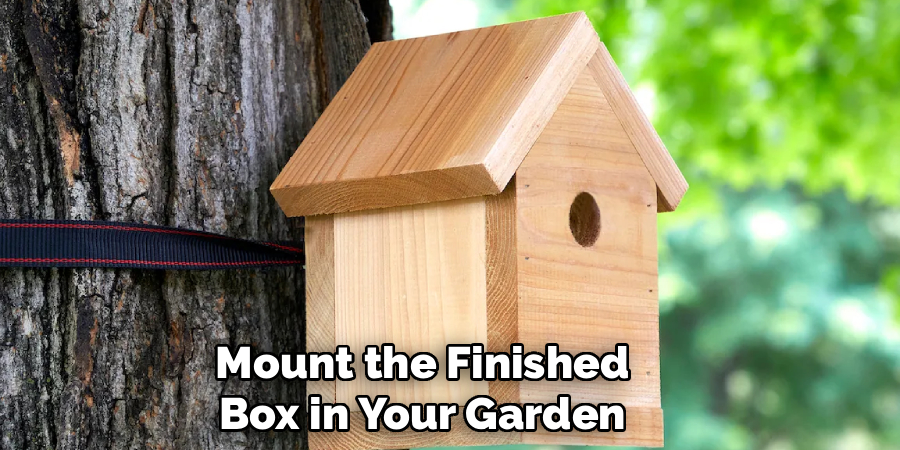
Step 8: Mount the Finished Box in Your Garden
Finding the perfect location in your garden is the final crucial step for attracting feathered tenants. Mount the box firmly to a sturdy wooden post, a metal pole, or a mature tree trunk facing away from prevailing winds. The entrance hole should face east or south to catch the warm morning sun while avoiding harsh afternoon heat.
Position the shelter between five and twelve feet off the ground to deter predators like neighborhood cats or raccoons. Ensure the mounting structure feels completely stable, as birds will abandon a box that sways heavily in the breeze. Once securely fastened, step back and admire your handiwork. With a little patience, you will soon see local garden birds investigating their brand-new, handcrafted home.
Frequently Asked Question
What Is The Best Wood To Use For Outdoor Bird Projects?
Cedar and redwood are the optimal choices for outdoor wooden shelters.
- They contain natural oils that resist rot and insect damage.
- They withstand harsh weather conditions without requiring chemical treatments.
- They provide a natural, rustic appearance that blends beautifully into garden environments.
Pine can be used if you are on a budget, but it will not last nearly as long outdoors.
Should I Add A Wooden Peg Or Perch Below The Hole?
You should never add a peg or perch to the outside of your nesting box.
- Cavity-nesting birds do not need perches to access the entrance hole.
- Perches actually help predators like snakes, raccoons, and larger aggressive birds gain access to the eggs inside.
Keeping the exterior completely flat is the safest design for the hatchlings.
How Often Do I Need To Clean Out The Inside?
You need to clean the interior at least once a year, preferably in late autumn after the breeding season ends.
- Remove all old twigs, grass, and debris left behind.
- Scrub the interior lightly with a weak solution of water and white vinegar.
- Leave the door open to let the inside dry completely before securing it for the winter.
Do I Need To Sand The Wood Until It Is Smooth?
No, you do not need to sand the lumber perfectly smooth. In fact, birds strongly prefer rough wood.
- Rough interior walls help young fledglings grip the sides when climbing toward the exit.
- Natural, unsanded textures mimic the inside of hollow trees where birds naturally nest.
You only need to sand away sharp, dangerous splinters near the entrance hole to prevent injuries.
Why Do Birds Ignore My Brand New Box?
Birds can be incredibly picky about where they choose to raise their young.
- The box might be mounted too low to the ground, making them feel unsafe from predators.
- The location might receive too much direct, hot sunlight during the afternoon.
- It often takes a full season for local wildlife to notice and trust a new structure in the garden.
Conclusion
Creating a safe haven for local wildlife is a wonderful way to connect with nature right in your own backyard. By taking the time to carefully measure, cut, and assemble your materials, you provide a sturdy shelter that will protect generations of hatchlings from the elements and predators. You can proudly hang your new creation knowing you followed the best practices for wildlife safety and woodworking.
If you have been waiting for the right moment to start a simple DIY project, let this be your inspiration. Knowing exactly how to make a bird house out of wood gives you the power to transform simple cedar boards into a bustling center of garden activity. Grab your tools, pick up some lumber, and enjoy the rewarding process of building something beautiful for the natural world.

About
Mike May is a distinguished figure in the world of woodworking and timber design, with a decade of expertise creating innovative and sustainable indoor solutions. His professional focus lies in merging traditional craftsmanship with modern manufacturing techniques, fostering designs that are both practical and environmentally conscious. As the author of Woodimber, Mike delves into the art and science of timber-craft, inspiring artisans and industry professionals alike.
Education
RMIT University (Melbourne, Australia)
-
Associate Degree in Design (Timber): Focus on sustainable design, industry-driven projects, and practical craftsmanship.
-
Gained hands-on experience with traditional and digital manufacturing tools, such as CAD and CNC software.
Nottingham Trent University (United Kingdom)
-
Bachelor’s in Woodworking and Product Design (Honors): Specialized in product design with a focus on blending creativity with production techniques.
-
Participated in industry projects, working with companies like John Lewis and Vitsoe to gain real-world insights.
Publications and Impact
In Woodimber, May shares his insights on timber design processes, materials, and strategies for efficient production. His writing bridges the gap between artisan knowledge and modern industry needs, making it a must-read for both budding designers and seasoned professionals.