

Beyblade battles bring incredible excitement to any tabletop, but standard plastic arenas can easily crack or warp after intense play. Upgrading to a custom wooden arena provides a highly durable, personalized battleground that significantly enhances every single match. If you are tired of flimsy plastic boundaries and want to elevate your spinning top experience, you have found the perfect weekend project. This comprehensive guide is tailored specifically for hobbyists and beginners who want to create something truly unique and robust.
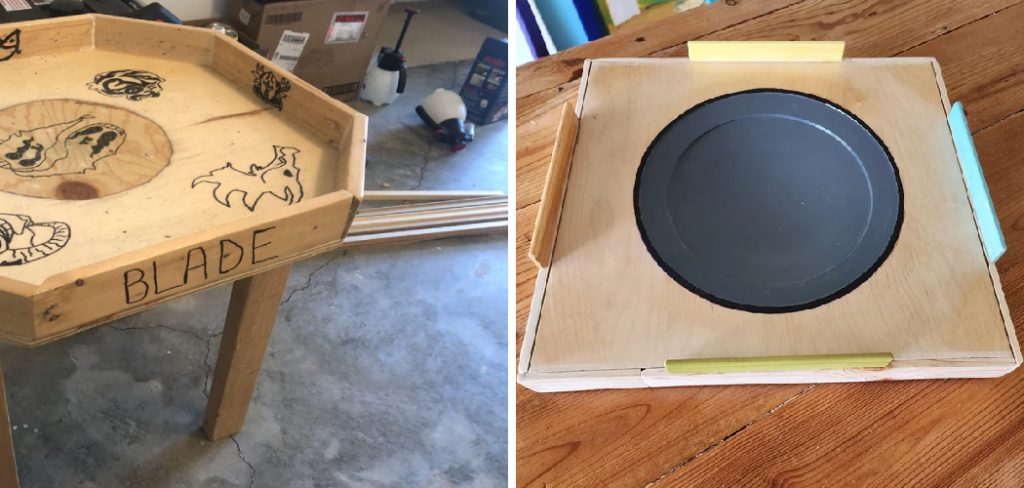
You do not need a professional woodworking shop or decades of carpentry experience to achieve amazing results. By following our straightforward instructions, you will learn exactly how to make a beyblade stadium out of wood using basic, accessible materials. Crafting your own battleground allows you to control the exact size, the slope dynamics, and the final aesthetic finish. Let us gather our essential supplies, clear off a sturdy workbench, and dive right into this highly rewarding DIY adventure.
Step-By-Step Guide: how to make a beyblade stadium out of wood
Step 1: Gather Your Necessary Supplies
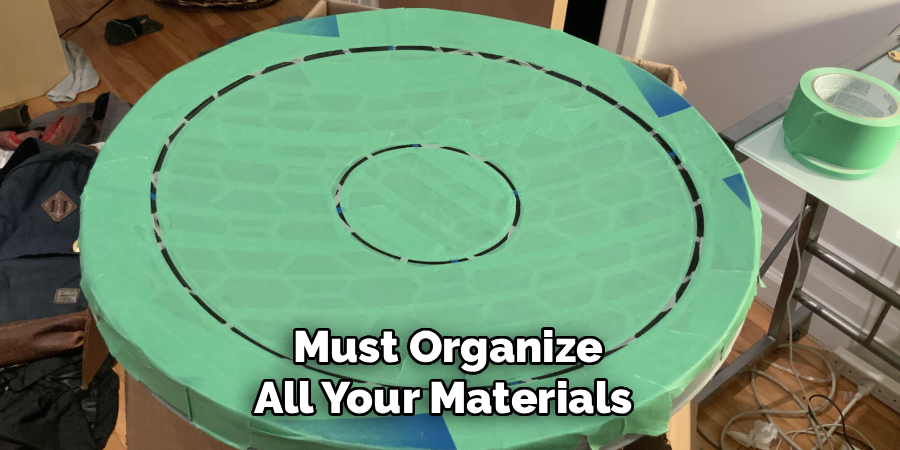
Before you make a single cut, you must organize all your materials and tools in your designated workspace. Having everything within arm’s reach prevents frustrating interruptions once the assembly process begins. You will need a sturdy square piece of smooth plywood for the base, flexible wood strips or hardboard for the outer walls, and high-quality wood glue. Grab your jigsaw, a power sander, a tape measure, a pencil, and several heavy-duty clamps to hold your pieces securely. Safety must always come first, so ensure you have clear safety glasses and a reliable dust mask ready to wear throughout the build.
Step 2: Choose and Prep the Plywood Base
Selecting the proper lumber determines the overall stability and weight of your final arena. A half-inch thick sheet of premium birch or pine plywood offers an excellent balance between structural strength and a beautifully smooth grain. Thicker boards become unnecessarily heavy, while thinner boards might warp when you apply glue and paint. Lay your chosen plywood completely flat on your workbench and gently wipe down the entire surface with a dry microfiber cloth to remove any lingering dust. Inspect the board carefully to avoid areas with deep knots or structural imperfections that could interrupt your spinning tops.
Step 3: Draw and Cut the Circular Base
Creating a perfectly round base requires a steady hand and a clever drawing technique. Tie a sturdy string to a pencil, pin the other end to the exact center of your plywood board, and trace a large, perfect circle. Secure your board tightly to the edge of the workbench using your heavy clamps before picking up your jigsaw. Put on your safety glasses, align the blade with your pencil line, and carefully turn the tool on. Push the saw forward slowly, allowing the blade to do the heavy lifting as you navigate the smooth circular curve.
Step 4: Prepare the Flexible Stadium Walls
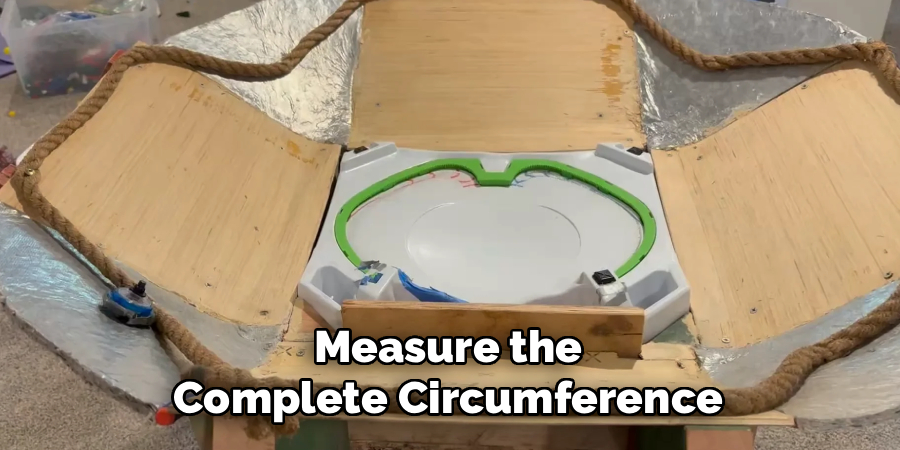
A proper arena needs high, sturdy walls to keep the spinning tops safely contained during aggressive clashes. You can use flexible hardboard strips or extremely thin plywood that bends easily without snapping. Measure the complete circumference of your freshly cut wooden base using a flexible measuring tape to determine the exact length of wall material needed. Cut your flexible wood strip to a height of about four to six inches to ensure maximum containment. Test the flexibility of your cut strip by gently bending it into a curve before attempting to attach it to the solid base piece.
Step 5: Attach the Walls to the Base
Securing the curved wall to your flat base requires patience and a generous amount of strong wood glue. Apply a continuous, thick bead of wood glue along the outer edge of your circular plywood base. Carefully wrap the flexible wall strip around the glued edge, pressing firmly to ensure complete contact. Use several clamps spaced evenly around the perimeter to hold the curved wall tightly against the base while the glue cures overnight. Wipe away any excess glue that squeezes out immediately using a damp cloth, as dried glue blocks paint and stain from absorbing properly.
Step 6: Sand the Arena Surface Smooth
When discovering how to make a beyblade stadium out of wood, mastering the sanding process is absolutely crucial for optimal top performance. Any rough patches or splinters will drastically slow down your spinning tops and ruin the battle dynamics. Grab a power sander equipped with medium-grit sandpaper and gently smooth out the joint where the wall meets the floor. Switch to a fine-grit sandpaper and thoroughly buff the entire flat base until it feels as smooth as glass. Wipe the arena down meticulously with a tack cloth to remove every microscopic particle of sawdust before applying finishes.
Step 7: Apply the Protective Finishing Coats
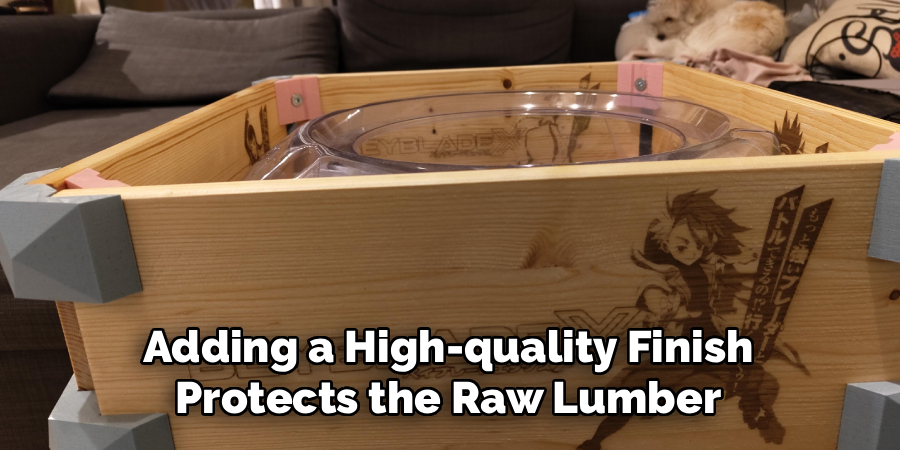
Adding a high-quality finish protects the raw lumber from moisture and provides a slick surface for intense battles. You can apply a dark wood stain for a classic, rustic appearance or use vibrant acrylic paints to customize the arena with your unique colors. Allow your chosen color layer to dry completely in a well-ventilated area. Once the paint cures, brush on two or three thin coats of clear polyurethane or epoxy resin to create a hard, glossy barrier. This protective clear coat ensures your wooden surface remains incredibly slick and dramatically reduces friction during high-speed top collisions.
Step 8: Test and Refine the Battle Surface
The final phase involves putting your newly crafted masterpiece to the ultimate test with your favorite spinning tops. Launch a couple of your tops into the center and closely observe how they move across the hardened surface. Pay special attention to whether they bounce unexpectedly or lose stamina too quickly due to hidden surface friction. If you notice any sluggish areas, you can lightly buff the clear coat with ultra-fine steel wool to increase the slickness. Once the tops glide effortlessly across the board and ricochet cleanly off the walls, your custom arena is officially ready for tournament action.
Frequently Asked Question
What Is The Best Wood For The Stadium Base?
Birch plywood is generally considered the absolute best option for the main battle floor.
- It features an incredibly smooth, tight grain that requires minimal sanding.
- Birch resists warping better than standard softwood plywood.
- It absorbs wood stains and acrylic paints very evenly.
- The medium density provides excellent structural strength without making the finished arena too heavy to transport.
How Can I Make The Arena Floor Sloped?
Creating a sloped or concave floor encourages tops to meet in the center for aggressive clashes.
- Start with a thicker piece of solid wood or glued MDF layers.
- Use a specialized woodworking router or an angle grinder with a sanding disc to carefully carve out a shallow bowl shape.
- Sand the carved slope meticulously to ensure there are no uneven bumps that could derail the spinning tops.
Can I Use Cardboard Instead Of Wood For The Walls?
While wood provides the best durability, heavy-duty cardboard can serve as a temporary alternative for the outer boundaries.
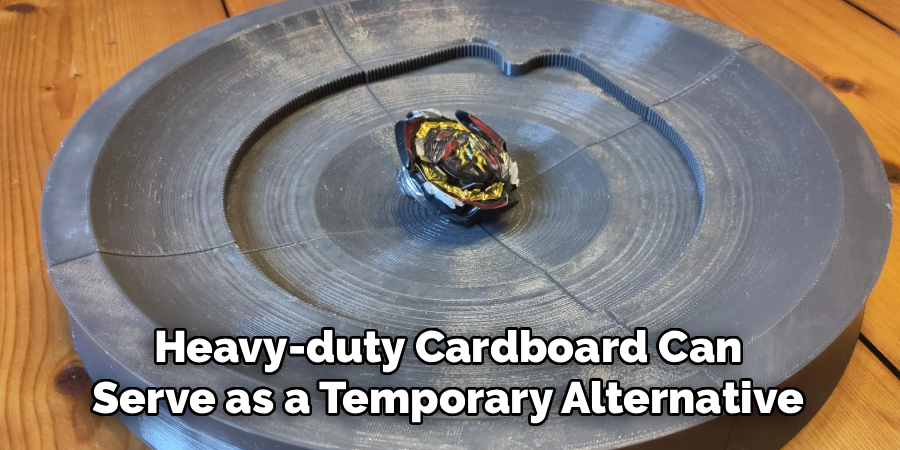
- Cardboard is much easier to bend and cut with standard household scissors.
- It absorbs impacts well but will eventually dent and degrade over time.
- If you want a permanent, high-quality stadium, flexible hardboard or thin wood veneer remains the superior choice for containment walls.
What Finish Makes The Tops Spin Longest?
Reducing surface friction is the ultimate secret to prolonging the stamina of your battling tops.
- A poured two-part epoxy resin creates a glass-like, flawless surface that offers zero resistance.
- Several coats of high-gloss polyurethane spray also work exceptionally well if applied over a perfectly sanded base.
- Avoid matte paints or rough wood stains, as the textured surfaces will quickly drain the rotational energy from your toys.
How High Should The Outer Walls Be?
Proper wall height prevents dangerous fly-outs while maintaining clear visibility of the exciting tabletop action.
- Four to six inches is the ideal height for standard indoor battles.
- This height easily contains aggressive jumps and heavy ricochets.
- If the walls are built too high, it becomes difficult for players to properly angle their launchers over the arena floor.
Conclusion
Building your own custom props and game boards provides a deeply rewarding experience that perfectly blends practical woodworking skills with creative playtime. From carefully cutting the perfectly round base to applying the sleek, friction-reducing clear coat, every step of this project allows you to tailor the final product to your exact battle preferences. The time and effort you invest in sanding and finishing the lumber directly translates into faster, more exciting tabletop clashes that your standard plastic arenas simply cannot match.
Now that you understand exactly how to make a beyblade stadium out of wood, it is time to grab your safety glasses and start cutting. Do not worry if your first attempt has a few minor imperfections; those unique quirks simply add character to your personal battleground. Set up your tools, follow the steps closely, and enjoy the immensely satisfying process of building a permanent, epic arena for you and your friends to enjoy.

About
Mike May is a distinguished figure in the world of woodworking and timber design, with a decade of expertise creating innovative and sustainable indoor solutions. His professional focus lies in merging traditional craftsmanship with modern manufacturing techniques, fostering designs that are both practical and environmentally conscious. As the author of Woodimber, Mike delves into the art and science of timber-craft, inspiring artisans and industry professionals alike.
Education
RMIT University (Melbourne, Australia)
-
Associate Degree in Design (Timber): Focus on sustainable design, industry-driven projects, and practical craftsmanship.
-
Gained hands-on experience with traditional and digital manufacturing tools, such as CAD and CNC software.
Nottingham Trent University (United Kingdom)
-
Bachelor’s in Woodworking and Product Design (Honors): Specialized in product design with a focus on blending creativity with production techniques.
-
Participated in industry projects, working with companies like John Lewis and Vitsoe to gain real-world insights.
Publications and Impact
In Woodimber, May shares his insights on timber design processes, materials, and strategies for efficient production. His writing bridges the gap between artisan knowledge and modern industry needs, making it a must-read for both budding designers and seasoned professionals.