

Welcoming wildlife into your provides incredible benefits for your local ecosystem, and building a dedicated shelter is a rewarding weekend project. Many homeowners struggle with annoying evening insects and seek natural ways to keep their outdoor spaces comfortable.
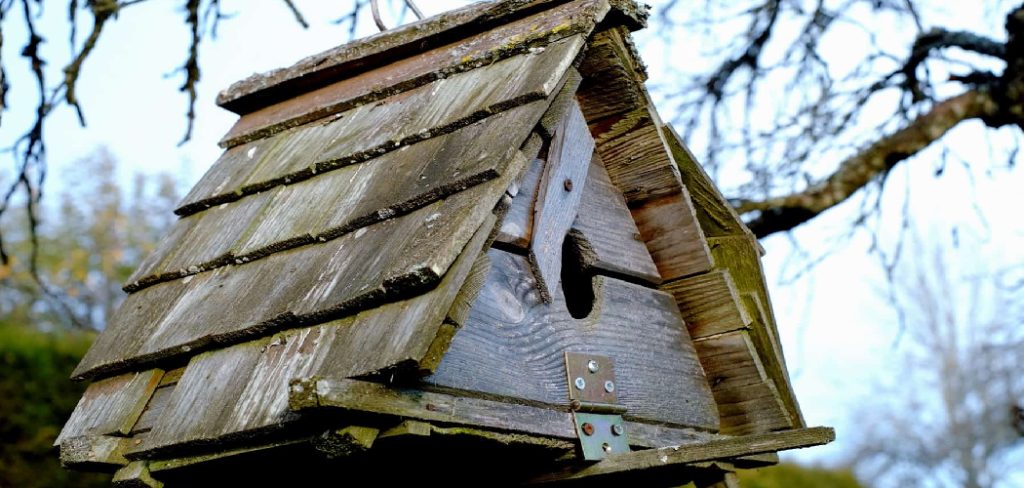
Setting up a proper roosting spot invites these fascinating nocturnal creatures to stick around and help manage the bug population. If you have some basic tools and a bit of spare lumber, learning how to make a bat house out of wood is a fantastic way to support nature while practicing your carpentry skills. Proper construction ensures the interior stays warm, dry, and safe from predators. This guide provides everything you need to know to create a durable, effective shelter that local colonies will gladly call home.
Why Build a Wooden Roosting Box
Creating a dedicated space for nocturnal wildlife offers tremendous advantages for both the environment and your own backyard comfort. Bats act as nature’s ultimate pest controllers, consuming thousands of mosquitoes, moths, and agricultural pests every single night. By inviting them to reside on your property, you dramatically reduce the need for harsh chemical bug sprays, creating a safer environment for your family and pets.
Beyond pest control, providing a secure roosting location plays a critical role in conservation efforts. Natural habitats face constant threats from deforestation and urban development, leaving many colonies without safe places to raise their young. Wooden boxes mimic the tight, warm crevices found beneath tree bark or inside hollowed trunks. Using wood provides excellent insulation, which is crucial since these mammals require high temperatures to thrive. A well-built wooden shelter gives them a fighting chance to maintain healthy populations and continue their vital role in our ecosystem.
Step-by-Step Guide to How to Make a Bat House Out of Wood
Step 1: Gathering Supplies for
Your project begins with selecting the appropriate materials for the job. You need high-quality exterior-grade plywood or rough-sawn cedar, as these woods withstand outdoor weather conditions exceptionally well. Avoid using pressure-treated lumber, as the chemicals can harm the animals. You will also need exterior screws, non-toxic outdoor wood glue, dark exterior paint, and a reliable waterproof caulk. Having a circular saw, a drill, and a staple gun on hand will make the assembly process much smoother. Organizing your workspace before making any cuts ensures you work safely and efficiently.
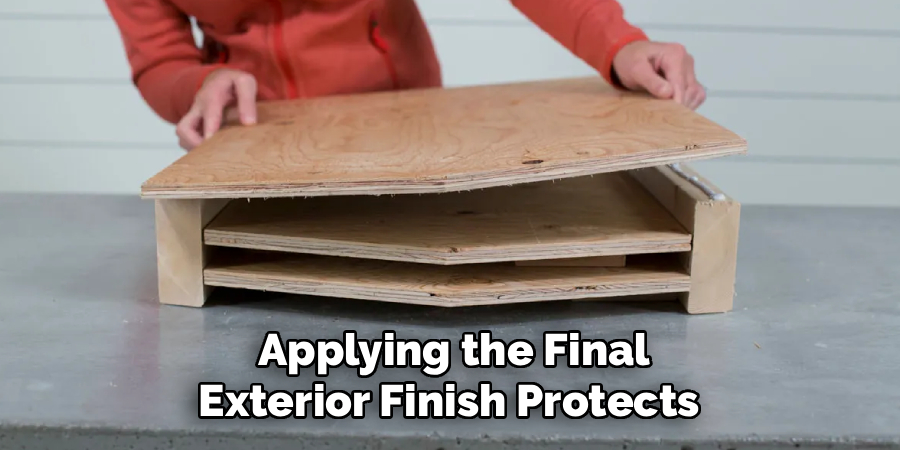
Step 2: Measuring and Cutting the Lumber
Precision matters when constructing a warm, draft-free shelter. Measure your wood to create a tall, rectangular box with a slanted roof to shed rainwater. The back panel should be longer than the front to create a landing pad at the bottom. The interior needs to be tight, with a roosting chamber about one inch wide to mimic the narrow crevices the animals prefer. Double-check all your measurements before making any cuts with your saw. Accurate cuts prevent gaps in the final assembly, which is essential for maintaining the warm temperatures required inside the box.
Step 3: Texturing the Interior Surfaces
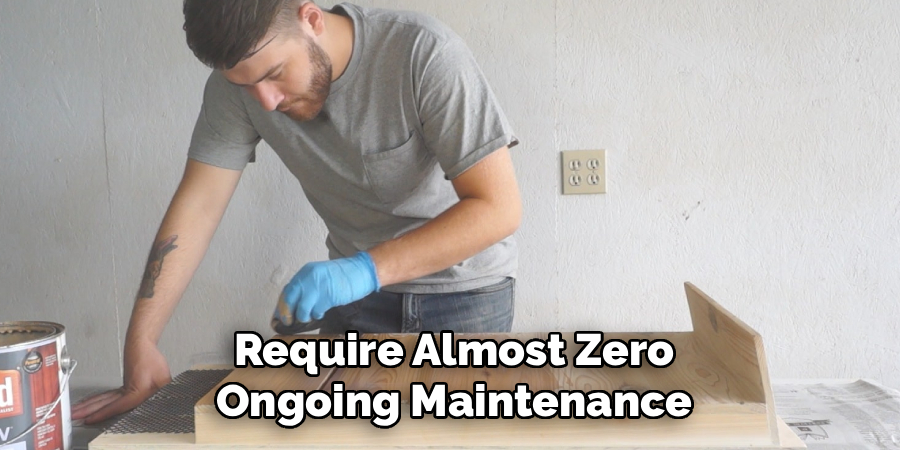
These creatures need rough surfaces to grip onto when climbing and resting inside the box. Before you assemble the pieces, take your saw or a sharp chisel and create horizontal grooves across the inside face of the front and back panels. Space these grooves about half an inch apart. Alternatively, you can staple heavy-duty plastic mesh securely to the interior walls. If you use mesh, ensure every edge is firmly stapled down so it does not sag or trap the animals. A highly textured interior is a non-negotiable feature for a successful roost.
Step 4: Adding Proper Ventilation Slats
Even though the interior needs to remain warm, proper air circulation prevents the box from dangerously overheating during hot summer afternoons. You must create a ventilation slot horizontally across the lower front panel. Cut a narrow gap, no more than half an inch wide, to allow fresh air to enter without letting in too much cold wind or unwanted light. Proper airflow regulates the internal climate perfectly. Place this vent carefully so it does not compromise the structural integrity of the front panel while still serving its vital cooling purpose.
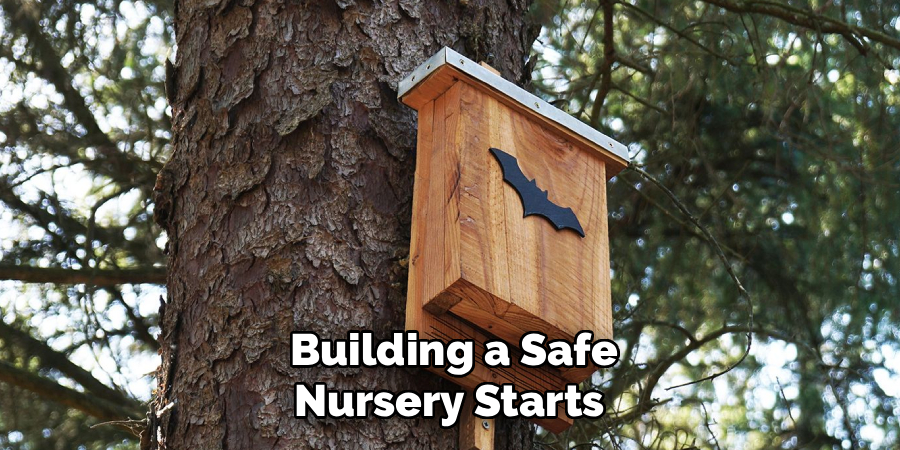
Step 5: Assembling the Main Structure
Now you will bring all your prepared pieces together to form the main box. Apply a generous bead of non-toxic outdoor wood glue along the edges of your side panels. Place the back panel against the glued edges and secure it tightly using your exterior screws. Repeat this process for the front panel, ensuring the ventilation slot sits near the bottom. The glue acts as a sealant against drafts, while the screws provide the heavy-duty structural support required to survive harsh storms. Wipe away any excess glue from the interior before it dries.
Step 6: Sealing the Joints and Roof
A damp interior will cause the colony to abandon the shelter immediately, making waterproofing a critical step. Run a thick line of waterproof exterior caulk along every single exterior seam where the wood panels meet. Pay special attention to the roof line, as this area takes the direct brunt of rain and snow. Attach your slanted roof piece with screws and seal the edges completely. You want the box to be entirely airtight everywhere except the intentional bottom opening and the front ventilation slot. Smooth the caulk with your finger to ensure a watertight bond.
Step 7: Painting the Exterior Properly
Color plays a massive role in regulating the internal temperature of your wooden shelter. You should apply at least two coats of exterior-grade, water-based paint to the outside of the box. Do not paint the inside, as the fumes and slick surface will repel the wildlife. If you live in a northern climate, use black or dark brown paint to absorb maximum sunlight. For southern, hotter climates, a medium gray or brown works best. The paint also acts as a final protective barrier for the wood, significantly extending the lifespan of your project.
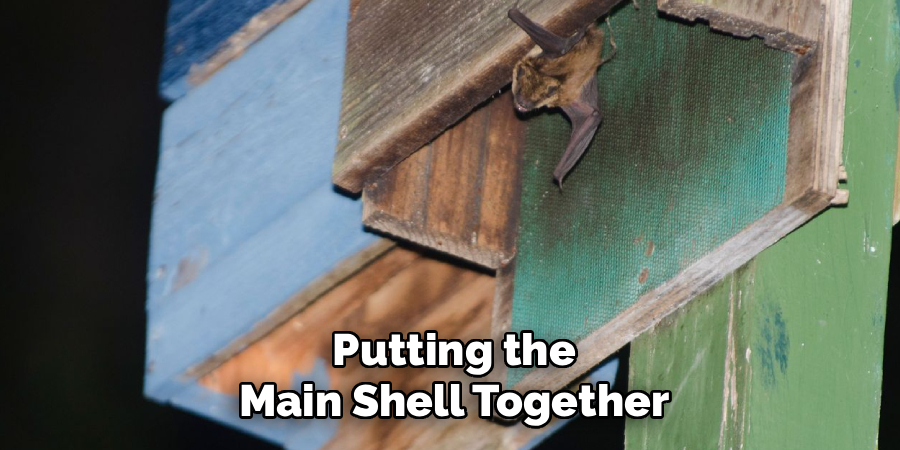
Step 8: Mastering By Mounting It
The final phase involves placing your completed shelter in the optimal location. You must mount the box at least fifteen to twenty feet off the ground to protect the inhabitants from ground predators. Choose a spot on the side of a building or a wooden pole that receives at least six hours of direct morning sunlight. Avoid mounting it directly on a tree, as branches provide easy access for predators and create too much shade. Secure the box tightly using heavy-duty lag bolts, ensuring it will not sway or rattle during heavy winds.
Frequently Asked Questions
What Is The Best Wood To Use For This Project?
The absolute best materials for this woodworking project are naturally rot-resistant woods like rough-sawn cedar or white oak. Exterior-grade plywood also works exceptionally well and is often more budget-friendly. You must always avoid pressure-treated lumber because the chemical preservatives can be highly toxic to the wildlife. Using untreated, rough-surfaced wood provides a safe environment while ensuring the box lasts through many harsh weather seasons.
How Long Does It Take For Them To Move In?
Patience is absolutely essential when introducing a new shelter to your local ecosystem. It can take anywhere from a few months to a couple of years for a local colony to discover and occupy your new box. You increase your chances of early occupancy by mounting the box before early spring, just before they return from migration or wake from hibernation to search for summer roosts.
Do I Need To Clean The Interior Regularly?
One of the best aspects of this project is that the structure is completely self-cleaning. Because the bottom of the box is entirely open, all droppings fall naturally to the ground below. You never need to open the box or attempt to clean the interior, which is highly beneficial since disturbing a resting colony can cause them to abandon the location permanently.
Why Are My Box Joints Required To Be Airtight?
These animals require very specific, highly elevated temperatures to raise their young successfully. Even a tiny draft from a poorly sealed joint can cause the internal temperature to plummet, making the shelter completely uninhabitable for a nursery colony. Using plenty of outdoor wood glue during assembly and sealing all exterior seams with caulk guarantees the heat stays trapped securely inside the chamber.
Can I Put The Structure On A Tree?
Mounting the structure on a tree is generally discouraged by wildlife experts. Tree leaves create excessive shade, preventing the box from absorbing the solar heat necessary to keep the animals warm. Additionally, branches provide easy access routes for predators like raccoons, owls, and snakes. Mounting the structure high up on a smooth wooden pole or the side of a building is always the safest and most effective choice.
Conclusion
Taking the time to construct a proper backyard habitat offers a wonderful blend of woodworking fun and environmental stewardship. By carefully selecting safe materials, sealing out drafts, and mounting the box in a high, sunny location, you provide a critical sanctuary for these helpful animals. Now that you understand how to make a bat house out of wood, you possess all the knowledge needed to tackle this rewarding weekend project. Gather your supplies, measure carefully, and start building today so your local colony has a warm, safe place to roost when spring arrives.

About
Mike May is a distinguished figure in the world of woodworking and timber design, with a decade of expertise creating innovative and sustainable indoor solutions. His professional focus lies in merging traditional craftsmanship with modern manufacturing techniques, fostering designs that are both practical and environmentally conscious. As the author of Woodimber, Mike delves into the art and science of timber-craft, inspiring artisans and industry professionals alike.
Education
RMIT University (Melbourne, Australia)
-
Associate Degree in Design (Timber): Focus on sustainable design, industry-driven projects, and practical craftsmanship.
-
Gained hands-on experience with traditional and digital manufacturing tools, such as CAD and CNC software.
Nottingham Trent University (United Kingdom)
-
Bachelor’s in Woodworking and Product Design (Honors): Specialized in product design with a focus on blending creativity with production techniques.
-
Participated in industry projects, working with companies like John Lewis and Vitsoe to gain real-world insights.
Publications and Impact
In Woodimber, May shares his insights on timber design processes, materials, and strategies for efficient production. His writing bridges the gap between artisan knowledge and modern industry needs, making it a must-read for both budding designers and seasoned professionals.