

Woodworking offers endless opportunities to create beautiful, tactile objects right in your own backyard or garage. Many beginners look at perfectly round wooden spheres and assume they require expensive, heavy machinery like a wood lathe to produce. However, shaping a smooth sphere by hand is an incredibly rewarding project that teaches valuable carving and sanding skills. You only need a few basic hand tools, a block of lumber, and a little patience to achieve stunning results.

If you have ever wondered exactly how to make a ball out of wood, this guide will walk you through the entire manual process. We will cover everything from selecting the right starting block to applying that final, glossy finish. This project serves as an excellent weekend activity for hobbyists wanting to improve their spatial awareness and tool control. Grab your carving knife, set up your workbench, and let us dive into the deeply satisfying art of shaping a wooden sphere by hand.
Tools and Materials
Before you begin crafting your wooden sphere, it’s essential to gather the appropriate tools and materials to ensure both efficiency and safety throughout the process. Here’s what you’ll need:
Tools:
- Carving knife: A sharp knife with a comfortable handle is crucial for refining details and shaping the wood.
- Chisels: Various sizes of chisels will help remove larger chunks of wood and achieve the rough spherical shape.
- Sandpaper: Start with coarse grit (e.g., 80 grit) for initial smoothing and gradually move to finer grits (e.g., 220 grit) for a polished finish.
- Compass or circle template: Useful for marking a perfect circle onto the wood block as a guide.
- Clamps or vise: To securely hold the wooden block while carving.
- Rasp or file: For refining the shape before sanding.
- Work gloves and safety goggles: Essential for protecting your hands and eyes while working with sharp tools.
Materials:
- Wood block: Choose a block with a fine grain, such as maple, cherry, or beech, as these woods are easy to carve and finish smoothly.
- Wood finish or wax (optional): To seal and enhance the natural beauty of the wood once the sphere is complete.
Having these tools and materials ready will set you up for success and make the carving process enjoyable and rewarding.
Step-By-Step Guide: How to Make a Ball Out of Wood
Step 1: Select the Right Block of Lumber
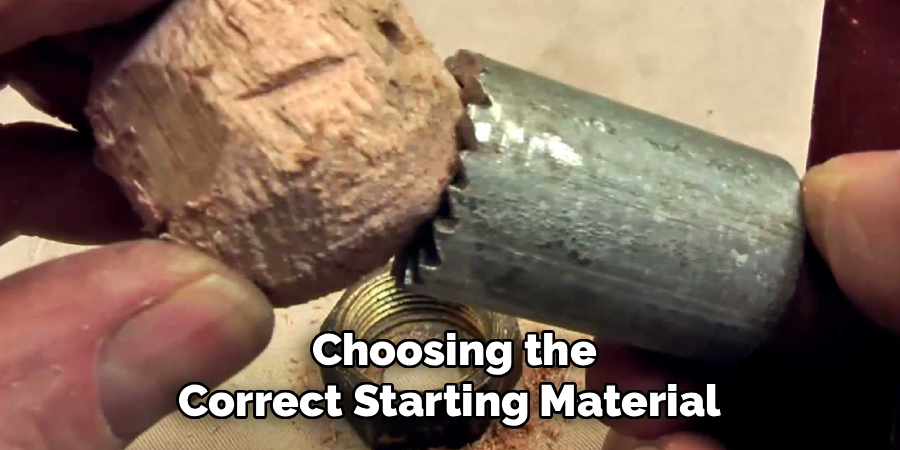
Choosing the correct starting material determines the success of your entire carving project. You want to look for a soft, manageable hardwood that cuts cleanly without splintering easily. Basswood and butternut serve as excellent choices for beginners because their grain structure remains highly forgiving under a hand saw or carving knife. Avoid extremely hard woods like oak or maple for your first attempt, as they require immense physical effort to shape manually. Ensure your chosen block is completely dry, free of deep cracks, and features straight grain patterns to make your initial cuts much easier.
Step 2: Cut the Block Into a Perfect Cube
Before you can create a sphere, you must establish a perfectly symmetrical foundation. Measure your block of wood carefully and use a hand saw to trim it into a flawless cube. Every single side must feature the exact same dimensions to prevent a lopsided final product. Take your time during this step, utilizing a reliable try square to verify that all your corners sit at perfect right angles. Cutting a precise cube removes a significant amount of excess material early on, which saves your hands from unnecessary fatigue during the later carving phases.
Step 3: Mark the Center Points and Circles
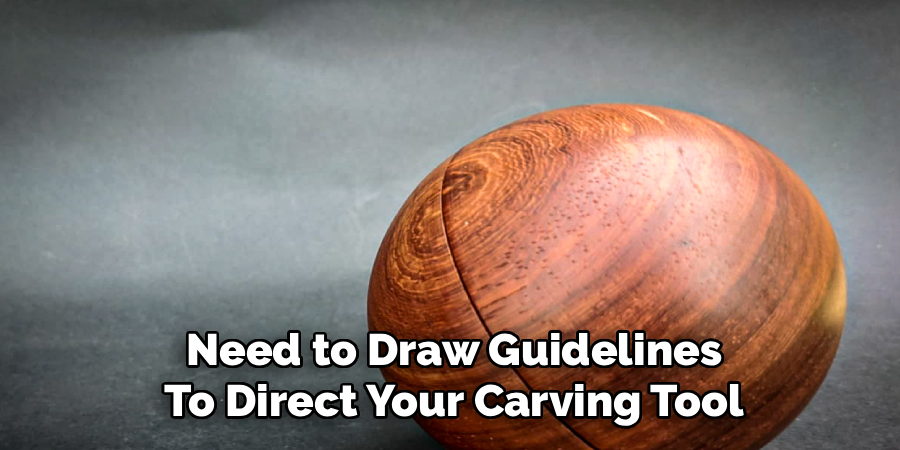
With your perfect cube established, you need to draw guidelines to direct your carving tool. Use a ruler to find the exact center point on all six faces of your wooden block. Place a compass on each center mark and draw a circle that touches the four edges of that specific face. These pencil circles represent the final outer boundary of your wooden sphere. You must draw these lines darkly and clearly, as they will prevent you from cutting too deeply and ruining the rounded shape during the upcoming wood removal process.
Step 4: Trim the Corners to Create an Octagon
Securing your cube in a sturdy bench vise, begin removing the sharp corners with a coping saw or a sharp chisel. You want to cut away the material outside of the pencil circles you drew in the previous step. By slicing off all eight corners of the cube, you effectively transform the block into a rough, multi-sided polygon. Work slowly and methodically, frequently un-clamping the wood to inspect your progress from different angles. Never cut past your drawn boundaries, as those pencil marks act as your ultimate safety net for maintaining the spherical shape.
Step 5: Shave Down the Remaining Edges
Once you have an octagon-like shape, you will notice several new, smaller ridges across the surface of the wood. Switch to a sharp carving knife or a wood rasp to carefully shave down these secondary high points. You are gradually multiplying the number of flat faces on the block, bringing it closer and closer to a continuous curve. Always push the blade away from your body and pay close attention to the direction of the wood grain to avoid tearing the fibers. The block will finally begin to resemble a proper round object during this satisfying phase.
Step 6: Begin the Rough Sanding Process
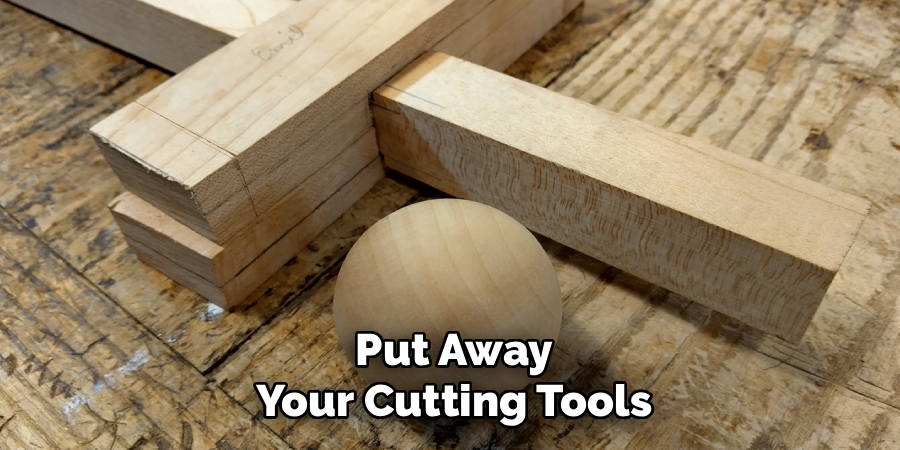
When the wood looks mostly round but still feels slightly blocky, it is time to put away your cutting tools. Grab a piece of coarse, 60-grit sandpaper and cup it firmly in the palm of your hand. Vigorously rub the sandpaper over the entire surface of the wood, using circular motions to blend the remaining flat spots into smooth curves. This stage requires significant elbow grease and will generate a large amount of sawdust. Frequently rotate the wooden object in your hand to ensure you apply equal sanding pressure across the entire surface area.
Step 7: Mastering ball out of wood
The true secret to a flawless sphere lies in the final stages of gradual sanding. Once the coarse grit establishes the round shape, move up to a 120-grit sandpaper to remove the deep scratches left behind. Continue rotating the object, feeling the surface with your bare fingertips to locate any subtle bumps or flat areas. Progress to a 220-grit, and finally a 400-grit sandpaper, until the wood feels as smooth as glass. This meticulous progression through the grits transforms your hand-carved project from a rough geometric block into a beautifully polished, professional-looking wooden sphere.
Advanced Carving Techniques
For those looking to take their carving skills to the next level, mastering advanced techniques can add intricate details and artistic flair to your projects. One such technique is relief carving, where designs are carefully etched into a flat wooden surface, creating depth and dimension. This requires the use of specialized tools like gouges and V-tools, as well as steady hands for precision.
Another method is chip carving, which involves making small, repetitive cuts to create patterns or motifs. Practicing consistent angles and pressure is key to achieving clean, sharp lines. For intricate three-dimensional carving, the use of micro tools and rotary instruments allows for delicate details, such as facial features or fine textures, to be added with precision. Incorporating a mix of techniques enables artisans to produce dynamic, visually stunning pieces that showcase both craftsmanship and creativity.
Frequently Asked Question
What Is The Best Wood For Beginners?
Basswood remains the absolute best choice for individuals attempting their first carving project.
- It features a tight, predictable grain that rarely splinters unexpectedly.
- The material feels incredibly soft under a carving knife or hand saw.
- It sands down very quickly, saving you hours of manual labor.
- Basswood readily accepts a wide variety of paints, stains, and protective oils.
Can I Complete This Project Without A Lathe?
You absolutely do not need an expensive wood lathe to create a perfectly round sphere.

- A basic hand saw, a sharp carving knife, and sandpaper are all you truly require.
- Working by hand provides greater control over the subtle shaping process.
- Manual carving generates far less noise and airborne dust than motorized machinery.
- The traditional hand-carving method builds foundational woodworking skills that transfer to other projects.
How Long Does The Entire Process Take?
The time required depends heavily on the size of your block and the hardness of the wood.
- A small, three-inch basswood sphere usually takes about three to four hours to complete.
- Carving harder woods like walnut or cherry will easily double your working time.
- The rough cutting phase moves quickly, while the progressive sanding stages consume the most time.
- Taking frequent breaks prevents hand cramps and keeps your cuts accurate.
What Safety Gear Is Absolutely Necessary?
Protecting yourself during a manual carving project ensures you can enjoy your new hobby safely.
- You must wear a high-quality dust mask during the sanding phases to protect your lungs.
- Cut-resistant carving gloves will prevent severe injuries if your knife slips.
- Safety glasses keep flying wood chips and fine sawdust out of your eyes.
- Always use a secure bench vise to hold the wood when making your heaviest initial cuts.
How Do I Fix A Lopsided Wooden Sphere?
Correcting an uneven shape requires patience and a return to coarser sanding materials.
- Use a pencil to lightly shade the high, bulky areas that disrupt the curve.
- Wrap a piece of 60-grit sandpaper around a firm sponge to target those specific high spots.
- Sand the marked areas aggressively until the pencil lead disappears.
- Roll the sphere on a perfectly flat table to easily spot any remaining wobbles or heavy sides.
Conclusion
Transforming a blocky piece of lumber into a perfectly smooth geometric shape offers a deeply satisfying experience. By taking the time to measure accurately, cut methodically, and sand patiently, you develop a strong appreciation for the fundamental techniques of hand-tool woodworking. The process teaches you how to read the grain direction and trust your sense of touch to find imperfections.
Now that you understand exactly how to make a ball out of wood, you can confidently start your own carving journey. Do not feel discouraged if your first attempt turns out slightly egg-shaped; precision naturally improves with practice. Set up your workbench, gather your sandpaper, and enjoy the relaxing, rewarding process of crafting beautiful wooden spheres by hand.

About
Mike May is a distinguished figure in the world of woodworking and timber design, with a decade of expertise creating innovative and sustainable indoor solutions. His professional focus lies in merging traditional craftsmanship with modern manufacturing techniques, fostering designs that are both practical and environmentally conscious. As the author of Woodimber, Mike delves into the art and science of timber-craft, inspiring artisans and industry professionals alike.
Education
RMIT University (Melbourne, Australia)
-
Associate Degree in Design (Timber): Focus on sustainable design, industry-driven projects, and practical craftsmanship.
-
Gained hands-on experience with traditional and digital manufacturing tools, such as CAD and CNC software.
Nottingham Trent University (United Kingdom)
-
Bachelor’s in Woodworking and Product Design (Honors): Specialized in product design with a focus on blending creativity with production techniques.
-
Participated in industry projects, working with companies like John Lewis and Vitsoe to gain real-world insights.
Publications and Impact
In Woodimber, May shares his insights on timber design processes, materials, and strategies for efficient production. His writing bridges the gap between artisan knowledge and modern industry needs, making it a must-read for both budding designers and seasoned professionals.