

Every DIY enthusiast and beginner woodworker eventually faces a frustrating piece of warped timber. You bring home a pristine sheet of lumber from the local hardware store, only to find it bowing like a banana the very next morning. Rapid variations in local humidity and garage temperature often cause these thin wood layers to cup, twist, or bow unexpectedly. This common dimensional issue ruins precise project measurements and makes furniture assembly nearly impossible.
Fortunately, you do not have to throw away that expensive material and start over. Learning how to flatten plywood is an absolutely fundamental skill that rescues your current projects and saves you serious money over time. By carefully introducing mild moisture to the concave side and applying heavy, even pressure, you can easily coax the stubborn wood fibers back into their original flat shape. This friendly, expert tutorial will walk you through the entire straightening process using basic household tools found in almost any garage. Let us grab a clean sponge, organize our weights, and restore your building materials to their perfect, factory-straight condition.
Step-by-Step Guide on How to Flatten Plywood
Step 1: Identify the Concave and Convex Sides
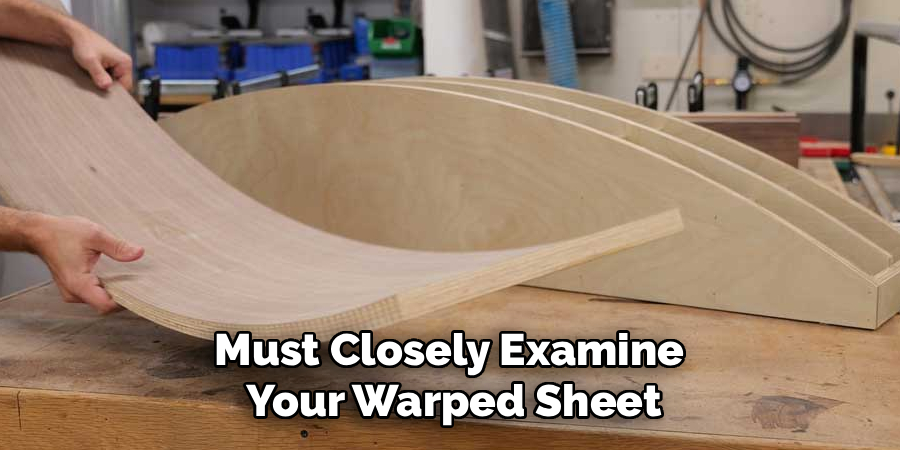
Before you attempt any corrective measures, you must closely examine your warped sheet of timber to understand exactly how it bent. Wood warps because one side absorbs or releases moisture much faster than the opposite side, causing the fibers to expand or shrink unevenly. Lay the board flat on your garage floor and look closely at the edges to identify the curve. The inside of the curve, which resembles a shallow bowl, is called the concave side. The outer, bulging hump is known as the convex side. You must pinpoint these specific sides accurately because you will only apply water to the concave face during the correction process.
Step 2: Set Up a Perfectly Flat Working Surface
You need a completely rigid, unyielding surface to act as your reference plane during this heavy pressing process. A sturdy concrete garage floor works perfectly, provided you sweep away all the loose dirt, sharp pebbles, and lingering sawdust first. If you leave a small pebble underneath the wood while applying massive weight, you will accidentally press an ugly permanent dent directly into the delicate surface veneer. If your garage floor is currently occupied, a thick workbench or a sturdy dining table also serves as an excellent pressing station. Creating a flawlessly clean, flat foundation ensures your warped board has a perfect physical template to mimic as it slowly straightens out over time.
Step 3: Apply Mild Moisture to the Cupped Area
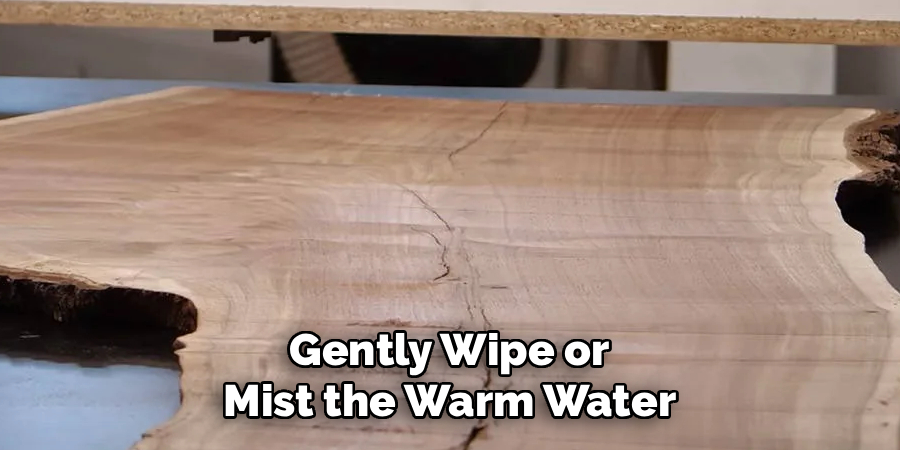
Now that your workspace is prepared, it is time to relax the tense wood fibers causing the severe dimensional bowing. Grab a clean household sponge or a simple plastic spray bottle filled with warm tap water. Gently wipe or mist the warm water exclusively onto the concave, bowl-shaped side of the warped timber. The warm moisture penetrates the dry, shrunken wood fibers, causing them to physically expand and push against each other. Do not soak the board completely or create large puddles of standing water, as excessive saturation will destroy the delicate glue holding the thin veneer layers together. A light, even dampness across the entire surface is absolutely all you need here.
Step 4: Add Heat for how to flatten plywood
Sometimes, stubborn boards require a little extra thermal encouragement to release their severe internal tension completely. If the warm water alone does not seem to relax the fibers, you can carefully introduce a mild heat source to the damp surface. Grab a standard clothing iron from your laundry room and set it to a medium heat setting without any internal steam. Place a clean, dry cotton towel over the damp wood surface to protect the fragile veneer from developing dark burn marks. Gently glide the warm iron over the protective towel for a few minutes, keeping the appliance constantly moving. This gentle heat forces the moisture deeper into the cellular structure quickly.
Step 5: Place the Board on Your Workspace
Immediately after applying your moisture and optional heat, you must transfer the relaxed board to your previously prepared flat surface. You must place the timber with the convex, bulging hump facing directly upward toward the ceiling. The damp, concave side should lay flat against the concrete floor or your sturdy workbench. Positioning the board this specific way allows gravity and your heavy weights to push the bulging hump downward, stretching the damp fibers beneath it perfectly flat. Working relatively quickly during this transfer phase ensures the wood fibers remain perfectly pliable and warm before you apply the massive external pressure required for the correction.
Step 6: Apply Even Weight Across the Surface
Pressing the stubborn board back into a usable shape requires immense, highly distributed physical weight across the entire surface area. You can use cinder blocks, heavy paint cans, sandbags, or massive stacks of hardcover books to generate this required pressure. Start by placing your heaviest weights directly over the highest peak of the bulging hump in the center. Gradually add more weight working outward toward the four corners of the sheet to ensure the entire surface presses firmly against the concrete floor. Distributing the mass evenly prevents the board from developing a strange wavy pattern while the damp fibers lock themselves into their newly corrected, perfectly flat orientation.
Step 7: Allow the Wood to Dry Completely
Patience remains the most critical ingredient during this entire corrective woodworking procedure. You must leave the heavy weights completely undisturbed while the damp wood fibers dry out entirely and lock into their new shape. Depending heavily on your local climate, ambient humidity, and garage temperature, this drying phase typically takes anywhere from forty-eight to seventy-two hours. Rushing this crucial phase and removing the heavy cinder blocks too early will cause the damp fibers to immediately warp right back into their original curved shape. Keep a fan running nearby to promote gentle air circulation, which slowly draws the moisture out of the timber while the heavy weights maintain the strict physical boundaries.
Step 8: Check Your Progress and Repeat if Necessary
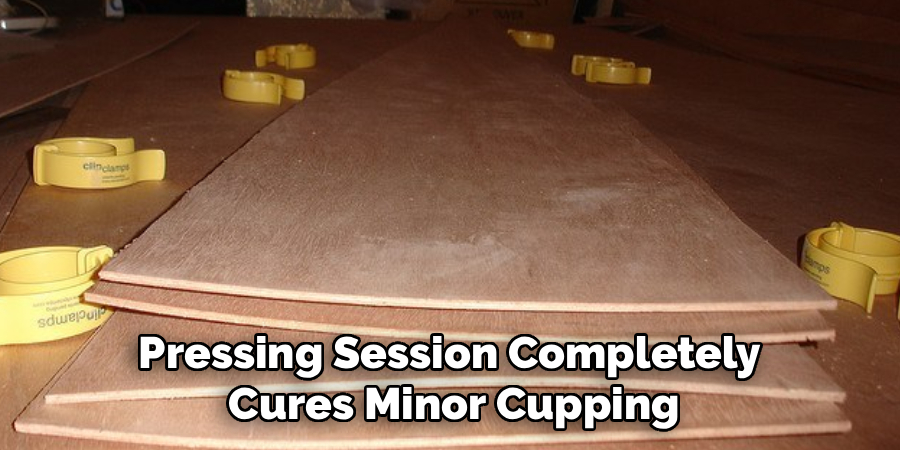
After three full days of heavy pressing, you can finally remove the cinder blocks and inspect your wonderful mechanical handiwork. Slide a straight metal ruler across the surface of the timber to verify it sits perfectly flush without any annoying gaps. In most cases, a single pressing session completely cures minor cupping and standard bowing issues. However, severely distorted boards might require a second round of light misting and heavy pressing to achieve absolute perfection. If the board looks fantastic, you should immediately seal all sides with a high-quality primer or wood finish to lock out future ambient moisture. Proper sealing guarantees your beautifully flattened material never warps again.
Frequently Asked Question
Can I Use This Method on MDF?
- You should absolutely never apply liquid water to Medium Density Fiberboard (MDF) or standard particleboard materials.
- Unlike natural timber veneers, MDF acts like a massive rigid sponge that permanently swells and degrades when exposed to moisture.
- If a sheet of MDF severely warps, you generally have to replace the material entirely.
- Always store your composite sheet goods perfectly flat on the ground to prevent them from bowing in the first place.
How Much Weight Do I Need to Apply?
- The required mass depends entirely on the total thickness and overall stubbornness of your specific sheet material.
- A thin quarter-inch panel might only require thirty pounds of distributed weight to press completely flat against the floor.
- A massive three-quarter-inch structural panel often demands well over a hundred pounds of heavy cinder blocks to yield.
- When in doubt, apply as much even weight as you can safely manage without physically cracking the underlying wood fibers.
How Long Does the Drying Process Take?
- The total drying timeline varies wildly based on your specific garage environment and local weather patterns.
- During a hot, dry summer week, the internal moisture might evaporate completely within just twenty-four hours of pressing.
- During a damp, freezing winter month, you might need to leave the heavy weights in place for up to four full days.
- Always err on the side of extreme patience, giving the cellular structure plenty of time to lock into place.
Will Sun Exposure Help Straighten the Wood?
- Placing a damp, warped board directly in the hot summer sun is actually a highly traditional, wonderfully effective straightening method.
- You place the damp, concave side facing down on wet grass, letting the hot sun bake the dry convex hump facing upward.
- The sun rapidly shrinks the top fibers while the wet grass expands the bottom fibers, pulling the board flat naturally.
- You must monitor this outdoor process very closely, as leaving it outside too long can cause the board to warp in the opposite direction.
Does Painting Both Sides Prevent Future Warping?
- Yes, completely sealing every single exposed surface of your timber is the absolute best preventative measure against future dimensional changes.
- Many eager beginners only paint the visible front side of their project, leaving the hidden back panel completely raw and exposed.
- This uneven sealing allows ambient humidity to enter the raw back panel freely, guaranteeing a massive warp over time.
- Always apply an equal number of paint or polyurethane coats to the front, back, and thin edges of your project.
Conclusion
Taking full control of your expensive building materials provides incredible personal satisfaction and builds massive woodworking confidence. By carefully identifying the curved sides, applying targeted moisture, and utilizing heavy household weights, you guarantee a wonderfully successful garage project. You no longer have to throw away perfectly good timber or tolerate frustrating, severely misaligned furniture joints during your weekend assembly sessions.
Understanding exactly how to flatten plywood transforms a highly stressful material defect into a remarkably simple, highly manageable mechanical chore. The noticeable improvement in your final project quality is a fantastic reward for your careful pressing and extreme patience. Grab your damp sponge, clear off your sturdy workbench, and restore your bowed timber today. Your upcoming woodworking project eagerly awaits its perfectly straight, beautifully reliable foundation!

About
Mike May is a distinguished figure in the world of woodworking and timber design, with a decade of expertise creating innovative and sustainable indoor solutions. His professional focus lies in merging traditional craftsmanship with modern manufacturing techniques, fostering designs that are both practical and environmentally conscious. As the author of Woodimber, Mike delves into the art and science of timber-craft, inspiring artisans and industry professionals alike.
Education
RMIT University (Melbourne, Australia)
-
Associate Degree in Design (Timber): Focus on sustainable design, industry-driven projects, and practical craftsmanship.
-
Gained hands-on experience with traditional and digital manufacturing tools, such as CAD and CNC software.
Nottingham Trent University (United Kingdom)
-
Bachelor’s in Woodworking and Product Design (Honors): Specialized in product design with a focus on blending creativity with production techniques.
-
Participated in industry projects, working with companies like John Lewis and Vitsoe to gain real-world insights.
Publications and Impact
In Woodimber, May shares his insights on timber design processes, materials, and strategies for efficient production. His writing bridges the gap between artisan knowledge and modern industry needs, making it a must-read for both budding designers and seasoned professionals.